Learn how to make lipstick with this all-natural and straightforward recipe. Using simple ingredients and natural colorants, you can make your very own lipstick that lasts!
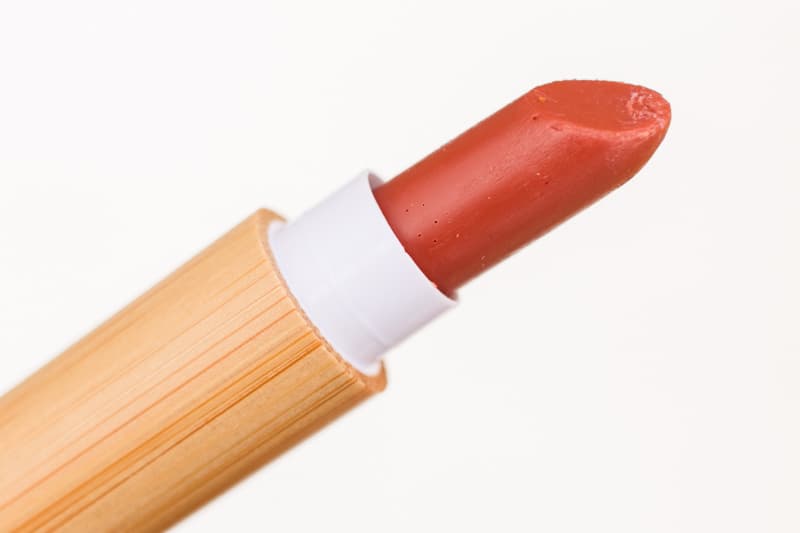
I have made several different makeup recipes over the years to limit chemical exposure, including recipes that I love, such as foundation, setting powder, eyeshadow, eyeliner, and mascara.
Even after making lip gloss and lip balm, I underestimated the difference between those and tinted lipstick.
However, using a similar recipe to my lip balm, I was able to come up with the perfect lipstick recipe, even if it took me several tries! Don’t worry; now that the testing is out of the way, it’s very simple to make.
For this lipstick, use natural foods such as beets or cocoa powder to make the perfect color for your lips, to eliminate the use of chemicals.
How to Make Lipstick At Home
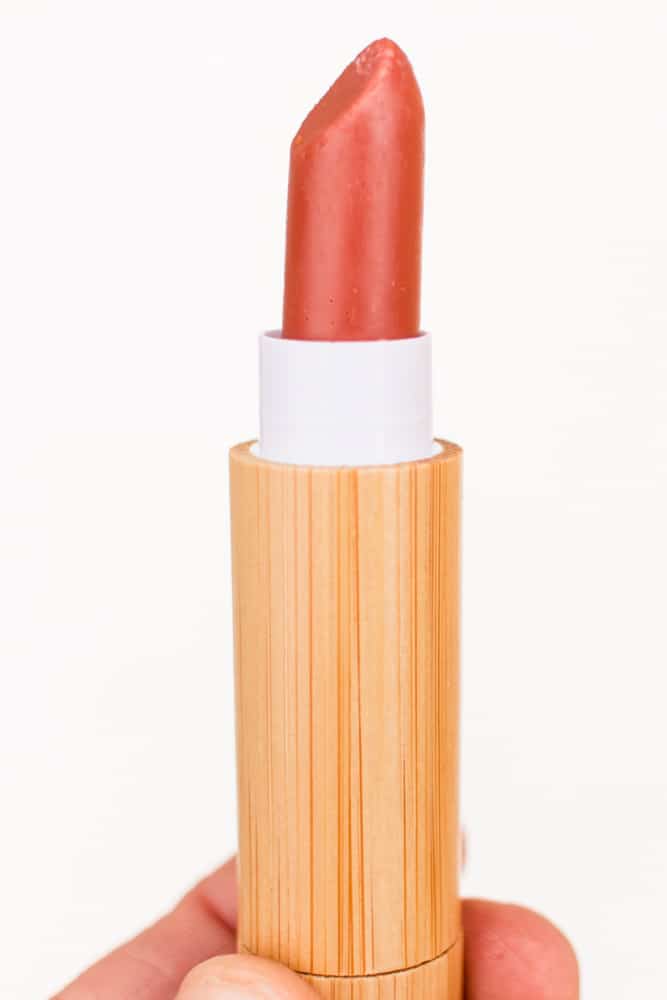
I’ve already alluded to the fact that making lipstick at home is very simple! All that’s needed is beeswax, shea butter, coconut oil, vitamin E oil, and a natural colorant.
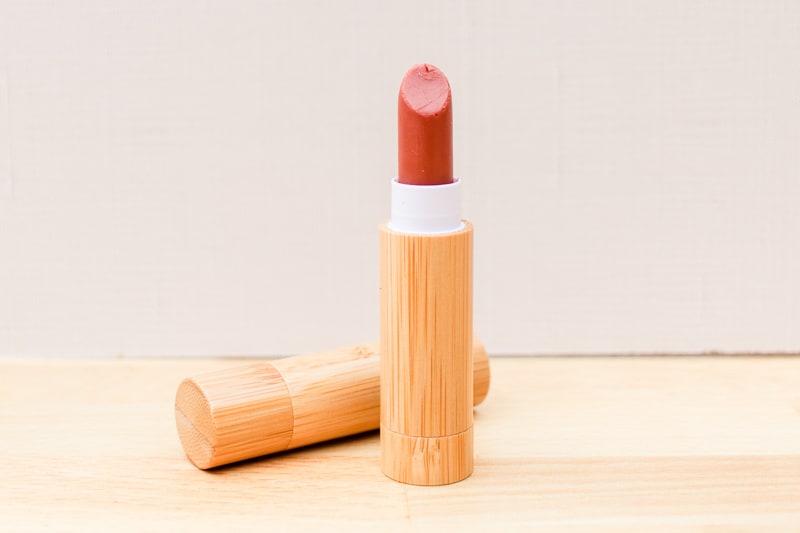
To make a matte lipstick (as in the pictures), you will also need a small amount of zinc oxide. Zinc oxide is used in sunscreen and will add a small amount of SPF to your lipstick.
The recipe below includes zinc oxide.
This post contains affiliate links, which means I make a small commission at no extra cost to you. Get my full disclosure HERE.
Lipstick tubes
There are two options for making and storing the lipstick: a lip balm container tube or a lipstick silicone mold and tube. To use a lip balm tube, simply pour the melted lipstick into the tube, allow it to harden, and it’s ready to use.
The silicone lipstick mold has a few extra steps. First, the lipstick will need to mostly harden in the mold, then bore a hole for the guide/height adjuster hole before transferring to the lipstick tube.
Best Ingredients for Homemade Lipstick
Beeswax
The wax is what holds this product together, makes it last longer, and makes it waterproof. Of course, you can use a different type of wax if you prefer, but I find beeswax to give the lipstick the best texture.
Other waxes that will work include carnauba wax, candelilla wax, soy wax, or rice wax. The ratios of the ingredients may have to be adjusted slightly if you choose a different wax.
Shea butter
Shea butter has amazing properties for the skin and can be especially good for chapped lips. It is very hydrating and sinks deep into the skin.
For this recipe, shea butter can be substituted entirely or partially for cocoa butter or mango butter. Those butters share many common traits but also have unique individual benefits making them all great to include in this lipstick recipe.
Coconut Oil
Similar to shea butter, coconut oil also has amazing properties for the skin. It is very moisturizing and will hydrate dry, chapped lips.
Be sure to use regular coconut oil for this recipe, not fractionated coconut oil.
Vitamin E oil
The added vitamin E oil will help soothe and soften chapped lips. In addition, vitamin E oil has amazing benefits for the skin and is very hydrating. To learn more about vitamin E oil, check out this post here.
Zinc Oxide
Zinc oxide is a fine white powder that is often used to make products SPF. Adding a small amount to your lipstick will make a matte lipstick that is SPF.
Zinc oxide can be used to make homemade sunscreen and the more you add, the higher the SPF. Please note, this recipe will have a very low SPF.
Essential Oils
Essential oils can be added to your lipstick to give it a beautiful scent as well as have many added skin benefits.
My favorite oils to add are peppermint or lavender. Peppermint will give your lipstick a cooling effect and help soothe chapped lips whereas lavender will give off a beautiful and relaxing aroma.
Be sure to stay away from citrus essential oils as they are photosensitive and could cause the skin to burn if worn in direct sunlight.
How to Color Lipstick Naturally
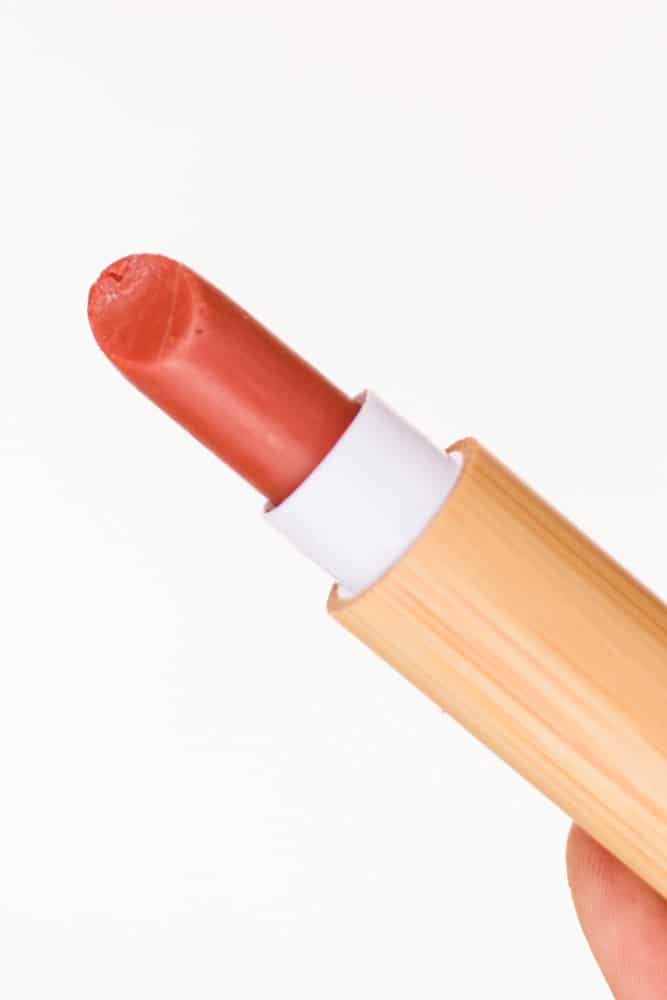
Now for the real part of lipstick! The best way to color your homemade lipstick is with kitchen pantry ingredients.
Yup, you read that right! Using powders such as beet powder or cocoa powder are great ways to safely customize your lipstick color exactly how you want.
Another option would be to use mica powder or skin-safe natural dyes.
- Deep red: 1/2-1 teaspoon rose clay powder
- Red/pink: 1/4 teaspoon beet powder
- Pink: 1/4 teaspoon strawberry powder
- Brown: 1/8-1/4 teaspoon cocoa powder
- Light brown with shimmer: 1/8 teaspoon cocoa powder + 1/8 teaspoon cinnamon
- Green: 1/4 teaspoon maca powder
- Yellow: 1/8-1/4 teaspoon Tumeric powder
How to Make Matte Lipstick
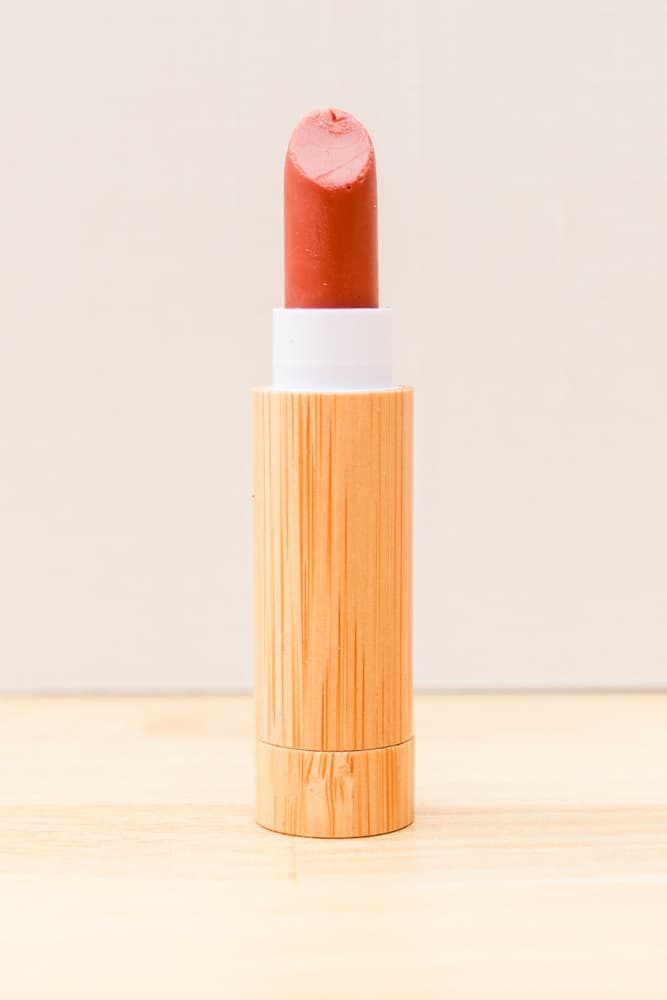
Ingredients
- 1.5 tablespoons beeswax
- 1 tablespoon shea butter
- 1 tablespoon coconut oil
- 2-5 drops vitamin E oil
- 1/2 teaspoon zinc oxide
- 1/2 teaspoon rose clay (add more for richer color)
- 1-2 drops lavender essential oil (optional)
Homemade Matte Lipstick Instructions
- Add the beeswax, shea butter, and coconut oil to a double boiler.
- Melt over medium heat, occasionally stirring until all ingredients are melted.
- Remove from the heat.
- Add in zinc oxide, the colorant of choice, vitamin E oil, and lavender.
- Stir well until it’s one uniform color.
- Pour into the lipstick mold and allow it to harden.
- Prepare the tube by fully extending the lipstick tube adjuster.
- Choose a drill bit the size of the lipstick tube’s center guide, and drill a hole into the center of the back of the lipstick in 1/2″. Then, carefully remove the metal ring, and insert the lipstick into the tube, pressing it down over the center guide until seated into the tube.
I’ll leave the lipstick in the mold and just squeeze it out into the tube to minimize touching the final product.
Allow lipstick to harden overnight before use.
Chemical Free Lipstick
Making your own lipstick is one of the best ways to ensure that it is chemical-free. However, I know that not everyone is a DIYer or has time to make homemade makeup.
Check out these safe, natural lipstick options. As always, making your own will be cheaper, but if you are running low on time, sometimes buying it may be the only option.
Best Natural Lipsticks
Below is a list of the top 5 best natural lipstick that you can buy if you don’t have time or the desire to make your own.
100 percent pure Cocoa butter Matte Lipstick
Bare Minerals Hydra-Soothing Lipstick
Beauty Counter Color Intense Lipstick
How to Make Lipstick Last Longer
Before applying lipstick, make sure that the lips are dry, clean, and free of flaky skin—prime your lips with a concealer to enhance the color or lightly mist with a setting spray.
Applying lipstick with a brush, rather than straight out of the tube may make it last longer. If you have a natural lip gloss or a nude lip liner, apply that over the lipstick to avoid smudging.
If you enjoyed reading this post, you may like reading my newest homemade eyebrow gel post or this natural facial primer next.
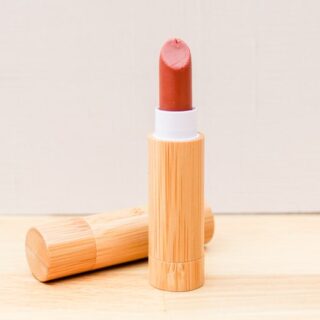
How to Make Lipstick
Equipment
- Double Boiler
Ingredients
- 1.5 tablespoons beeswax
- 1 tablespoon shea butter
- 1 tablespoon coconut oil
- 2-5 drops vitamin E oil
- ½ teaspoon zinc oxide
- ½ teaspoon rose clay powder add more for richer color
- 1-2 drops lavender essential oil optional
Instructions
- Melt beeswax, shea butter, and coconut oil in the double boiler on medium heat, stirring occasionally
- Remove from the heat. Add in zinc oxide, colorant of choice, vitamin E oil, and lavender.
- Stir until there are no streaks and it's one uniform color.
- Pour liquid ingredients into the silicone molds.
- While lipstick is hardening, twist up the lipstick tube until fully extended.
- Choose a drill bit the size of the lipstick tube's center guide, and drill a hole into the center of the back of the lipstick in 1/2". Then, carefully remove the metal ring, and insert the lipstick into the tube, pressing it down over the center guide until seated into the tube.
- Allow it to harden overnight before use.
Notes

Angela Baele says
Hi there, Do you know if the shea butter could be substituted with beef tallow?
Thanks so much
maria says
i’m like 90% sure you can, but i don’t know if it’ll come out the same texture as with the shea butter.
Neethu says
How do you measure dry ingredients to tablespoons/ teaspoons? Or are these measured once they are melted (each).
Holly says
How many tubes does this recipe make?
Emily Alonzo says
Is she’s butter interchangeable with cocoa butter
Catsy says
Cocoa butter is a much harder butter, so you will need to adjust the proportions. I would use less cocoa butter and replace it with more coconut oil, or add some oil (sweet almond, avocado, even olive oil.)
I suggest modifying it and cooling a bit of it to test it, then re-melt it and adjust if you need to. If it’s too soft, add a little more cocoa butter or beeswax. If it’s too hard, add oil. I’ve had to experiment with balm recipes to use the ingredients I prefer (I also like cocoa butter) but it’s not as difficult as it sounds, you can always remelt very easily. Don’t overheat it or it will reduce the efficacy quality of vitamin e.