Making your own natural shampoo recipe is so easy. This recipe is made with just three ingredients and can be made in minutes. I love that I can make my own shampoo and cut down on toxins in the process.
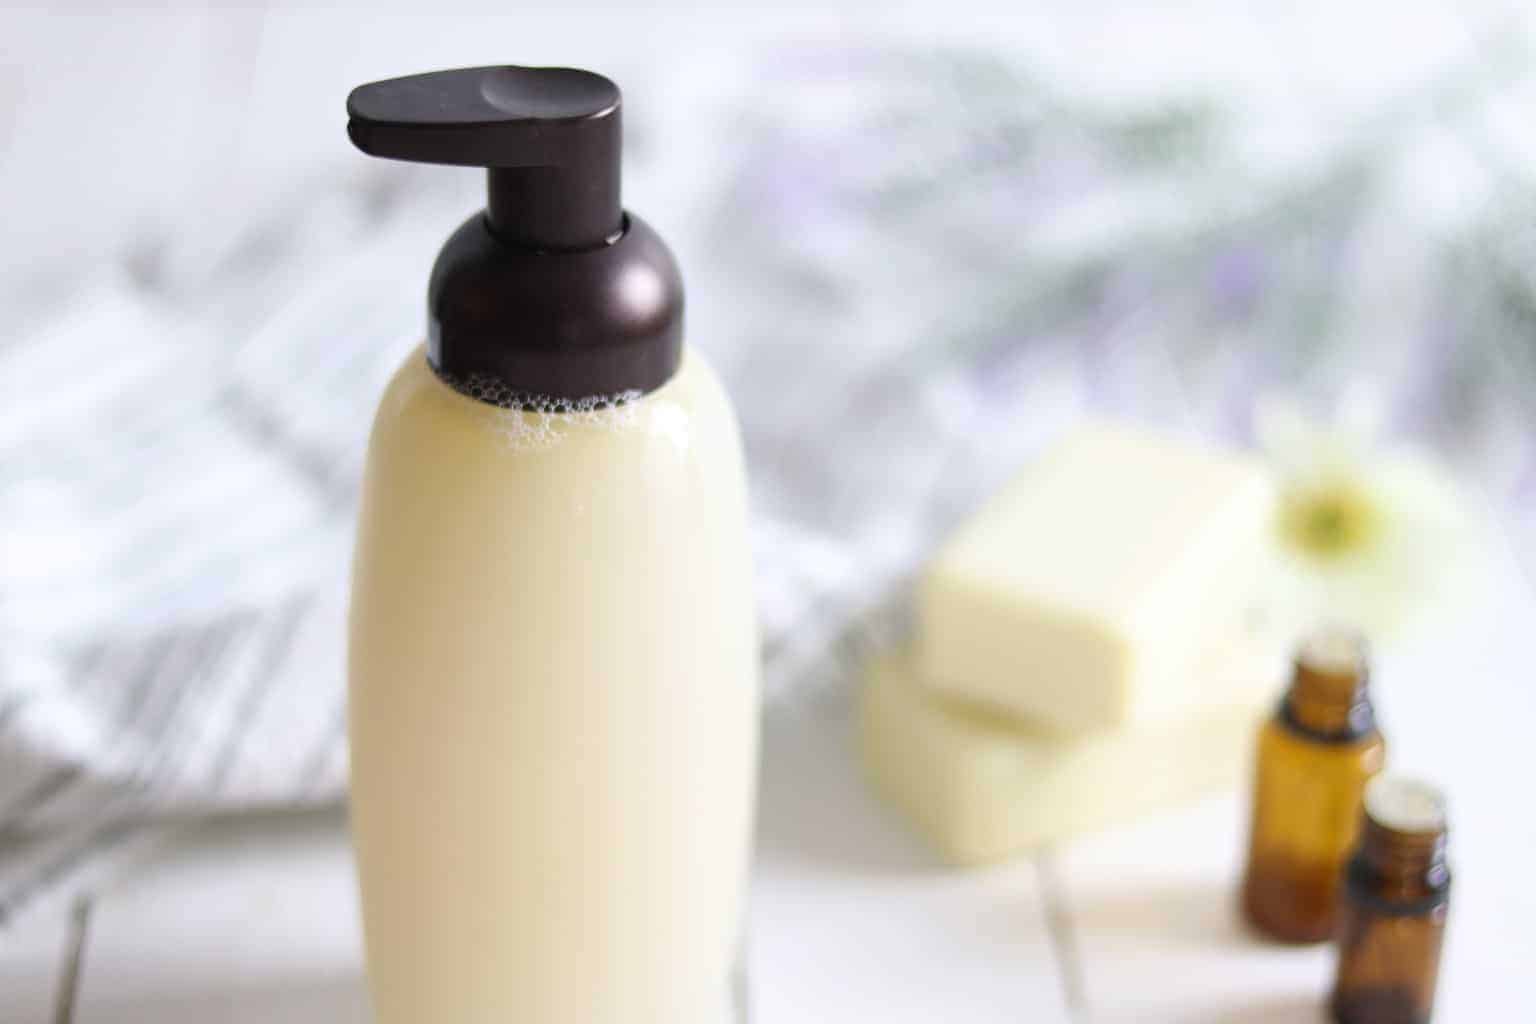
I have been making this particular shampoo for years, and it is still my go-to shampoo recipe. I have since created several other shampoo recipes to match various hair types, but this one continues to be my favorite for regular use.
I guess that may be in part because it’s made with simple ingredients. This recipe is perfect for restoring damaged hair, hydrating strands, and replenishing natural oils.
Before making this recipe, I tried a few different natural shampoos, but after a few months of outrageously priced shampoos, I decided to make my own because it is a whole lot cheaper.
Sure, you can definitely find plenty of natural shampoos, but not without a hefty price tag. I’ve even made shampoo bars, which are a great option for traveling. They are very moisturizing, which is great for dry, damaged hair.
Ready to get toxins out of your home? Grab my ebook with my favorite DIY all-natural products.
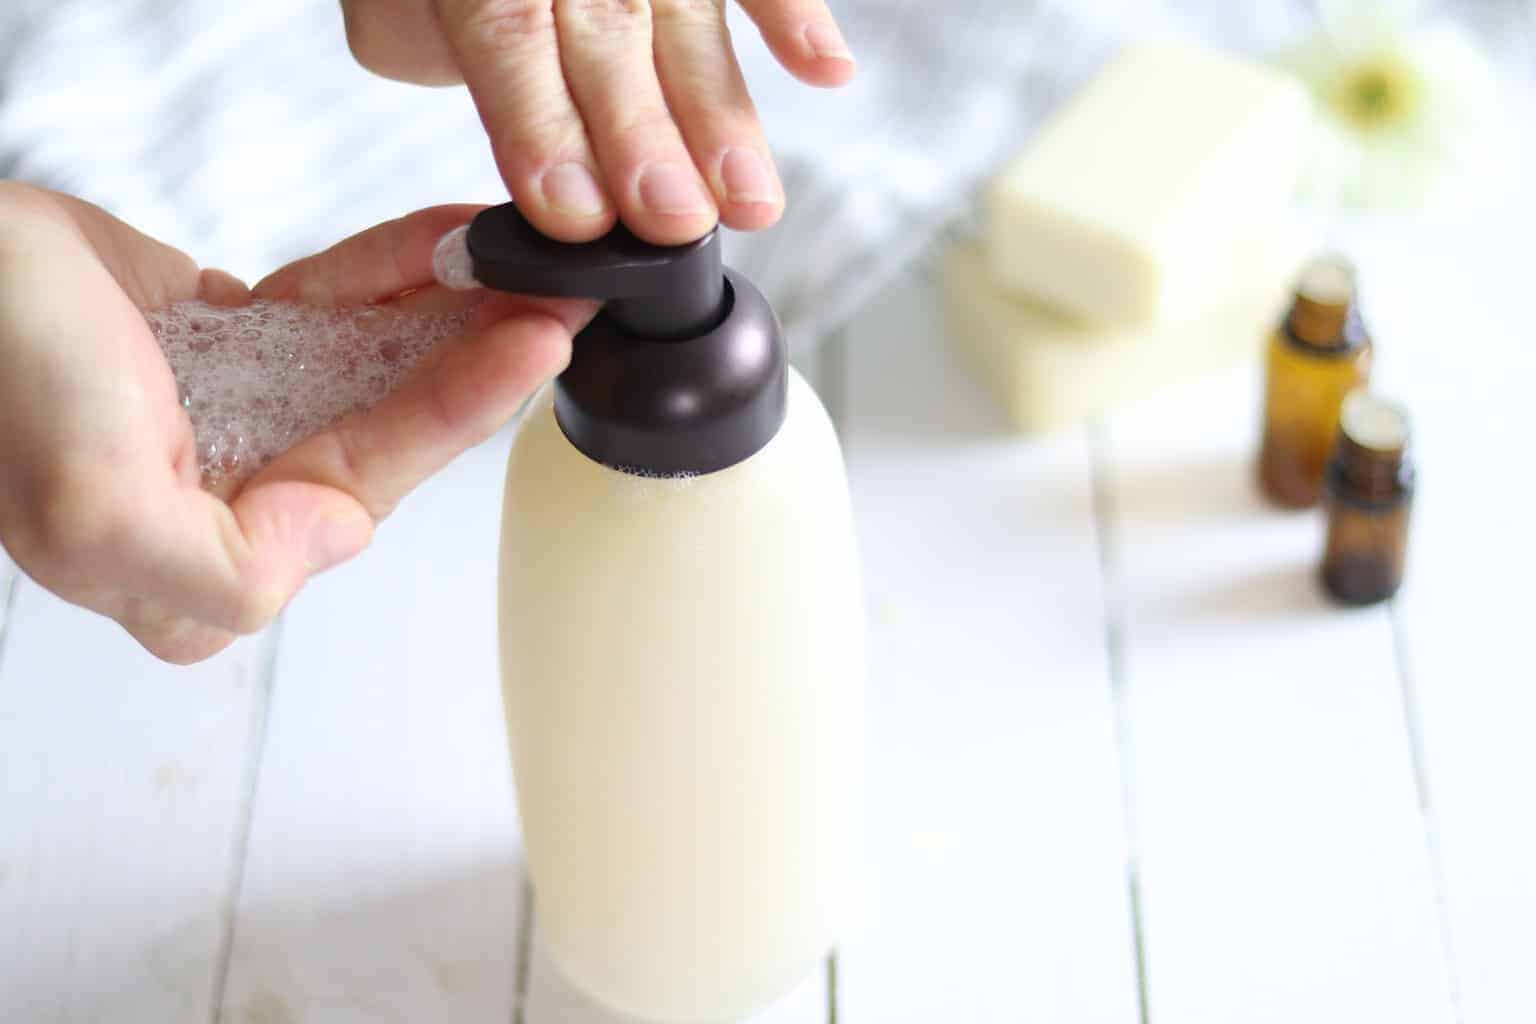
How to make all-natural shampoo
INGREDIENTS
- 1/4 cup of water (can substitute the water for coconut milk with a preservative)
- 1/4 cup of castile soap (I use Dr. Bronner’s unscented.)
- 1/2 teaspoon of jojoba oil (for dry hair, OPTIONAL)
- 10-15 drops of essential oils (I have my favorite blends listed below.)
HOW TO MAKE ALL-NATURAL SHAMPOO
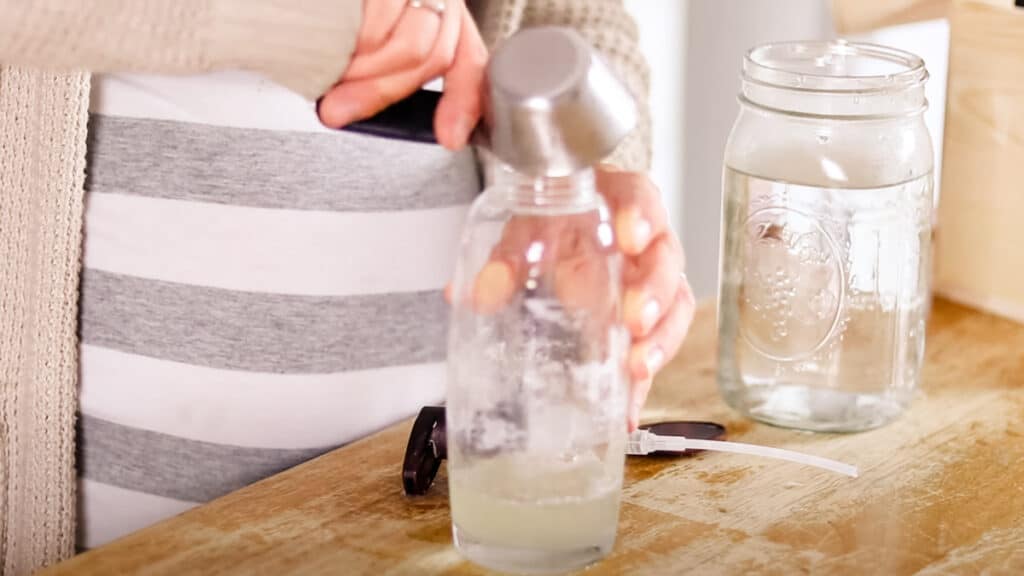
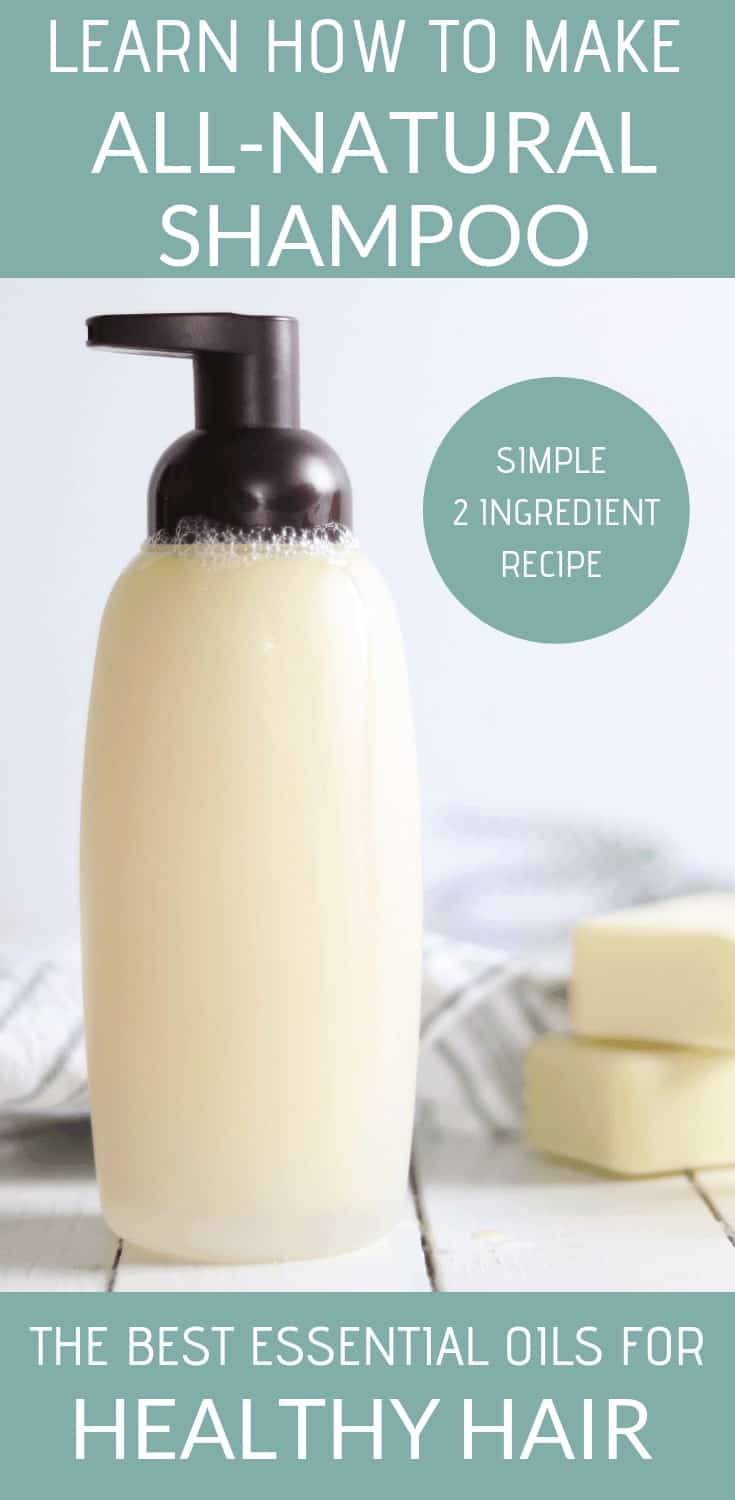
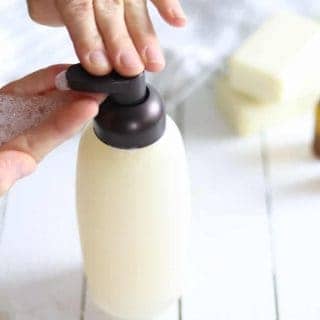
- Add the water, castile soap, and jojoba oil to a glass container. (Use an old shampoo bottle, foaming soap dispenser, or a mason jar)
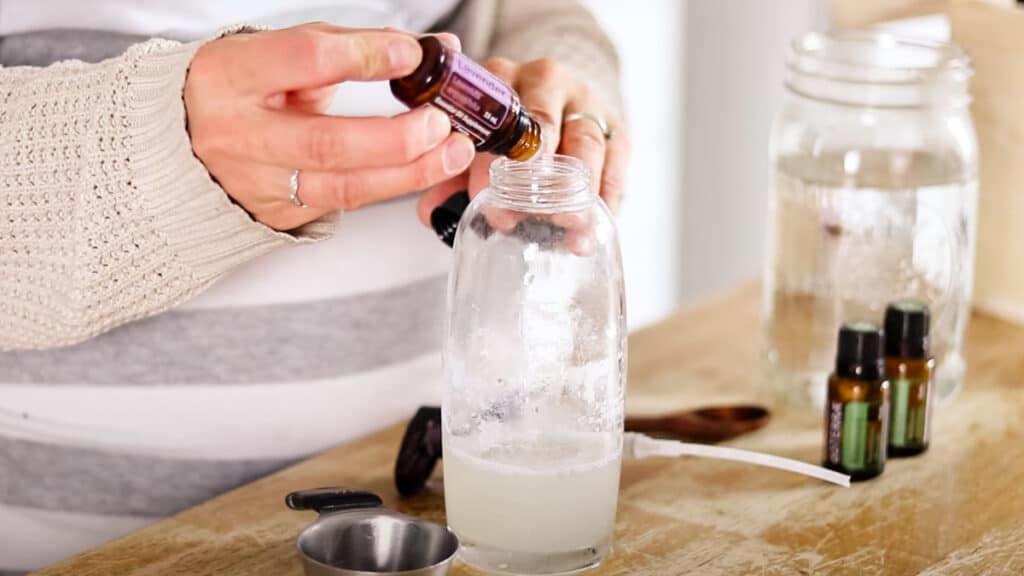
- Add in essential oils. (I used wild orange, lime, bergamot, and peppermint)
- Secure the dispenser top and shake well to mix the ingredients thoroughly.
Step-by-step images:
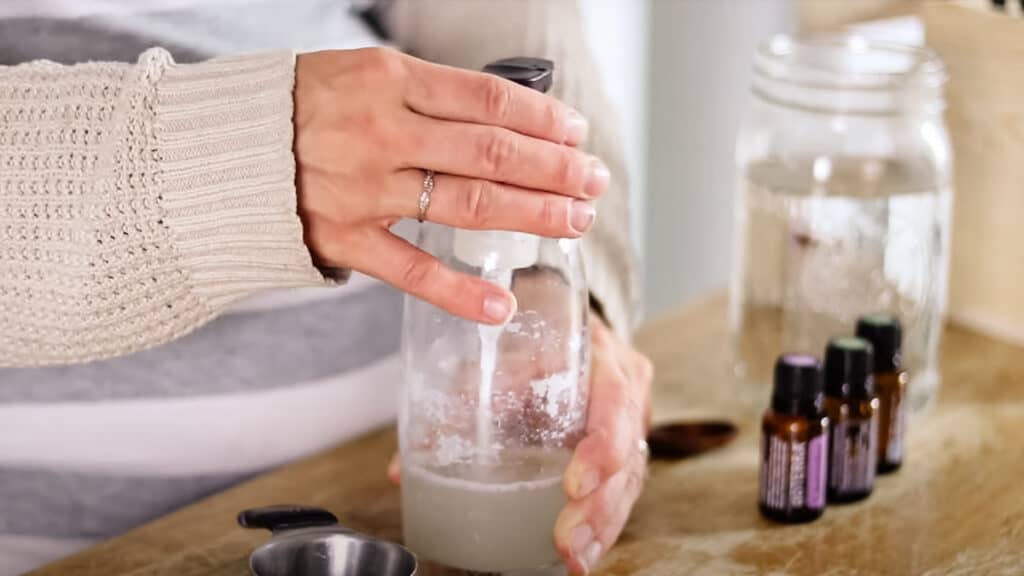
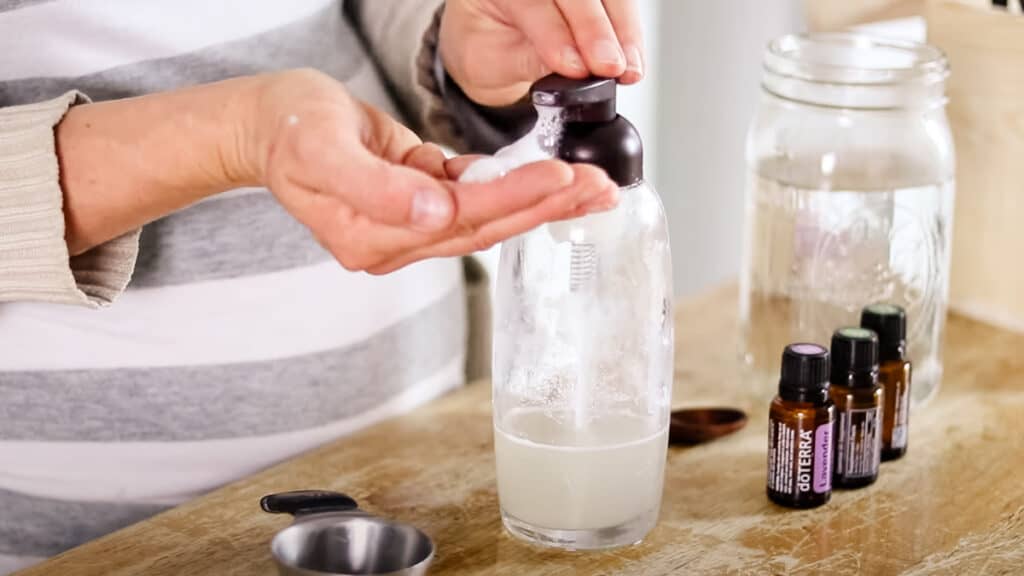
NOTES:
- This shampoo is thinner than typical shampoo, but it does lather up a ton! Be sure to follow up with an all-natural conditioner.
- This shampoo will last up to a month when stored in an airtight container.
BEST ESSENTIAL OIL BLENDS FOR ALL-NATURAL SHAMPOO
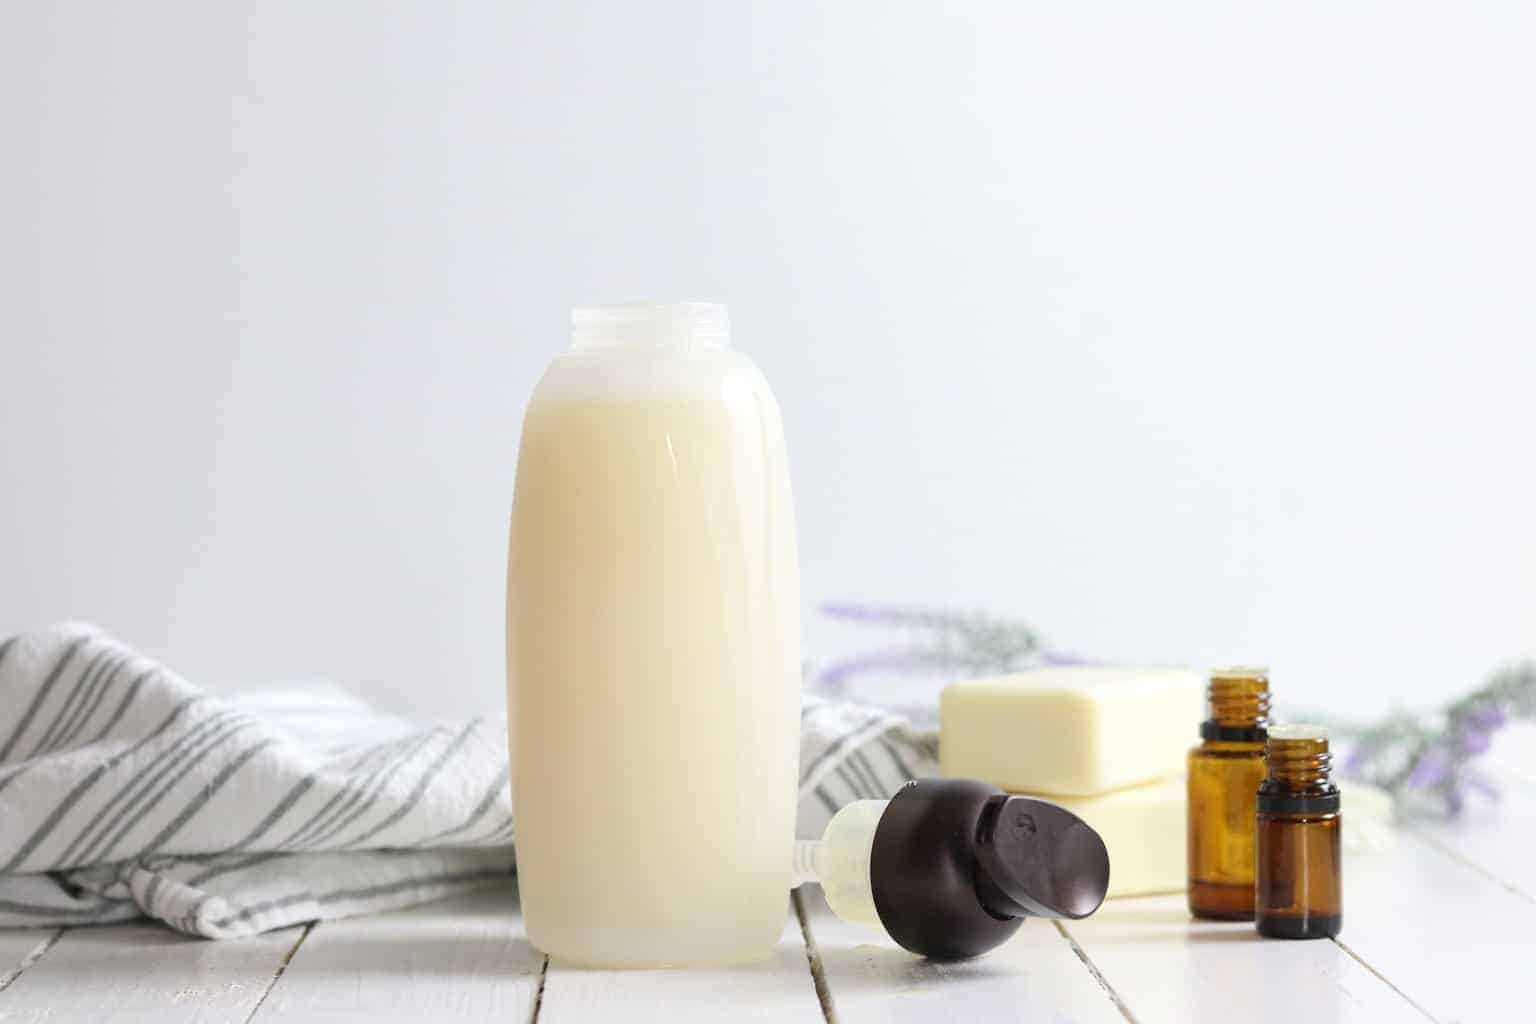
MY FAVORITE SCENT
- 6 drops wild orange essential oil
- 5 drops lime essential oil
- 4 drops bergamot essential oil
- 2 drops peppermint essential oil
BLEND FOR HAIR LOSS
- 6 drops rosemary essential oil
- 5 drops lavender essential oil
- 4 drops thyme essential oil
- 2 drops peppermint essential oil
BEST SCENT FOR MEN
- 6 drops lemongrass essential oil
- 4 drops sandalwood essential oil
- 4 drops melaleuca essential oil
- 2 drops bergamot essential oil
Get my lemon cedar beard oil recipe here.
BEST SCENT FOR CHILDREN
- 5 drops lavender essential oil
- 3 drops roman chamomile essential oil
- 2 drops wild orange essential oil
Get my baby shampoo and body wash recipe here.
Why make your own shampoo?
Traditional shampoos are made up of a number of ingredients you will want to avoid.
They generally contain ingredients known to mimic estrogen, causing hormone imbalances as well as carcinogens and allergens, as was discovered recently, and you can read about in this article.
Plus, a lot of the ingredients in this shampoo can be used in a number of different DIYs.
The essential oils can be used to strengthen and help with hair growth, or you can use them in your serums, hair masks, and even hair sprays.
What are the best ingredients for DIY shampoo?
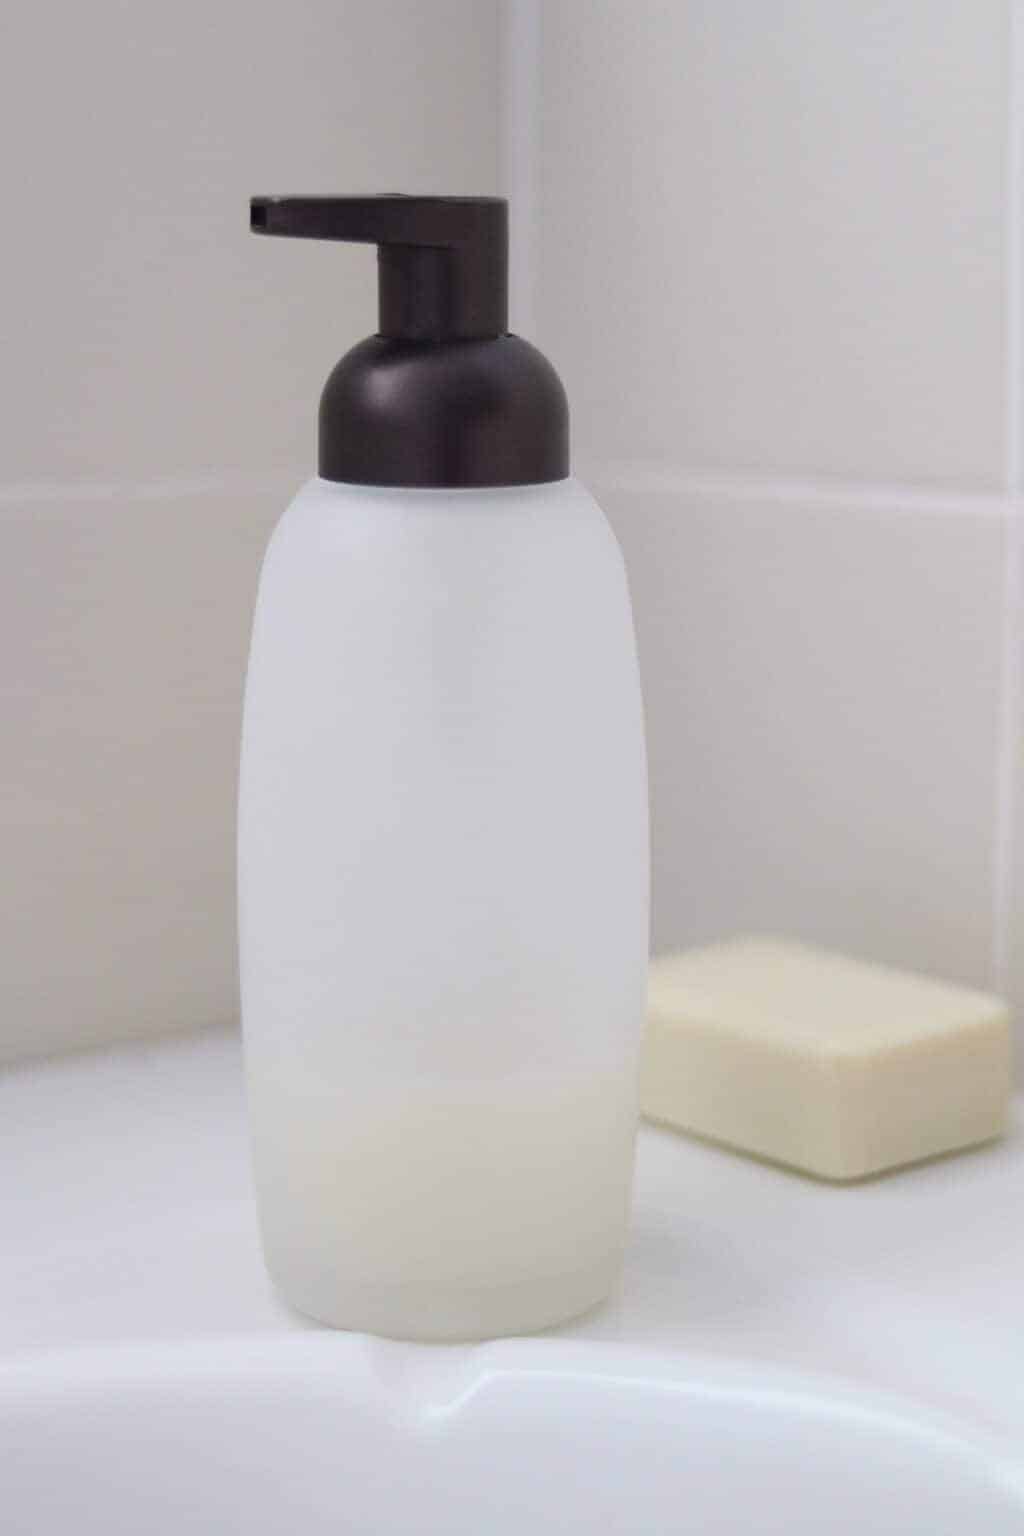
CASTILE SOAP
Castile soap is a very concentrated, vegetable-based soap. It is typically made out of olive oil or coconut oil.
It has natural antibacterial properties that can help kill infections on the skin and is also known to help with skin imperfections, such as acne, as revealed in this article.
Castile soap is a gentle soap that can be used on sensitive skin, and it is very beneficial for the face. You can buy it scented or unscented; I prefer unscented because I will be adding essential oils to this recipe.
JOJOBA OIL
Jojoba oil is very moisturizing and can protect the scalp against dry, flaky skin and dandruff. It is also rich in vitamins and minerals, such as vitamins A, B, and C, as well as zinc.
All of which are amazing for the hair. If you have greasy hair, you can leave this out of the recipe.
ESSENTIAL OILS
Essential oils can be very beneficial for the hair. For example, lavender and rosemary essential oil can be used to thicken, strengthen, and lengthen hair, according to this article.
Other oils like sandalwood or cedarwood can stimulate hair follicles and help with hair loss.
Adding essential oils to your homemade shampoo will also add a scent without synthetic fragrances.
- Lavender– Studies have shown that lavender produces more hair follicles to help thicken and strengthen hair. Lavender has a beautiful floral scent that can promote calmness and reduce stress; stress can be the biggest reason for hair loss.
- Rosemary– Rosemary essential oil is the top oil for hair growth and thickness. It helps to treat dry hair as well as overly oily hair and can help prevent split ends.
- Tea Tree– Tea Tree promotes a healthy, clean-looking scalp. It can be used to help with a dry, itchy scalp and protect against lice.
- Cedarwood– This woodsy oil is excellent when you are making products for men because it has a very masculine scent. In fact, I use cedarwood in all the DIY products I make for my husband, and he approves.
- Peppermint– Peppermint oil is known for its cooling effect on the skin when used topically and for its refreshing minty scent.

Making the transition to natural shampoo
If you are used to conventional shampoo, you may not like this homemade shampoo in the beginning. It takes some getting used to for you and your hair.
When you first start using a natural shampoo, you may notice your hair seems greasy, flat, fluffy, or just not quite right.
Regular shampoos and over-washing your hair will alter the natural oil balance and pH levels in your scalp. Your scalp produces oils; this is a good thing.
The oils help your hair to remain smooth, as well as keep your hair from drying out and breaking off.
When you wash your hair, you remove these oils, and your scalp produces more oils. So, the more you wash, the more oils your scalp will produce.
The less you wash your hair, and as your hair gets used to the new homemade shampoo, your oil levels will balance out. Promise!
I used to wash my hair daily, and by the end of the day, it was already looking greasy. Now, I only wash my hair twice a week, and it never gets greasy. It’s amazing!
While you are “training” your hair, dry shampoo can be your best friend! You can make your own dry shampoo powder or dry shampoo spray to help you during this transition.
TIPS FOR THICKENING HOMEMADE SHAMPOO
- Add in arrowroot powder or cornstarch to naturally thicken your shampoo. Start with 1/2 of a teaspoon and add more until the desired thickness is reached. Note: cornstarch is the main ingredient in my dry shampoo.
- Oat flour can be used to thicken homemade shampoo. Make your own oat flour by blending up oatmeal in a blender until it has the consistency of flour. Add a small amount to your shampoo and shake well to incorporate.
- Add one tablespoon of baking soda to the shampoo and mix well.
- Vegetable glycerin can help to thicken shampoo and add lather. Start with 1 teaspoon and add more until the desired texture is met.
Please note: If you make any changes to the recipe, you will absolutely need to add a preservative to it.
IS HOMEMADE SHAMPOO SAFE FOR ALL HAIR TYPES?
The ingredients found in this shampoo recipe are safe to use on all hair types. If you notice your hair is tangly, try making the recipe with coconut milk instead of water. Again, you’ll need to add a preservative.
Some hair types do better with a coconut milk shampoo.
HOW TO ADD SHINE TO HAIR?
After washing your hair, try rinsing it with a mixture of water and apple cider vinegar to increase its shine. The mixture can be made with two parts water and one part ACV.
This is a great way to cleanse the hair and balance pH levels, too!
How long does this shampoo last?
This shampoo will last for up to one month.
You can add a preservative such as linatural cosmetic preservative or Geogard 221 to extend the shelf life.
MORE DIY HAIR CARE PRODUCTS TO TRY
PIN IT FOR LATER
How to Make All Natural Shampoo
Ingredients
- ¼ cup 2 oz water
- ¼ cup 2 oz castile soap
- ½ teaspoon 0.17 oz jojoba oil for dry hair
- 10-15 drops of essential oils
Instructions
- Add the water, castile soap and jojoba oil to a glass container. (Use an old shampoo bottle, foaming soap dispenser, or a mason jar)
- Stir well.
- Add in essential oils. (I used 6 drops of orange, 5 drops lime, 4 drops of bergamot and 2 drops of peppermint)
- Secure the lid and shake well.

Sara brenner says
The coconut milk will be ok in a mason jar for a month? What type of preservative is ok?
Laura says
This shampoo will last for up to one month. You can add a preservative such as linatural cosmetic preservative or Geogard 221 to extend the shelf life.
Angela Mia Osorio says
Thanks Laura. Tried this and finished using one recipe. Will make another batch today. My hair is getting used to this shampoo. There is an overall wellness about me, now that im trying to go natural with the products i use. More power to you and God bless you and your family.
Laura says
That’s amazing, so glad to hear it! Thank you for sharing!
Deeann says
Hi Laura
Can I use this shampoo ( without jojoba oil) on color treated hair
Thanks
Ellie says
Hi! Do you have any shampoo recipe recommendations for color-treated hair? Thank you!
Laura says
I would just steer clear of the clarifying shampoo.
Janice Breadon says
Can you use something other than jojoba oil?
Laura says
If you didn’t want to use jojoba oil, you could leave it out. Although if you have dry hair, I would suggest using it.
Casey says
Thank you for the recipe! I tried the Castile soap with just water on my daughters tonight, and their hair seemed really dried out after. Would the oil help with this? They typically don’t have naturally dry hair, but it seemed like the Castile soap made it that way.
Also, could I use coconut or aVicaldo oil instead?
Thank you!
Laura says
I would give the jojoba oil a try, or follow up wash with a conditioner.
Deanna says
I have been using the shampoo for a few days now, I am using the foaming dispenser which is great but the second I touch my hair the foam goes away. I know you mention it should foam up a ton I am not seeing that, do I need more castile soap maybe? 🤔
Laura says
It should be thin but foam up a good bit. You might need to add a bit more castille soap.
Amy Crider says
I am currently using a rice water shampoo bar. Would I be able to use your rice water recipe instead of just using plain water?
SHELBY says
Hello, I can’t seem to find the Linatural Broad Spectrum Preservative. It looks like it’s out of stock on Amazon and says the don’t know if they will be getting more. Is there a different Preservative you would recommend? Other than that I’m loving the shampoo so far! Takes a bit to get used to the feeling of your hair when you rinse it out though 🙂
Laura says
Thanks for letting me know. I will look into it.
You can try any natural water soluble preservative, you will just need to use the correct dilution rate.
Janine Smith says
Followed the recipe to the ml and it came out like water. I added corn starch, arrowroot and xanthan gum and it didn’t thicken at all.
Laura says
That is normal! It is very liquidy, that is why it needs to go into a foaming soap dispenser.