This post may contain affiliate links. Please see our disclosure policy.
Whipped sugar scrub will leave your skin smooth, rejuvenated, and exfoliated. Make this scrub for a thoughtful homemade gift, or include it in your next in-home spa night.
This post was published in December 2020 and updated in August 2022.
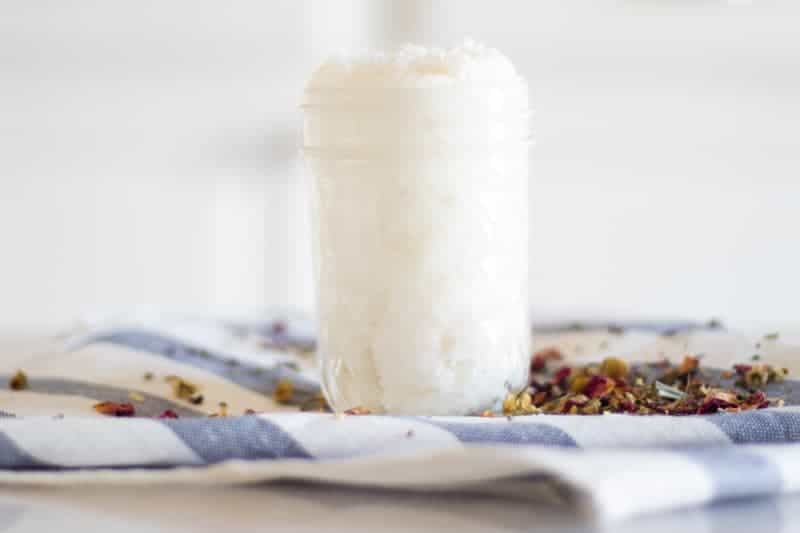
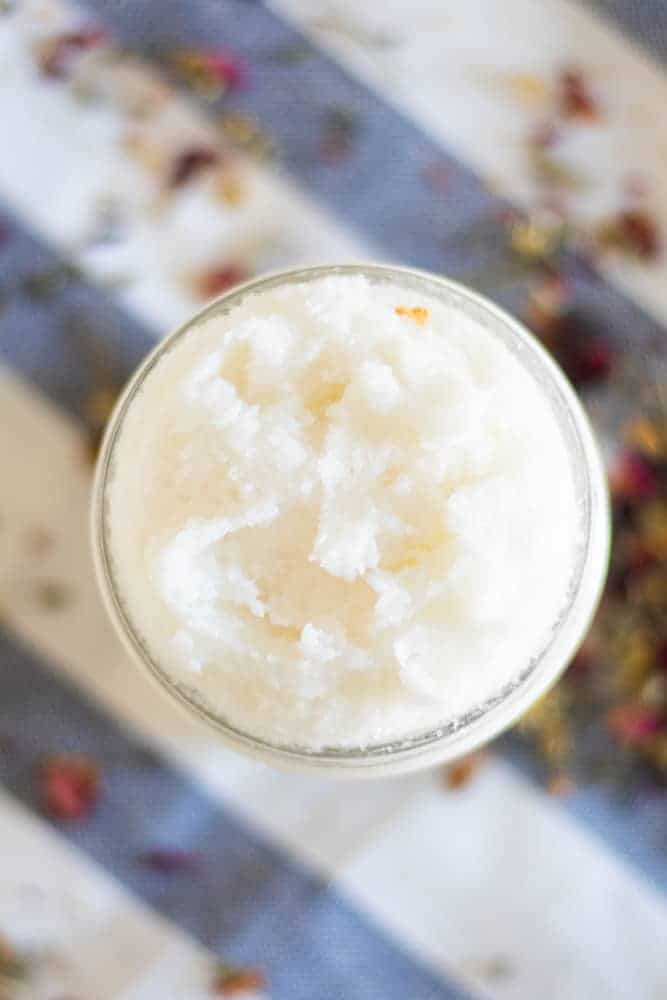
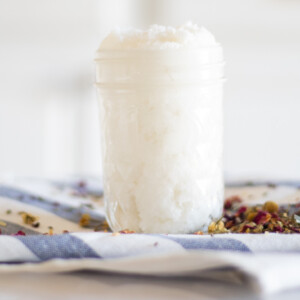
Homemade whipped sugar scrub is a simple recipe made with coconut oil, sugar, and lavender essential oil.
It has incredible benefits for the skin and can remove dead skin cells leaving your skin soft and smooth.
My homemade sugar scrub was one of the first skincare recipes I made when I bought my first set of essential oils. I kept a jar of it by the bathroom sink and found myself using it nearly every time I washed my hands.
Since then, I have experimented with different types of sugar scrubs, including a homemade sugar scrub bar and now this whipped sugar scrub.
They are all amazing, but I find this one best for that dry, winter skin. Plus, it only takes 4-ingredients to make!
Types of body scrub
Have you noticed how smooth the bottoms of your feet are after a week at the beach? The tiny granules of sand are a natural exfoliant, smoothing out the rough patches of skin as you walk.
Well, that is just one simple example of a type of body scrub. Here are the most common exfoliants for body scrubs:
- Sugar (brown or white)
- Salt (used in my DIY scalp scrub)
- Coffee grounds
- Oatmeal
- Honey (very mild)
There are countless more options for exfoliants that I’m not going to list here. So, instead, these are just a few of my favorite body scrub ingredients.
Lastly, having a body scrub, like my homemade coffee scrub or whipped sugar scrub, in this case, is one of the most gentle and effective ways to get rid of dead skin; there is, however, one other very straightforward method.
Have you heard of dry brushing? While this method is harsher on the skin, it can be an effective way to rid your skin of dead skin cells using just a brush.
So what is in this whipped sugar scrub?
Knowing this recipe could potentially become a gift, assuming my daughter and I will not be enjoying a spa night every evening the next week, I decided to use a few key ingredients that would last several months.
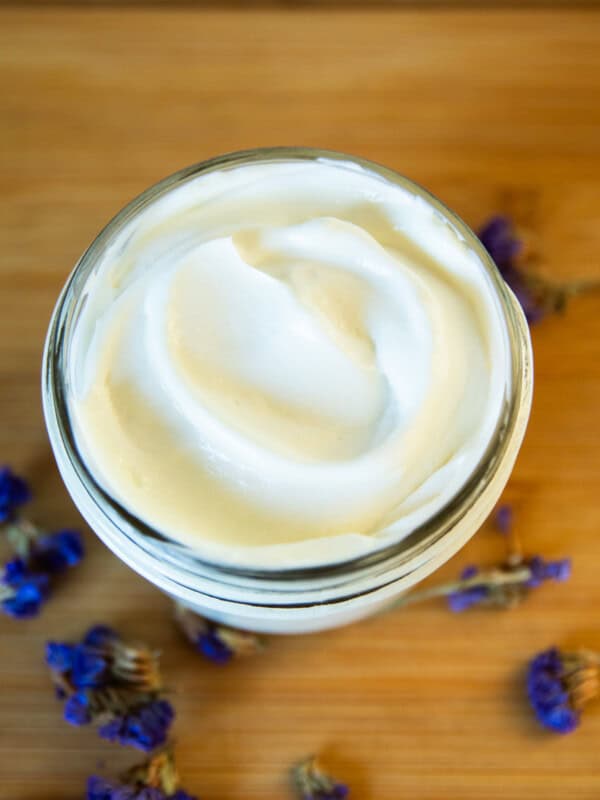
Whipped sugar scrub ingredients
Coconut Oil
Coconut oil is incredibly moisturizing and hydrates dry skin.
This oil also has antibacterial, antiviral, and anti-inflammatory properties, which is perfect for cleansing and purifying the skin, as well as reducing inflammation.
Coconut oil can work wonders for skin imperfections and mature skin, helping to reduce signs of aging, wrinkles, and fine lines.
Note: This recipe is for regular coconut oil, not fractionated coconut oil. FCO is liquid and will not ‘whip up’ in this whipped lavender sugar scrub.
Cane Sugar
Any sugar will work for this recipe. I use organic cane sugar, which I also use in my homemade hand scrub. However, brown sugar may be a better option for sensitive skin.
I love using sugar in my body scrubs like my Christmas sugar scrubs, while the more abrasive salt is better for the tougher areas of skin, such as the dry cracked skin on the bottom of the feet and elbows.
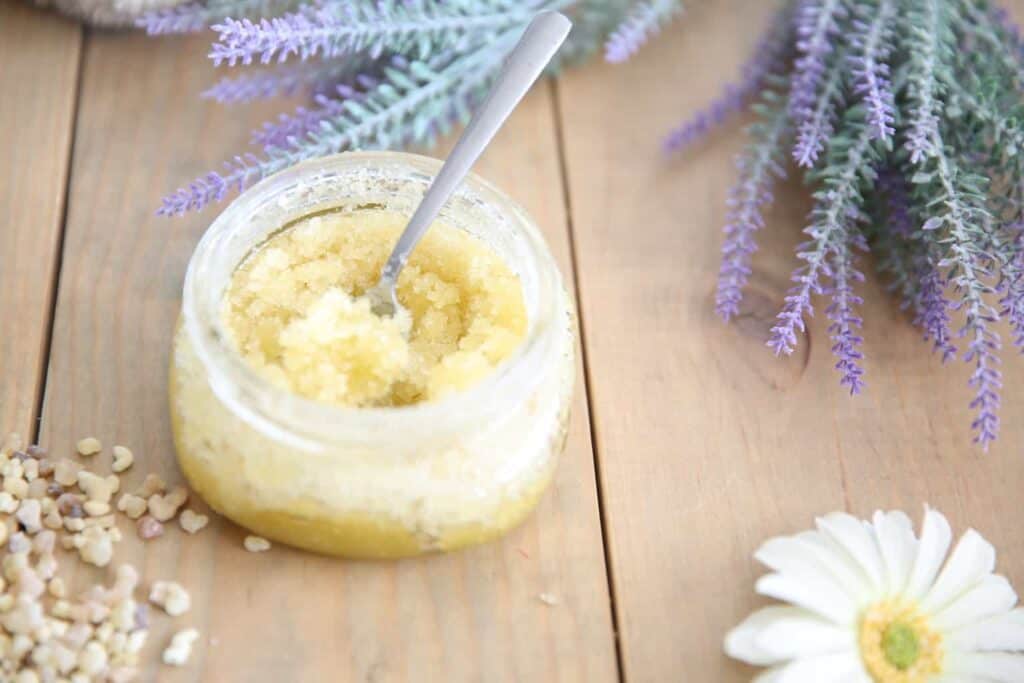
Lavender Essential Oil
Three words; lavender body scrub. That should be reason enough to drop what you are doing to reap the benefits of clearer, smoother, and younger-looking skin!
But lavender is so much more than a beautiful floral scent; it’s great for skin imperfections and impurities.
Remember to always dilute essential oils before ever applying them topically.
Vitamin E oil
Vitamin E oil is an excellent addition to this recipe. Vitamin E oil is great for sensitive skin, dry skin, and inflamed skin.
This ingredient promotes cell regeneration and helps with skin irritations.
Natural Coloring (optional)
Color for your whipped sugar scrub is merely for the appeal. I usually only add color if I am making these with my daughter or making a gift.
Adding color is easy enough; add a few drops at a time to the sugar until you reach the desired color. Then mix with the rest of the ingredients.
Get my favorite natural dyes here.
How to make a whipped sugar scrub recipe
Making whipped sugar scrub is so easy to do and very inexpensive. It is kind of ironic because sugar scrubs seem fancy and can be quite pricy.
But in reality, you can make your own for less than $1 in just a couple of minutes.
If you don’t have a hand mixer to whip the ingredients, that’s fine; it just won’t be nearly as creamy!
Whipped sugar scrub recipe
Ingredients
- 1 cup of sugar
- 1/2 cup of coconut oil
- 10 drops of lavender
- 5 drops of vitamin E oil
- Natural dye, 2-3 drops, optional
Instructions
- Add sugar and (optional dye) to a small mixing bowl and stir well. Add two drops at a time until the desired color is reached.
- In a separate bowl, whip coconut oil with a hand mixer for about 10 minutes.
- Add sugar, essential oils, and vitamin E oil to the coconut oil and continue to whip until well combined.
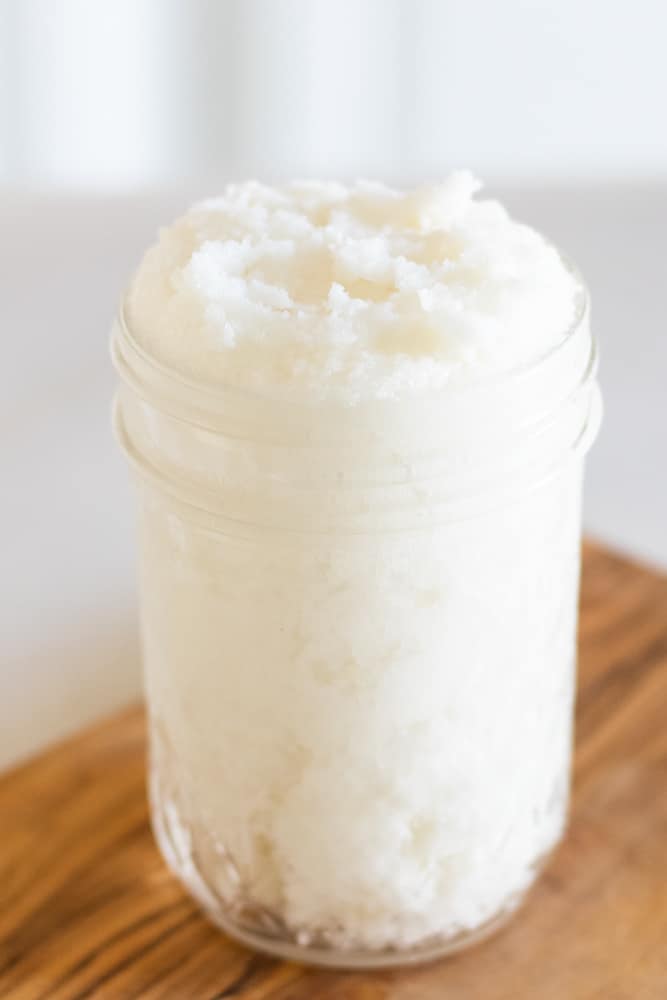
- Transfer to a glass airtight storage container.
Recipe variations
Best sugars for body scrubs:
- Brown sugar – Brown sugar is perfect for sensitive skin or as a face sugar scrub being the least abrasive of all sugars.
- Granulated sugar – Granulated sugar is very popular in homemade sugar scrubs. It works well at exfoliating the skin and is generally safe for most areas, excluding the face.
- Coarse sugar – Course sugar is best for dry or flaky skin, especially around the bottoms of the feet.
- Fine sugar – Finely ground sugar is an excellent option for those with sensitive skin.
Best essential oils for sugar scrubs:
- Lavender – Soothes almost all skin imperfections and is great for sensitive skin types.
- Frankincense – Reduces signs of aging and can tighten the skin.
- Tea Tree – A cleansing and purifying oil that can be used to keep the skin healthy.
- Roman Chamomile – Great for natural skincare and gentle enough for all skin types.
- Rose – Encourages collagen production and reduces signs of aging.
How to use whipped sugar scrub?
No sugar scrubs or any type of exfoliation is intended for daily use. Instead, use this DIY whipped sugar scrub 2-3 times a week or as needed.
Apply a small amount of scrub to clean skin. Rub it in gently and allow it to sit for 2-3 minutes. Rinse with warm water and pat dry.
Note: always test a small patch of skin first.
Why you’ll love this scrub
#1 It’s so easy to make with just a handful of ingredients that won’t break the bank.
#2 You will see results after just one day!
#3 It is made with natural ingredients, and you can reuse the same jar for every batch to reduce waste!
I hope you enjoy this whipped sugar scrub as much as I do! Feel free to let me know what you think and how you liked it in the comments below.
And as always, if you enjoy DIYing your own skin care products, a few of my most popular recipes can be found below!
- Simple summer body scrubs
- Peppermint mocha face scrub
- Salt scrub for the feet
- DIY scalp scrub for dandruff
- DIY coconut oil lip scrub
- Fall body scrubs
Homemade Whipped Lavender Sugar Scrub
Equipment
- Mixing bowls
Ingredients
- 1 cup of organic cane sugar
- ½ cup of coconut oil
- 10 drops of lavender essential oil
- 5 drops of vitamin E oil
- Natural dye, optional
Instructions
- Add sugar and (optional dye) to a small mixing bowl. Stir well until the desired color is reached.
- In a separate bowl, whip coconut oil with a hand mixer for about 10 minutes.
- Add in sugar, lavender, and vitamin E oil to the coconut oil and continue to whip until well combined.
- Transfer to a mason jar or similar glass container for storage.


Laura-
I love your recipes! I wanted to break away from the pricey products that we just don’t always know what is in them. Thank you! I am 56 and using your anti aging creams and serums. If you have anything more advanced for my aging skin, I would love to make it!
Hi Shelley! So glad to hear that you are enjoying this resource. I do have some anti-aging recipes here that you might be interested in. Take a look!
Thank you for the recipe. I have made a number of your products and love them. Question is, I made whipped tallow balm and a sugar body scrub, how do I stop it from leaking, as such, and ruining my labels?
I am using jars that have the little white sealing thing, but the oil seems to finds it’s way out and makes my labels oily, so then I have to remove my heat shrink seal and the label and make new ones! Any suggestions? Am I maybe filling the jars too full?
Thank you, Cynthia
Try not filling them as much and see if that helps. Mason jar style lids usually keeps everything nice and neat.
I made this and the mocha face scrub for myself and a couple of my relatives. We all enjoy them very much, thank you so much for the recipe!!
So glad you enjoyed them!
My favorite sister made this for Christmas last year and I loved it so much I had to get the recipe for myself and it make as gifts for others! Thank you!!
That’s wonderful to hear! It does make a great gift idea.
I purchased pure coconut oil which came as a solid. The first batch I made looked great when jarred it, but turned solid after a week. How do I whip the coconut oil? As a solid or melt it first?
You can whip using a hand mixer (as a solid)