This post may contain affiliate links. Please see our disclosure policy.
Tired of temporary fixes? Discover the ultimate relief with my DIY scalp scrub. This is my go-to recipe when my scalp feels tight and uncomfortable. It’s a fix in one application!
If you struggle with a dry or itchy scalp, this recipe is 100% for you!
I created this recipe as a simple scalp exfoliator using ingredients most of us have on hand. It works great and costs very little to make!
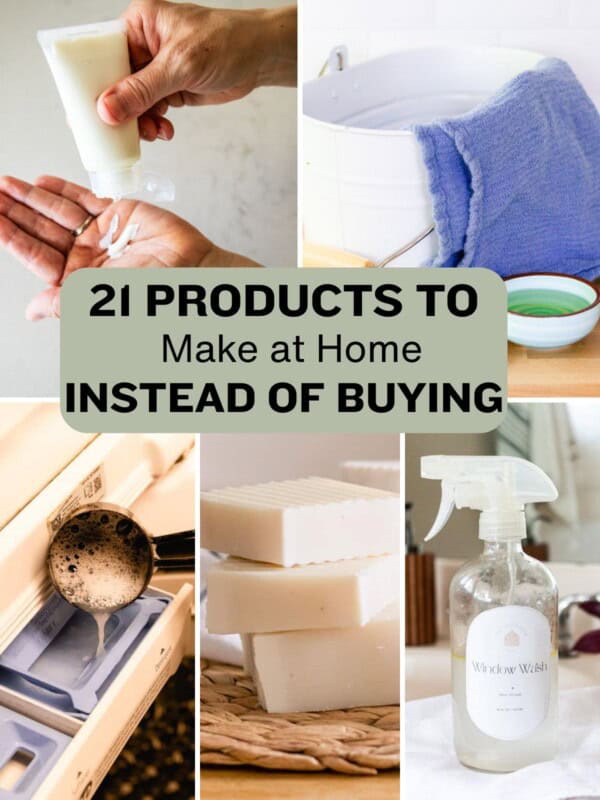
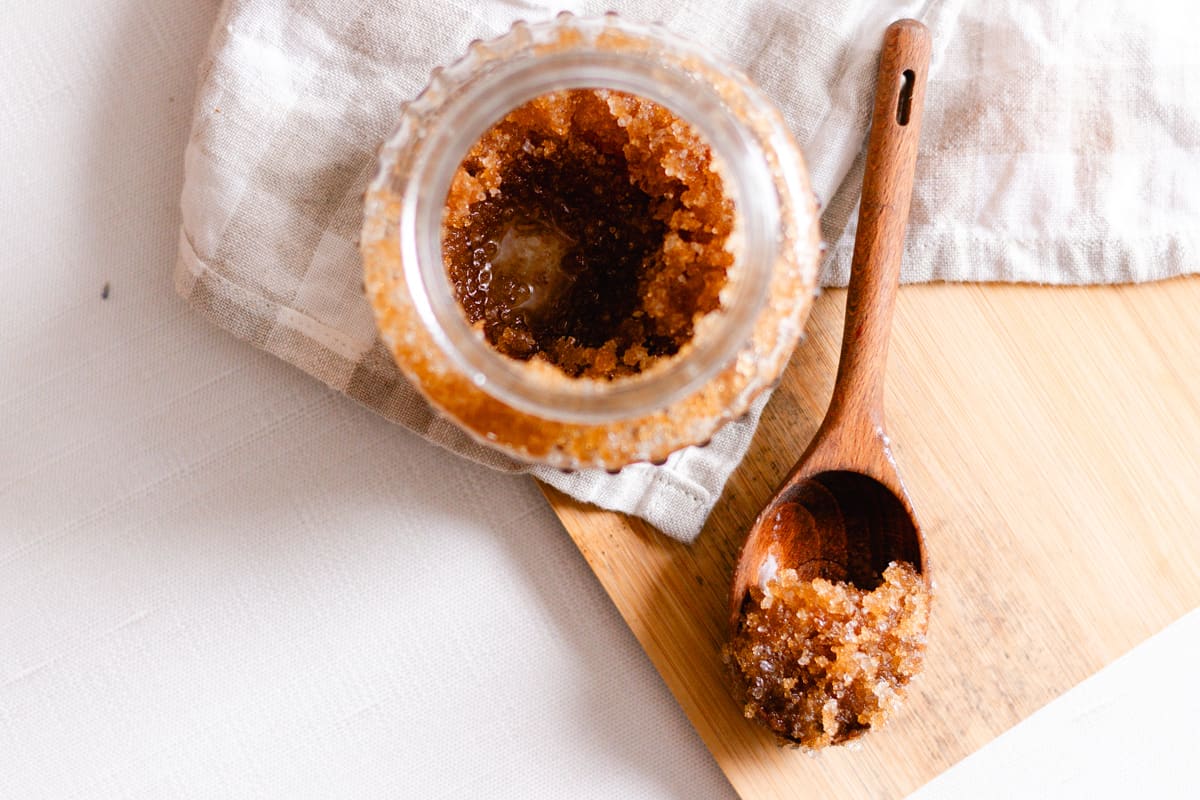
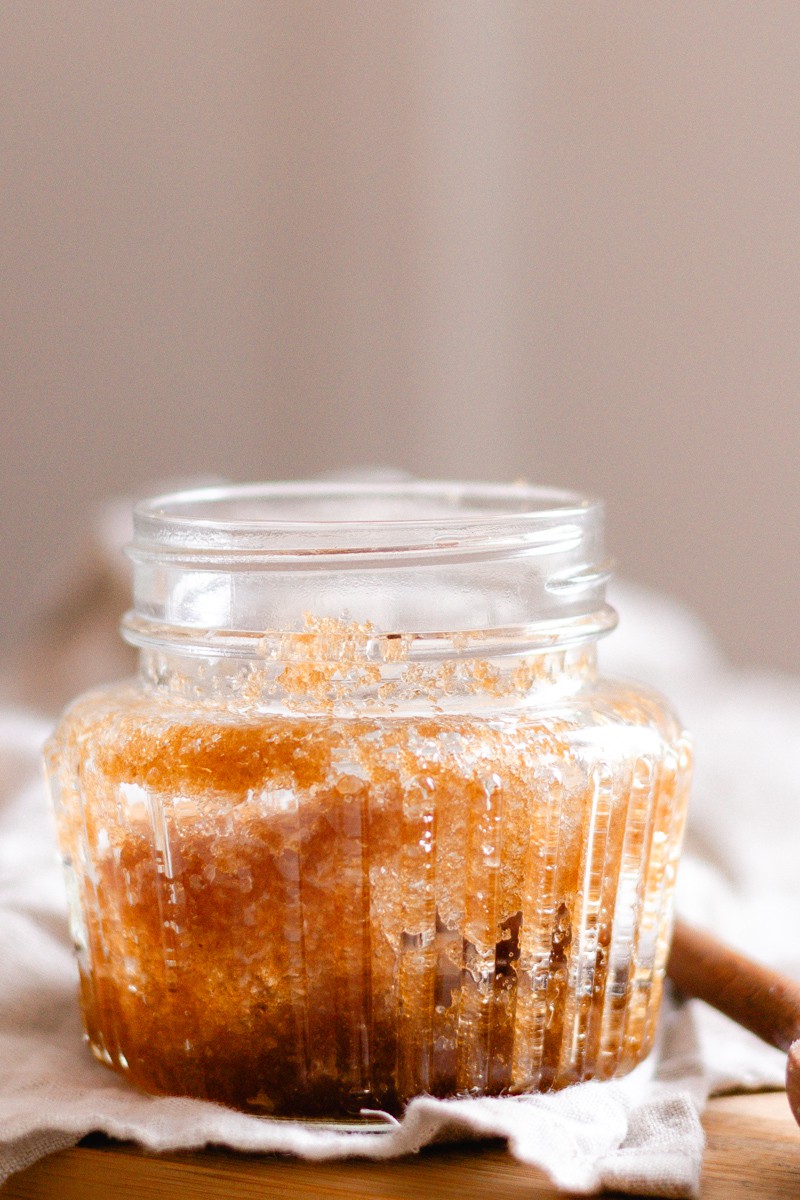
DIY scalp scrub recipe
Not only is this recipe super easy to make, but it’s also saving you money while working much better than store-bought versions.
Ingredients
- 1/4 cup brown sugar
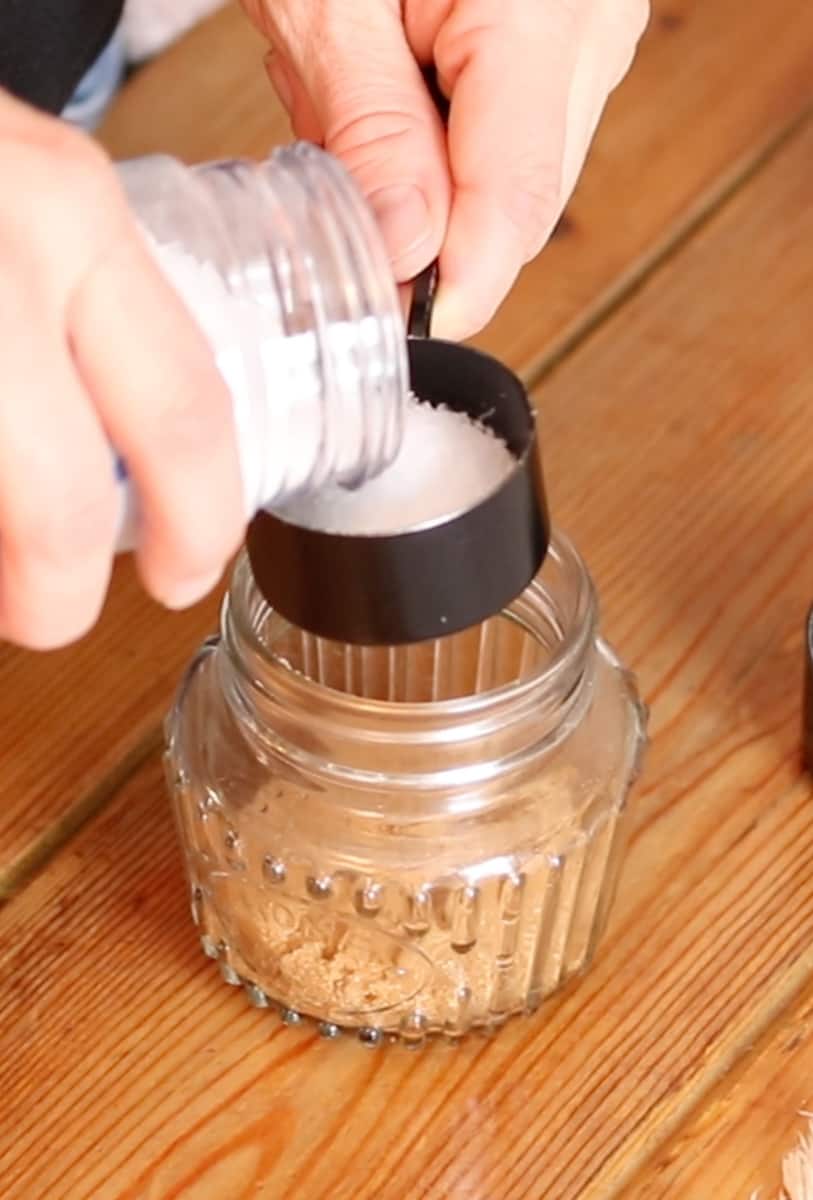
- 1/8 cup coarse salt
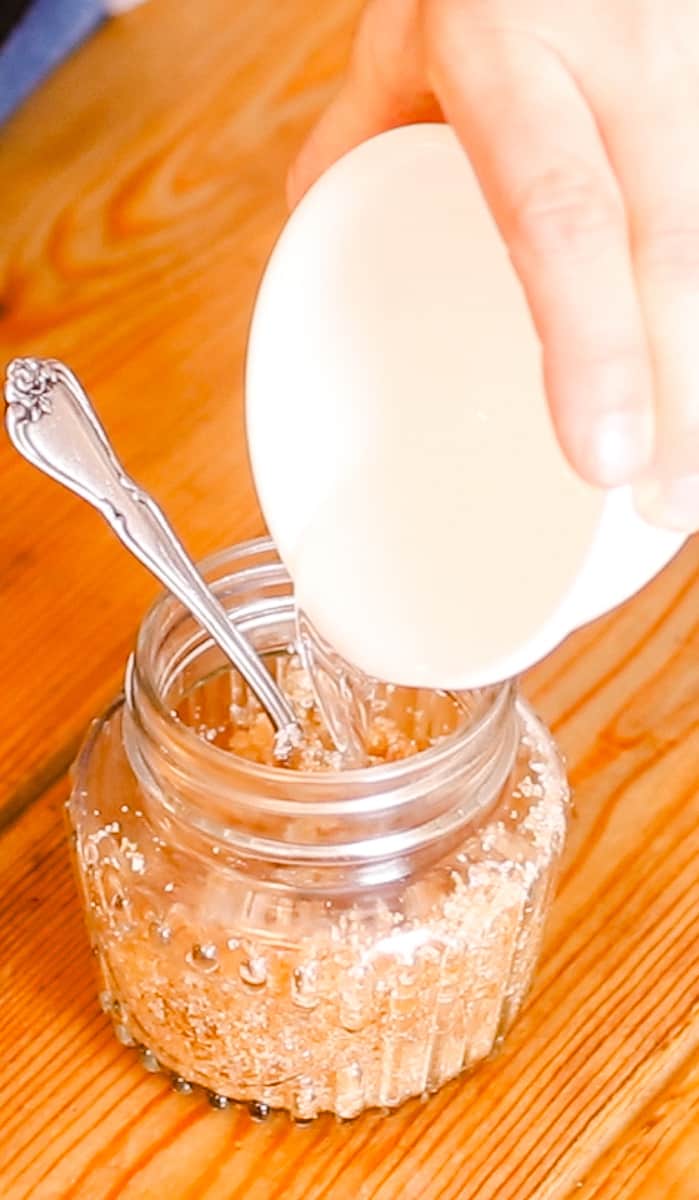
- 2 tbsp (1 oz) coconut oil, melted
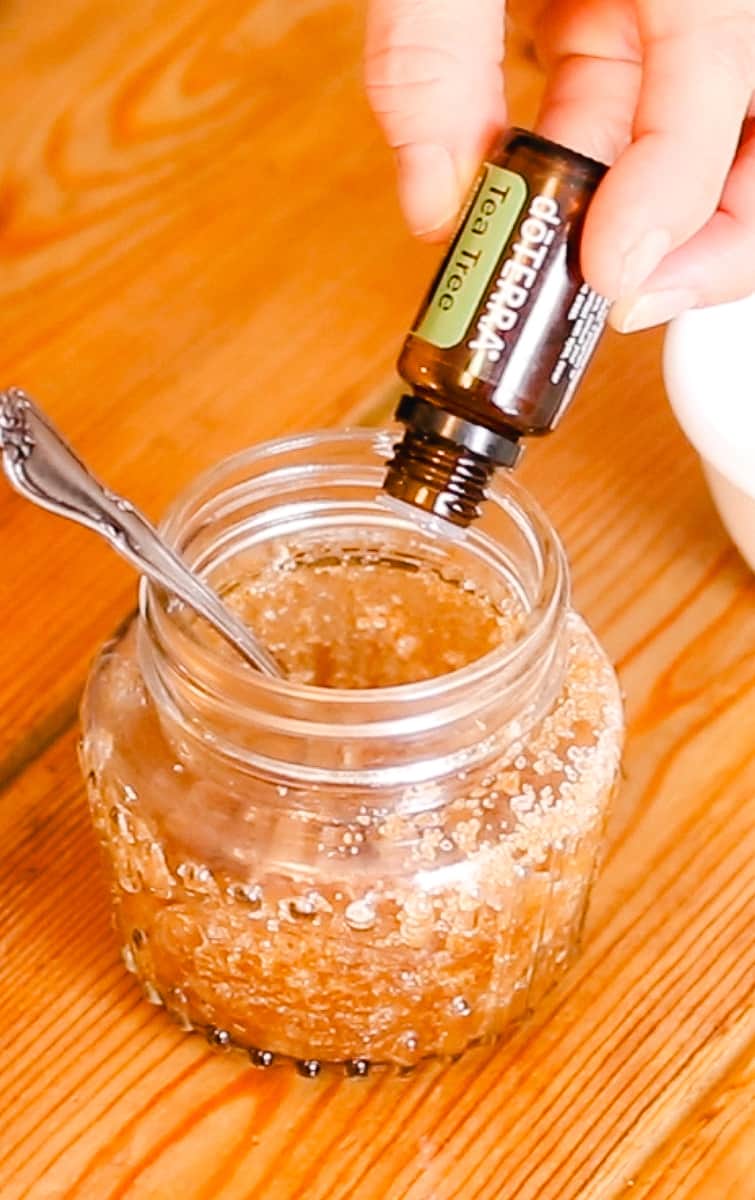
- 10 drops of tea tree essential oil (optional)
Instructions
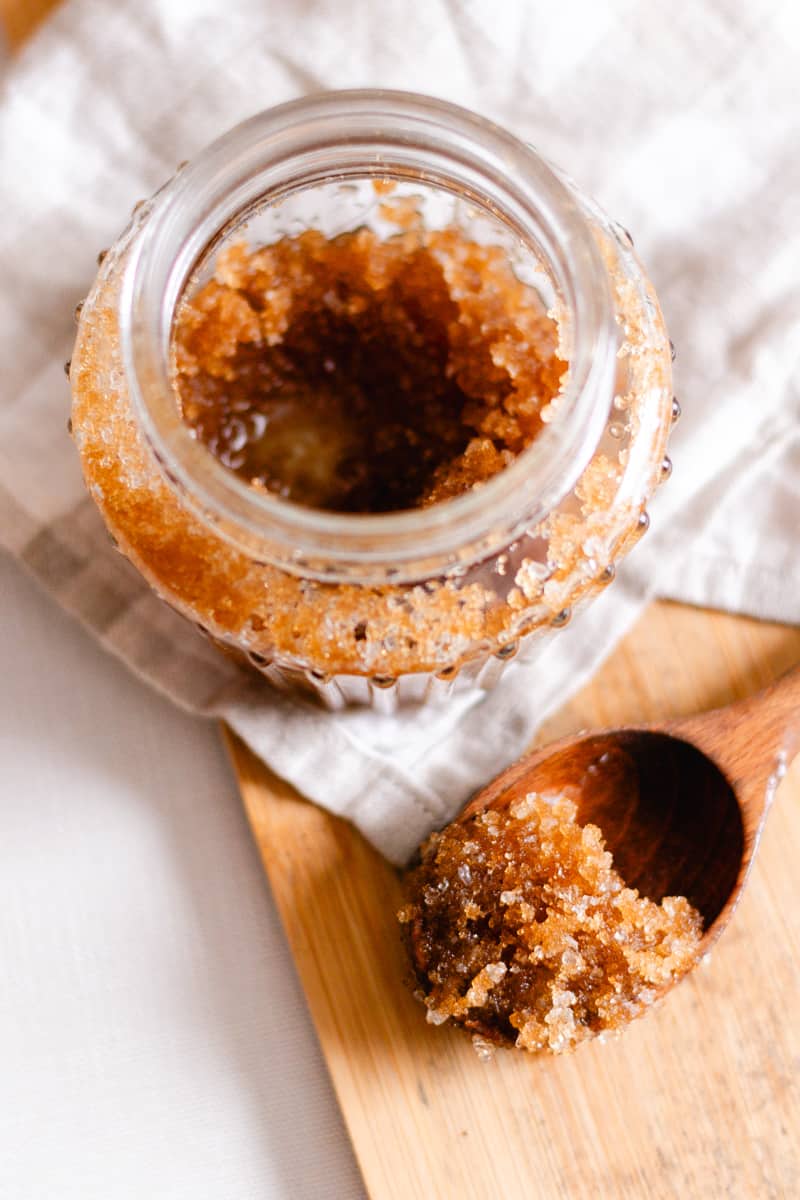
Step 1: Add the coarse salt and brown sugar directly to your container.
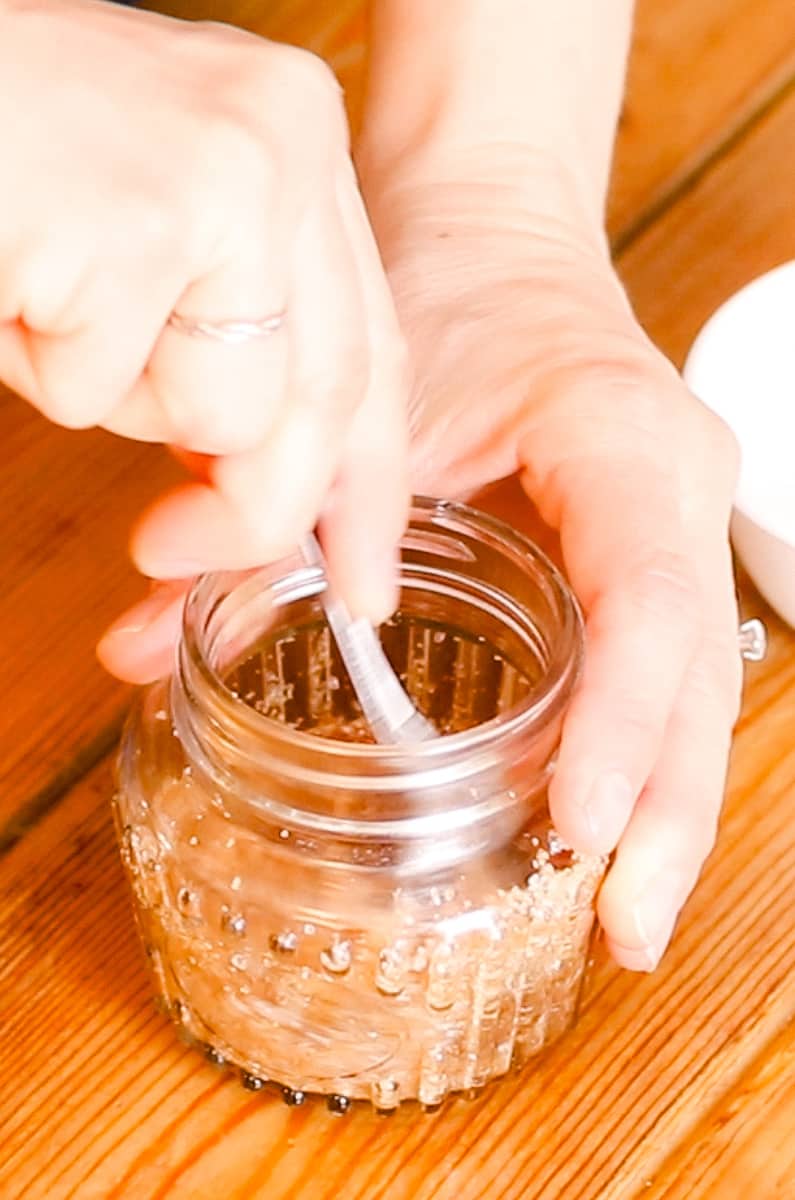
Step 2: Slowly add in the coconut oil and mix until well combined.
Step 3: Add in the tea tree essential oil and stir again.
How to use this scalp scrub
Step 1: Wet your scalp with warm water, and then apply the scrub starting at the roots and massaging gently in circular motions.
Step 2: Leave the scrub on for 5-10 minutes to allow it to work its magic.
Step 3: Rinse off thoroughly with warm water and follow with your regular shampoo and conditioner.
Use the scrub once a week or as needed for best results.
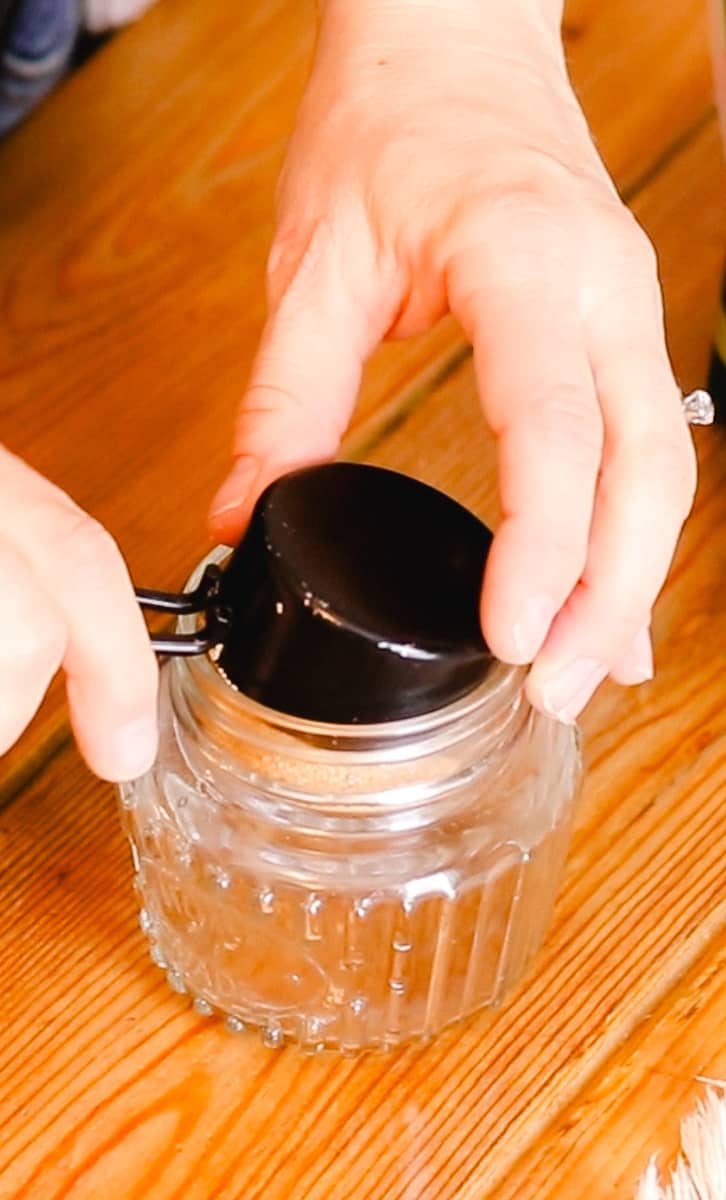
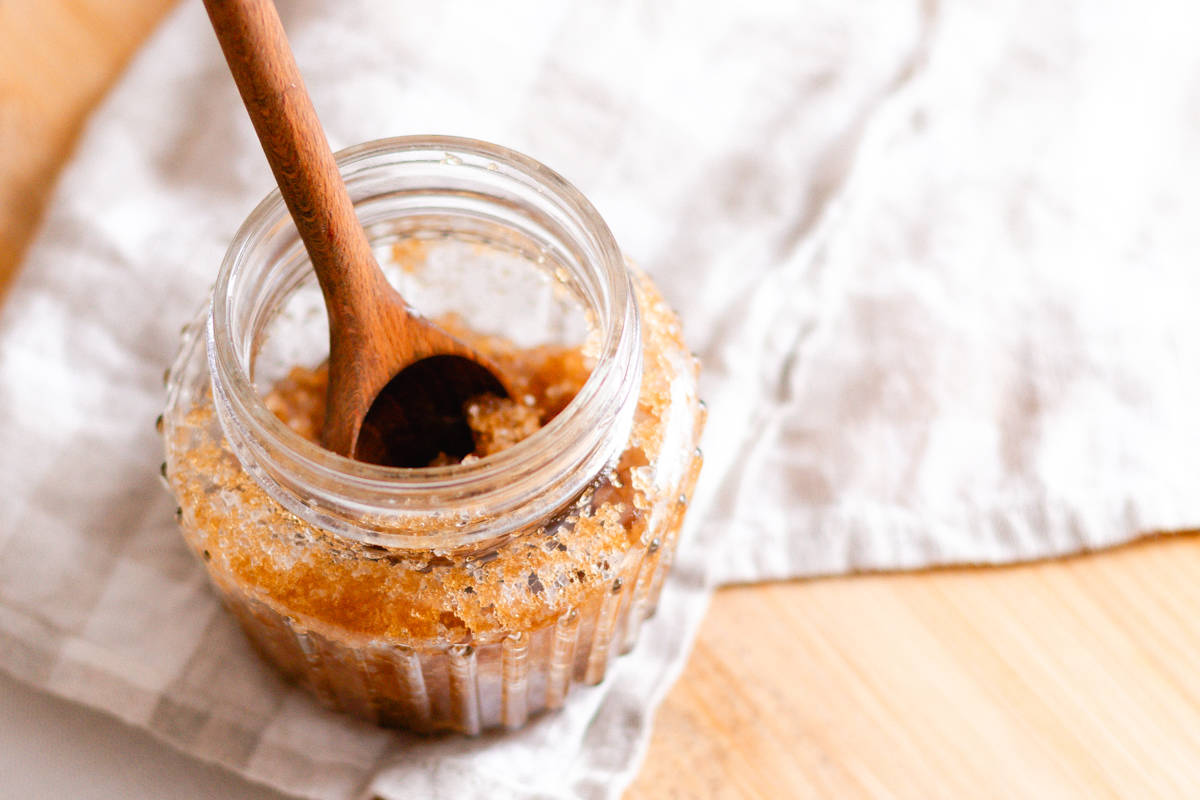
How to store
It’s best to store this DIY scalp scrub in an airtight container and use it up within a couple of weeks. Alternatively, you can store it in the fridge and slather it on cold for a bonus head refresh!
Remember to use clean hands when you apply it to prevent contaminating the scrub.
I also recommend following up with a natural homemade hair moisturizer or a hydrating castor oil hair mask to maximize the benefits of this scalp scrub.
Benefits of DIY Scalp Scrubs
- Natural ingredients: Many store-bought scalp scrubs contain synthetic chemicals that can upset the scalp, whereas this DIY scrub contains 100% natural ingredients that soothe and nourish.
- Cost savings: Making a DIY scalp scrub at home is far easier on your budget than buying a fancy packaged one in the store. You also get more in terms of quantity for your money!
- Customization: You can switch up the fragrance of this scalp scrub by adding different essential oils or even make it more (or less) moisturizing by altering the quantity of coconut oil.
A little on the ingredients
Exfoliators
Exfoliating ingredients are the magic tool in any scalp scrub! They help remove dry skin, and when used on the scalp, they help loosen buildup from hair care products, which are then easily washed away with shampoo.
Popular natural exfoliators (including the ones used in this recipe) are:
- Brown sugar: We are, of course, using brown sugar for this DIY because it’s gentle to use and suitable for nearly all hair types.
- Sea salt: As seen in my dead sea salt scrub DIY, this exfoliant is coarser in texture, and best used on oilier hair and scalps.
- Coffee grounds: I make a homemade coffee scrub that not only smells lovely but is actually a rather gentle exfoliant! While it works well for the face and body, you could certainly use it on your scalp.
- Epsom salt: While epsom salts would be a wonderful alternative to brown sugar, it does have a much coarser texture. You can read more about how to use epsom salts for your hair here.
Carrier oil
Carrier oils help combine the ingredients together while offering nourishment to the hair and scalp.
In this recipe, we’ve used coconut oil which is a versatile oil that is great for most hair types. It’s not too heavy while still offering moisture to the scalp and hair.
If you don’t have coconut oil, you can substitute it for one of the following.
- Olive oil: A thicker oil that helps soothe dryer, itchy scalps. It would take a bit more effort to wash it out, though.
- Jojoba oil: A lightweight oil similar in texture to the natural oils produced by the scalp. This makes a great alternative to coconut oil and is a popular ingredient in many scalp serums!
- Aloe vera gel: A soothing gel that helps calm skin redness; also useful in the case of sunburns. You will need to store this in the refrigerator if you do use aloe.
Essential Oils
Essential oils are used in DIY scalp scrubs for their restorative properties, plus wonderful, natural fragrances.
Here are some popular options:
- Peppermint oil: A cooling oil that is deeply refreshing for the scalp.
- Tea tree oil: According to this article, it can be helpful in calming scalp conditions such as dandruff.
- Lavender oil: A calming oil that can help promote relaxation.
- Rosemary oil: An invigorating oil believed to help stimulate hair growth.
Perform a patch test before use.
Before using this scalp scrub, do a patch test. Apply a small amount to your scalp or behind your ear and wait for 12-24 hours, just as a precaution, to see how your skin takes to it.
How often should I use this scalp scrub?
In most cases, this recipe can be used weekly. If you have a sensitive scalp, you may consider using it once or twice a month.
Using a scalp scrub too often can actually do more harm than good.
Over-exfoliating may dry out the scalp and damage the hair.
Note: This recipe is not meant to treat dandruff. If you are looking for a scrub that can help with dandruff, check out this recipe here.
Wrapping up
There you have it – an amazing scalp scrub recipe that will leave your scalp feeling wonderful! I hope you love this recipe as much as I do.
Please consider leaving a review in the comments section below if you try this recipe. I’d love to hear how it worked for you!
More great recipes:
- Simple dead sea salt scrub
- Green tea matcha scrub
- Coconut oil lip scrub
- Underarm exfoliator
- How to remove dry cracked skin on the feet
DIY Scalp Scrub Recipe
Equipment
- Storage container
- Spoon
Ingredients
- ¼ cup brown sugar
- ⅛ cup coarse salt
- 2 tbsp coconut oil, melted (1 oz)
- 10 drops of tea tree essential oil, optional
Instructions
- Add the brown sugar and coarse salt directly to your container.
- Slowly add in the coconut oil and mix until well combined.
- Add in the tea tree essential oil and stir again.
- Wet your scalp with warm water, and then apply the scrub starting at the roots and massaging gently in circular motions.
- Leave the scrub on for 5-10 minutes to allow it to work its magic.
- Rinse off thoroughly with warm water and follow with your regular shampoo and conditioner.