This post may contain affiliate links. Please see our disclosure policy.
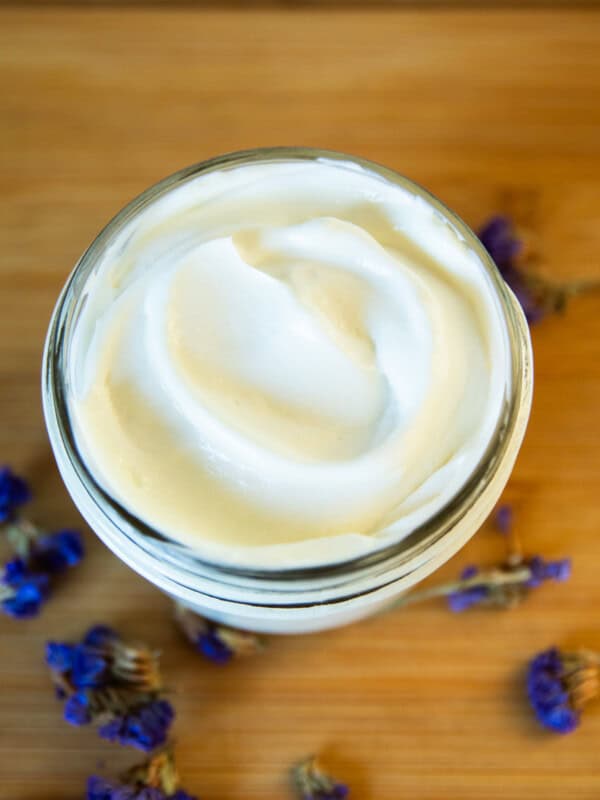
Learn how to make your own DIY diaper cream with natural ingredients! Nourishing and soothing to baby’s skin, this recipe will keep them moisturized and rash-free.

As you may know, I’m getting ready to welcome my 8th baby to the world any day now!
With this being my 8th child, I’ve had a lot of chances to experiment with homemade baby products. And I have many recipes that save me money and nurture my baby with simple, wholesome ingredients.
Part of my preparations for baby’s arrival include stocking up on all of the DIY baby products I may need when he or she is here! I’ve already made homemade baby wash, DIY baby wipes, and homemade baby bar soap.
I also made a big batch of this DIY diaper cream, and it’s finally time to share the recipe with you!
This cream is gentle and soothing to sensitive baby skin, and it creates a moisture barrier to keep the skin healthy and free from diaper rash.
Why You’ll Love It
- Natural ingredients: When it comes to my babies, I like to know exactly what’s going on their skin! That’s why I love making my own baby skincare products with 100% natural ingredients.
- Save money: You can save a lot of money by switching to DIY baby products. Once you purchase the ingredients, you’ll be able to make several batches of diaper cream without spending anything more. And a batch costs a fraction of the price of a store-bought option!
- Gentle: Soothing, gentle ingredients are a must for young, sensitive skin!
- Customize it: The beauty of DIY is that you can change ingredients and customize the recipe as needed.
Ingredients

- Cocoa butter: A moisturizing fat with a light chocolatey scent, I love using cocoa butter in skincare recipes.
- Coconut oil: Coconut oil is one of my most-used ingredients. It is gentle and hydrating to the skin and has loads of additional benefits!
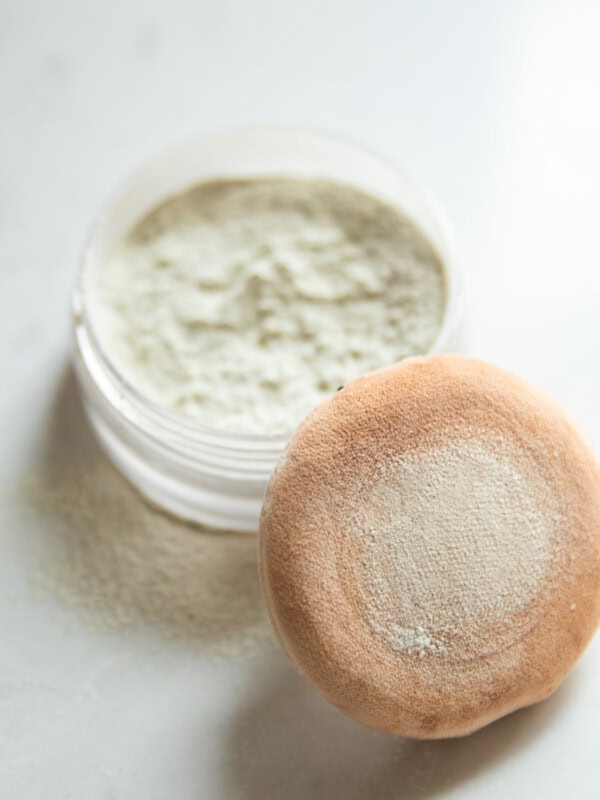
- Bentonite clay: Be sure to use cosmetic grade. Bentonite clay absorbs excess moisture and fights bacteria, making it extremely effective at fighting diaper rash.
- Zinc oxide: Zinc oxide coats the skin, holding in natural moisture and preventing dampness from building up. Side note: it’s also used in homemade sunscreen for UV protection!
- Lavender essential oil: This is an optional addition to give the cream a nice fragrance and a boost of moisturizing and wound-healing benefits.
How to Make DIY Diaper Cream

Step 1. Place cocoa butter and coconut oil in a double boiler or saucepan and melt over medium-low heat, stirring occasionally.

Step 2. Remove from heat and transfer to a clean bowl. Add in bentonite clay and zinc oxide. Stir well.

Step 3. Add lavender essential oil if using and stir again.

Step 4. Transfer to a storage container. Once completely cooled, secure the lid and store in a cool, dark place.
Expert Tips
- Before applying the diaper cream, perform a patch test. Rub a small amount of diaper cream on your baby’s inner arm and watch for adverse reactions before continuing.
- Always check with a healthcare provider before using a new product on your baby.
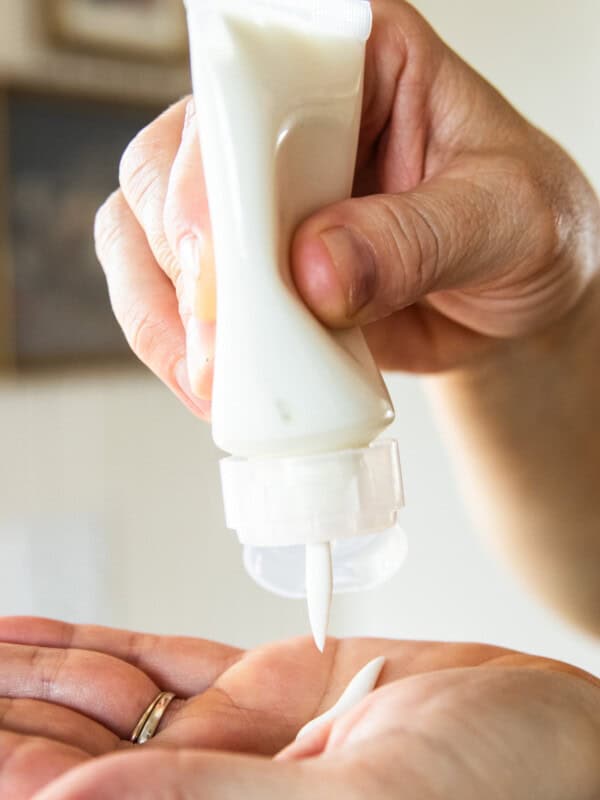
- This cream will be firmer in cooler weather and softer in hot temperatures. If it’s too cold to easily apply, put a small amount in your hand and warm it up first.

Recipe FAQs
Yes, I use it with cloth diapers without any problems. The only ingredient that could cause an issue is zinc oxide, which can stain the diapers. It shouldn’t create a water-repellent coating on the diaper like wax and petroleum-based creams will, but if you want to avoid stains, you can leave out the zinc oxide or use disposables until the diaper rash clears. If you do notice stains, you can scrub them out with an old toothbrush and some soap.
Absolutely. You can use shea butter or mango butter instead, but keep in mind that it will affect the consistency of the cream a little bit. Both of these options are less firm than cocoa butter, so the cream will be thinner.
Nope! You can certainly make this cream without any essential oils. It will have a mild chocolate and coconut scent.
If stored properly, in a cool, dark place, diaper cream will last around 6 months.
Related Recipes
- Homemade Bedtime Baby Lotion
- Homemade Moisturizing Hand Cream
- DIY Stretch Mark Cream
- Homemade Night Cream
If you tried this DIY Diaper Cream or any other tutorial on my website, please leave a 🌟 star rating and let me know how it went in the 📝 comments below. Thanks for visiting!
DIY Diaper Cream

Equipment
- Double Boiler or small saucepan
Ingredients
- 4-ounce glass jar
- 1.4 oz cocoa butter
- 0.5 oz coconut oil
- 1 tbsp bentonite clay, cosmetic grade
- 1 tbsp zinc oxide
- 2 drops lavender essential oil, optional
Instructions
- Place cocoa butter and coconut oil in a double boiler or saucepan and melt over medium-low heat, stirring occasionally.
- Remove from heat and transfer to a clean bowl. Add in bentonite clay and zinc oxide. Stir well.
- Add lavender essential oil if using and stir again.
- Transfer to a storage container. Once completely cooled, secure the lid and store in a cool, dark place.
Video
Notes
- Before applying the diaper cream, perform a patch test. Rub a small amount of diaper cream on your baby’s inner arm and watch for adverse reactions before continuing.
- Always check with a healthcare provider before using a new product on your baby.
- This cream will be firmer in cooler weather and softer in hot temperatures. If it’s too cold to easily apply, put a small amount in your hand and warm it up first.


the recipe says 1.4 oz cocoa butter but when i click the underscore in the ingredient list it comes up as shea butter. What is the correct ingredient?
Thank you for catching that. The correct ingredient for this recipe is cocoa butter. I will double check the link in the ingredient list to make sure it matches.
this is an amazing Diy! Thank you so much!
Yay, I am so happy to hear!
I love all your DIYS! Canny wait to make this one!
Thank you so much!