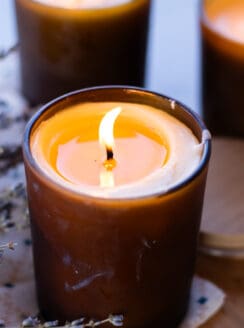
With the holiday season in full swing, the time to get gifts is fast approaching. So make something special this year, like this rosemary mint candle scented only with pure essential oils. This DIY is one of the easiest ways to make homemade soy candles.
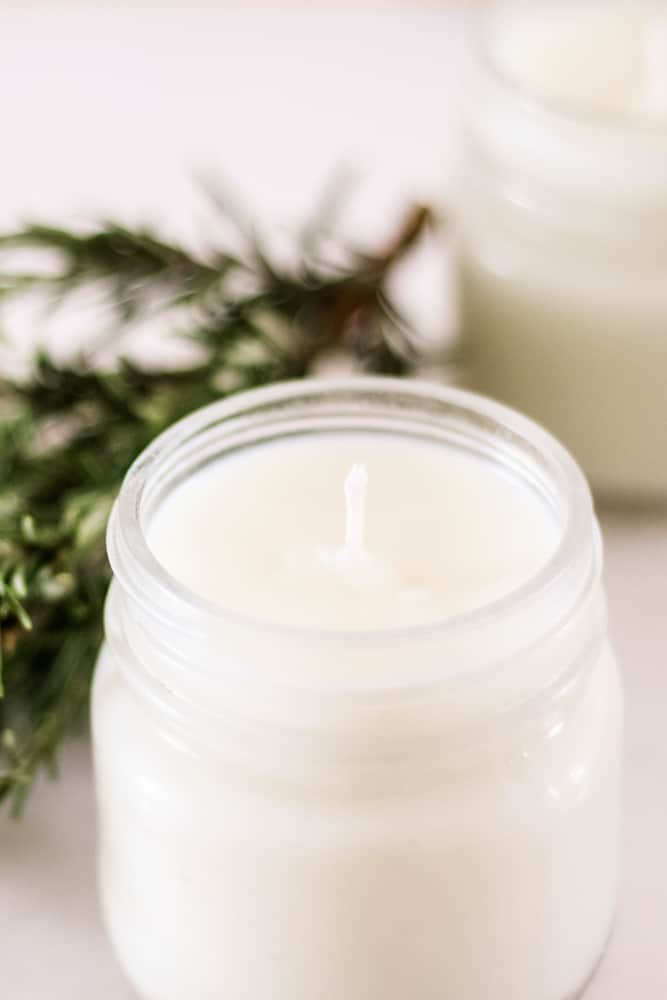
This rosemary mint candle recipe produces just the right amount of Christmas cheer. Make it for a hosting gift, include it in a gift basket, or light it yourself this season for a cozy holiday feel.
Before we begin, let me say that candle-making is pretty straightforward. The hardest step is not really a step at all; it’s cleaning the wax out of all the utensils and tools used to make the candle.
So I am going to show you how to do this without using any dishes.
Using a crockpot takes all the work out of candle making and leaves you with nothing to clean up afterward.
You can make candles in mason jars, old coffee mugs, antique cups, or crocks. Whatever you have lying around that is heat resistant will work!
Whether you choose to scent your candle with pure essential oils or leave them plain, nothing compares to the beautiful, cozy flickering light on a cold winter evening.
This post contains affiliate links, which means I make a small commission at no extra cost to you. Get my full disclosure HERE.
Soy Candle Recipe
- Soy wax
- Candle Wicks
- Tape
- Hole puncher
- Rosemary essential oil
- Peppermint essential oil
- Small container or mason jar
- Crock-Pot
- Decorations (optional)
Notes:
If you prefer making a beeswax candle, you can substitute beeswax for soy wax.
Press flower petals to the side of a clear candle holder before pouring in wax for added decoration.
To add texture, stir glitter or coloring into the wax after it has cooled slightly.
How to Make Soy Wax Candles
There are several ways to make a candle; however, I find making them in a crockpot to be the easiest way to do it. If you don’t have a crockpot, you can melt the wax in a double boiler instead and then transfer the melted wax to a mason jar.
Crockpot Candle-Making Instructions
Prep Crockpot
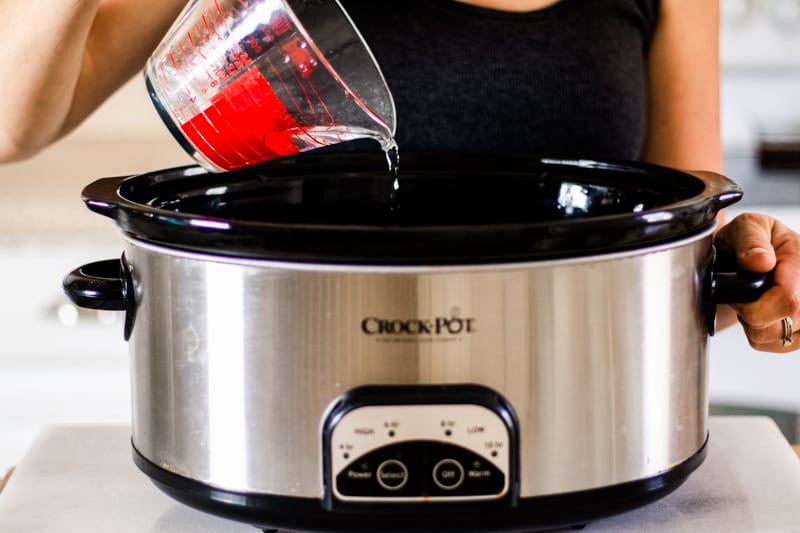
Using the crockpot method to make candles will leave very little mess, making clean-up time a breeze!
Fill the bottom of a crockpot with approximately 1″ of water.
Pick Candles Container
When making candles, there are a lot of options as to what you can put your candle in. My all-time favorite is mason jars, I have a lot of them, and I love how they look.
Other options include coffee mugs, antique cups or crocks, small pitchers, or ceramic bowls. Anything that is heat resistant will work!
Fill Container with Wax
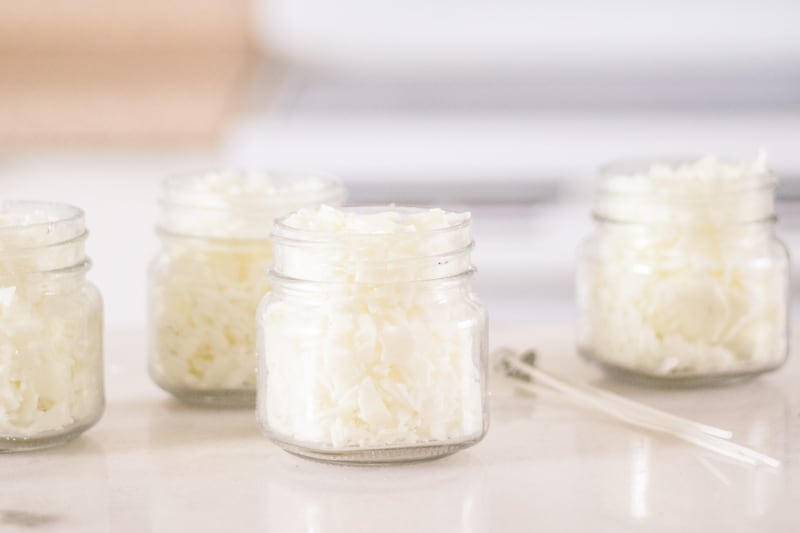
Once the container has been chosen, fill it with soy wax. Remember, the soy wax will melt down, so be sure to fill it to the tip-top.
Once filled, use your thumb and press the wax down firmly, then add more to top it off. We want as much as we can in the jar. Fill the rest of the jars the same way; make sure they will all fit into the crockpot!
Melt Wax
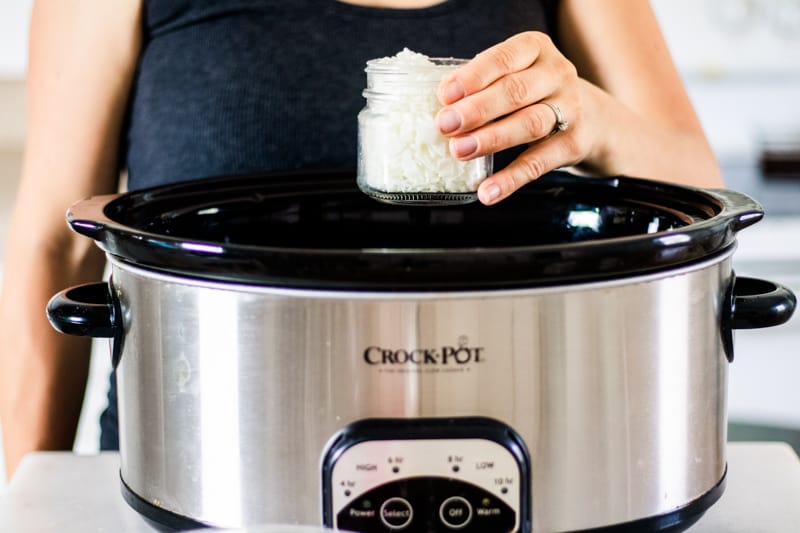
Arrange the jars into the bottom of the crockpot and replace the lid. Set heat to high. As the wax melts, top off as needed to keep the wax 1/4-1/2″ from the top.
Once the wax is completely melted, carefully remove the mason jars from the crockpot.
Add Scent
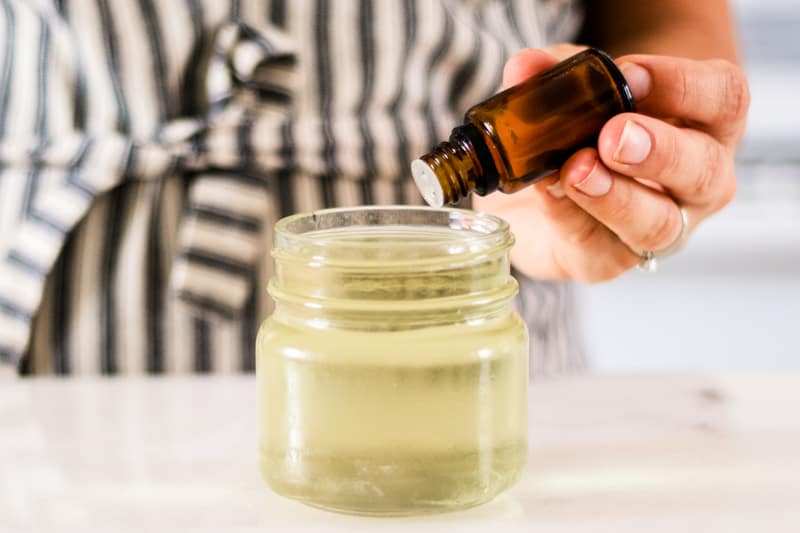
Now for the fun part!
Allow the wax to cool ever so slightly, but not to the point where it starts to harden. Adding the essential oils when the wax is still hot will cause them to evaporate. Once the wax has cooled off a bit, add the oils.
For this recipe, I am using rosemary and peppermint. I love the cool, fresh scent these oils give off. This is a great blend for the wintertime and Christmas!
Adding essential oils to candles is a great way to scent the candles without using synthetics or artificial fragrances.
Please note, that scenting candles requires quite a bit of essential oils. If you prefer to use fewer oils, skip this step, leaving the candles unscented, and use a diffuser to scent the room instead.
Attach the Wick
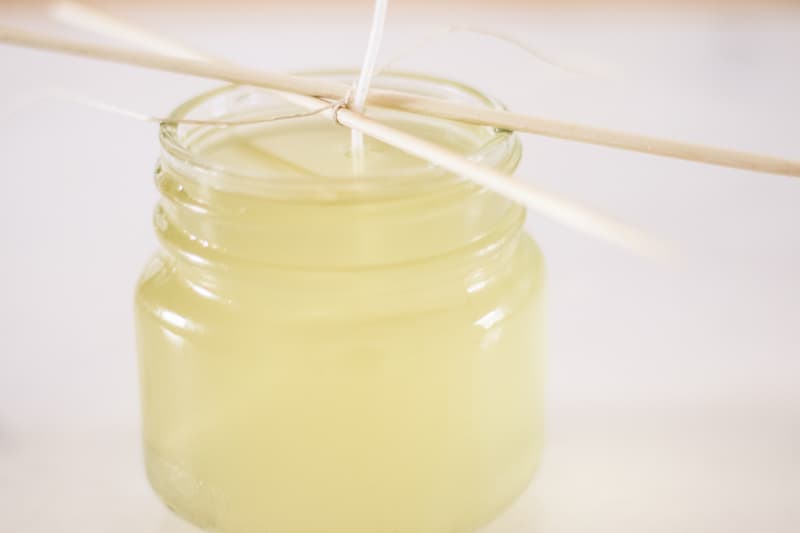
This is an important step and will ensure the wick is in the center of the candle. There are a few different options to get the wick in the right spot.
Place the wick into the center of the jar and secure it to the middle laying two bamboo skewers or pencils across the top of the jar on either side of the wick.
Tie the skewers together or wrap the end of the wick around the skewer if you have enough extra length.
Another way to keep the wick in the center while the wax hardens is by running a piece of tape across the top, securing it to the sides.
Next, punch a hole through the tape directly in the center, then run the wick through the hole till it bottoms out at the bottom of the jar.
Finally, you can purchase candle wick holders, which work well. You will need to check the fitment since they are generally not a universal fit.
Trim the Wick
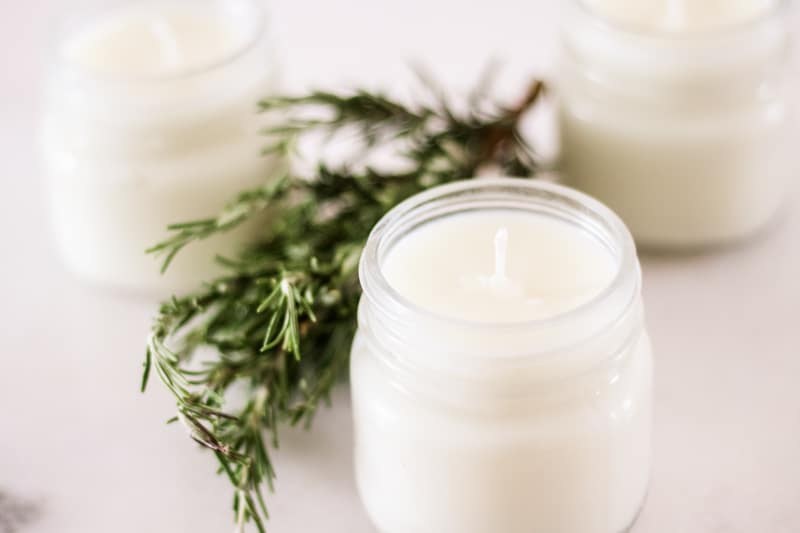
Once the wax is completely hardened, trim the wick down to about ½ inch long.
It will take between 24-48 hours before your candle is completely hardened and ready to light. Therefore, make sure the wax is fully set before lighting to ensure the longest burn time.
Light Candles
Now it is time to enjoy your new homemade candle!
When lighting the candle for the first time, watch for sparking or smoking. If it sparks or smokes, just blow it out and recut the tip of the wick.
If it gets much shorter than 1/2 inch, it will cause the candle to burn down in a tunnel shape.
How to Make Scented Candles
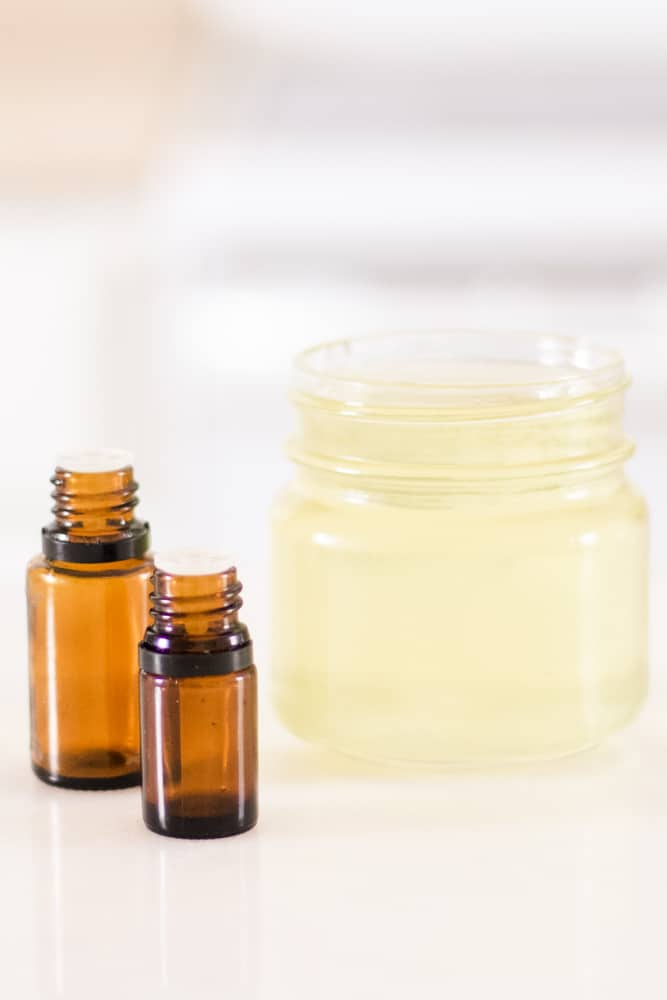
Candles can be scented with either essential oils or fragrances.
Be careful if using artificial fragrances since most contain synthetic chemicals that can disrupt endocrine, cause headaches, respiratory problems, and other issues.
Therefore, when possible is best to stay away from products that contain synthetic ingredients.
That is why I prefer to make my own candles as opposed to store-bought scented with artificial fragrances.
How Much Essential Oils Do You Need to Scent a Candle
Even though essential oils are very concentrated, you will need quite a bit of oil to scent a candle compared to a roller bottle or diffuser.
The average roller bottle only needs 15 drops, and a diffuser blend generally includes 4-6 drops. Candle-making, on the other hand, will require much more.
It is recommended to use 40 drops of essential oil per 8-ounces of beeswax or soy wax.
How to Choose Candle Wick Size
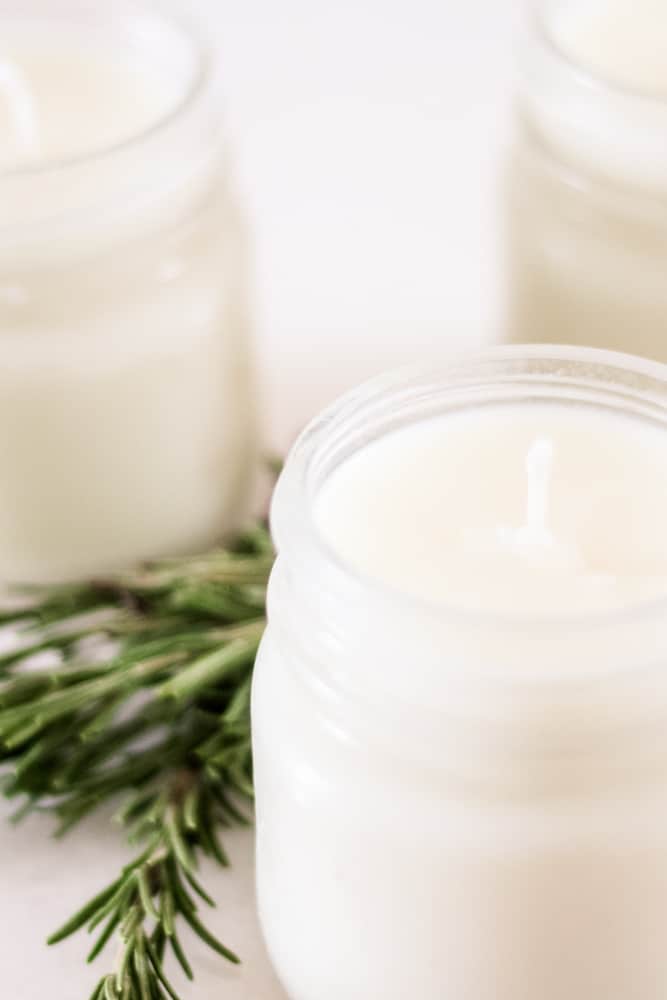
Choosing the right size wick for your candle is very important. If you choose a wick that is too small, this will cause your candle to burn down into a funnel-like tunnel.
If the wick is too large, it will flicker and the flame will be too tall, causing a potential fire hazard. The perfect wick will have an appropriately sized flame and does not flicker.
The wax, fragrance (if used), and size of the jar are all determining factors when choosing the right wick. Thankfully most sellers label the size of the jar the wick is suitable for.
If you enjoyed this simple candle recipe, enjoy my candle dipping for beginners’ post next.
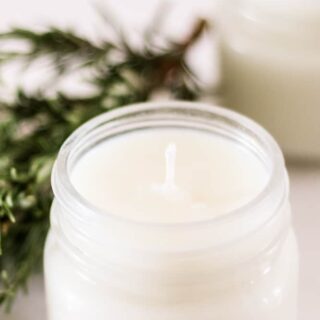
Rosemary Mint Soy Wax Candles
Equipment
- 2 mason jars, 8oz
- Crockpot
Ingredients
- 1 pound soy wax
- Candle wicks
- Tape
- Hole puncher
- 40 drops rosemary essential oil
- 40 drops peppermint essential oil
Instructions
- Fill the bottom of the crockpot with 1" of water.
- Add wax to the top of the mason jars. Press the wax down firmly to fit as much wax in as possible.
- Place the jars into the crockpot, secure the lid and set heat to high.
- As the wax melts, add more of the soy shavings to keep the wax level ¼-½" from the top.
- Once the wax is completely melted, carefully remove the mason jars from the crockpot.
- Let them cool slightly, then add 20 drops of each essential oil to each candle.
- Run a piece of tape across the top of the jar. Punch a hole in the center, then feed the wick through the hole till it bottoms out on the bottom of the jar.
- Once the wax is completely hardened, 24-48 hours, remove the tape and trim wick to ½".

Anne says
I am not sure about not affixing the bottom of wick to bottom of jar. They kind of bend when put in the hot wax. Any ideas?
Linda Pack says
Thank you. I might try this