This post may contain affiliate links. Please see our disclosure policy.
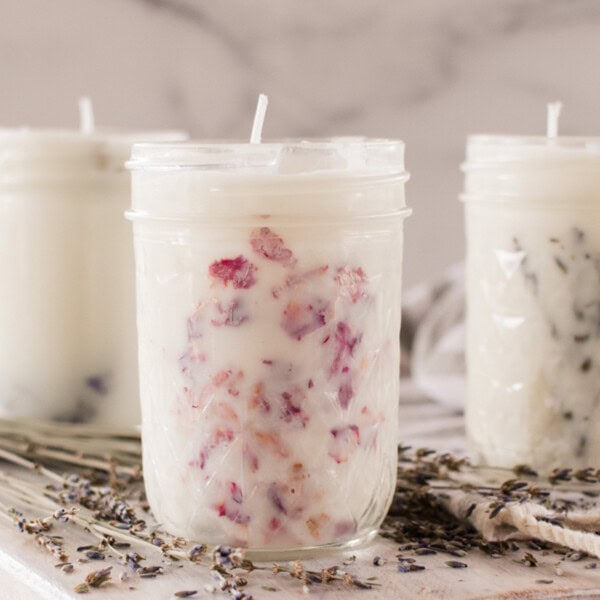
Learn how to hand-dip candles with my simple recipe! They look absolutely fantastic and make beautiful, thoughtful gifts.
Don’t worry if this is your first time making this style of candle. I have complete step-by-step images to guide you through the process.
There’s something wonderfully relaxing about candle dipping. It’s so therapeutic when you get into it – as the wax melts, so does any stress you may feel – leaving you calm and focused.
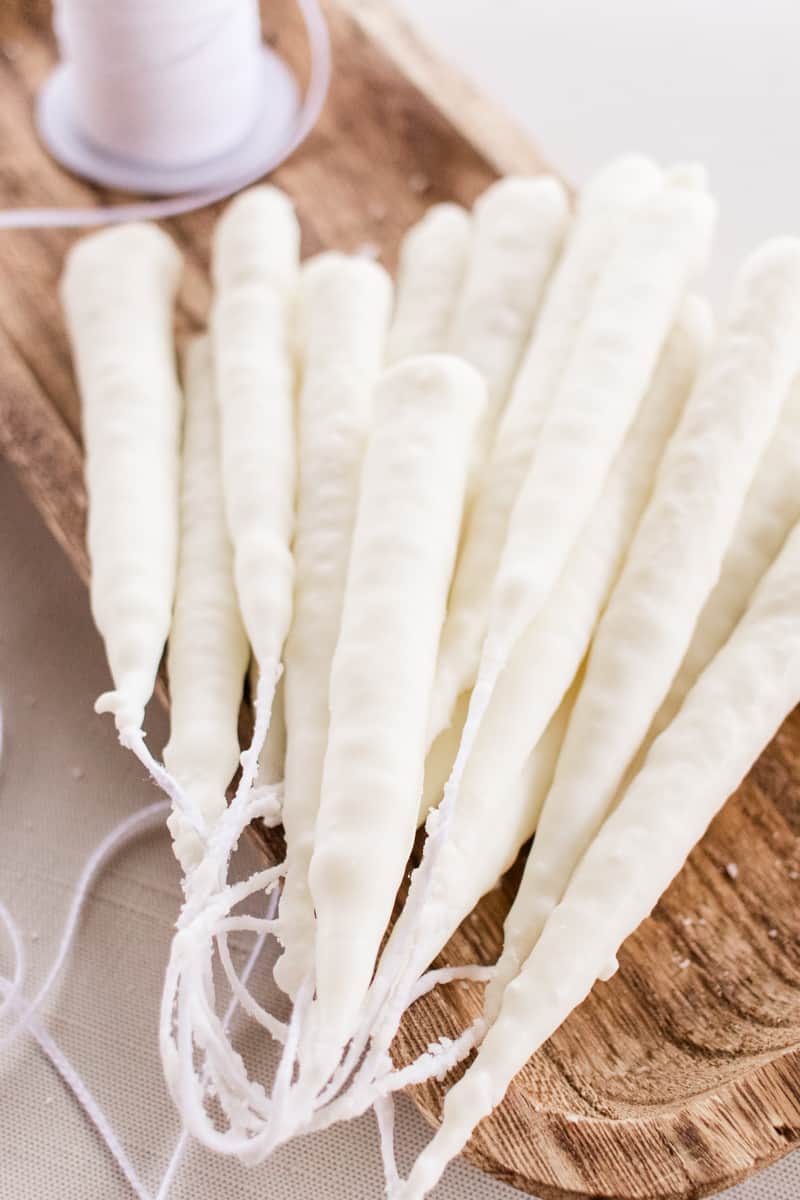
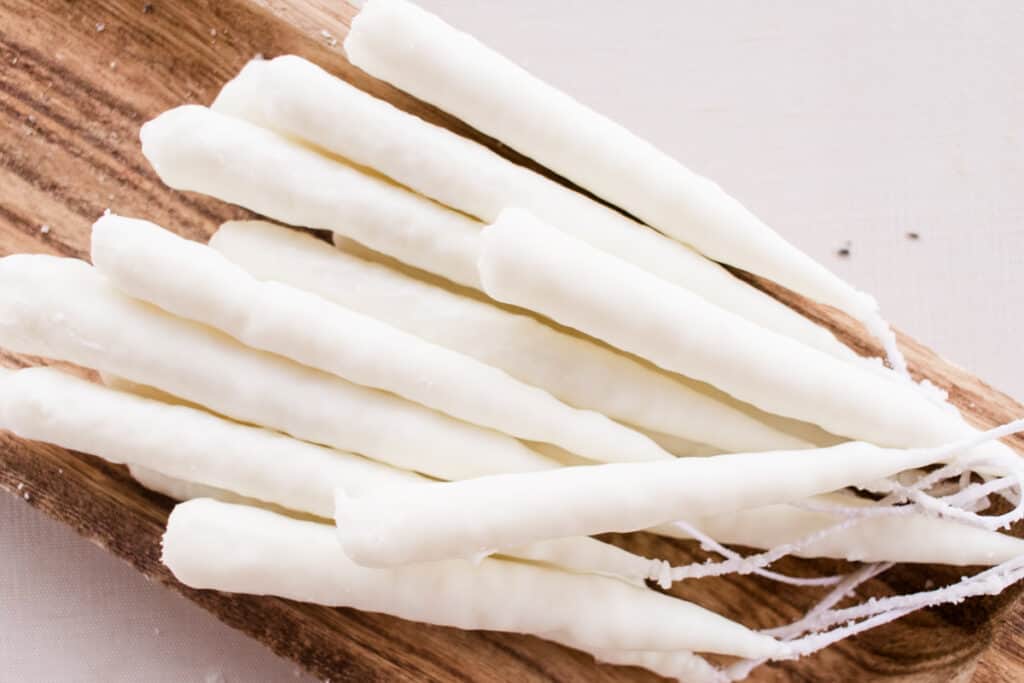
These candles are the long, centerpiece candles that are dipped several times to get that homely, rustic, handmade look.
They look fantastic and are very popular at craft fairs and gift stores, often costing quite a lot of money to purchase.
Getting started
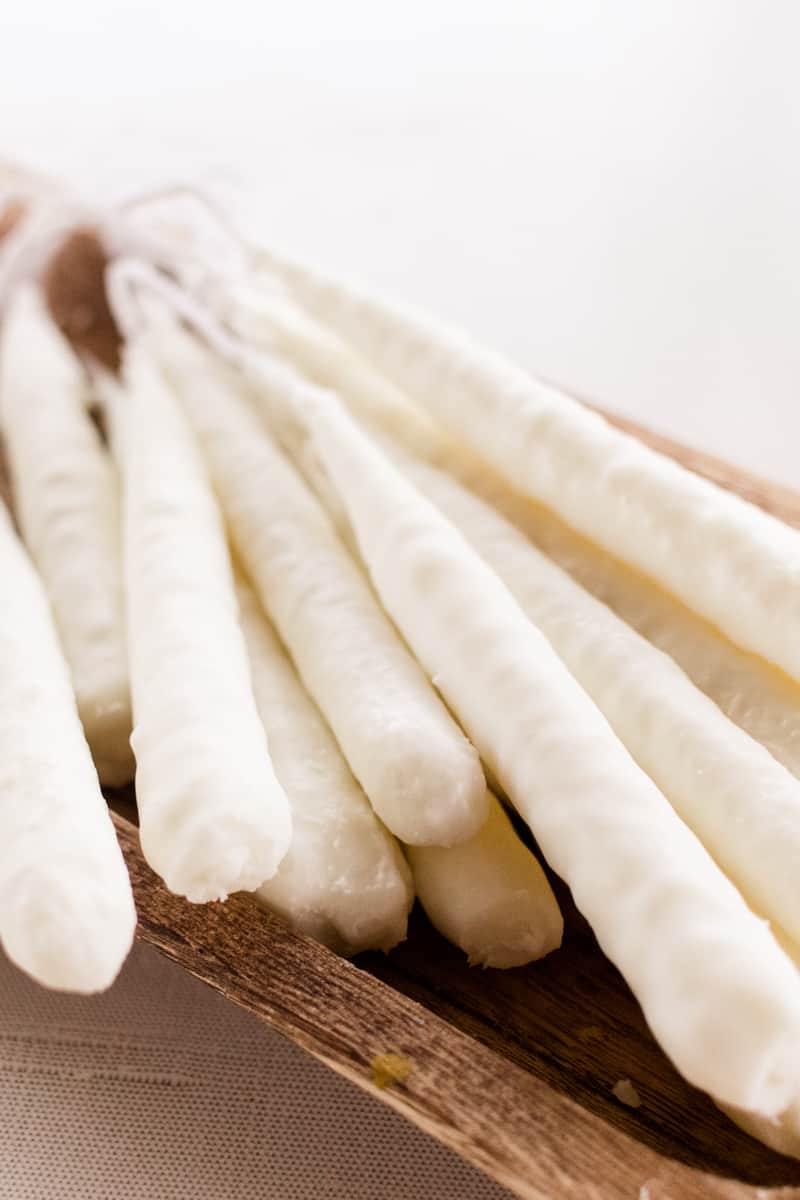
Before we dive into the instructions, understand that dipped candles have a textured finish. If you’re looking for a classic smooth taper, check out my taper candle recipe.
There is a bit of an art to it, but the great thing is, the more rustic the candles look, the better they are (in my opinion, anyhow)!
So, if your first few attempts aren’t perfect, don’t worry. You can still enjoy the candles and try again next time.
I honestly love how calming it is to make dipped candles. These have become a real feature in our home, as has the practice of making them.
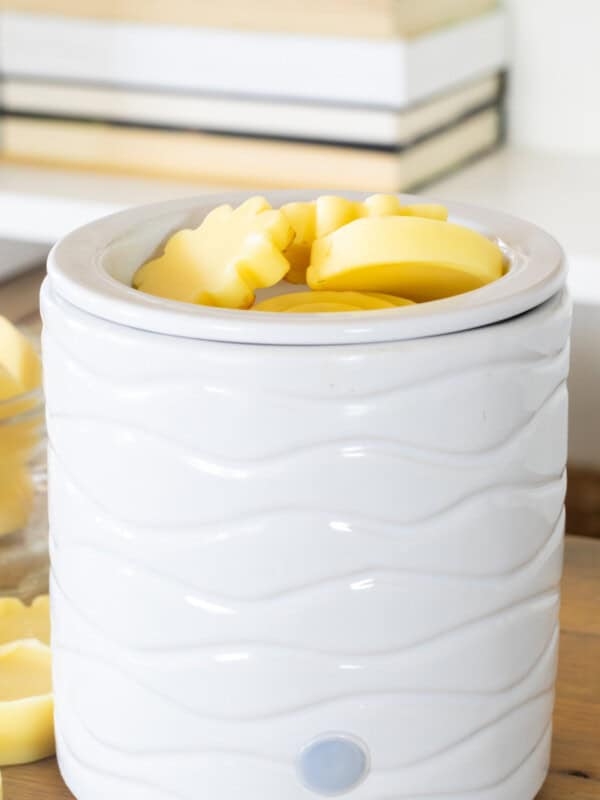
Try your hand at homemade candle wax melts here.
How to make dipped candles
Wax melter: While a wax melter is ideal for dipping candles, finding tall ones can be tricky, limiting the height of your dipped candles. A better option and this is how I do it, is to use a jar in hot water. It works great for all sizes of dipped candles.
Wax: I like beeswax for candle dipping, but soy wax is a good alternative. In fact, I use beeswax for most of my candle recipes, such as these DIY coffee candles.
Candlewick: Then there’s the wick itself – I use this one, and you also need some form of weight to hold the wick down, which forms the base of the dipped candle.
Once you’ve got these materials, you’re ready to go dipping.
Instructions for candle dipping
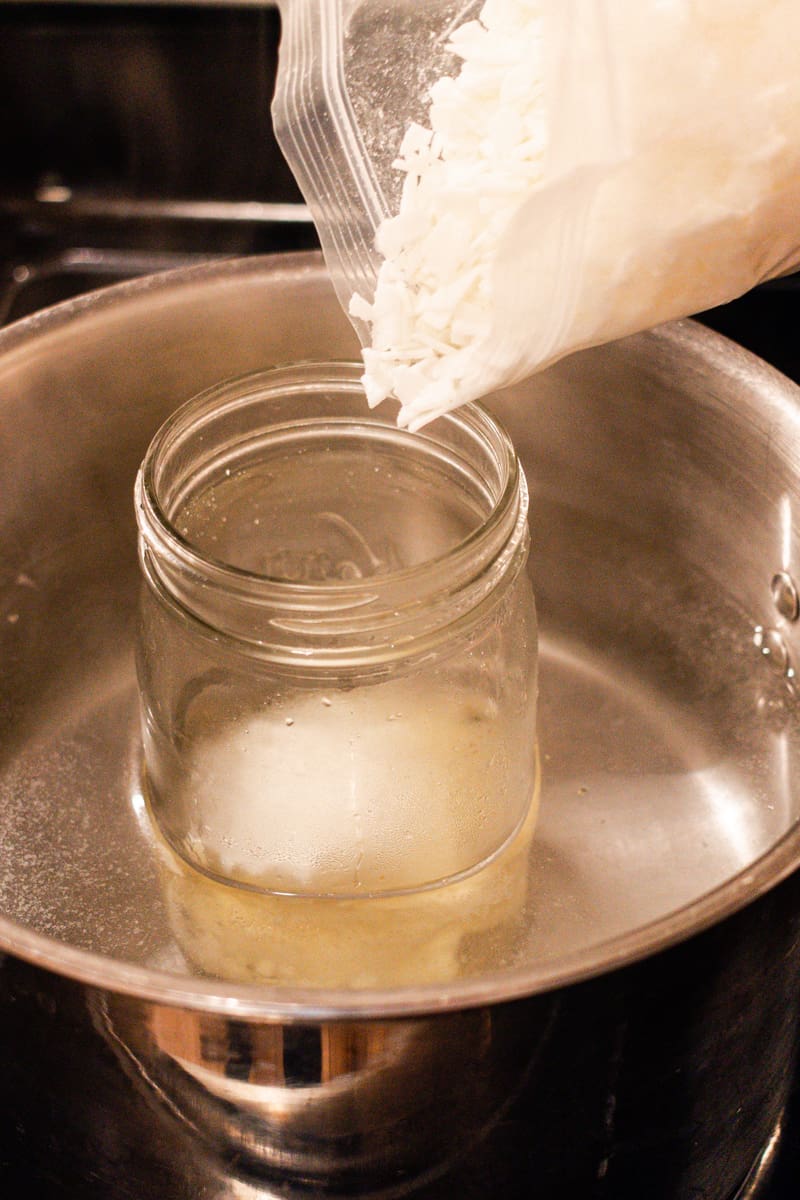
- Melt the wax of your choice in the double boiler. ( I use a mason jar placed in a pot filled with water)
- Once melted, remove the jar with the melted wax from the pot to your working area.
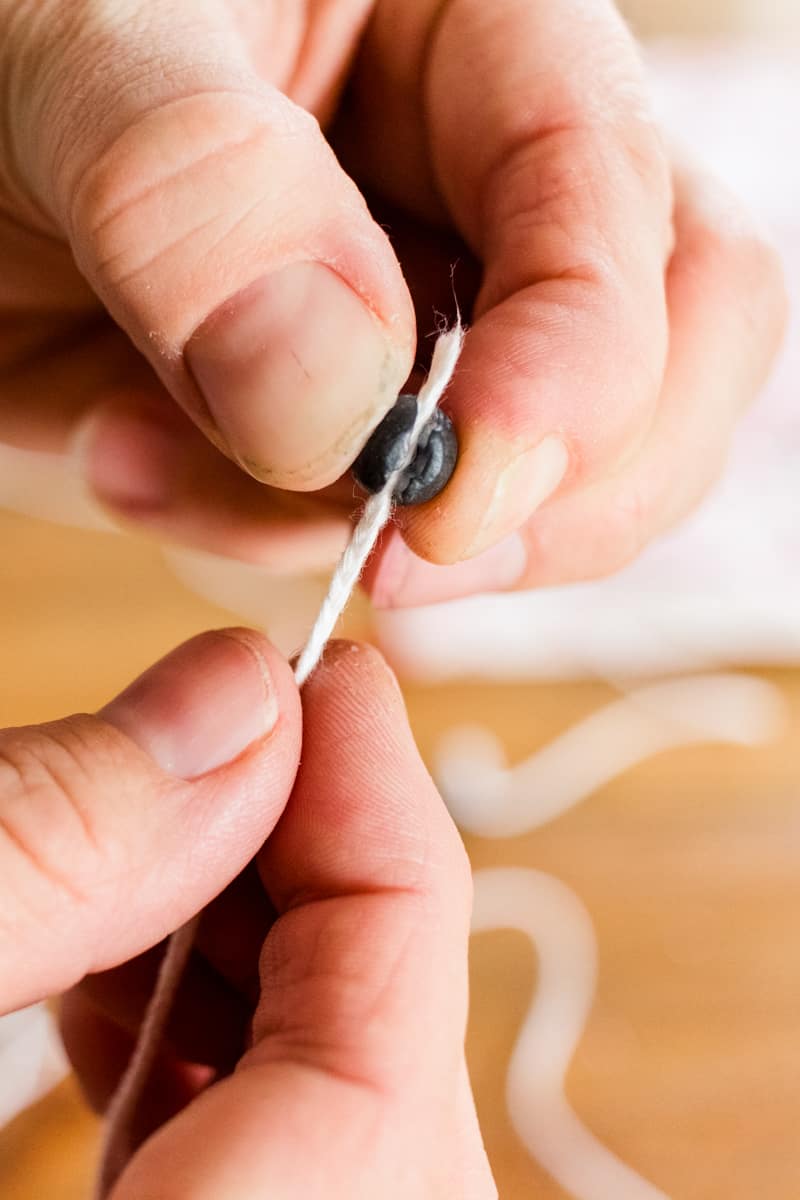
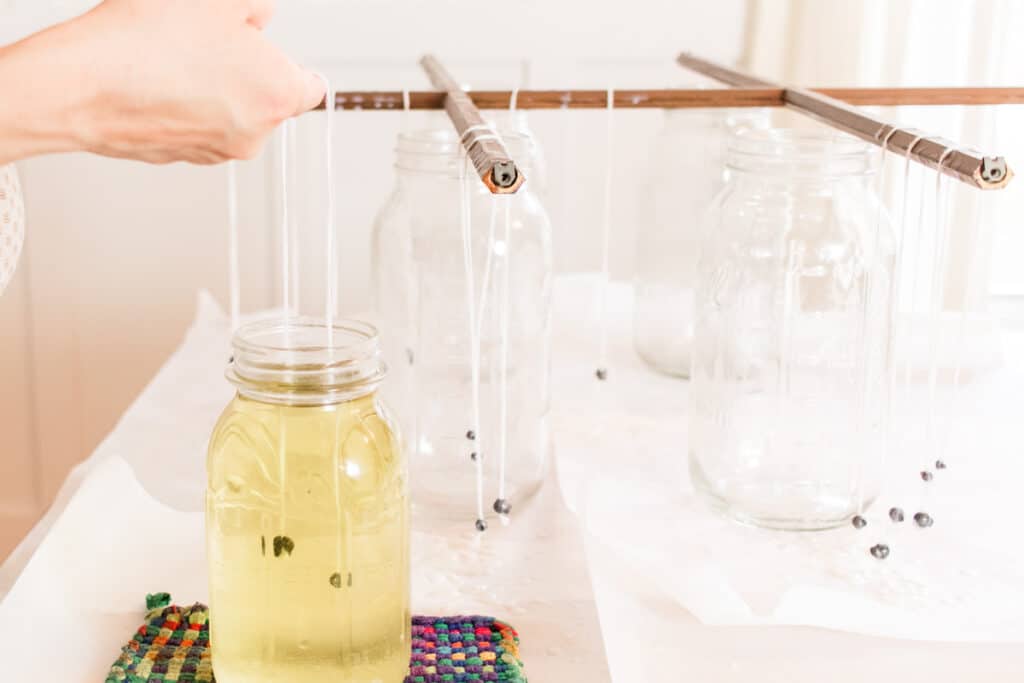
- Prepare the wick by cutting them to double the desired length of the candle and attaching the weight to both ends. This will end up being two candles once you’re done dipping.
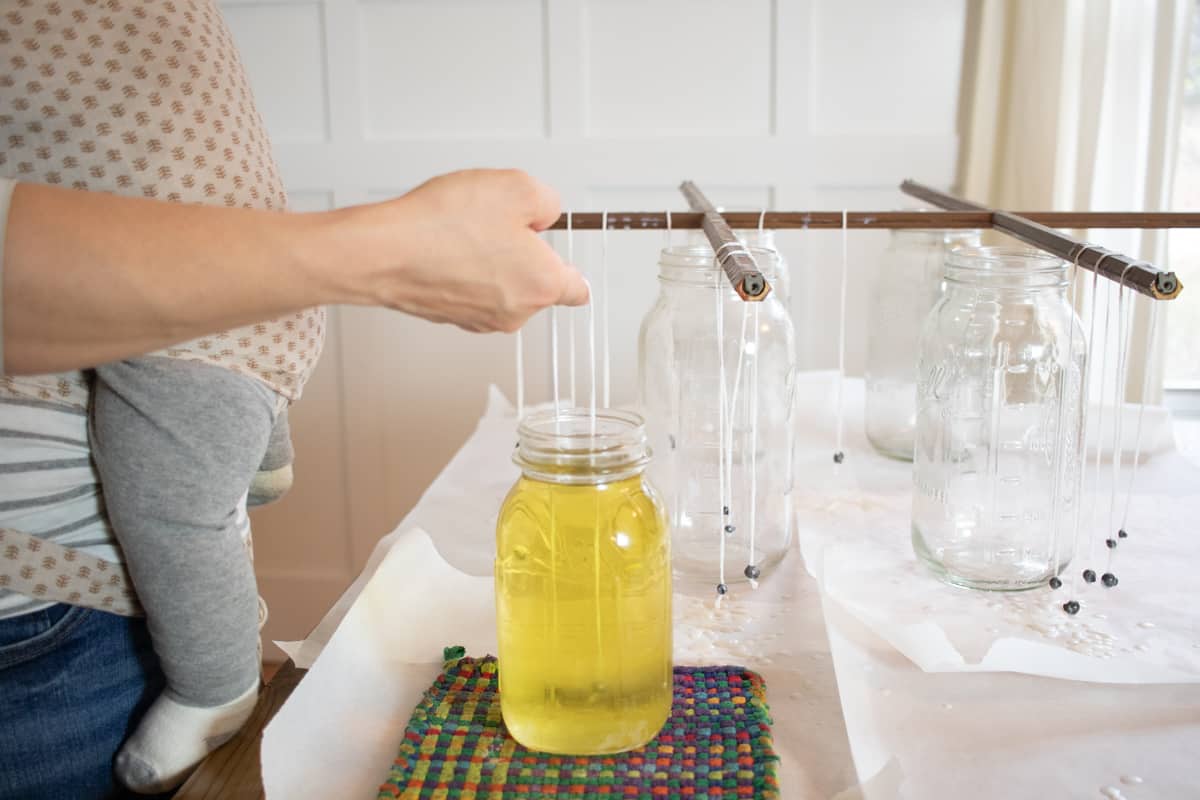
- Holding the wick in the middle (you can also use a pencil for holding the wick if easier), dip it into the hot wax to the desired length.
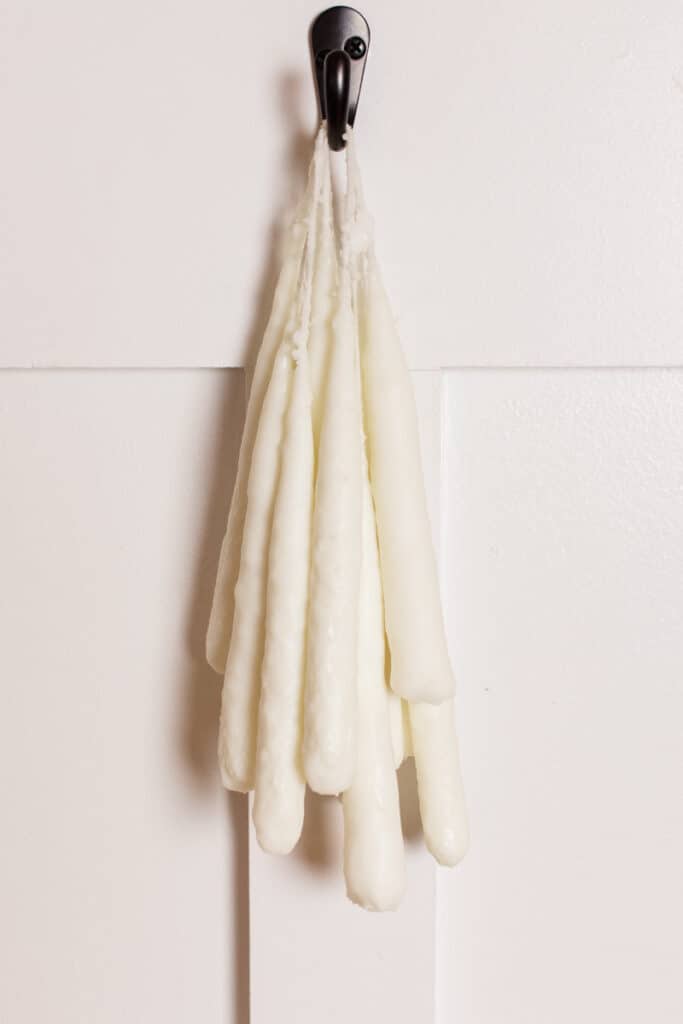
- Carefully hang it on a drying rack to set up while you repeat the process for the rest of the candles.
- After a couple of dips in the wax, you can cut off the weights with the scissors.
- Repeat dipping in hot wax until the desired thickness has been reached.
- Hang the candles on the drying rack for up to 12 hours to fully harden before snipping the wicks and lighting.
*Check out the step-by-step images, tips & FAQs sections below for more pointers.
Where to get your ingredients for candle dippings
Here is a handy list of the tools needed for candle dipping. I generally buy my wax locally; however, there are plenty of online options.
- Beeswax or soy wax
- Candlewick
- Candle burner/wax burner or double boiler
Once the wax has melted, you can easily make scented dipped candles by adding essential oils of your choice.
how to make long candles
The length of the candles you make depends on the length of the wick and the depth of the container of wax.
I find a good balance for burn time, and a beautiful candle look is to make the wick plenty long.
This, of course, will make two candles, and by making the wick extra long allows room for the wick to be exposed for trimming and lighting, too.
I find this length to be ideal for centerpiece candles (the tall, elegant ones), which can be displayed in a nice candle holder for the dinner table.
Tips
- Cut the weights off the bottom once the candles have enough weight to sink in the hot wax on their own.
- Keep a small pot of wax melting on the stove to top off your jar as needed.
- Wax is messy – lay out parchment paper over your working surface to make cleanup easier.
- Do not let any wax down the drain.
- I boil all my pots and dishes, then dump them outside and wipe any excess wax out with a paper towel.
- I don’t suggest using coconut wax! It burns much too quickly. Leave the coconut wax for your homemade massage candles and stick with beeswax or soy wax for this recipe.
FAQs
What is the best wax for candle dipping? Beeswax is a much denser wax than soy and layers on thicker than soy, resulting in a speedier process than soy.
Does beeswax burn longer than soy? Yes, homemade beeswax candles burn quite a bit longer than homemade soy candles.
Should you dip the candles into water between dunks to speed up the process? Yes, the hot wax can be quickly cooled in cool water to avoid waiting for it to harden. However, I do not recommend dipping in cool water if you are using soy wax, or else you’ll end up with air pocket bubbles in the candle.
Read more about the differences between beeswax and soy wax here.
How long do candles last
For storage, it’s essential to keep candles dry and away from humidity, which means they last much longer.
You can wrap candles in a towel or paper (newspaper is excellent) to make sure they don’t spoil.
A soy candle like our DIY Christmas soy candles can last up to one year if kept dry; however, if you use a scented candle, then naturally, the scent will weaken over time.
If you’re asking about burn time, it really depends on the size and thickness of the candle you make.
Of course, the bigger and chunkier you make dipped candles, the longer they’ll burn (in theory.)
I say, go and experiment! Make small ones, big ones, and all sizes in between to see what works best for you.
If you’re like me, you’ll end up making loads of candles and not actually burning them – simply because they’re too gorgeous to burn!
Why you will love this recipe
For many individuals, making candles or the process of candle dipping may appear complicated, leaving room for big stores to make lots of money from candle purchases (when, in fact, they could easily make their own)
This is why I feel this recipe deserves credibility – it’s so straightforward and fun to make dipped candles.
I also think the use of natural ingredients in candles is essential. So many commercial candles are full of environmental hazards, and when you burn them, you breathe those in.
Beeswax and soy wax are also 100% natural and sustainable, meaning good things for your home and the environment.
I hope you enjoy this candle-dipping recipe. If you do, make sure you check out these posts next.
- Homemade rosemary mint soy candles
- Bug repelling citronella candles
- DIY honey vanilla candles
- DIY mason jar candles
If you tried this Candle Dipping Tutorial or any other tutorial on my website, I would love for you to leave a 🌟 star rating and let me know how it went in the comments below. Thanks for visiting!
Candle Dipping

Equipment
- Double boiler/candle burner
- Hanging rack
Ingredients
- 4-5 pounds of soy or beeswax
- Candle wick
Instructions
- Melt the wax of your choice in the double boiler. ( I use a mason jar placed in a pot filled with water)
- Once melted, remove the jar with the melted wax from the pot to your working area.
- Prepare the wick by cutting them to double the desired length of the candle and attaching the weight to both ends. This will end up being two candles once you’re done dipping.
- Holding the wick in the middle (you can also use a pencil for holding the wick if easier), dip it into the hot wax to the desired length.
- Carefully hang it on a drying rack to set up while you repeat the process for the rest of the candles.
- After a couple of dips in the wax, you can cut off the weights with the scissors.
- Repeat dipping in hot wax until the desired thickness has been reached.
- Hang the candles on the drying rack for up to 12 hours to fully harden before snipping the wicks and lighting.
Video
Notes
- You can use soy or beeswax; however, beeswax is much quicker.
- Cut the weights off the bottom once the candles have enough weight to sink in the hot wax on their own.
- Keep a small pot of wax melting on the stove to top off your jar as needed.
- Wax is messy – lay out parchment paper over your working surface to make cleanup easier.
- Do not let any wax down the drain.
- I boil all my pots and dishes, then dump them outside and wipe any excess wax out with a paper towel.


I’m trying to plan this for a handicraft for a group of homeschoolers. What I can’t figure out, is how much was do we need. Can you please share what a recipe like this is likely to produce? About how many candles can we get from 5lbs of wax? Any insight would be greatly appreciated.
Hi Laura! Thank you for the blog post. Very insightful. I’m wondering where I can find the weights that you put on the bottom of the wick to keep it straight? I can’t seem to find anything through Google. Thanks for any help you can provide.
Cheers,
-Elan
You can use fishing weights, or even a penny!
Hi I just randomly saw this post while looking for info about candle making… please do not use fishing weights they are made from lead and you will contaminate your wax. Even if it is only a little, better to just use like a metal washer or nut or even a coin rather than a fishing weight.
Thanks for the tip!
Fishing weights, such as split shot weights shown, can be found if you like those in high carbon steel at some big box stores. Just need to do your due diligence.