This post may contain affiliate links. Please see our disclosure policy.
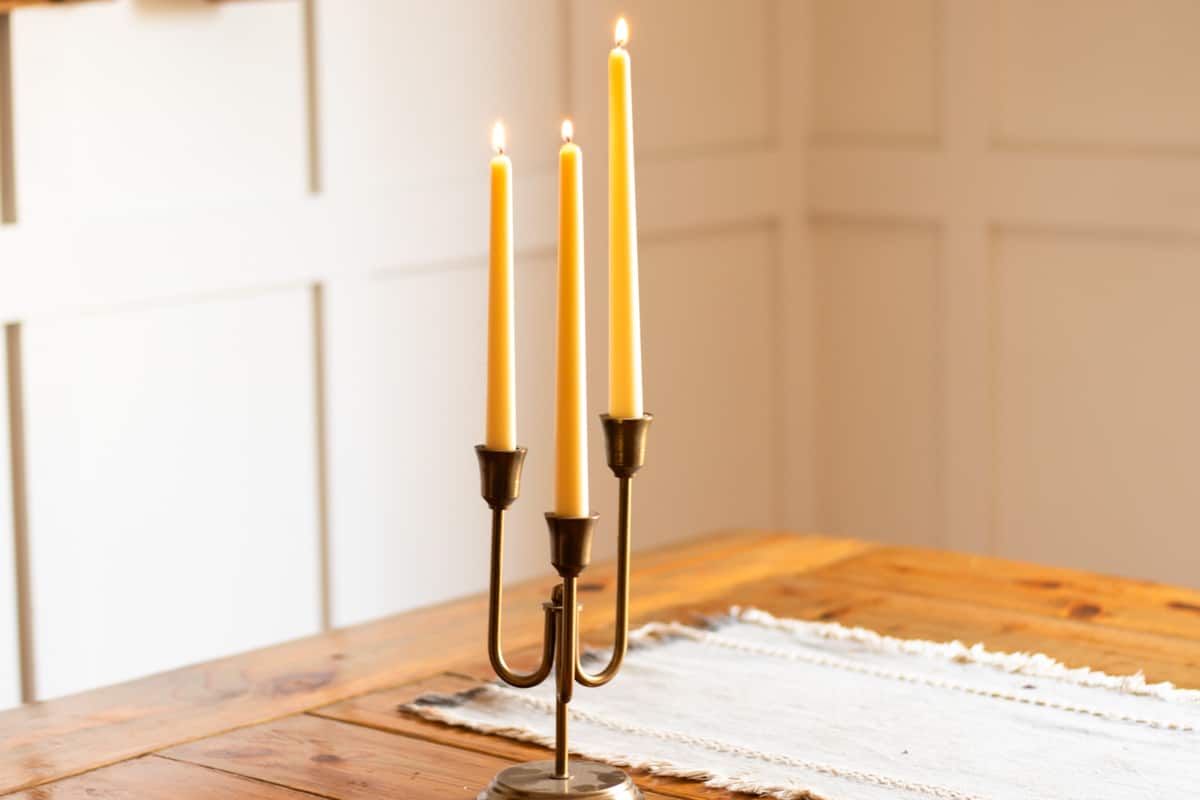
Making these charming taper candles is such a joy, and they only require a few natural ingredients and a mold. They’re perfect for gifts, but if you are like me, you’ll want to make a couple extra for yourself! After all, they are so easy to make and look absolutely beautiful.
It’s no secret my love for candles! I make all my own candles, and there is hardly a time I don’t have one burning. They just make a room feel so cozy and comfortable.
I love that this recipe is similar to my dipped candles but without all the work. Hand-dipping candles take a long time, not to mention a lot of wax. So, using a candle mold, it is!
I was a bit worried about using a mold because I’d heard how hard it can be to remove the candle wax. Thankfully, I found a great trick that makes it super easy right from my first candle!
Normally, candles are made and burned right in the mold. This method was new to me, but I love the rustic elegance of the finished tapered candles!
Tapered Candlestick Recipe
Ingredients:
Equipment:
- Tapered candle mold (these are the ones I used, and they come with the wick and centering device – so you wouldn’t need to purchase the next three items on the list)
- Wicks (make sure they are properly sized for taper candles)
- Wick holder or centering device
- Plasticine or candle mold sealer
- Double boiler (or wax melter)
Instructions:
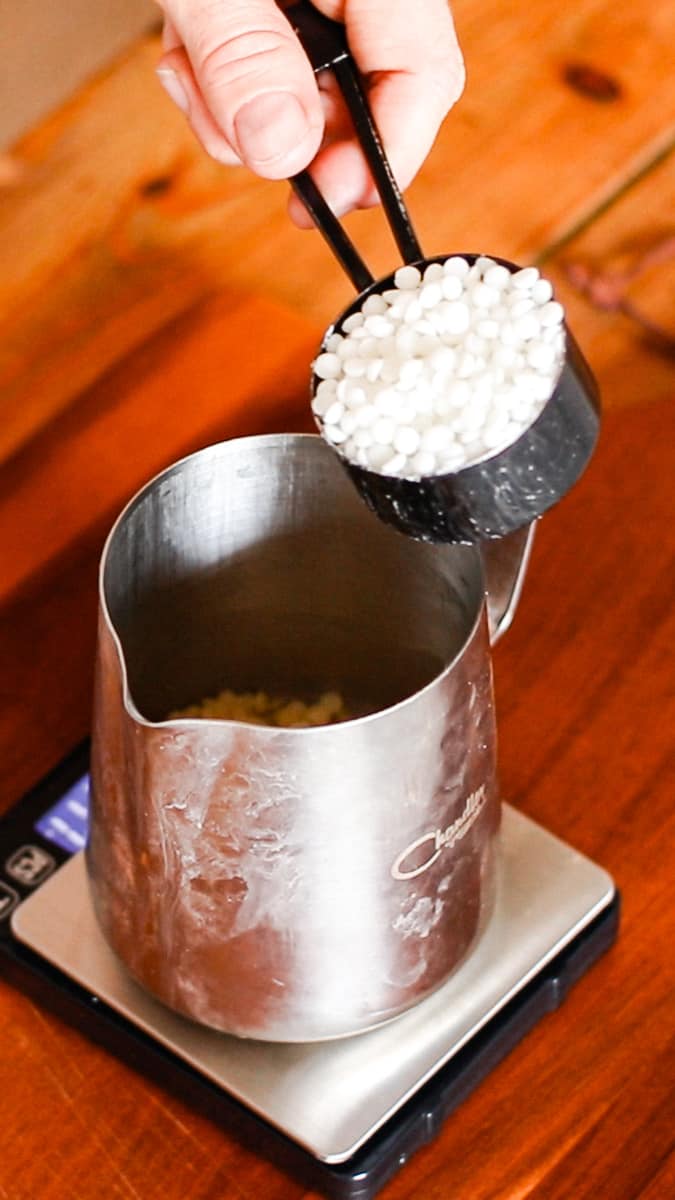
1. Carefully melt the wax in a double boiler or wax melter. Beeswax does have a higher melting point than soy wax, so make sure both waxes are completely melted before moving on to the next step.
Pro tip: For easier melting, try using soy and beeswax pellets rather than block wax. Additionally, if you want to monitor the temperature, you can use a candy thermometer attached to the side of your melting pot.
2. While the wax is melting, lightly oil a paper towel with olive oil and lubricate the mold.
Pro Tip: While I haven’t had trouble removing candles from this mold with or without using oil, a little lubrication can sometimes make the process easier. The choice is yours!
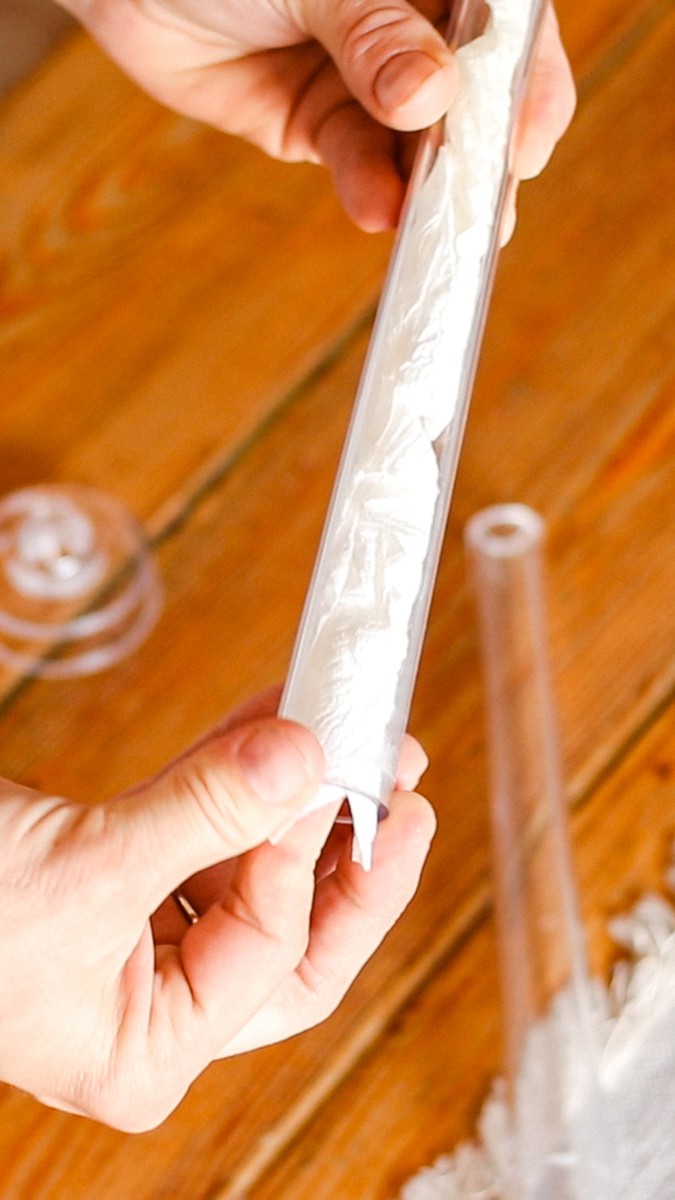
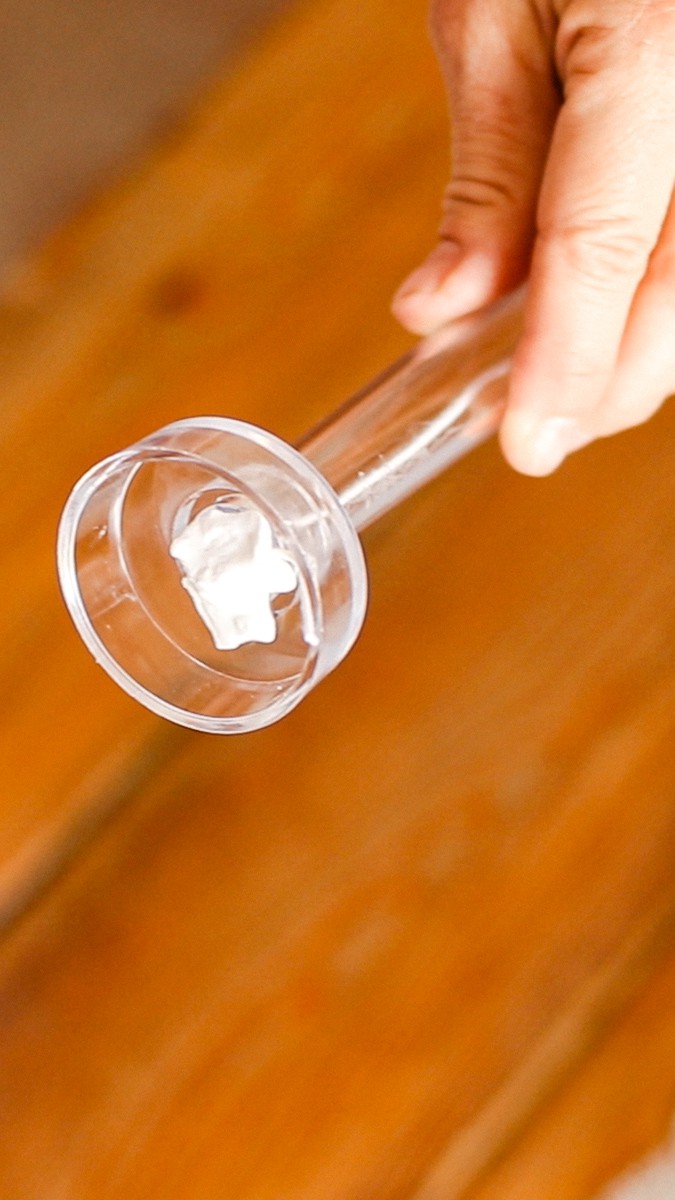
3. Secure the base to the mold, then feed the wick through the base of the mold and up through the top. Use a little plasticine (it comes with the molds I use), candle mold sealer, or something similar to seal off the hole where the wick went through the base.
4. Pull your wick through the top and slowly and carefully pour the melted wax into the taper candlestick mold.
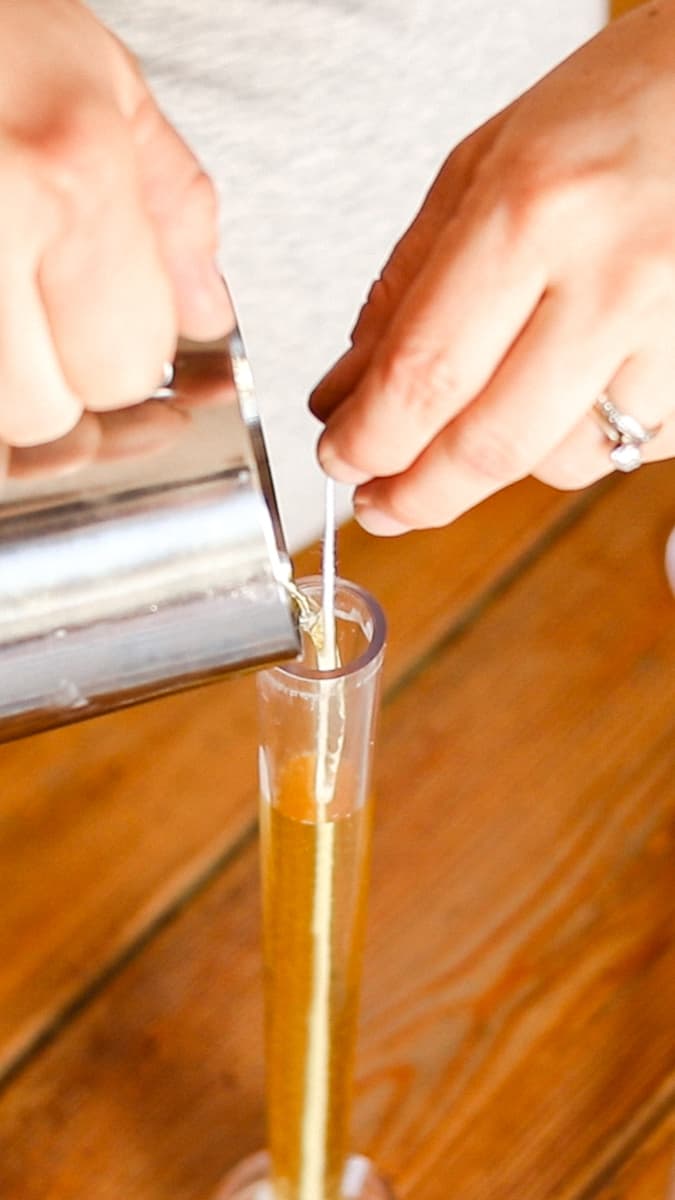
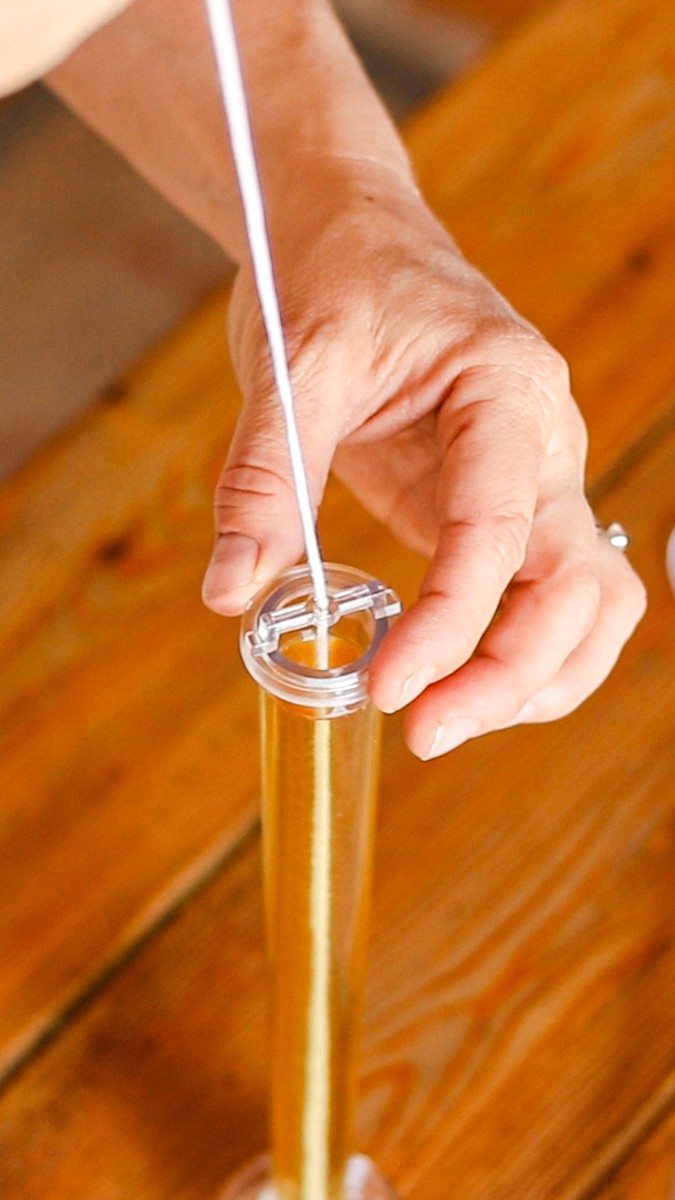
5. Pull the wick tight to remove any slack and center it at the top. Then, wrap the end of the wick at the top of the mold around itself several times to secure it.
6. Let the candle cool completely, about 2 hours, before removing from the mold. Have patience and resist the urge to speed up this process by putting your candles in the fridge or the freezer! They should cool at room temperature.
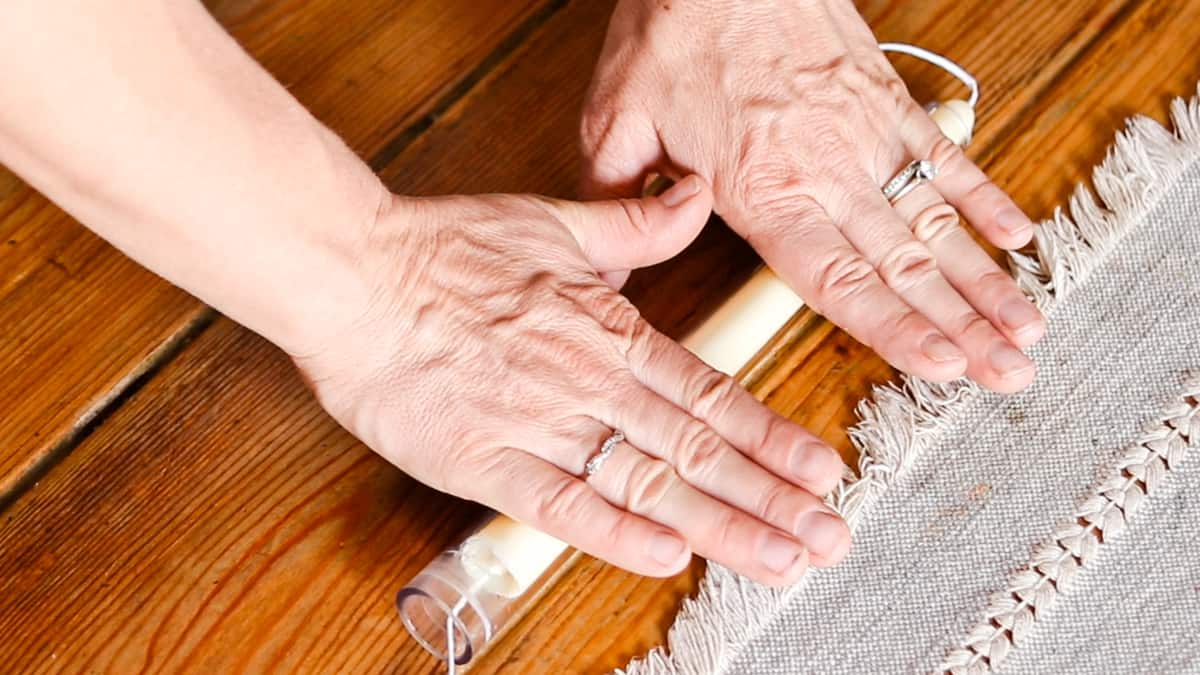
7. To remove the candle from the mold, remove the base, then roll it back and forth on a table while applying firm pressure. This helps break the wax free from the sides of the mold. You do have to be a little aggressive but not so rough as to break the plastic mold. If you are struggling, check out some of my additional tips below.
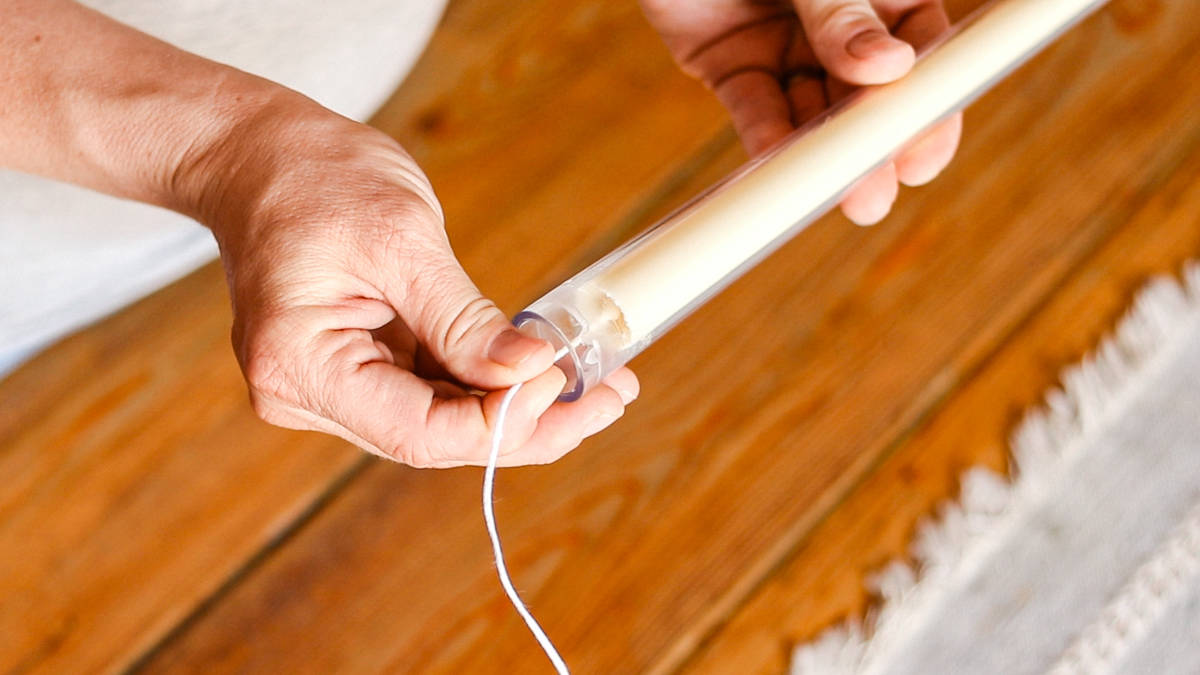
8. Once you have your candles free from the sides of the plastic mold, gently tug on the wick from the bottom of the candle to pull them out.
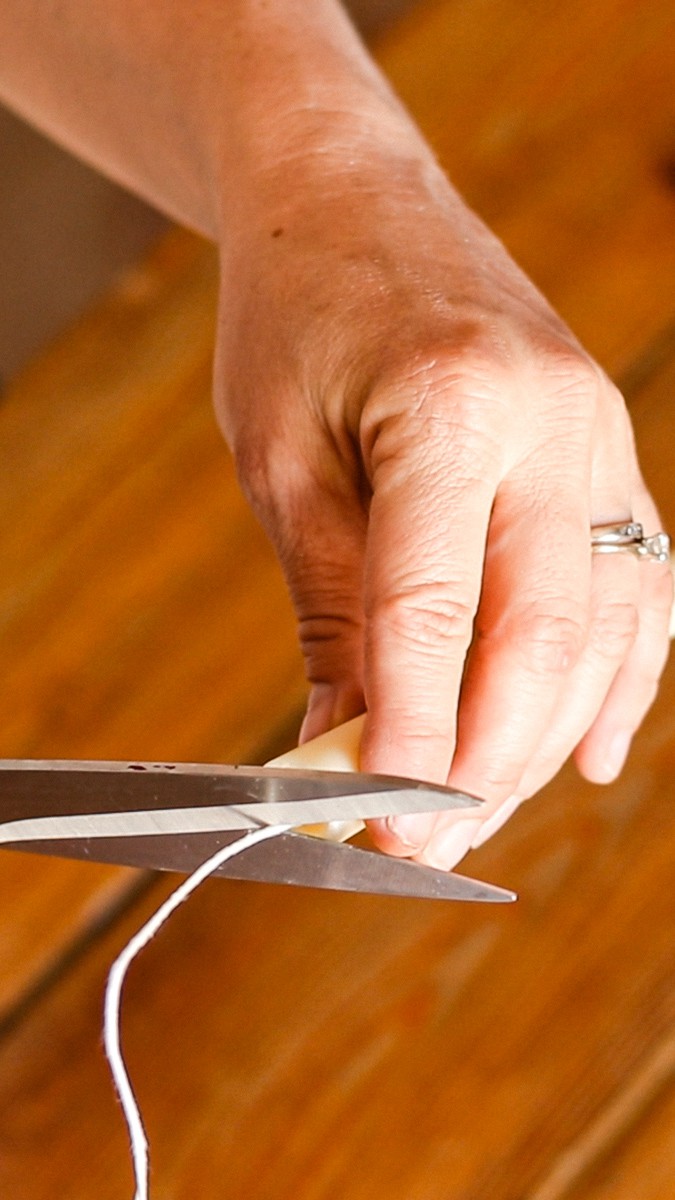
9. Trim the wick on both ends with a pair of scissors. I like to leave about ¼” at the top of the candle for burning.
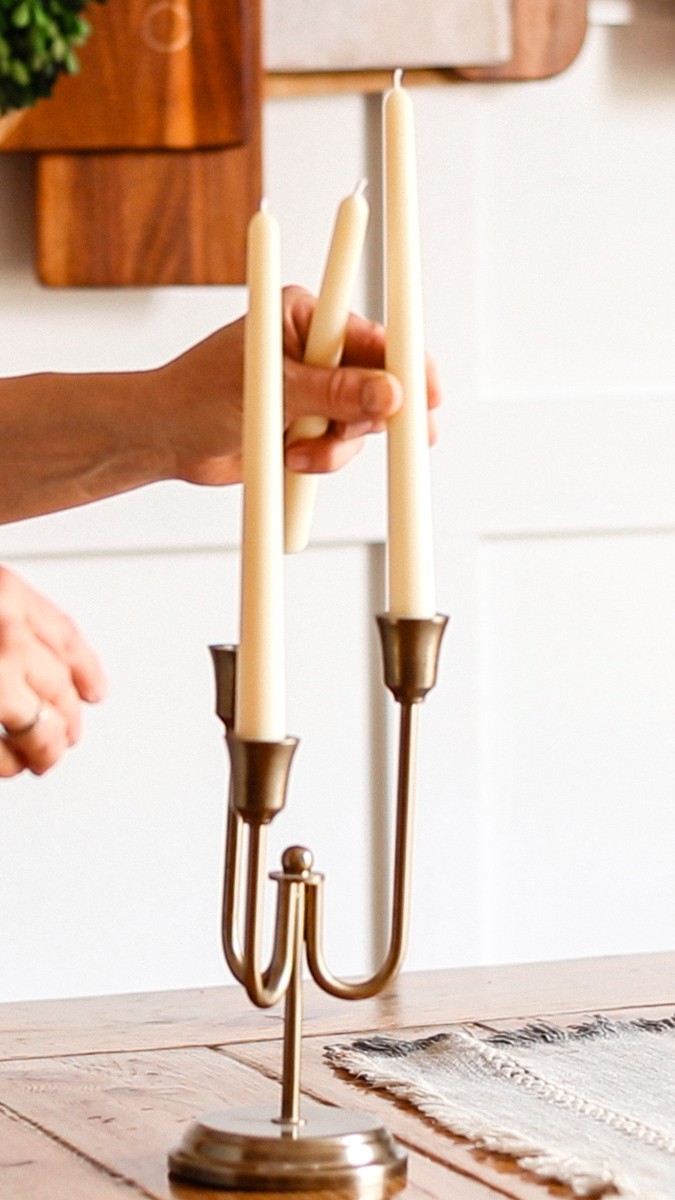
10. Set them in your favorite taper candle holders and they are ready to light and burn. Then relax and enjoy!
Pro Tip:
If you are having trouble getting the candle out of the plastic mold, try placing it in the freezer for 15 minutes. (This is after it has hardened completely for 2 hours at room temperature.) Freezing for just a few minutes will help the wax to contract.
More Tips:
- I roll the mold back and forth on the table to loosen up the sides. Be firm, but not so much that you risk cracking the plastic mold.
- I’ve noticed that the candles come out of the mold easily if I remove them pretty quickly after they harden in the mold.
- For best results, I use soy wax and beeswax in equal amounts. (1:1 ratio)
- I know many people have the best results in making their own candles with paraffin wax. However, I would strongly discourage it as it is a petroleum product and can contain unnatural ingredients, so it’s not a good fit for my home.
- Again, be patient and don’t rush the project by putting the candles in the fridge to speed up the hardening process. Only try to remove the candles from the mold after they are completely hardened at room temperature, or you’ll just pull the wick out of the candle.
Notes:
This recipe will make two tapered candles if you use molds similar to the ones I have linked in the recipe card.
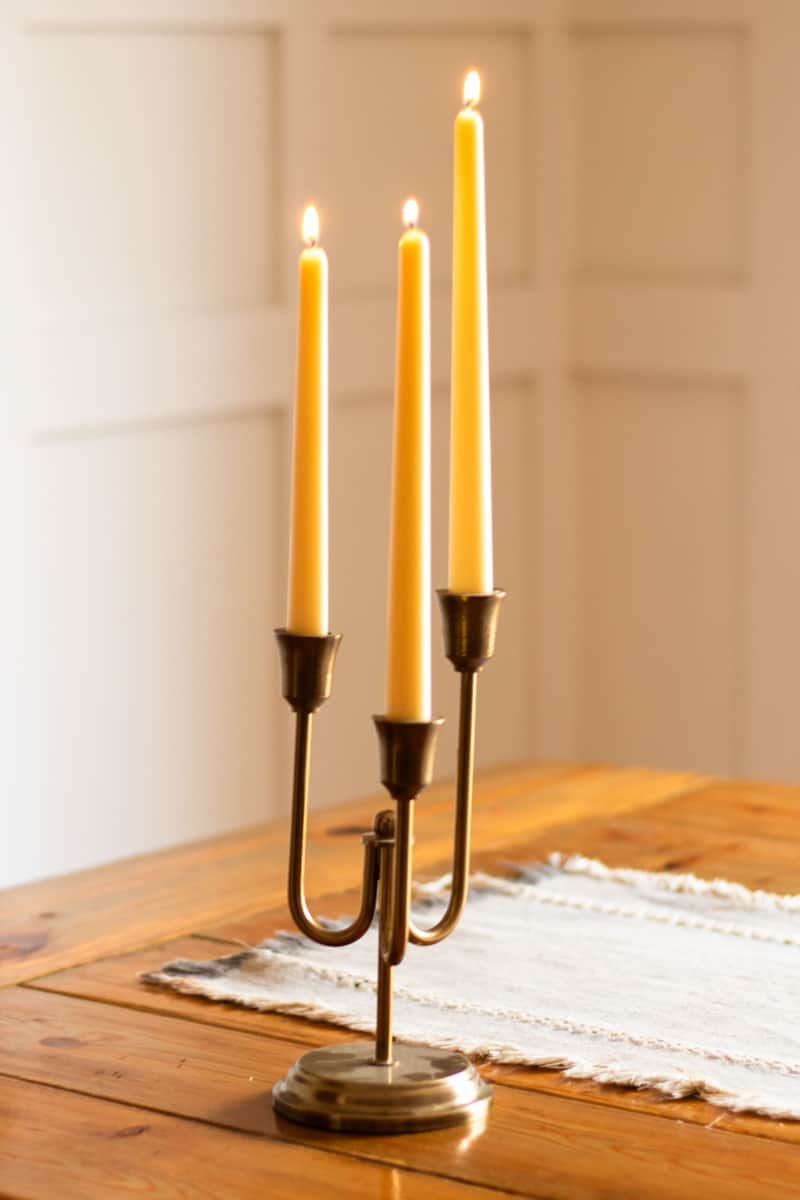
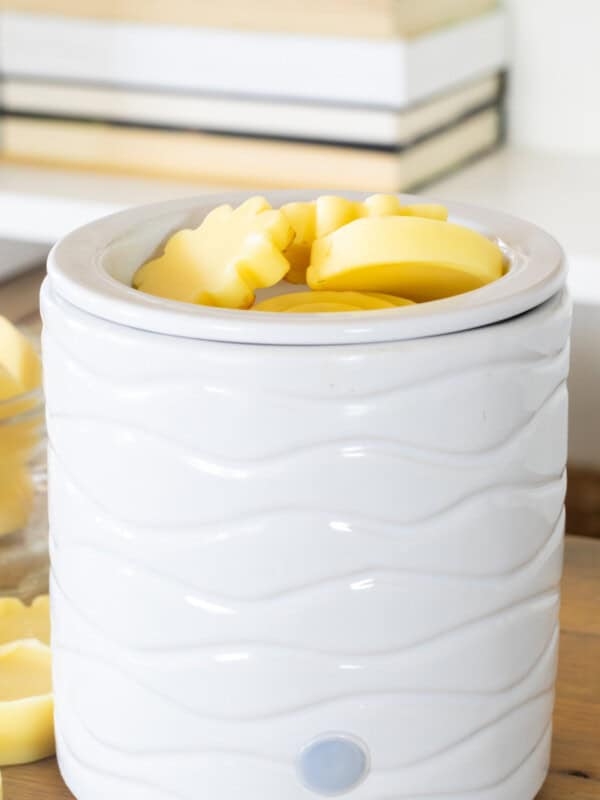
If you want to make pure beeswax taper candles, this same method will work perfectly. Plus, you get those beautiful yellow-hued beeswax tapers!
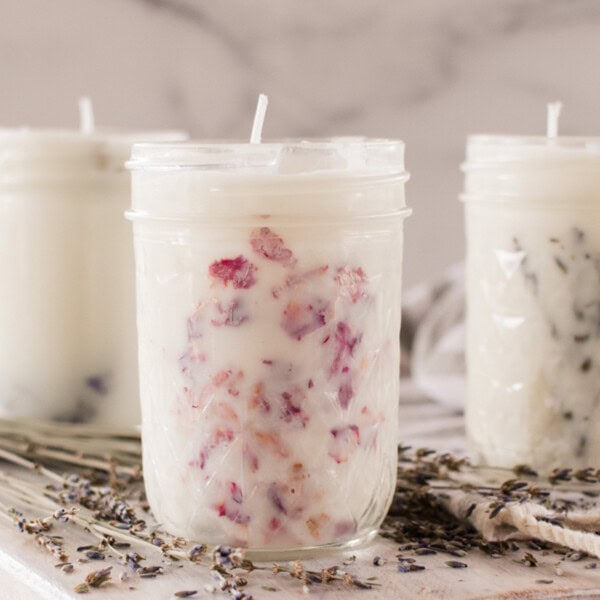
You can create beautiful and colorful tapered candlesticks using the recipe with the addition of liquid dye. I plan to make a few with dye for Christmas gifts!
This method works perfectly with taper candles, but keep in mind that it will not work well for pillar candles, as they will be very difficult to remove. I would suggest using silicone molds for your pillar candles because the flexible material makes it easy to peel it right off.
What is a tapered candle?
A tapered candle has a larger diameter at the base – the standard is ⅞”- and narrows towards the top. You do need a candle holder for stabilization. If you don’t have a candle holder, this could be the chance for a fun thrift store trip. I love finding these types of things second-hand.
How to use your tapered candlesticks:
These candlesticks are easy to store as emergency candles to use in case of a power outage.
Homemade tapered candlesticks make thoughtful and elegant gifts for friends, family, neighbors, teachers, and more.
The buzz on your ingredients:
- Beeswax: One of the oldest ingredients in the world, beeswax has a higher burn point than other waxes, so the candle lasts longer. A by-product of bees, this is the most popular wax choice of many people who are thoughtful about what to put in their homes.
- Soy wax: Made from soybean oil, this wax is renewable and sustainable. Another great all-natural choice.
I’ve written about beeswax vs. soy wax before, so if you want, you can do a deep dive into which wax might be best for you.
Wax melting temperature:
If you plan to use a fragrance to personalize your tapered candlesticks, you’ll want to check the wax manufacturer’s recommendation for the melting temperature of the wax. It will vary depending on which wax type you use.
Fragrance notes:
I would recommend 25 drops of fragrance per 10 oz of wax, approximately. For this recipe, 7-8 drops would be used.
Allow the wax to cool to the recommended temperature before adding in the fragrance. This recommended temperature will vary depending on what type of fragrance you choose.
Most conventional fragrances can be added in at 180°F, according to the Lone Star Candle Company. Again, refer to the manufacturer.
If using essential oils, you will want to allow the wax to cool to 140°F before adding them to the wax. Essential oils do not have any additives, and they are more fragile than fragrance oils.
If you add essential oils while the wax is too hot, they will burn off and evaporate, leaving you with tapered candlesticks that have little to no scent.
I cool the wax to 140°F before adding essential oils and get great results with my homemade candles.
Recipe FAQs
I love plastic tapered candlestick molds. They make beautiful, uniform candles, and the molds I bought included the wicks and the centering device, so there are fewer things to buy before you can get started.
The plastic molds made it easy to pop the candles out after the cooling and hardening process. I highly recommend these, especially if this is your first time on a candle-making journey!
When making tapered candlesticks, you can use a combination of beeswax and soy wax, as I did in this recipe, or you can use 100% beeswax. You can experiment with different types of waxes and test out your results.
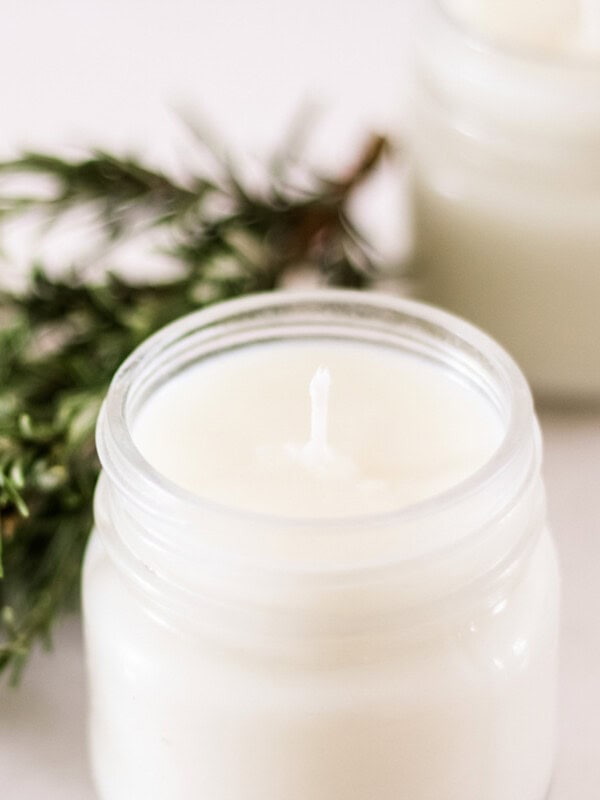
I prefer a cotton wick in all my candle-making projects as they are natural and burn clean.
After lighting your candle, hold it upside down briefly to drip a few drops of melted wax into the center of the mold base. Quickly place the upright taper candle in the wax pool and hold it firmly for a few seconds until the wax hardens, securing the base of the candle to the mold.
This recipe makes 10″ tall tapers. You can use different molds to make longer or shorter taper candles.
Safety precautions:
- I recommend using safety measures such as gloves, an apron, and maybe even goggles. Be cautious when pouring the hot wax into the mold.
- Make sure to use a candlestick holder beneath the candle before burning.
- Never leave tapered candlesticks burning unattended.
- When burning tapered candlesticks, avoid placing them close to anything flammable, such as curtains, drapes, or other decor you may have out on the table.
I have to admit, this is one of my favorite candle-making methods. It’s definitely a nice change of pace making hand-poured candles rather than hand-dipped!
And while these are pretty basic taper candles, there is plenty of room for customization options. I have no doubt you will quickly be hooked on candle-making and ready to try more.
Maybe you’ll find your next candle-making project here:
- Rosemary Mint Candle
- Coffee candles (with real coffee beans!)
- Honey Vanilla Candle
- DIY Christmas candles
If you made this recipe and loved it, I would love for you to come back and give it five stars! And don’t forget to tag me on Instagram @our_oily_house.
How to Make Taper Candles
Equipment
- 1 Wax melter or double boiler
- Tapered candle mold the molds I have linked come with wick, holder and plasticine
- Wicks
- Wick holder or centering device
- Plasticine or candle mold sealer
Instructions
- Carefully melt the wax in a double boiler or wax melter. Beeswax does have a higher melting point than soy wax, so make sure both waxes are completely melted before moving on to the next step.
- While the wax is melting, lightly oil a paper towel with olive oil and lubricate the mold. Note: I have noticed that with these plastic molds, it does work just fine without lubricating.
- Secure the base to the mold, then feed the wick through the base and up through the top. Seal the base with plasticine or candle mold sealer.
- Pull your wick through the top and slowly and carefully pour the melted wax into the taper candlestick mold.
- Pull the wick tight to remove any slack and center it at the top. Then, wrap the end of the wick at the top of the mold around itself several times to secure it.
- Let the candle cool completely, about 2 hours, before removing from the mold. Have patience and resist the urge to speed up this process by putting your candles in the fridge or the freezer! They should cool at room temperature.
- To get the candle out of the mold, remove the base, then roll it back and forth on a table while applying firm pressure. This helps break the wax free from the sides of the mold. You do have to be a little aggressive, but not so rough as to break the plastic mold. If you are struggling, check out the tips below.
- Once you have your candles free from the sides of the plastic mold, gently tug on the wick to pull them out.
- Trim the wick on both ends. I like to trim to about ¼" at the top of the candle for burning.
- Set them in your favorite candlestick holders and they are ready to light and burn. Then relax and enjoy!


Hello,
The candle mold is not available after clicking on the link that you provided. Please let me know if you have any other options available for links to taper candle molds. Thank you for your website!
Love this old timey craft. Fun times with my kids!!