Dive into the world of DIY soy candles with this simple recipe. Enjoy a cleaner, longer burn time with beautiful, natural essential oils that fill the room with fragrance.
Illuminate your space with warmth and style!
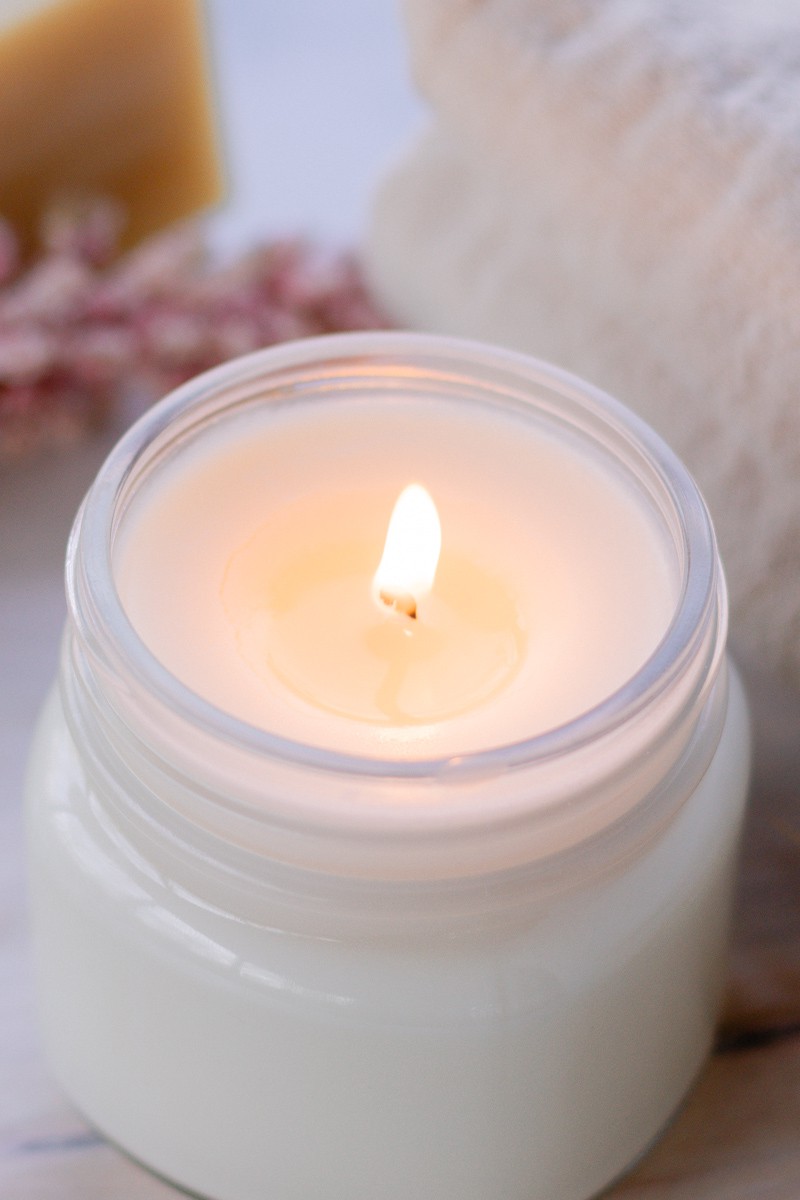
Are you a candle fan like me? If so, you’re sure to love this post.
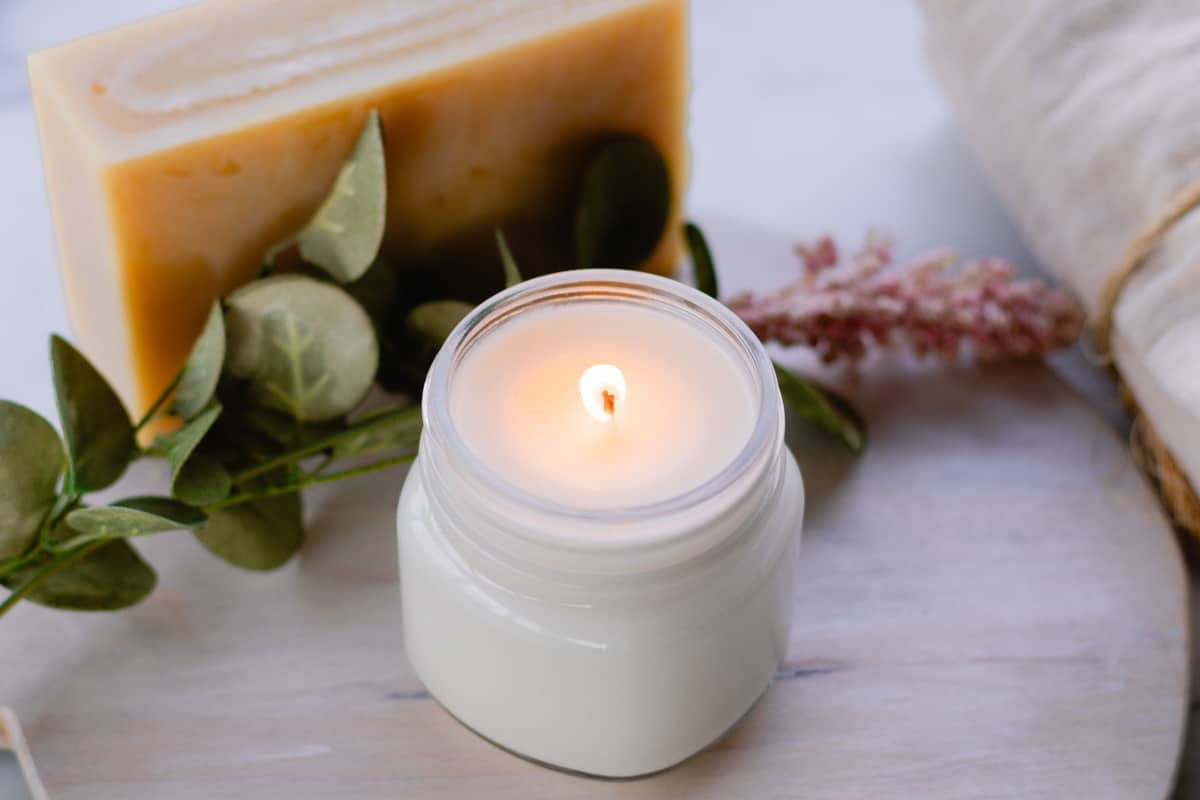
After all, candles are a wonderful way to add ambiance and fragrance to your home. And then there’s that special feel of 100% natural candles, which burn cleanly with a botanical scent that fills the room.
The vibe these candles give off is so calming and welcoming; they’re perfect to add a touch of charm to seasonal decor!
Candles also make for a thoughtful and unique gift. And if you’re looking for a fun and easy DIY project, making your own soy wax candles is a great idea.
In this post, I’ll walk you through this candle recipe from scratch, including how to choose the wax, how to add fragrance, and how to pour the wax into your chosen candle holder.
Preparation
Let’s start with the basics. Now I use a standard glass jar to make my homemade candles in.
They’re cheap to buy and are often recycled from the kitchen, but you could also use mason jars or specific candle jars from a candle-making supplies store if you prefer.
Before melting the soy wax, ensure your glass jar is clean and dry. Any dirt or moisture affects the adhesion of the wax and causes problems during burning.
And, of course, don’t pour boiling hot wax into a glass jar. Allow it to cool down a little before pouring for safety so the glass doesn’t crack.
This post contains affiliate links, which means I make a small commission at no extra cost to you. Get my full disclosure HERE.
How to make soy wax candles
You will need:
- Soy Wax 8 ounces
- Lemon essential oil 20 drops
- Bergamot essential oil 15 drops
- Cedarwood essential oil 15 drops
- Glass jars, mason jars, or a cup (your choice!)
- Candle wicks
Instructions:
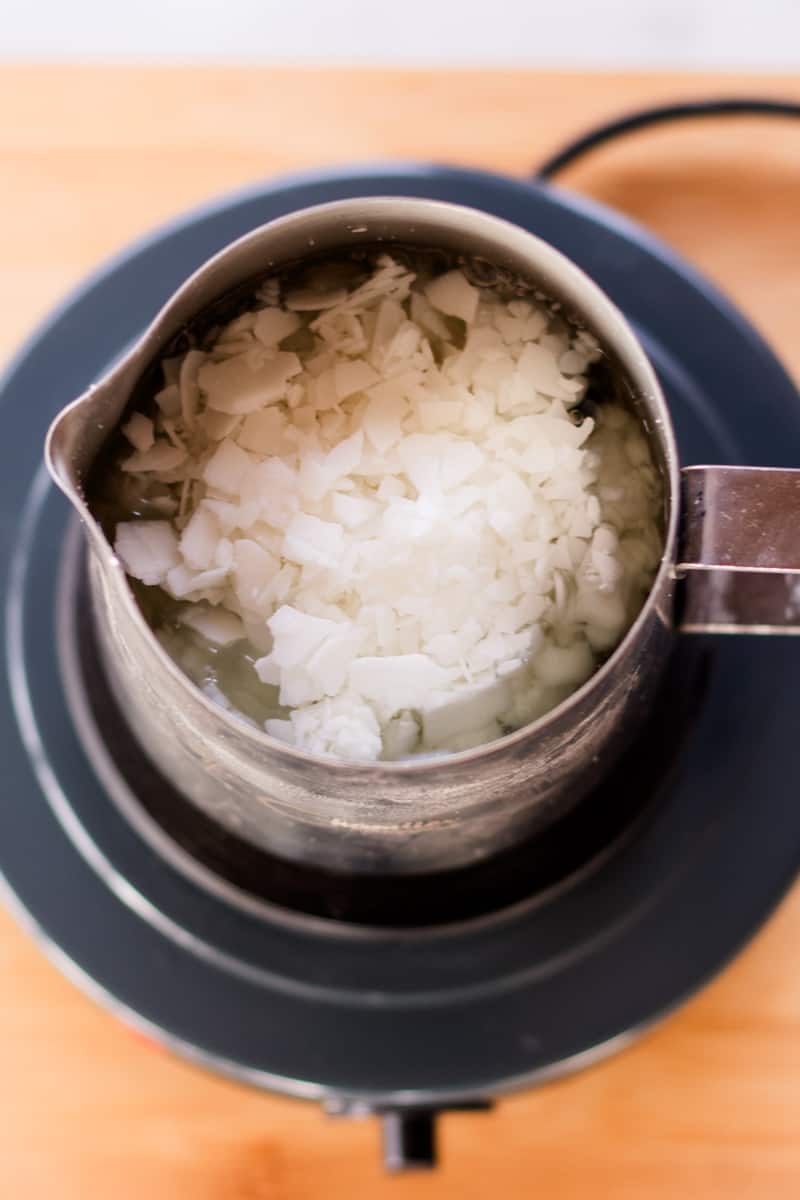
Step 1: Melt the soy wax on medium-low heat using a wax melter or double boiler.
Note: Soy wax flakes melt quite a bit quicker than a block of soy wax.
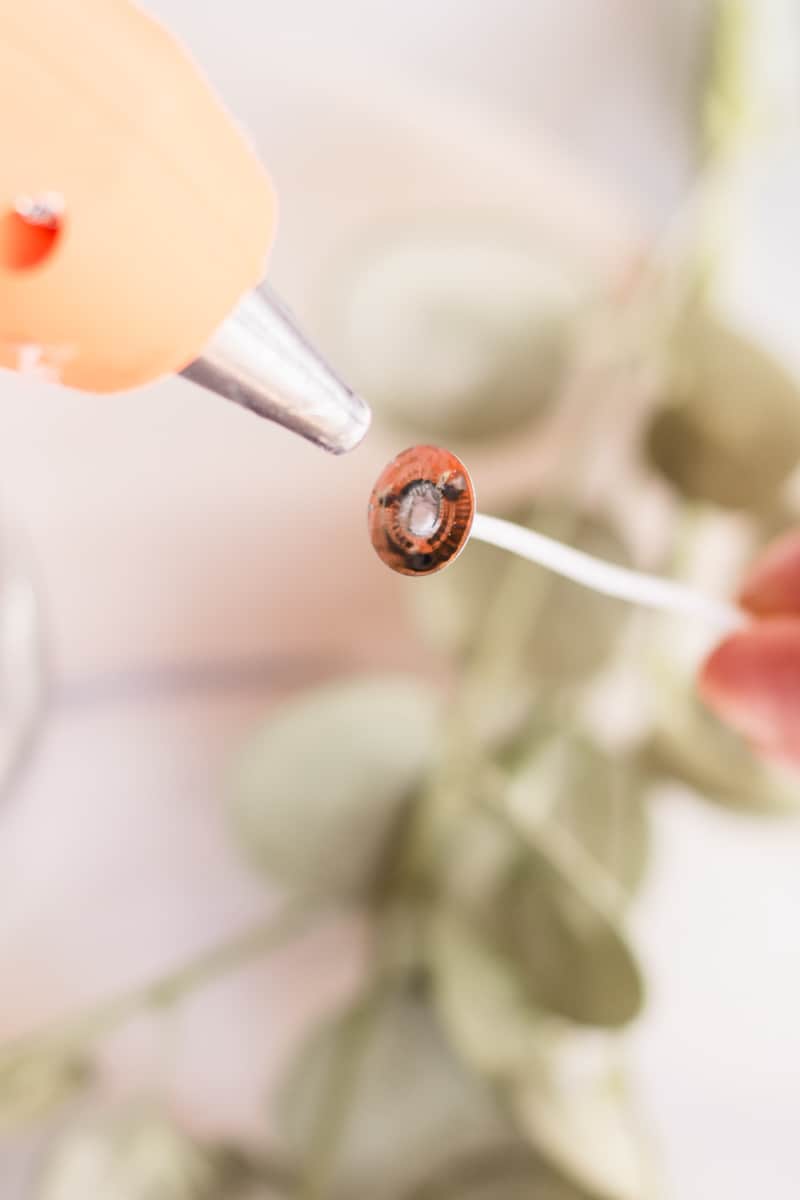
Step 2: While the wax is melting, glue the bottom of the wick to the base of the glass jar or cup you’re using with a hot glue gun or glue dots.
Step 3: Once the wax is melted, remove it from the heat, allow it to cool to around 150°F, and then stir in the oils.
Tip: If you are using artificial fragrance oils, be sure to adjust the amounts accordingly. Most non essential oil candle fragrances are recommended to be used at 6%.
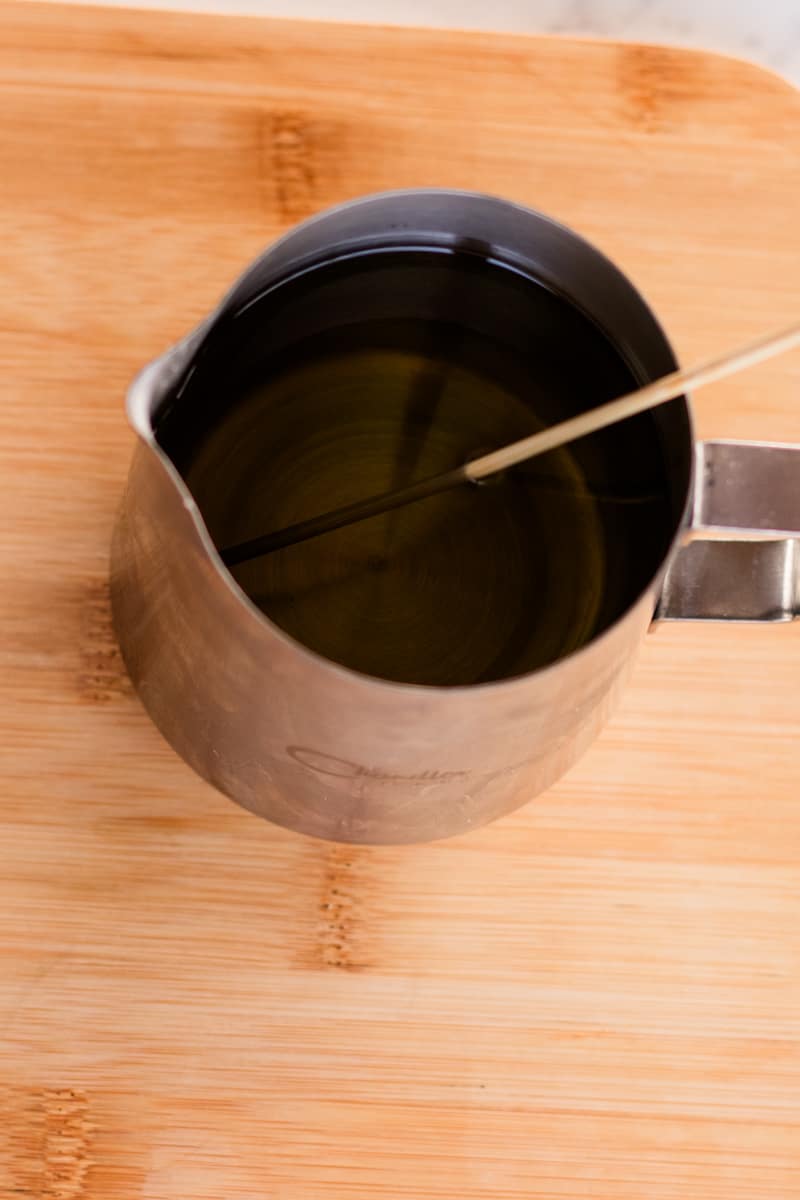
Step 4: Carefully pour the melted soy wax into the candle holder, taking care not to splash any on your skin. (See safety precautions)
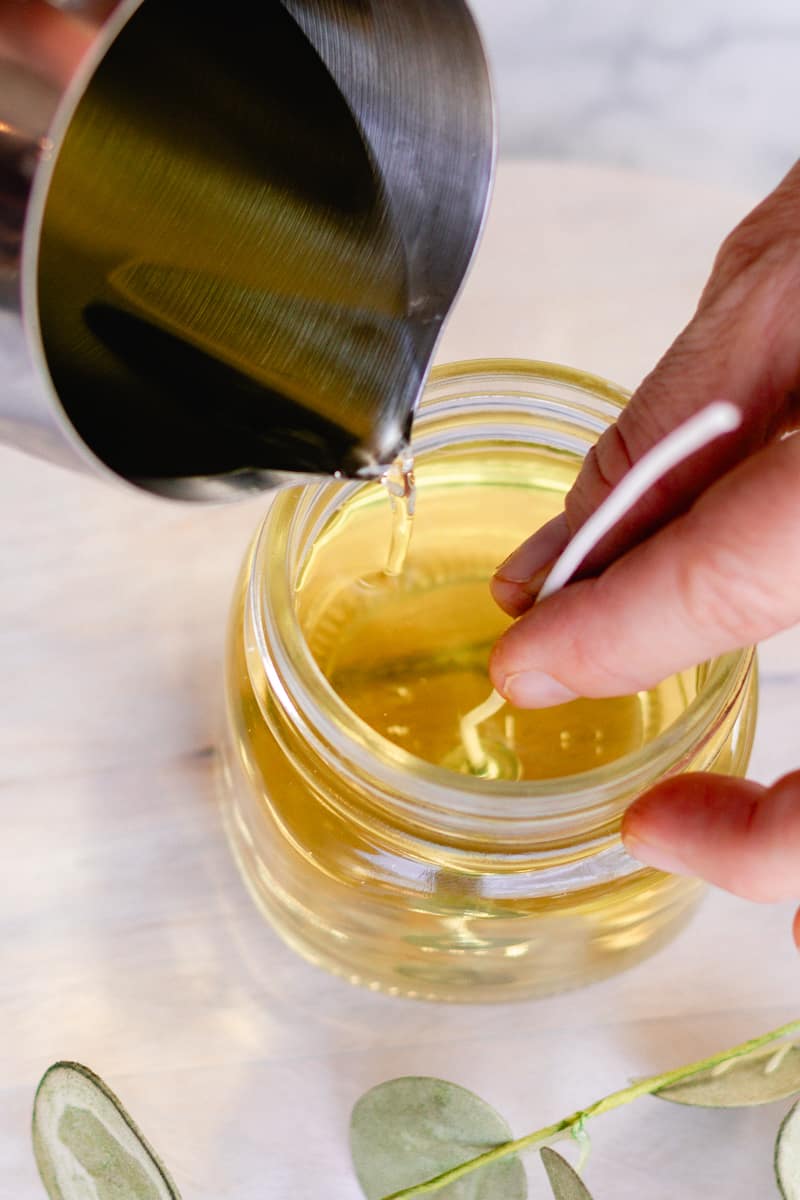
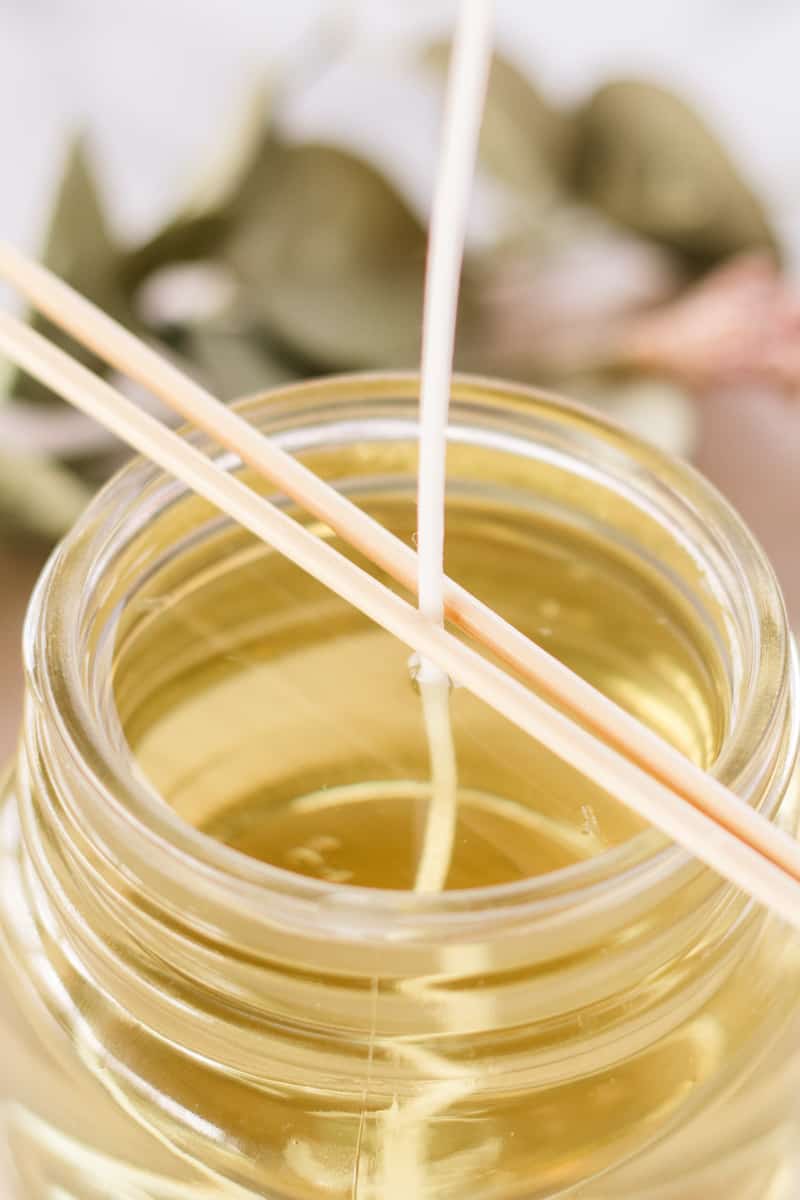
Step 5: Now is the time to center the wick. The easiest way to do this is by using bamboo skewers, popsicle sticks, or pencils. Do this now before the wax hardens completely.
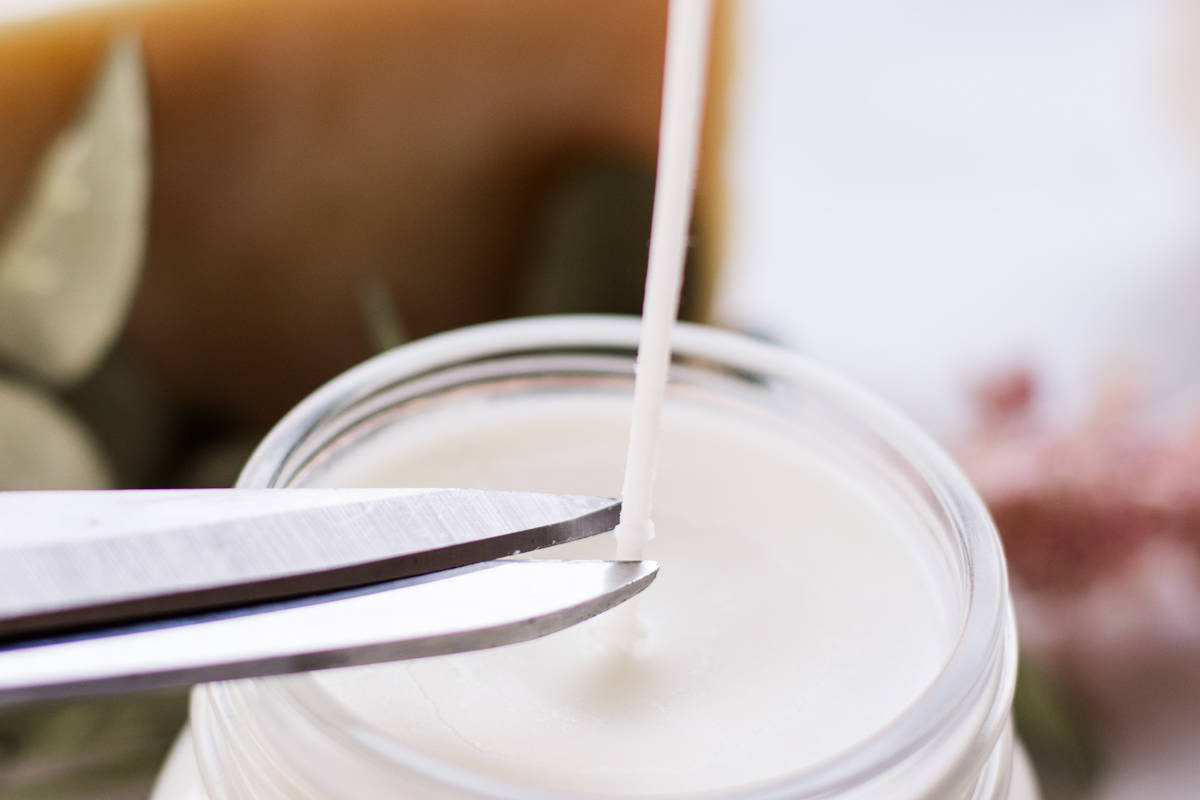
Step 6: Allow your homemade soy candles to harden completely. Then trim the wick. The suggested wick size to trim to is about 1/4 inch above the top of the wax. It’s ready to light once the wax is solid.
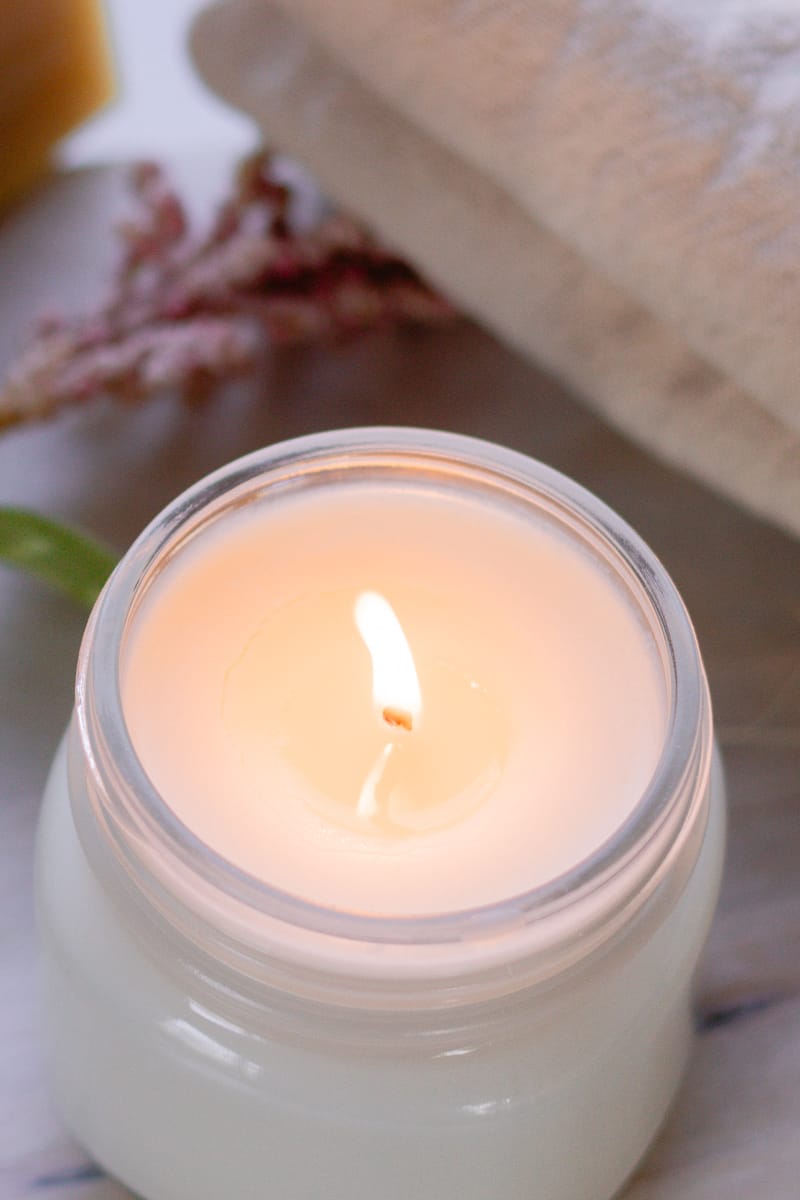
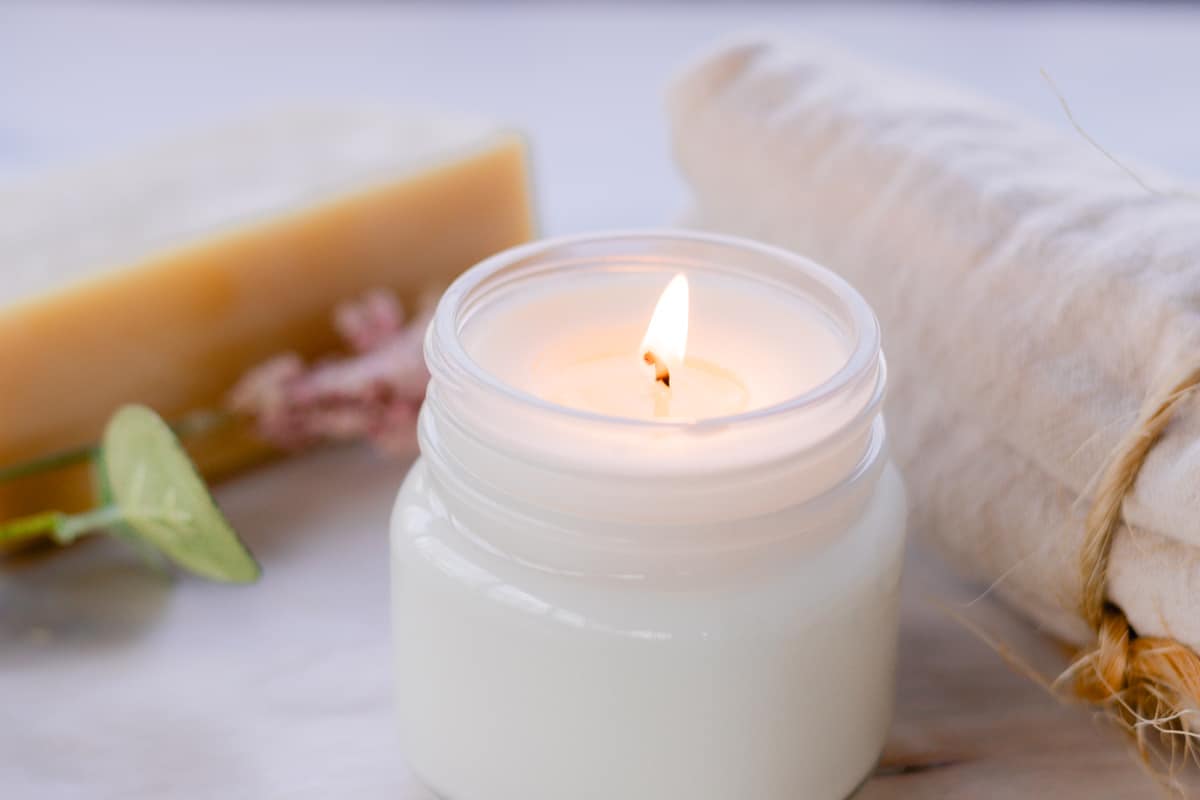
Light your candle and enjoy! I love the way soy wax candles look! I’ve been burning this one ever since I finished off my rosemary candles earlier this season, and I am totally hooked!
What is Soy wax?
Soy wax is a popular choice for candle-making. That’s because it only contains natural ingredients and is fully biodegradable.
Plus, if you shop around and online, you can find sustainably sourced soy wax fairly easily and reasonably priced too.
I do recommend looking for natural soy wax, which is organic and made from renewable sources to ensure sustainable practices.
The soy wax itself comes directly from soybeans. Overall, soy wax candles have a longer burn time and produce much less soot than paraffin wax candles, which are some added benefits.
The possible downside of soy wax is that it’s (usually) more expensive than other waxes and might not hold the fragrance as well as paraffin wax, for example.
But I personally find the scent lasts as long as the candle does, so that works for me!
Making soy candles with essential oils
You’ll notice I’ve put 15 drops of both Bergamot and Cedarwood oils and 20 drops of lemon for this candle recipe, and that’s because I like a mild candle fragrance.
Believe me; it really takes a lot of essential oils to fragrance one candle!
These candles definitely have a more subtle scent than you may be used to. For a stronger scent, you can add 5-10 drops more of each essential oil.
And if you’re using a fragrance oil, make sure you read the instructions on the packaging for how much to add, as they tend to all be a little different. Plus, opt for a natural candle fragrance if possible.
And, of course, you can switch up the essential oils you use to customize the fragrance.
The bergamot, lemon, and cedarwood are a lovely combo, I think, but so is lavender and lemon or orange and lime if you like a citrusy scent (as some suggestions.)
Safety Precautions
Making candles does come with some hazards!
Please, take extra care when you’re melting the soy wax. The best way to melt the wax is to use a wax melter or double boiler, but if you haven’t got one, stick to a low heat and melt it slowly.
Also, take extra care when you pour the wax into the candle holder, as it’ll be super hot.
Wear gloves at all times, and consider goggles to protect your eyes. I personally wouldn’t be using hot wax around young children either, just to stay safe.
And when the candle burns, ensure you do it in a well-ventilated space, away from children, hanging materials, and tablecloths. Finally, never leave a burning candle unattended.
What are some alternatives to soy wax?
The two alternatives I recommend are:
- Beeswax candles (see my favorite beeswax candle recipe here).
- Coconut wax (see my favorite coconut wax candle recipe here).
Why you’ll love this recipe
They make perfect gifts: What could be better than making a DIY candle for your loved ones, perhaps as a birthday or Christmas gift? They look so pretty! Check out my Christmas candles for ideas!
You could always box them up and wrap them nicely with ribbon and twine from local craft stores. I’ve been given a natural soy candle before, and it truly makes the most wonderful, thoughtful gift.
It’s fun to make candles! Nothing beats the mindfulness element of candle-making! It’s such a relaxing thing to do, and the results are so pleasing. Pure fun on a weekend when you’ve got some downtime!
It’s simple: One of the reasons I love making candles is the simplicity of it. It’s all about choosing the type of wax to use, melting the wax, and setting the wick straight – those are the key bits, but otherwise, it’s literally melt, mix, and pour. And leave it to set, of course!

Are soy candles expensive?
The store bought candles and branded label candles tend to me more expensive if made from soy wax, compared to say a paraffin wax candle.
It’s because soy wax is more challenging to source, and has added benefits, like a cleaner burn time, plus the fact it’s biodegradable, meaning you can throw it on your compost heap once you’ve finished with it.
The good news is that when you make your own DIY soy wax candle, you can vastly offset the cost by purchasing bulk amounts of sustainably sourced soy wax that’ll make you several candles from one batch.
Are soy wax candles worth it?
I think so, yes!
I love how they burn cleanly with virtually zero soot coming off them. I also love that they’re 100% natural, without toxins or nasty chemicals.
Especially if you have children around, you’ll want to protect their exposure to unnecessary pollutants in the home. This is where soy candles become worth it, I feel!
Summary
That’s all there is to making your very own DIY soy candle! I hope you enjoy the recipe and the candle-making process.
Just be sure to take care and follow the instructions for best results.
If you enjoy this recipe, I’d love to hear from you. Do drop a comment or review below! And if you are looking for more fun candle DIYs, check out my new taper candle recipe!
How to Make Soy Wax Candles
Equipment
- Jar or cup (to hold your candle) Coffee mugs also work well!
Ingredients
Instructions
- Melt the soy wax gently to a liquid using a wax melter or double boiler. (Note: If you have a block of soy wax, I recommend shredding it into small pastilles before melting to speed up the process.)
- While the wax is melting, glue the candle wick to the bottom of the glass jar or cup.
- Once the wax is melted completely, remove it from the heat, allow it to cool to around 150°F, and then stir in the fragrance oils.
- Carefully pour the wax into the candle, taking care not to splash any on your skin. Wear gloves!
- Center the wick using bamboo skewers or pencils.
- Allow the candle to harden completely before lighting.



Leave a Comment: