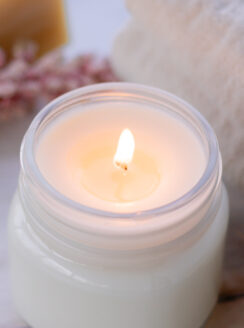
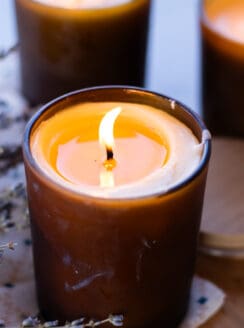
Use these homemade citronella candles to help repel mosquitos and other insects naturally on beautiful summer nights. Making your own bug repellent candles is easy, cost-effective, and they actually work!
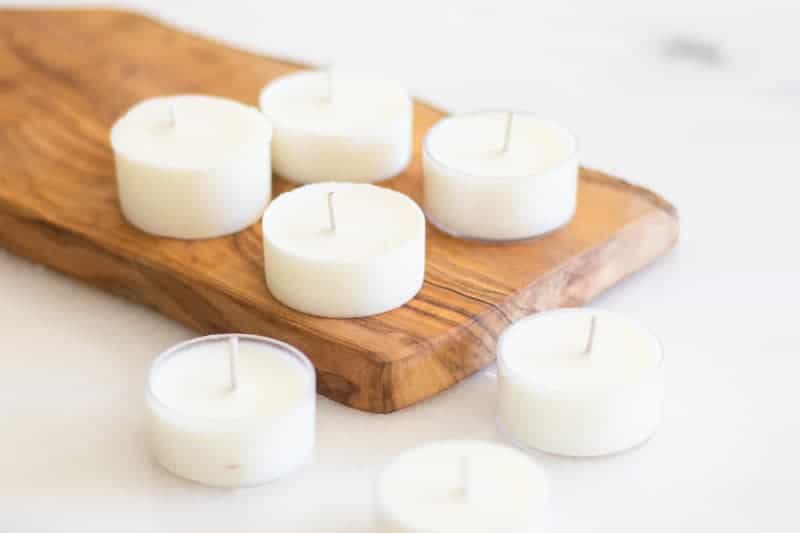
Citronella has been used for years to repel insects during the summer months. Making your own homemade citronella candles takes just 2-ingredients: beeswax and citronella essential oil. By making these yourself, you can be assured this is a safe, non-toxic repellent for mosquitoes and other flying insects.
Sitting on the back patio on a warm clear summer night watching the sunset is absolutely beautiful and a perfect way to relax in the evening. That is until you find yourself swarmed by millions of flying insects.
That is why having a bug spray and homemade citronella candles on hand is a must to enjoy the beautiful summer nights. Thankfully, they are easy to make and really help to keep those bugs away!
PIN IT FOR LATER
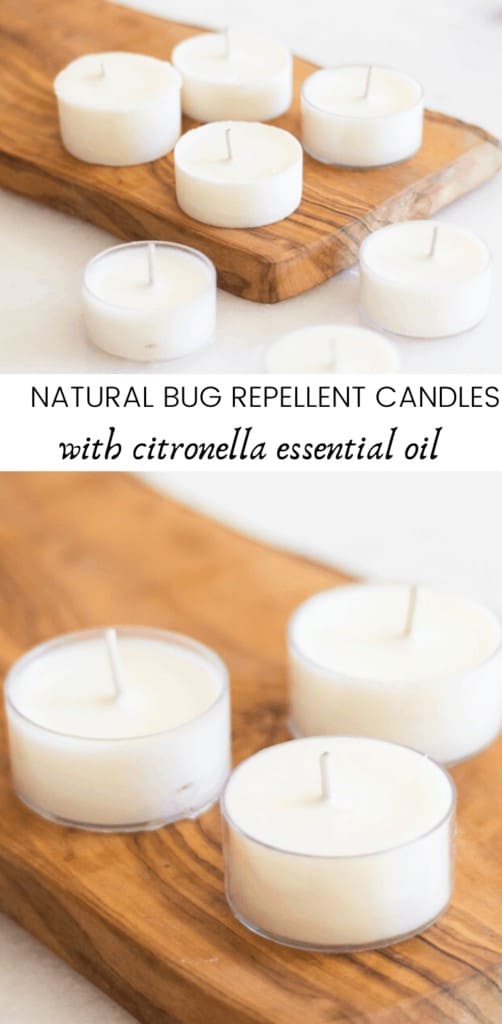
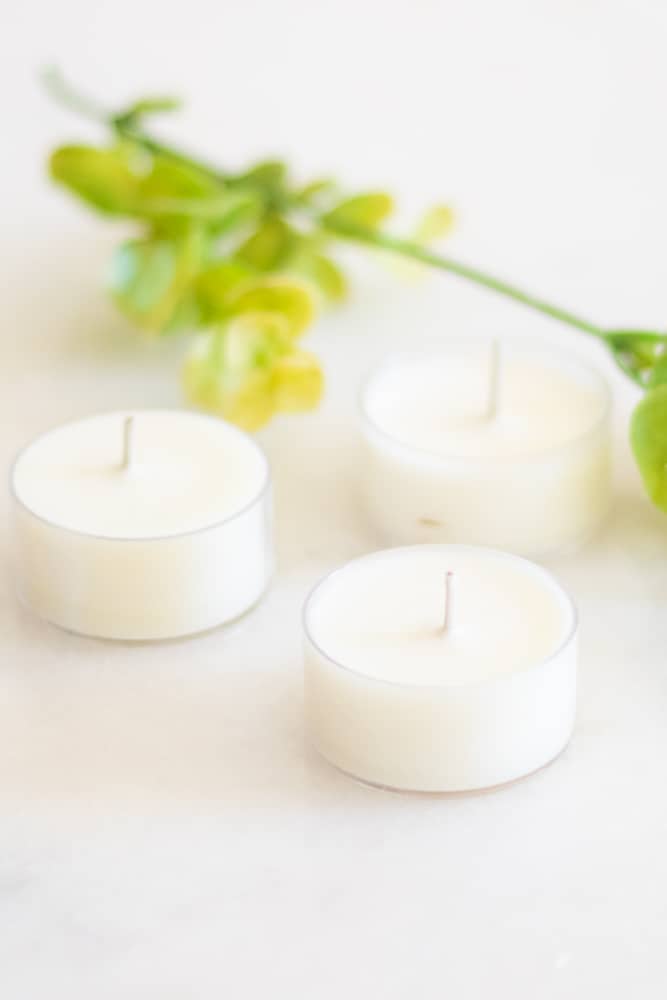
HOMEMADE BUG REPELLENT CANDLES
The key ingredient to bug repellent candles is the citronella essential oil. Most bugs do not like that scent and will stay clear from the smell. I have also found several other oils that can be added to these candles to make them even more effective.
You can make these candles using just citronella essential oil, or you can add in more scents by choosing essential oils from the list below.
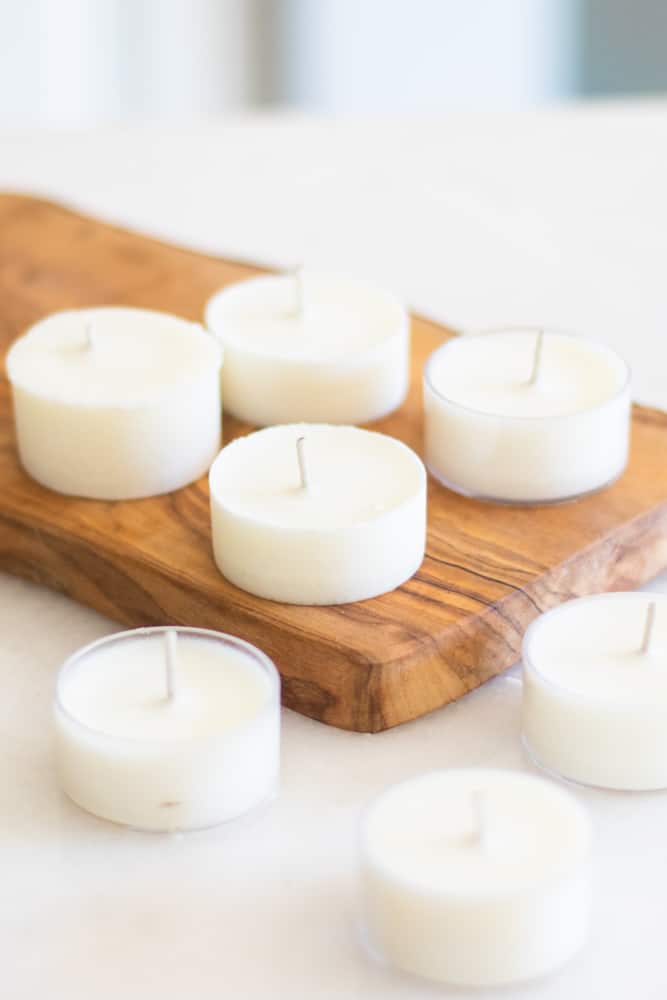
ESSENTIAL OILS FOR NATURAL BUG REPELLENT
- Eucalyptus
- Lemongrass
- Cedarwood
- Rosemary
- Tea tree
- Peppermint
Adding in eucalyptus and lemongrass will help to repel mosquitos and wasps, and cedarwood essential oil effectively repels ticks.
CITRONELLA OIL CANDLES
To make bug repellent candles, you will need wax and essential oils. I like to use either soy wax or beeswax for candles.

WAX FOR CANDLE MAKING
Both beeswax and soy wax will work for your bug repellent candle, but they do have a few differences. Beeswax is denser than soy wax, so you will get more burn time from it than if using the latter.
Beeswax has a very decent smell and has a pretty yellow color. You can purchase white beeswax, or you can use soy wax if you prefer a lighter colored candle.
I prefer to use soy wax for the citronella candles and I use beeswax for all of my other candle makings. Beeswax candles make an easy and thoughtful gift idea!
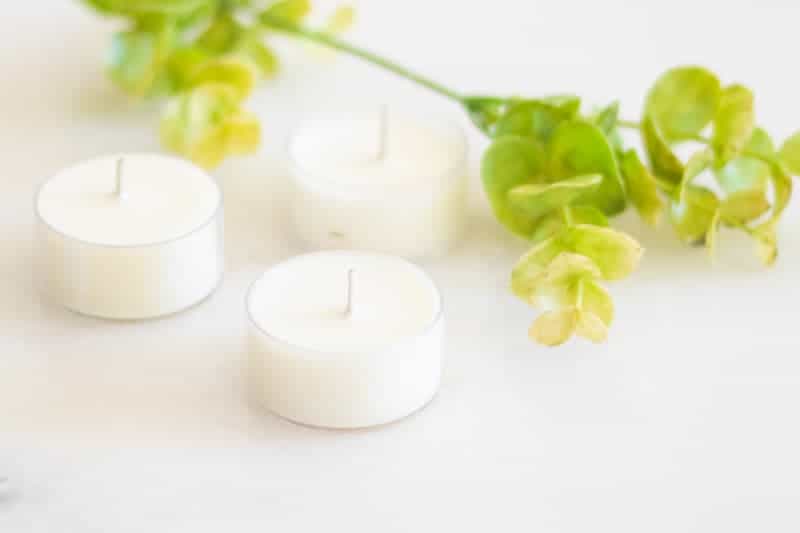
ESSENTIAL OILS FOR BUG REPELLENT CANDLES
It is important to note that it is going to take a sizable amount of essential oils to scent a candle. I suggest starting with a small-sized candle. If you end up wanting to use a larger candle mold, just be sure to add enough essential oils into it to make the scent strong enough to repel bugs.
Any essential oil can be added to candle wax. After melting the wax, you will want to give the wax time to cool slightly before adding in the essential oils. If essential oils are put into really hot substances, it can cause them to lose their therapeutic benefits.
CANDLE MAKING KIT
You can make candles without buying a whole kit. All you really need are wax and wicks. Buying a kit can be helpful, though, as most come with containers to make candles in, wax, wicks, and tools to stabilize the wick as the wax dries.
I have used mason jars, old mugs, and silicone molds for pillar candles to make candles in the past. But for these mosquito repellent candles, I wanted to keep them small and make them the size of a tea light candle.
I found the perfect tea light candle containers to make these candles into on amazon. They were a perfect size, so I purchased the kit!
You can also use small silicone molds to make candles. Once the wax is hardened and the wick is in place, you can pop the candle out of the mold.
HOMEMADE CITRONELLA CANDLES
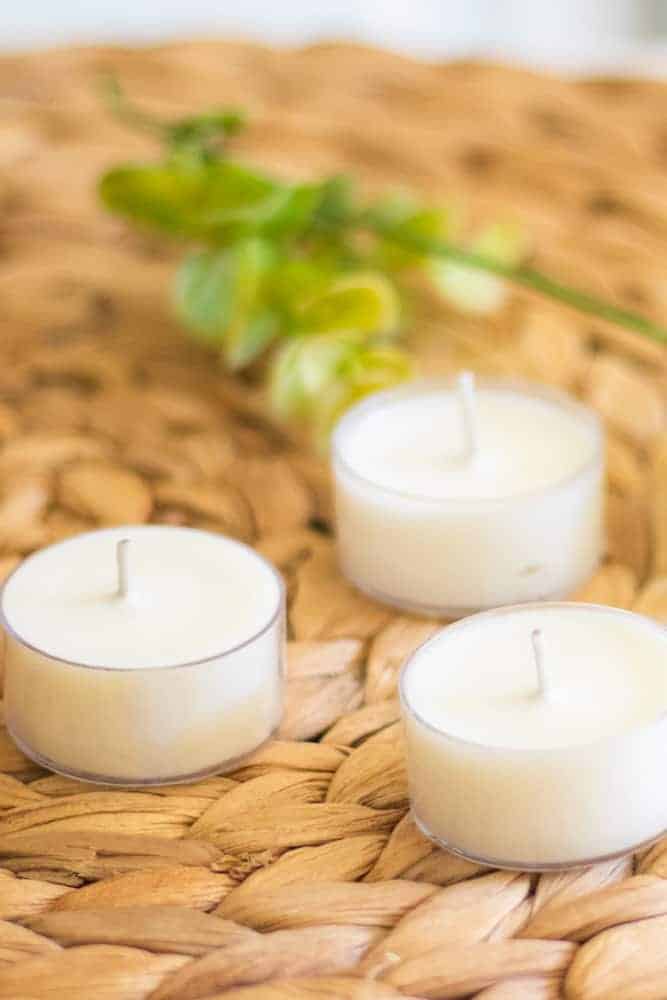
Making candles is as simple as melting wax in a double boiler, adding in essential oils, and then pouring it into the candle mold or container you wish to use.
This post contains affiliate links, which means I make a small commission at no extra cost to you. Get my full disclosure HERE.
INGREDIENTS
- 1/2 pound beeswax or soy wax
- 1/4 cup coconut oil
- Tea light candle molds or silicone molds
- Candle Wicks
- Metal pitcher or old coffee tin
- Large Pot that will fit your metal pitcher (or metal container you are using)
- Bamboo Skewers or pencils
- Citronella essential oil
INSTRUCTIONS
- Pour the wax into a metal pitcher or metal can. I suggest keeping a metal pitcher or can on hand for all of your candle-makings because cleaning wax off of dishes is no fun, trust me!
- Place the metal container into a large pot of water and bring it to a boil. This is your double boiler! Turn heat down to medium, stirring occasionally until all the wax is melted. Be sure the water doesn’t splash into the beeswax container.
- Once the wax is completely melted, remove it from heat and stir in the coconut oil. (This helps the wax burn slower, resulting in longer burn time.)
- Add in 30-50 drops of citronella essential oil.
- Secure a wick at the bottom of the candle mold with a little glue and then fill the container with the melted wax and coconut oil.
- Use a pencil or bamboo skewers to tie the wick around and place horizontally over the jar. This will keep the wick in the center while the wax hardens.
- Once the wax is completely hardened, you can trim the wick, and it is ready to light.
Note: Wax will clog up sink drains. Drain excess wax into a plastic trash bag and dispose of it.
HOW TO USE CITRONELLA CANDLES AS INSECT REPELLENT?
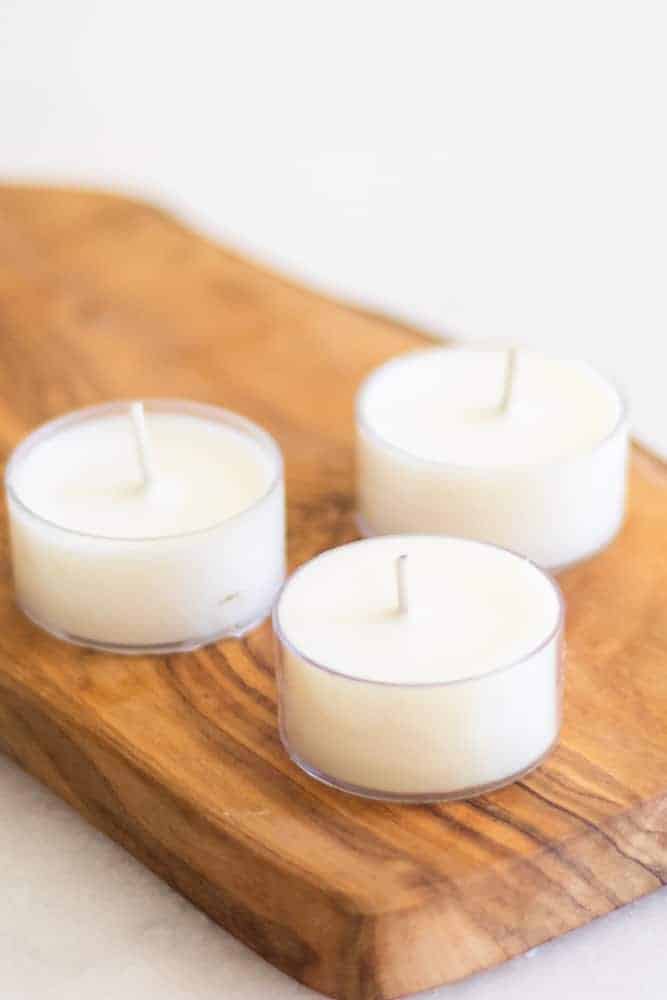
If using all-natural ingredients to make candles, they can be safe to burn inside the home. However, these candles are meant for the outdoors to repel insects.
You can use multiple candles at a time to make them more effective. Place several candles around the border of the area you are sitting to keep the insects away.
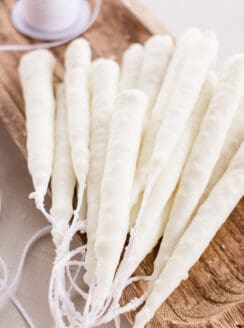
If you enjoyed this quick candle recipe, you might enjoy this candle dipping for beginners recipe next.
MORE DIYS YOU MAY ENJOY
Homemade Citronella Candles
Ingredients
- ½ pound of soy wax or beeswax
- ¼ cup coconut oil
- Tea light candle molds
- Candle wicks
- Metal can
- Large pot
- Bamboo skewers or pencils
- Citronella essential oil
Instructions
- Pour the wax into a metal pitcher or metal can. I suggest keeping a metal pitcher or can on hand for all of your candle makings because cleaning wax off of dishes is no fun, trust me!
Place the metal container into a large pot of water and bring to a boil. This is your double boiler! Turn heat down to medium, stirring occasionally until all the wax is melted. Be sure the water doesn’t splash into the beeswax container. - Once the wax is completely melted, remove from heat and stir in the coconut oil. (This helps the wax to burn slower and makes your candle last longer.)
- Add in 30-50 drops of citronella essential oil.
- Secure a wick at the bottom of the candle mold with a little glue, and then fill the container with the melted wax and coconut oil.
- Using a pencil or bamboo skewer, tie the wick around its center and place the skewer horizontally over the jar. This will keep the wick in the center while the wax hardens.
- Once the wax is completely hardened, you can trim the wick, and it is ready to light.

Kathy Holmes says
I love your site. I have used so many of your recipes because you keep them so simple that anyone can do, thank you!
Question is do you have to have the wax at a certain temperature before adding your citronella oil for it to be effective? (heating or cooling)
Laura says
Thank you for your kind words! The wax needs to be completely melted, then remove from heat and add citronella oil.
Mar says
About how many candles did you get out of making a single batch?
Laura says
About 15
wilhelmina says
These work so well! What a great way to ward off the bugs!
Lindsay Cotter says
Can’t wait to make these!
cathy says
What a brilliant idea to make your own…can’t wait to make a batch.
Beth says
What a great idea! I have always wondered how to make these! Thank you!
Laura says
You’re welcome!
Lauren Kelly says
The mosquitos are all over! This is exactly what I was looking for. Thank you!
Laura says
You’re welcome!