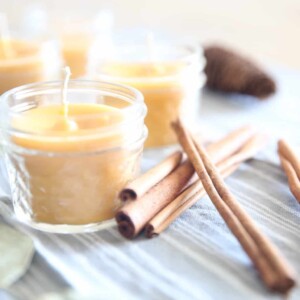
There is nothing like a burning candle in the winter months to cozy up a home. Learn how to make the easiest DIY beeswax candles with this video tutorial, as well as simple written instructions.
I used to burn candles all the time. Then I came across an article about the toxins found in the wax and wicks. Well, there went that and all the candles!
My husband always gets nervous when I’m up googling because usually, it results in something else in our home being unhealthy. No, we can’t be perfect, and we don’t have a perfectly toxic-free home. But I am going to try my best!
Most of the time, I just run the diffusers to get the scent I want, but having a candle burning adds an extra cozy touch. Don’t let candle making overwhelm you, as it did me for a long time, because it is actually a very simple process.
THE EASIEST BEESWAX CANDLE RECIPE
This post contains affiliate links, which means I make a small commission at no extra cost to you. Get my full disclosure HERE.
Essential oils (optional, my favorite combinations are listed below)
INSTRUCTIONS
Add the beeswax to a metal pitcher or metal can. I suggest using a metal container that you can throw away when you are done because it is next to impossible to clean beeswax out of dishes. I am using an old popcorn tin.
Place the metal container into a large pot of water and bring to a boil. This is your double boiler! Turn heat down to medium and occasionally stir until all the beeswax is melted. Be sure the water doesn’t splash into the beeswax container.
Once the beeswax is completely melted, remove from heat and stir in the coconut oil. (This helps the beeswax burn slower.)
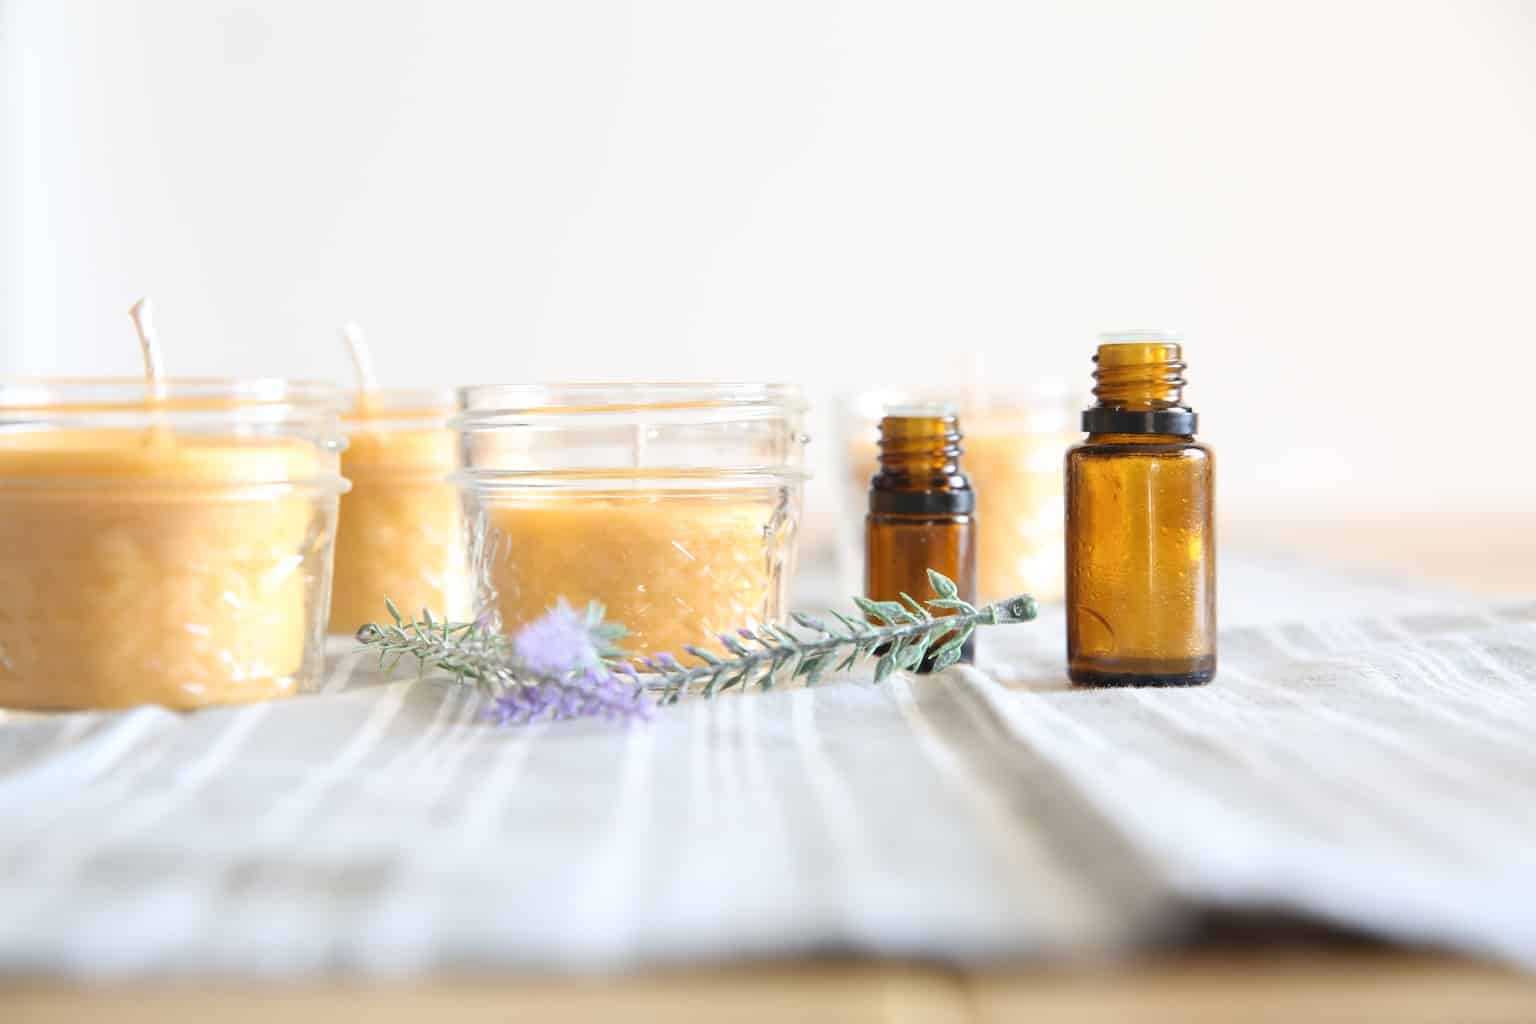
Add in 30-50 drops of essential oils of choice. (optional)
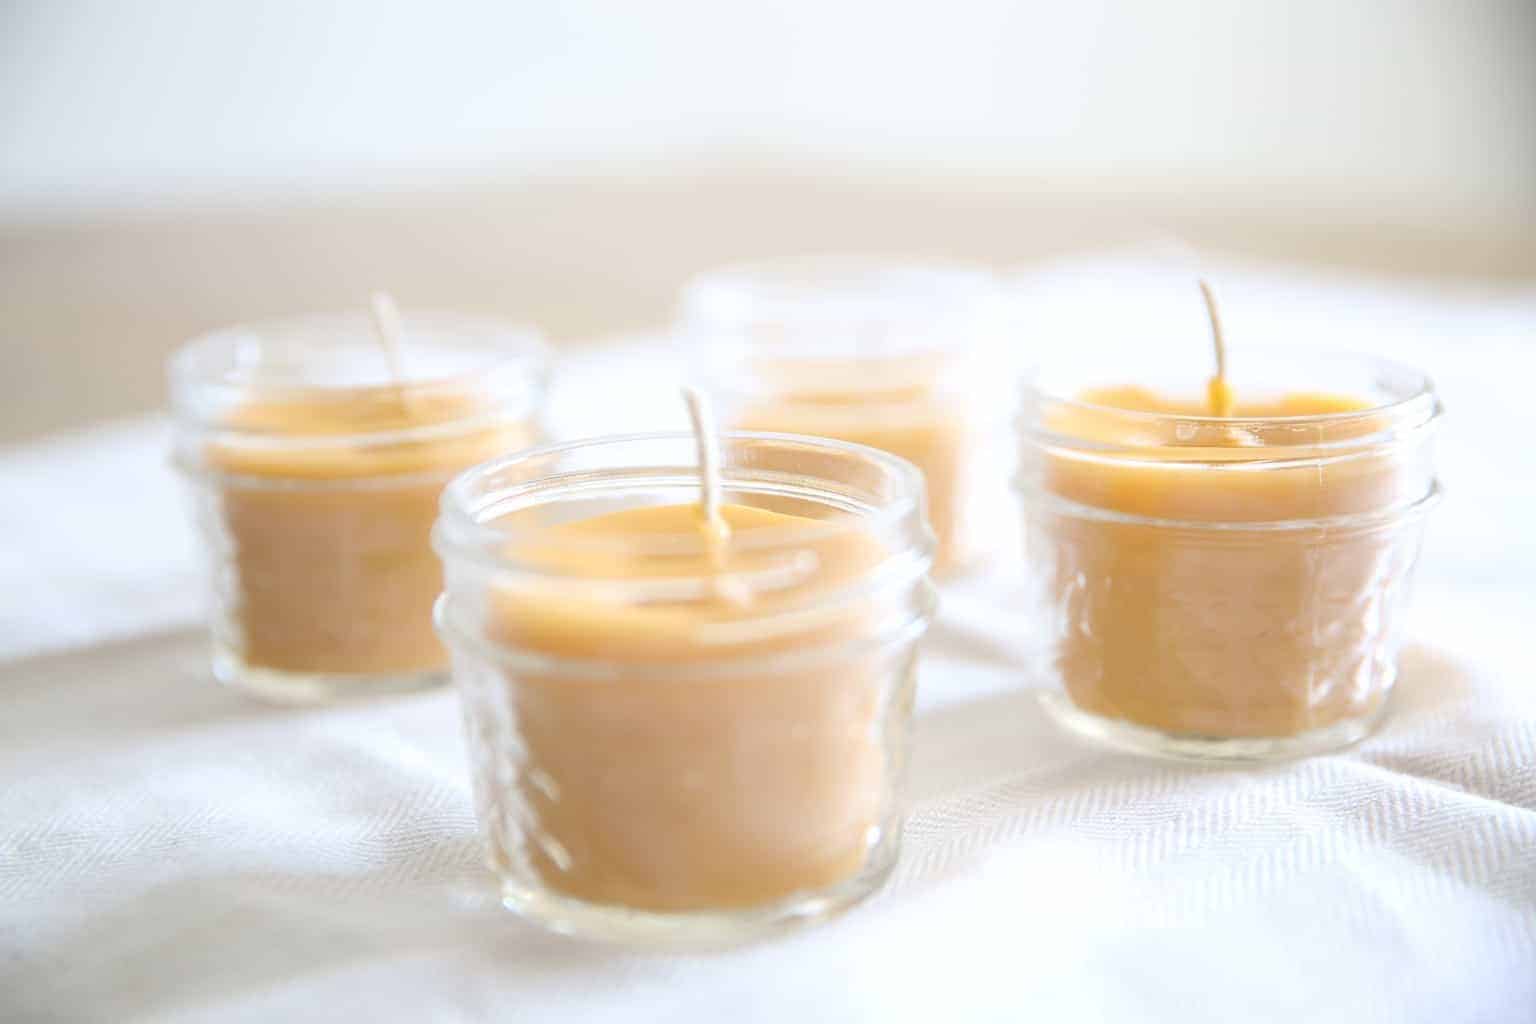
Secure a wick at the bottom of the mason jar with a little glue and then fill the jar with the melted wax and coconut oil. Leave about an inch of room at the top of the jar.
Using a pencil or bamboo skewer, wrap the other end of the wick around it and lay it horizontally across the top center of the jar. This will keep the wick centered while the wax hardens.
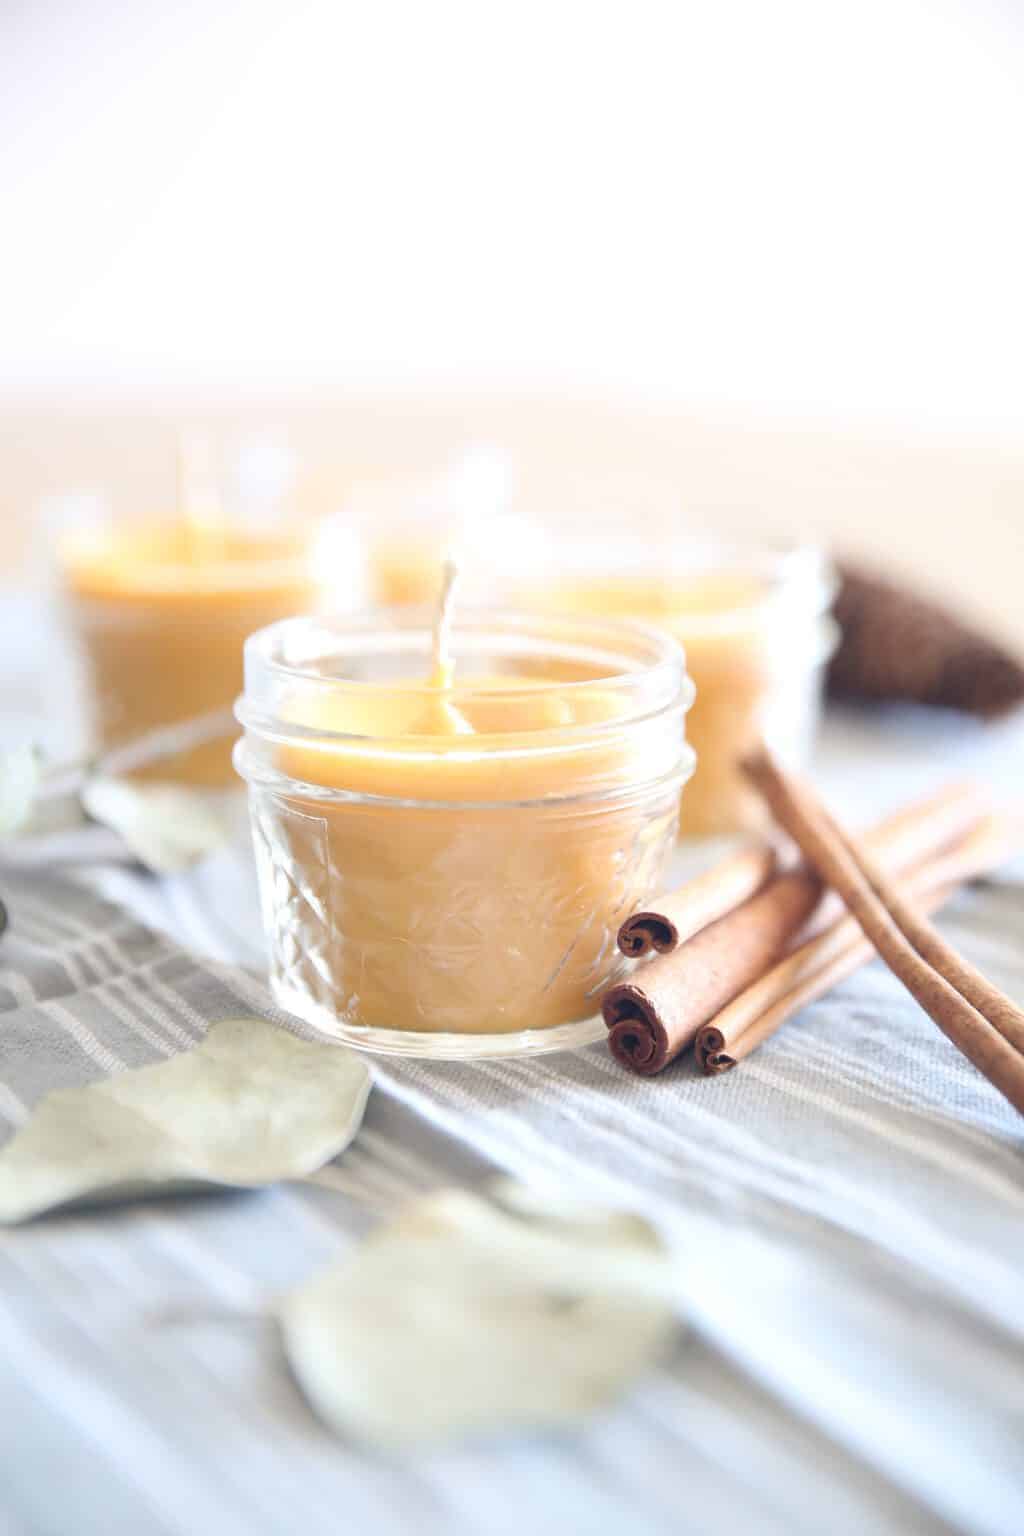
Once the wax is completely hardened, you can trim the wick, and it is ready to light. It should be about 1/2 inch long.
ESSENTIAL OILS
If you are making candles to scent your house, it is going to take a lot of essential oils. It would be more cost-effective to use a diffuser if you are trying to get a specific aroma to fill the home.
You can use essential oils in your candles, and they do let off a scent, but you will have to add about 30-50 drops of essential oils per candle. I personally rather not use that much essential oil in a candle and instead add 4-6 drops to a diffuser.
The trick is to add the essential oils when the wax is still hot and not hardened, but not so hot that the essential oils evaporate. Remove from heat and allow to cool slightly before adding the essential oils and then stir them in.
I prefer to light an unscented candle for the cozy feel and run my diffuser to get the scent. This allows you to get more of the aromatic benefits and still gives you a nice smelling, cozy home.
If you decide to add essential oils to your candles (which I have and really enjoyed), here are some combinations that smell really nice together:
Bergamont + Wild Orange + Lime
Geranium + Lemongrass
Peppermint + Lemon + Wild Orange
Cassia + Cinnamon + Siberian Fir (This is a great one for Christmas!)
Lavender + Sandalwood + Vetiver + Patchouli
Rosemary + Juniper Berry + Tangerine
WHAT IS WRONG WITH STORE BOUGHT CANDLES
Not all store-bought candles are bad. However, most are filled with toxins. Candles can contain toxic chemicals in the wax and wicks. When they are being burned, these toxins are being released into your home and polluting the air.
Most candles are made with paraffin wax, which creates highly toxic chemicals that are known carcinogens when burned.
Try to use the least amount of dishes as possible, and if you can, it is best to use things that can be thrown away—or saved for all your beeswax DIYs.
You can make these candles in a crockpot by putting the wax straight in the jars and letting them warm up in the crockpot to melt the wax. This is an excellent option if you don’t have a throwaway metal container to use.
When you go to light your candle for the first time, if the wick is sparking or smoking, just blow it out and recut your wick. If it is much shorter than 1/2 inch, it will cause the candle to burn down in a tunnel shape.
Get creative and use old coffee mugs or little cute vintage containers as your base. Anything that is heat resistant can make a cute candle holder.
Have you ever made your own homemade candles? Did you scent them? Which essential oils did you use and like most? Share with us in the comments below!
Looking for the scent of a candle without worrying about an open flame? Try these Homemade Candle Wax Melts
Pour the beeswax into a metal container or pitcher.
Place the metal container into a large pot of water and bring to a boil. Turn heat down to medium and stir occasionally until the wax is melted. Make sure no water splashes into the wax container.
Once the beeswax is completely melted, remove from heat and stir in the coconut oil.
Add in 30-50 drops of essential oils of choice if you want to make a scented candle. This is optional.
Secure a wick at the bottom of the mason jar with a little glue and then fill the jar with the melted wax and coconut oil. Leave about an inch of room at the top of the jar.
Using a pencil or bamboo skewer, wrap the end of the wick around it and lay it horizontal over the jar. This will keep the wick in the center while the wax hardens. (See video tutorial)
Once the wax is completely hardened, trim the wick to about 1/2 in and it is ready to light.
Welcome to Our Oily House, I’m so glad you’re here! Explore DIY cleaners, homemade soaps, skincare and hair care recipes, fragrance-free solutions, and sustainable laundry tips for a naturally inspired home.
If I wanted to use a candle warmer lamp, could I leave out the wick? I have a 2 year old and worry about the flame, so I thought this could save me a step!
Yes, you can use a candle warmer instead of a wick. In that case, you can leave the wick out. Just make sure the container you are using is safe for gentle heat from the warmer.
Laura, thank you for this recipe. I can’t wait to try it. I have been reading recently that some essential oils are toxic when burned. Do you know which ones are safe?
I think you just need to be careful about the grade of oils you are using. Be sure to buy from a reputable company.
For the coconut oil, is fractionated coconut oil ok or more of the solid form necessary?
You will need cold-pressed for this recipe.
Do you have to use the coconut oil?
Yes, you do need the oil.