This post may contain affiliate links. Please see our disclosure policy.
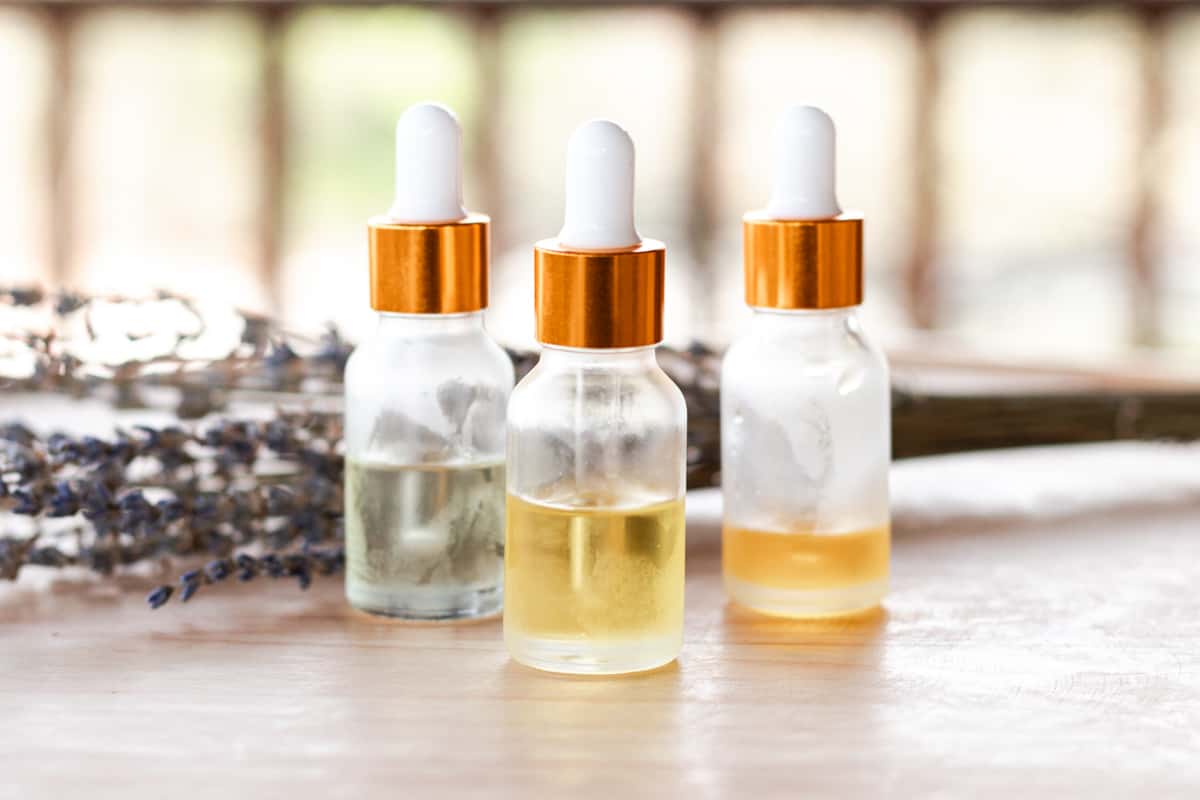
Want glowy, youthful-looking skin but don’t want to bust your budget on expensive department-store products? These skin serums are so simple to make, and you’ll love the youthful results.
Even though I love using skincare products, picking out what I really need can be so overwhelming! There are endless choices, confusing terms, and research overload. Plus, who wants to spend a fortune on tiny bottles? Trust me when I say building a routine with celebrity-endorsed brands gets expensive fast.
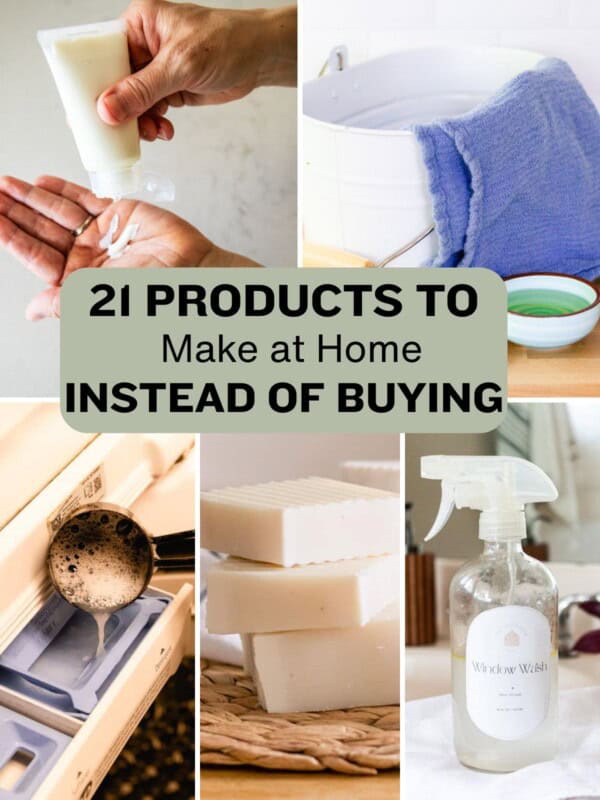
That’s why I pretty much make all of my own products! It saves me so much money and empowers me to take control of my ingredients, ensuring the best care for my skin.
Today, we are focusing on a face serum! Unlike lotion, serums are packed with potent ingredients. Think of them as super-powered moisturizers! They have a higher concentration of active ingredients that penetrate deeply for noticeable results.
Favorite Face Serums for Youthful Skin
I have received many requests for serums that use specific ingredients such as hyaluronic acid and carrot seed oil. Well, you asked, and I delivered! I’m excited to share these new recipes with you! Want to see my collection of other amazing serums? Click here!
1. Skin Brightening Vitamin C Serum
This first recipe is one I have been making for years and have a dedicated post for. It’s a budget-friendly alternative to store-bought vitamin C serums and the best part? I’ve seen a noticeable difference in my skin after just a few weeks!
You can get the recipe here!
2. Hydrating and Plumping Serum
This serum will soothe and hydrate your skin thanks to one of my favorite ingredients, aloe vera gel, which is partnered with Hyaluronic Acid Serum, which will help your skin attract and hold onto water for that plump, dewy, and youthful look.
Ingredients:
- 0.5 oz Aloe Vera Gel
- 0.25 oz Hyaluronic Acid Serum
- 2 drops Lavender Essential Oil
Instructions:
- In a clean, dark container, add your aloe vera gel and hyaluronic acid serum.
- Add the lavender essential oil, secure the lid, and shake well.
- Apply a pea-sized amount to cleansed and toned skin morning and night.
- *Store this serum in the fridge.
3. Youthful Skin Face Serum
Aging is a blessing, but of course, I want to put my best face forward. I’m not ready to say I have mature skin just yet, but a few years ago, I started adding some anti-aging steps, like this homemade anti-aging roller bottle, to my skincare routine.
This serum leads with the powerful properties of Frankincense oil, known for increasing cell regeneration for healthy skin.
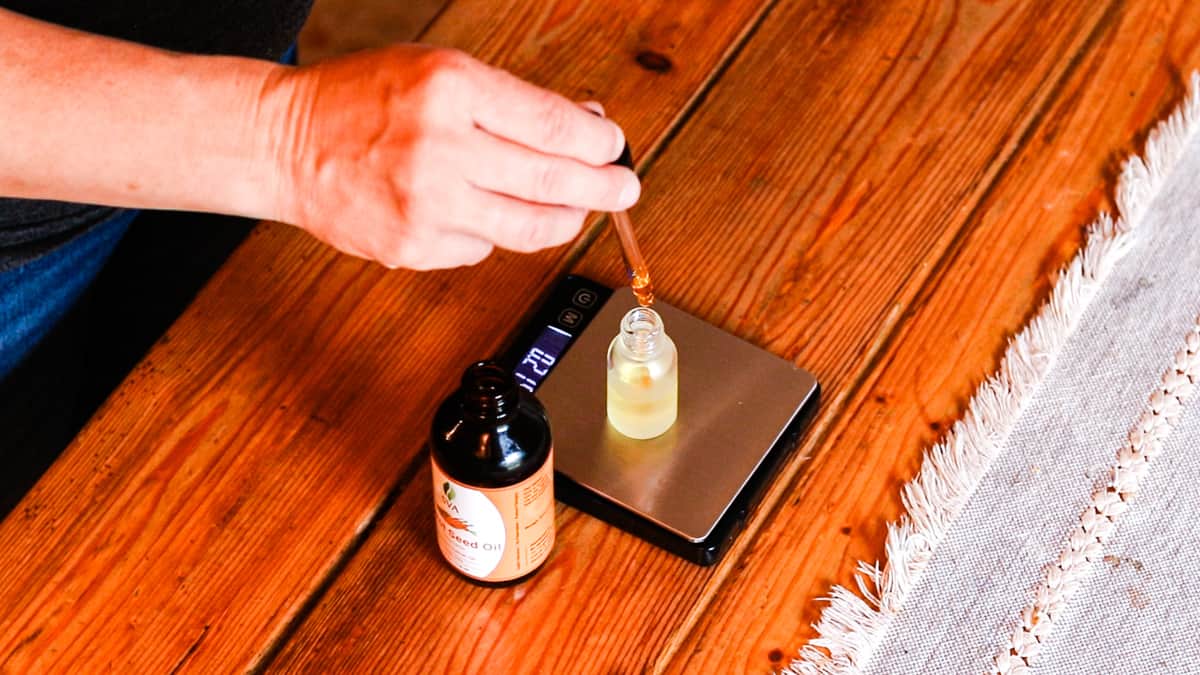
Research shows carrot seed oil is effective at moisturizing skin and shrinking large pores while leaving you with a reduction in blemishes and the appearance of wrinkles. Run – don’t walk – to mix this one up!
Ingredients:
- 0.5 oz Grapeseed Oil
- 0.25 oz Carrot Seed Oil
- 4 drops of Vitamin E oil
- 3 drops Frankincense Essential Oil
Instructions:
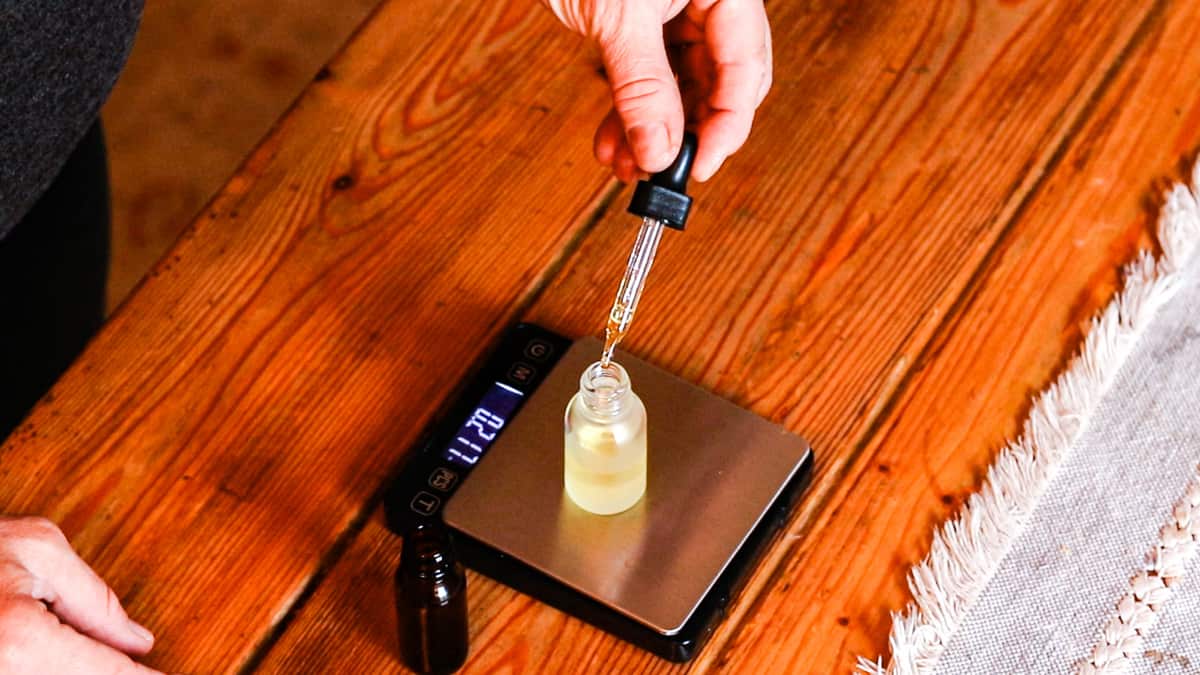
- In a clean, dark dropper bottle, combine all the ingredients.
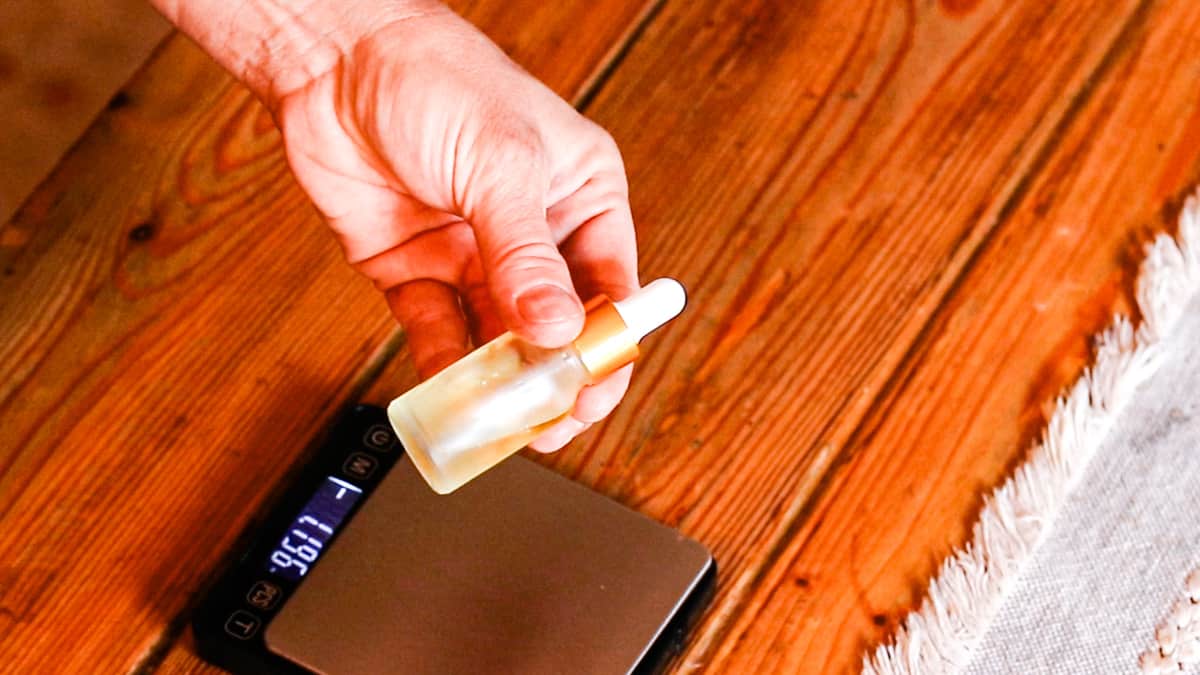
- Secure the lid and shake well to combine.
- Apply 2-3 drops to cleansed and toned skin at night only. Avoid using around the eyes.
4. Balancing Serum for Oily Skin
If your skin tends to be oily, argan oil absorbs quickly, so you don’t have to worry about your face feeling greasy after use. The powerful antioxidant-rich argan oil, which I use in my DIY argan oil face serum, is coupled with refreshing grapefruit oil to control oil production and minimize large pores.
Important note for my outdoorsy friends: grapefruit is photosensitive, so you should not use it before going out in direct sunlight.
Ingredients:
- 0.5 oz Argan oil
- 2 drops Grapefruit Essential Oil
Instructions:
- In a clean, dark dropper bottle, combine argan and grapefruit oils.
- Apply 2-3 drops to cleansed and toned skin morning and night, focusing on oily areas.
- Dab your skin with a clean towel to remove any excess oils. *Do not use this one if you plan on being in direct sunlight!
5. Skin Tone Correction Serum
Rosehip seed oil improves and reduces dark spots while revitalizing and brightening overall skin tone. The geranium oil also evens out skin tone while boosting your mood with a sweet, uplifting, floral scent.
This serum could be a great choice if you have any dark spots due to breakouts in the past.
Ingredients:
- 0.5 oz Rosehip Seed Oil
- 2 drops Geranium Essential Oil
Instructions:
- In a clean, dark dropper bottle, combine the rosehip seed oil and geranium essential oil.
- Apply 2-3 drops to cleansed and toned skin morning and night, focusing on dark spots.

How to use your facial serum
Most beauty experts will tell you it is best to apply your serum to a freshly washed face, and then apply your moisturizer.
I’m a rebel, I guess, because I prefer to let my moisturizer sink in and then apply a few drops of my chosen serum for the day.
You should experiment with what feels best for you. You really can’t go wrong with adding a serum to your regular cleansing and skincare routine.
It should be an enjoyable process, not something else to stress out about.
Don’t skip the patch test.
Patch tests are not just for sensitive skin! With all skincare products (DIY and store-bought), you should do a patch test with these serums before applying them to your face.
A small spot on your inner arm will do. Once you are comfortable and there is no reaction or skin irritation, you can move forward with regular use.
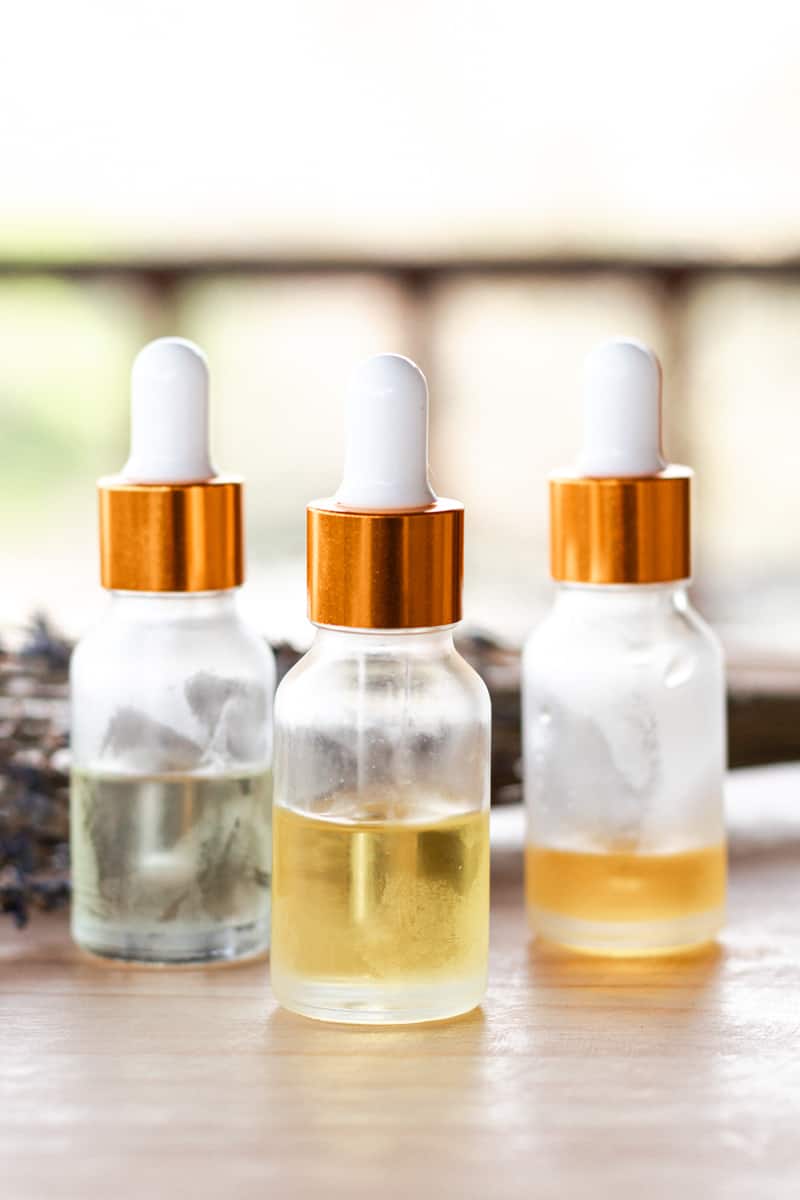
Why dark glass bottles?
Using a dark glass bottle, such as amber or cobalt blue, is best for storing your serums. The dark bottle protects your precious serum ingredients from light, oxidation, and degradation.
If you use clear bottles, like I do, I would suggest storing them in a dark area away from direct sunlight.
Label your homemade face serums.
Remember to make labels for your serums. I have been guilty of skipping the label step and thinking, “Oh, I’ll remember what I put in here.” A couple of weeks later, my counter was messy, and I was stuck smelling serums and trying to remember what I had put where.
Don’t make my mistake: make a label every time! Plus, pretty labels make your skincare routine feel a little more luxurious, and I think we deserve that!
Carrier oils and making substitutions in recipes
These DIY Face Serum recipes all use carrier oils such as wheat germ oil, argan oil, rosehip oil, and grapeseed oil. Other popular natural oils that you can use as carrier oils are jojoba oil, coconut oil, sweet almond oil, avocado oil, and olive oil.
My recipes were created with specific benefits in mind that I wanted each serum to achieve, but you are always able to experiment with substitutions in case you have sensitivities or difficulties in obtaining certain ingredients.
Make sure to let me know if you try my homemade face serum recipe exactly or make any modifications to your own homemade serum. I love hearing from you.
More of my favorite beauty recipes
- Anti-Aging Skin Care Tips
- Under Eye Mask
- Clear Skin Roller Bottle Recipe
- Eyelash Serum
- Nail Growth Serum
Sources:
- Carrot Seed Oil research
- Benefits of Argan Oil
- Grapefruit Essential Oil Benefits
- Science Behind Rosehip Seed Oil
- Geranium Oil and Skin
Face Serums for Youthful Skin
Ingredients
Hydrating and Plumping Serum
- 0.5 oz Aloe Vera Gel
- 0.25 oz Hyaluronic Acid Serum
- 2 drops Lavender Essential Oil
Anti-Wrinkle Serum
- 0.5 oz Grapeseed Oil
- 0.25 oz Carrot Seed Oil
- 4 drops Vitamin E oil
- 3 drops Frankincense Essential Oil
Balancing Serum for Oily Skin
- 0.5 oz Argan oil
- 2 drops Grapefruit Essential Oil, see notes below
Skin Tone Correction Serum
- 0.5 oz Rosehip Seed Oil
- 2 drops Geranium Essential Oil
Instructions
- Choose from one of the serum recipes above and add the ingredients to your glass jar.
- Secure the lid and shake well to mix thoroughly.
- Add a label to your serum jar.
- Apply 2-3 drops to cleansed and toned skin morning and night. (see notes below)


Hello,
I’m looking for a toner for dry skin? Do you have something like that to share?
Thank you,
Jan
Hello Jan. For dry skin, look for a toner that is hydrating rather than astringent. Ingredients like rose water, aloe vera, and glycerin work well. I will consider sharing a simple recipe in the future.
Is it possible to combine the hydrating/plumping recipe with the anti aging? Or do they need to be separately?
LOVE LOVE LOVE the serums!
Can you use peppermint extract in place of grapefruit?
Peppermint is a “hot” oil so you will need to be very careful using it especially around your eyes.
Is there any way to obtain CoQ10 as an ingredient for these face serums?
Where do you find the hyrlonic acid
Hey Maria, it’s linked in the recipe at the bottom of the post.
These look amazing!