This post may contain affiliate links. Please see our disclosure policy.
Searching for a natural elixir to revitalize your skin? Look no further than rosehip oil. Bursting with vitamins, antioxidants, and essential fatty acids, this golden-hued oil will become a skincare staple.
The power of the rose ‘family’ never ceases to amaze. From rose oil, rose essential oil, rose seed oil, and here, in this post, we’ll talk about rosehip oil.
Rosehip oil has many uses that are so undervalued if you ask me!
From moisturizing to skin rejuvenation to inflammation settling – you can be sure that Rosehip Oil will support your skincare protocol somehow.
Read on to learn all there is to know about rosehip oil, including how to make it at home with the recipe below!
What is rosehip oil?
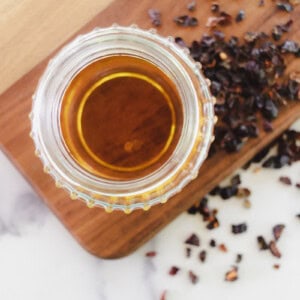
Rosehip oil is an oil made from the seeds of the wild rose bush tree. They come out once the rose flowers have died off, usually in the Autumn time.
It’s not to be confused with rosehip seed oil or any of the other rose oils out there.
Rosehip oil, in truth, deserves its own place in the spotlight!
It’s an excellent natural moisturizer for the skin and a fantastic skin brightener due to its high levels of vitamin C.
Aging skin will also love rosehip oil as it helps minimize the appearance of fine lines and wrinkles.
Why you will love this recipe
- It’s suitable for many skin types – Of course, it’s advisable to do a patch test first, but rosehip oil can be a true gift for most skin types, from dry and dehydrated to oil and combination skin.
- It’s 100% natural – no nasty toxic products or synthetic materials are needed, just nature doing what it does best!
- It’s flexible – you can use rosehip oil on its own, like a serum, or add it to other ingredients to make a face cleaner, moisturizer, or whatever else you enjoy using!
Key ingredients
Can you believe that this rosehip oil recipe contains only two ingredients?
Olive oil – deeply moisturizing yet gentle for the skin.
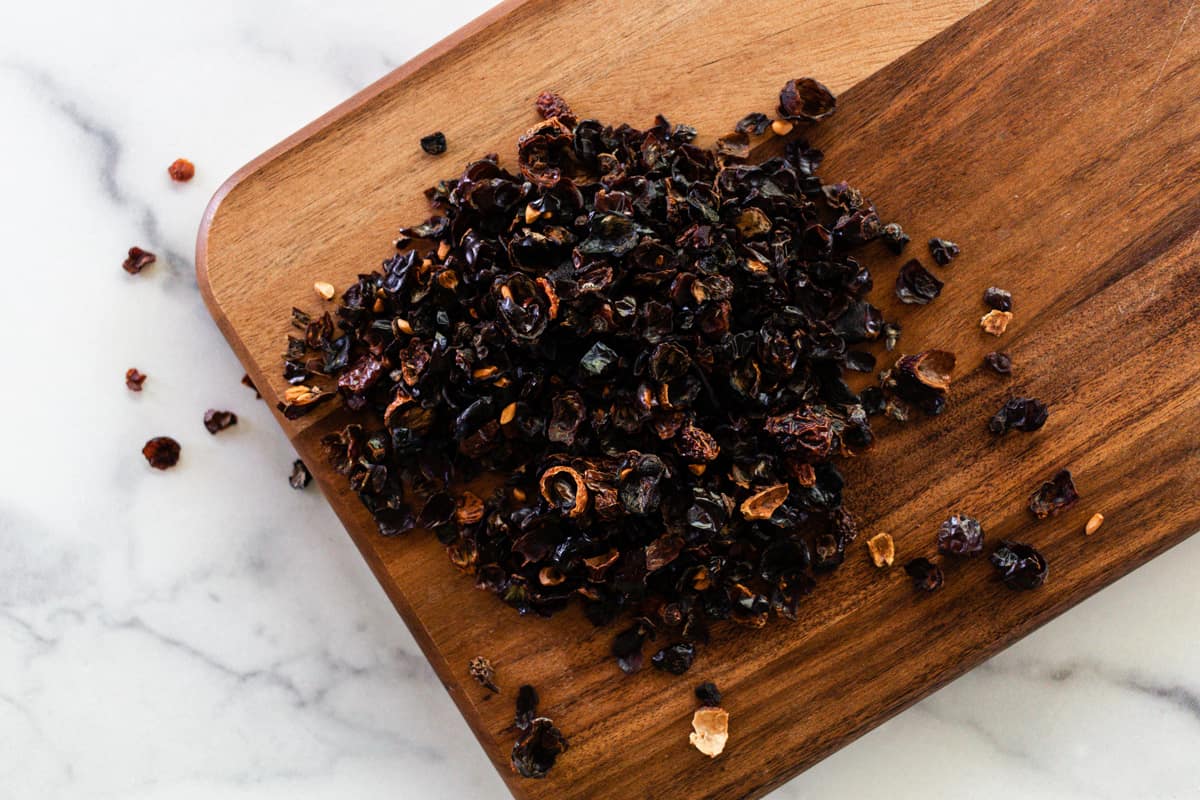
Dried rosehips – are best known for containing fatty acids, vitamins A, C, and E, which are fantastic for skin health and vitality!
This post contains affiliate links, which means I make a small commission at no extra cost to you. Get my full disclosure here.
How to make rosehip oil
Supplies
- Dark storage bottle
- Cheesecloth
- Strainer
- Crockpot
Ingredients
- 1/2 cup of dried rosehips
- 1 cup of extra virgin olive oil
Recipe
Step 1: If your rosehips are not already chopped, go ahead and chop them up carefully on a cutting board. Then, place the dried rosehips in the bottom of your crockpot.
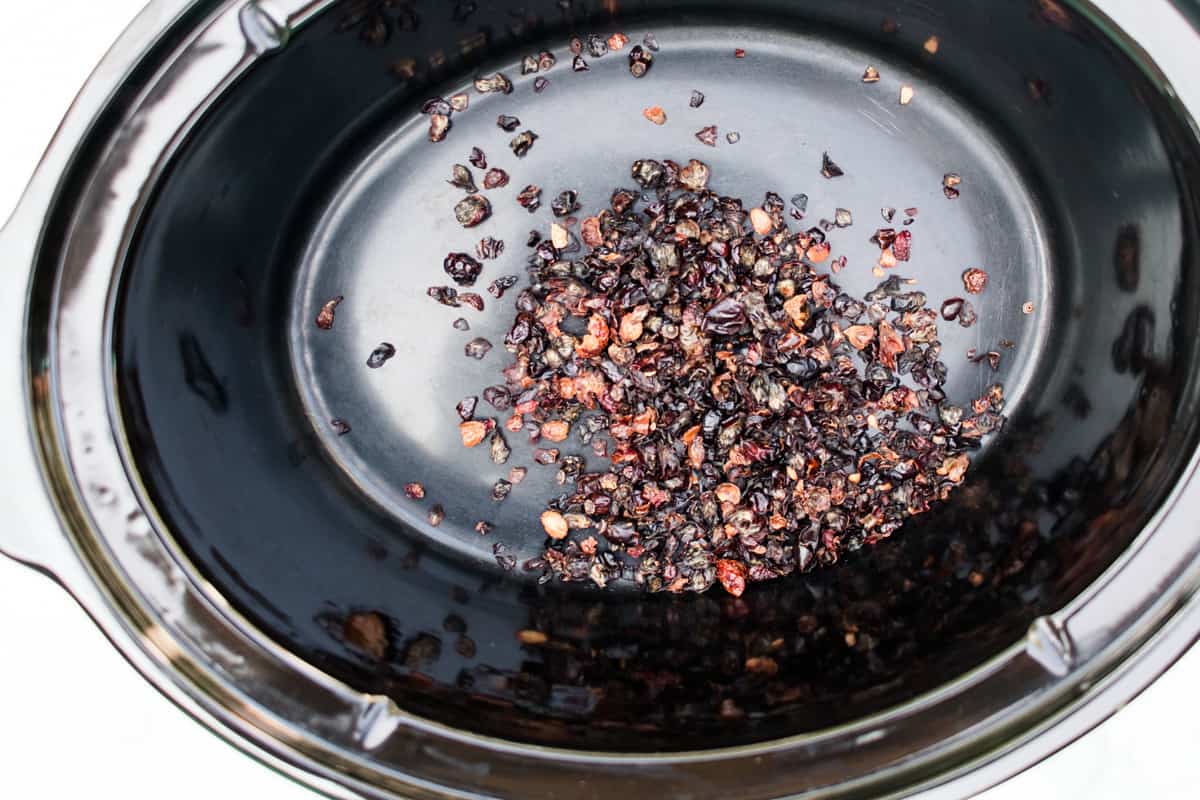
Step 2: Cover them with olive oil or whatever oil you choose.
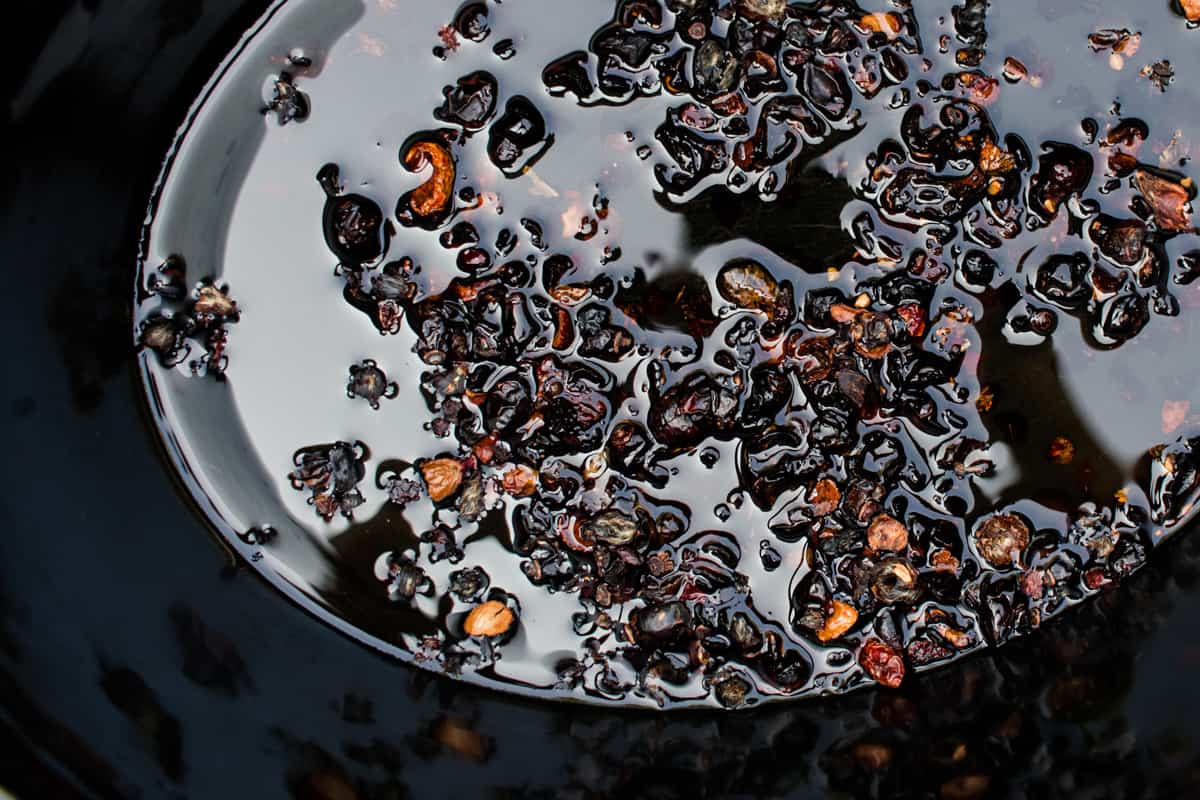
Step 3: Set your crockpot to low heat and let the rosehips and oil simmer away. If your crockpot has a “keep warm” setting, use that one instead.
Eight hours should do the trick.

Step 4: Finally, take a fine piece of cheesecloth or a strainer and gently pour the rosehip and oil concoction through the filter.
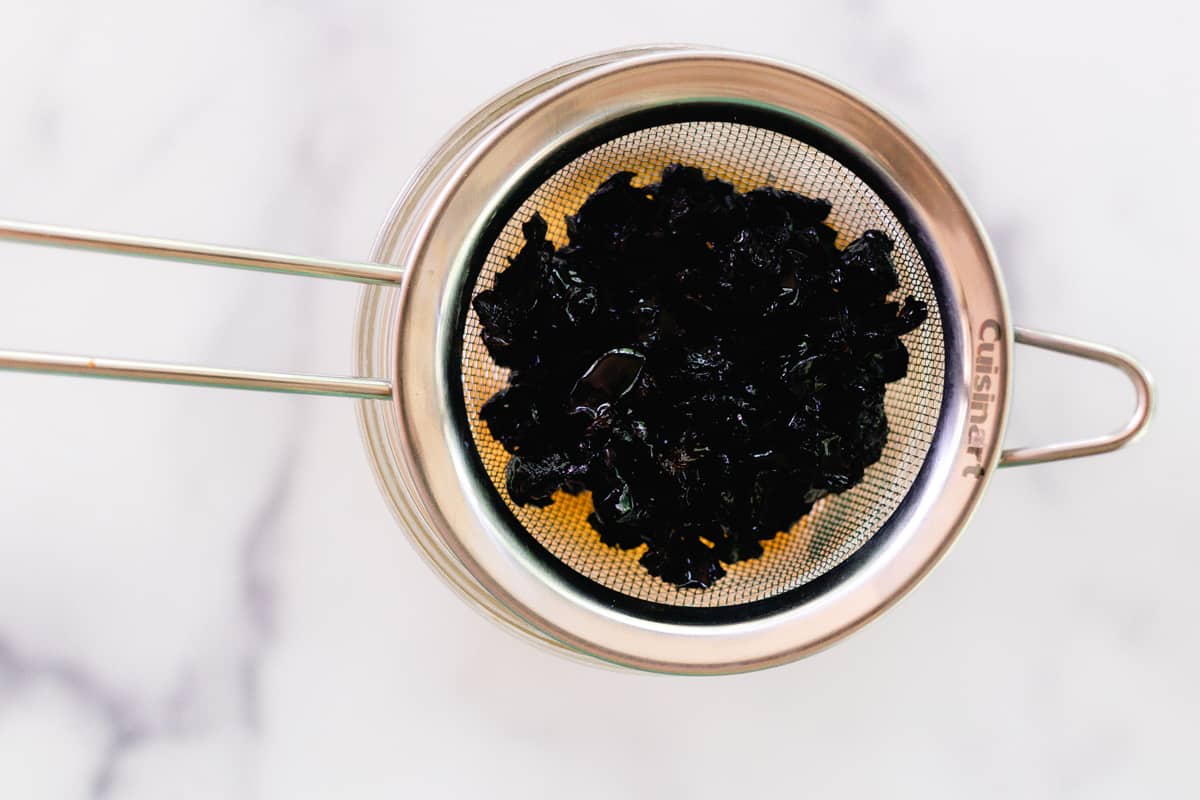
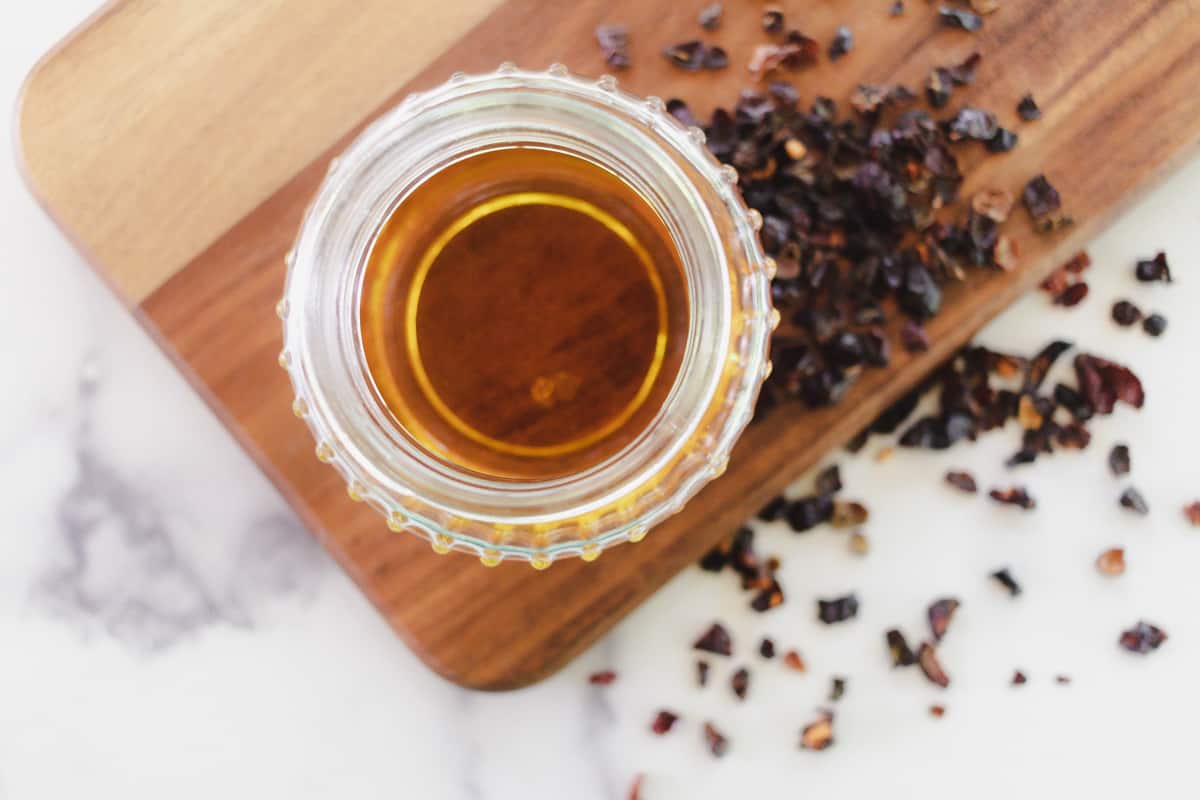
Store in a dark bottle.
How to use rosehip oil
The uses of rosehip oil are wide and vast! To begin with, it’s great as a simple moisturizer to help dehydrated skin recover and regenerate.
You could also use it as a cleaner; with some warm water and a soft face cloth, take a small amount and apply it to your skin, then wipe it off.
It’s also fantastic to use on scars and spots as it stimulates the skin to heal and replenish itself.
And why not try it as an addition to other DIY products as well?
Use it as a massage oil by mixing it with some essential oils of your choice, add it to a soap base, or make a relaxing bath oil with it and add in some extra fragrant rose petals from the garden.
Using a crockpot to make rosehip oil
You may wonder why I recommend using a crockpot to make rosehip oil, and the simple reason is that it’s far quicker to make.
You do have the option of a slower infusion if you wish, which is where you’d add dried rosehips to a carrier oil of choice and leave it to infuse for several weeks.
I personally prefer to use things straight away rather than wait around for weeks on end, which is why I make my rosehip oil in a crockpot! Though if you do have several weeks, you can try my rosemary oil recipe here.
Different carrier oil options
I have only made this with olive oil, but you can use nearly any carrier oil such as almond oil, coconut oil, jojoba oil, argan oil, or any other suitable oil for your skin.
You can also substitute the olive oil with any of those oil suggestions for this recipe, and it’ll work great.
You do need a little patience when making rosehip oil, though. It’s important not to heat the oil and rosehips too quickly, nor for the temperature to exceed 100°F.
Therefore use the low heat or keep warm setting on your crockpot when you follow this recipe. Trying to speed it up won’t work, believe me!
Tips
Rosehip oil does have some medicinal properties, so if you plan to use it every day, it’s worth running it past your doctor first.
Also, rosehip oil is sensitive to the sun! So store it in a dark container and away from direct sunlight when not in use.
Rosehip oil Facts
Here are some interesting facts about rosehip oil:
- It’s anti-inflammatory – meaning it’s great for skin known to have breakouts, spots, blemishes and redness.
- It’s antioxidant-packed – making it great for aging skin, reducing free radicals and mopping up the excess.
- It’s moisturizing – great for dry, parched skin looking for hydration!
- Boosts collagen production – making it beneficial for damaged skin or scarring and also as an anti-aging product.
- Skin brightening – rosehip oil has been known to gently lighten the skin, making it useful for even skin tone and fading dark spots.
Storage/shelf life
If stored correctly in a bottle with a screw top lid and kept away from sunlight, this rosehip oil should last up to 6 months.
If it smells rancid, don’t use it and dispose of it right away.
I have not made this with fresh rosehips, but from my research, it will not last nearly as long as it will using dried rosehips.
Key takeaways
To begin using rosehip oil, I would recommend starting out with it as a light facial cleanser. This way, you get to feel its moisturizing benefits, but you also can wipe it off if it’s too much.
I hope you enjoy making rosehip oil! Try using it regularly to see fundamental differences in the look and texture of your skin.
I personally love rosehip oil and use it weekly!
If you made this recipe and loved it, consider leaving a review below! And if you are looking for more great recipes, check out some of these below!
- Homemade vitamin C serum
- How to easily make calendula oil
- Lemon balm benefits for the skin
- Top 10 tips for reducing wrinkles
How to Make Rosehip Oil
Equipment
- Dark storage bottle
- Strainer
Ingredients
- ½ cup of dried rosehips, whole or chopped
- 1 cup of extra virgin olive oil
Instructions
- If your rosehips are not already chopped, go ahead and chop them up carefully on a cutting board.
- Place the dried rosehips in the bottom of your crockpot.
- Cover them with the olive oil, or whatever oil you choose.
- Set your crockpot to the lowest heat setting and let the rosehips and oil simmer away.
- 8 hours should do the trick.
- Finally, take a fine piece of cheesecloth and/or a strainer and gently pour the rosehip and oil concoction through the cheesecloth.
- Store in a dark bottle.