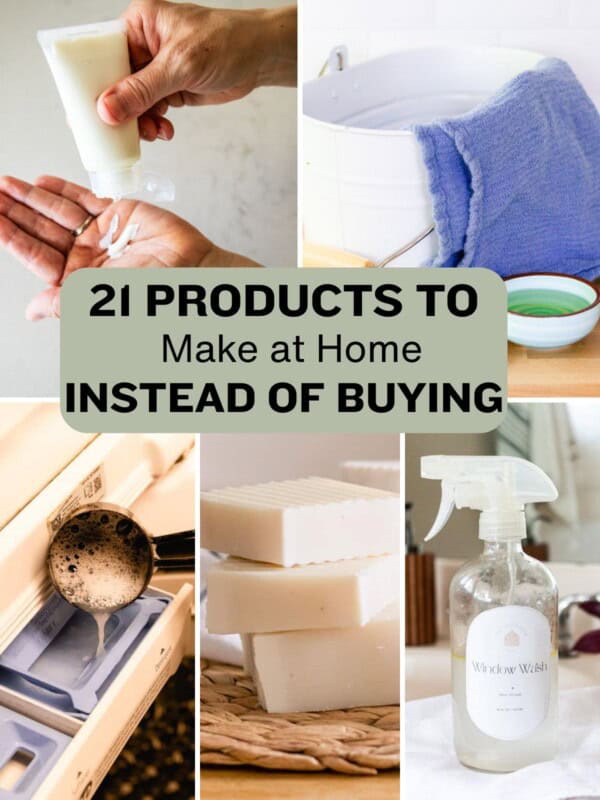
This post may contain affiliate links. Please see our disclosure policy.
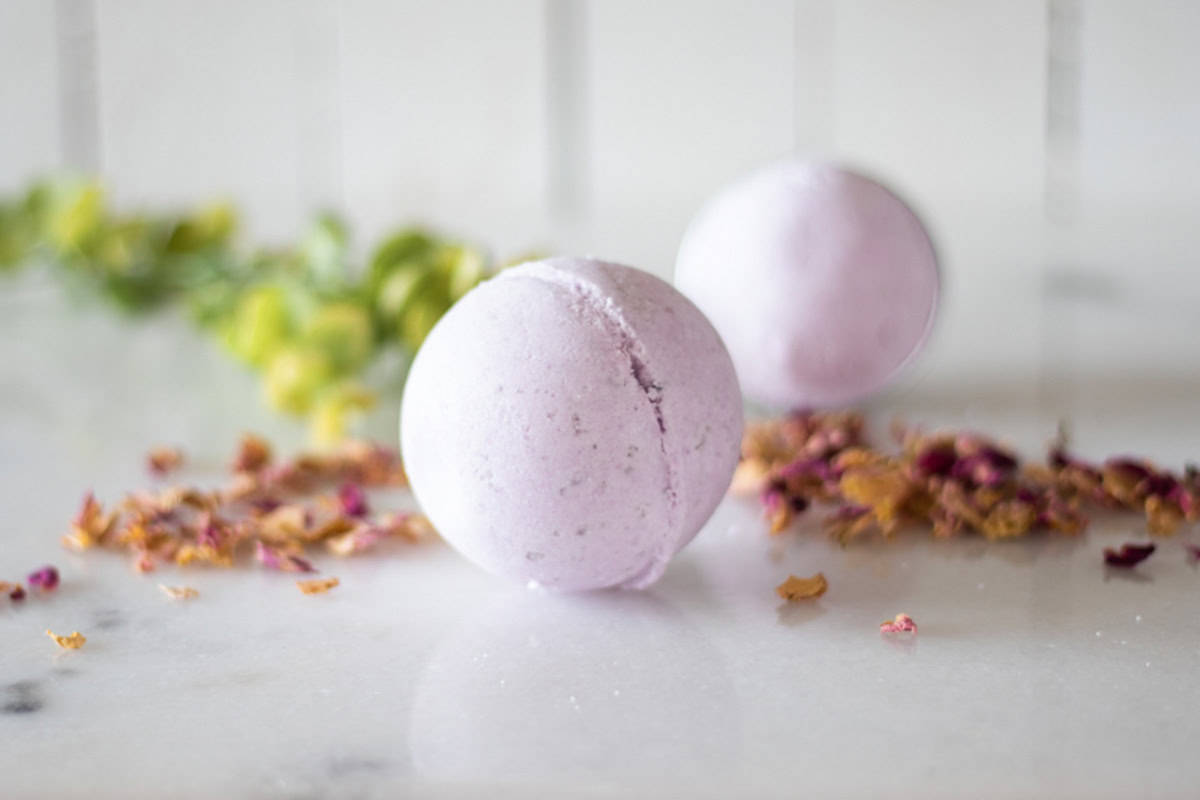
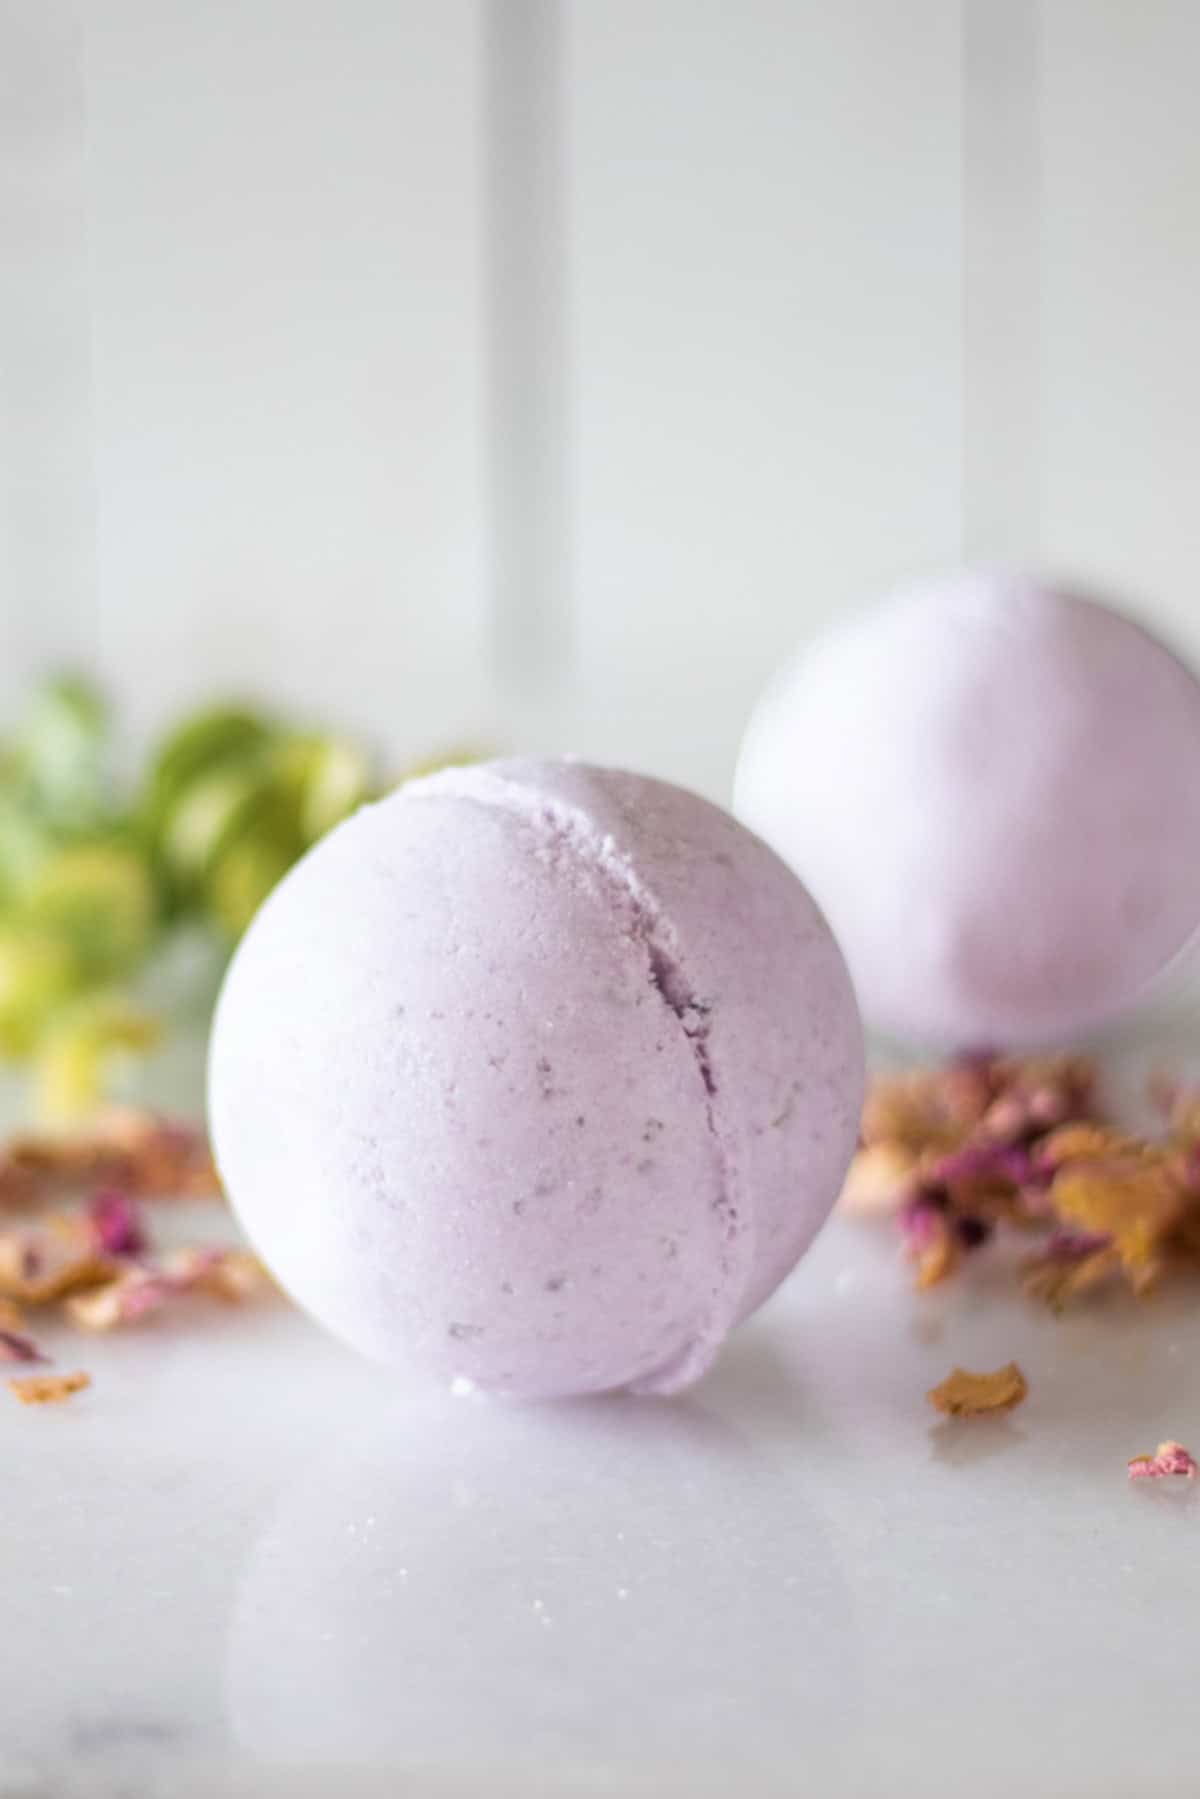
These ultimate relaxing bath bombs are made with natural ingredients and scented with lavender essential oil.
Lavender bath bombs can be the best way to wind down after a long stressful day. These homemade bath bombs are laid out for you using a simple recipe or video tutorial.
For me, a warm bath at the end of a long day is a perfect way to wind down. Add a lavender bath bomb to the equation, and you will experience the ultimate relaxation.
I love adding natural, homemade products to my baths. They just make the experience more special and relaxing!
I’ll make my own herbal bath tea recipes, homemade rose bath salts, and even the occasional homemade bubble bath.
But when I really need calming and relaxation, I reach for one of these lavender bath bombs. I am telling you there is nothing better.
You only need a few ingredients to make a large batch of these relaxing bath bombs and they make the best homemade gift.
Why You’ll Love Them
- Ultimate relaxation: These bath bombs are named that for a reason! The aromatherapy from lavender essential oil and the benefits of epsom salt make these bath bombs perfect for relaxation. You’ll feel amazingly calm after your warm bath!
- Great handmade gift: Give your loved ones the gift of relaxation with this recipe! These bath bombs are a thoughtful handmade gift and they go wonderfully in a homemade beauty gift basket.
- Get creative: I love that you can make these bath bombs unique so easily. Adding different essential oils, natural dyes, and dried florals is a fun way to make your bath bombs completely custom for you.
- Fun DIY: Of all the DIY bath and beauty products I make, bath bombs are one of my favorites! The process is so fun and the results are beautiful. Make them with friends for a creative DIY girls’ night!
What Goes Into This Recipe
Making bath bombs is very simple and only requires 5 or 6 ingredients, most of which you probably already have on hand.
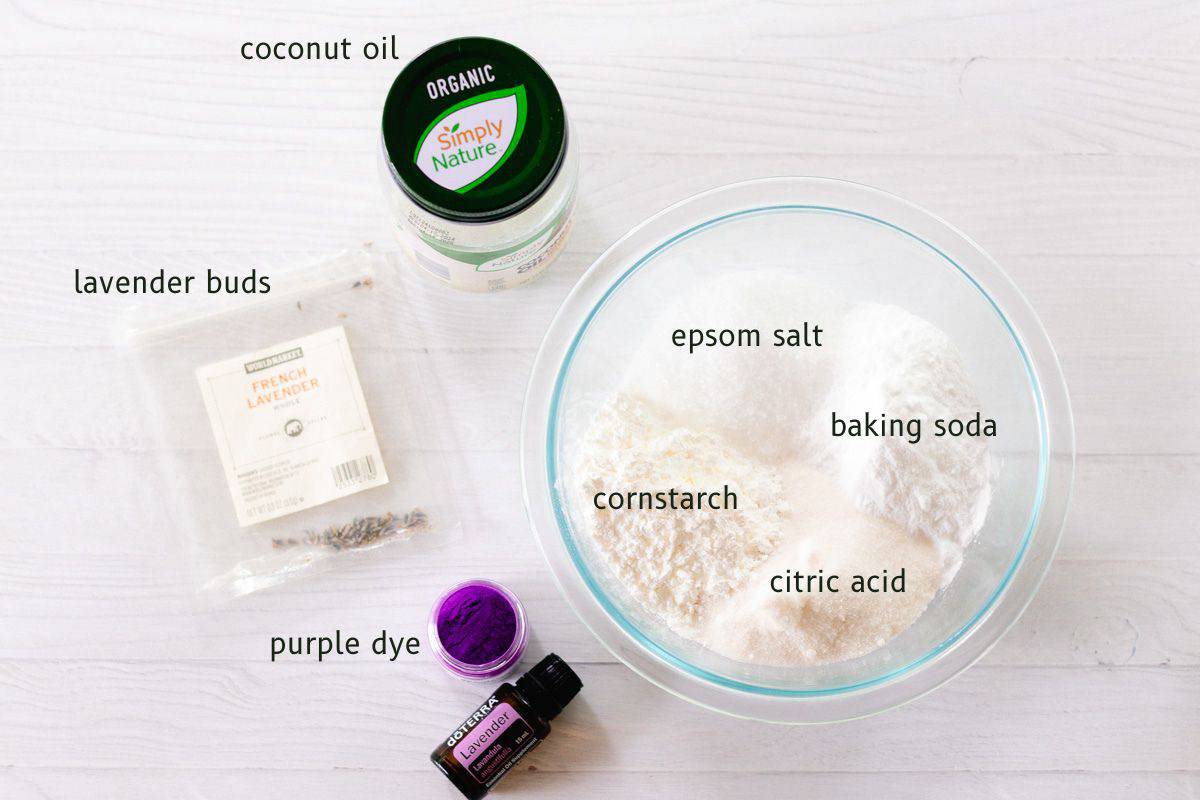
- Cornstarch
- Baking soda
- Citric acid: Citric acid reacts with the baking soda to give the bath bombs the “fizz” they are well-known for!
- Epsom salt: Epsom salt is a wonderful addition to hot baths because it can help soothe and relax the muscles.
- Coconut oil: Be sure to use regular cold-pressed coconut oil, not fractionated coconut oil.
- Water
- Essential oil: We are using lavender essential oil for these bath bombs because it is the ultimate relaxing essential oil! Lavender oil is known as a very calming oil that lowers your adrenaline levels, calms your nervous system, and promotes quality sleep.
- Bath bomb molds: I recommend these metal bath bomb molds, but you can also use a plastic easter egg or a Christmas ornament.
Optional Add-ins
- Natural purple dye: I added natural dye to the wet mixture to give the bath bombs a pretty color. You can use any color you’d like or skip it altogether for a white-colored bath bomb (check out my simple bath bomb recipe to see what they look like without dye).
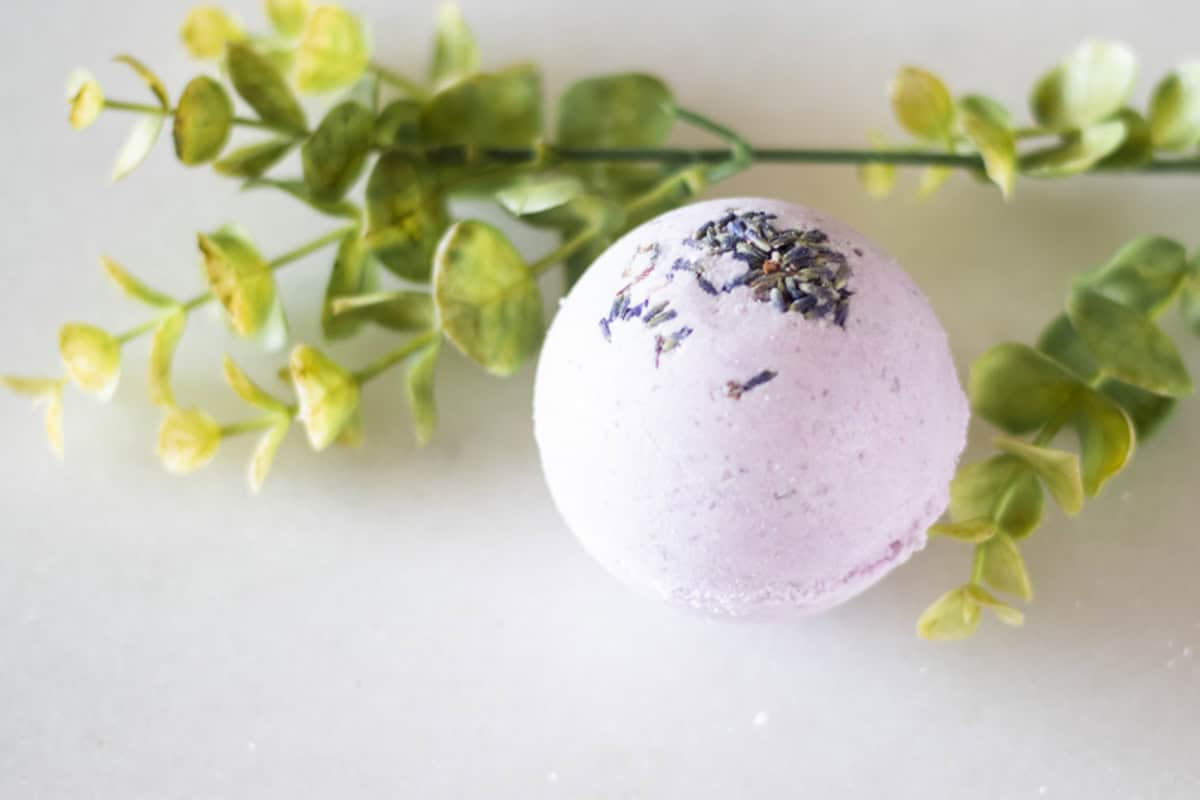
- Dried lavender buds: These add a lovely touch to your bath bombs and an additional scent! You can use any dried flowers you prefer.
- Vanilla extract: A bit of vanilla extract adds a nice scent that pairs well with the lavender essential oil.
How to Make Bath Bombs
1. Mix all the dry ingredients in a medium-sized bowl. Stir until well incorporated.
2. Add in the coconut oil, essential oils, vanilla, and food coloring if used. Whisk together until well combined.
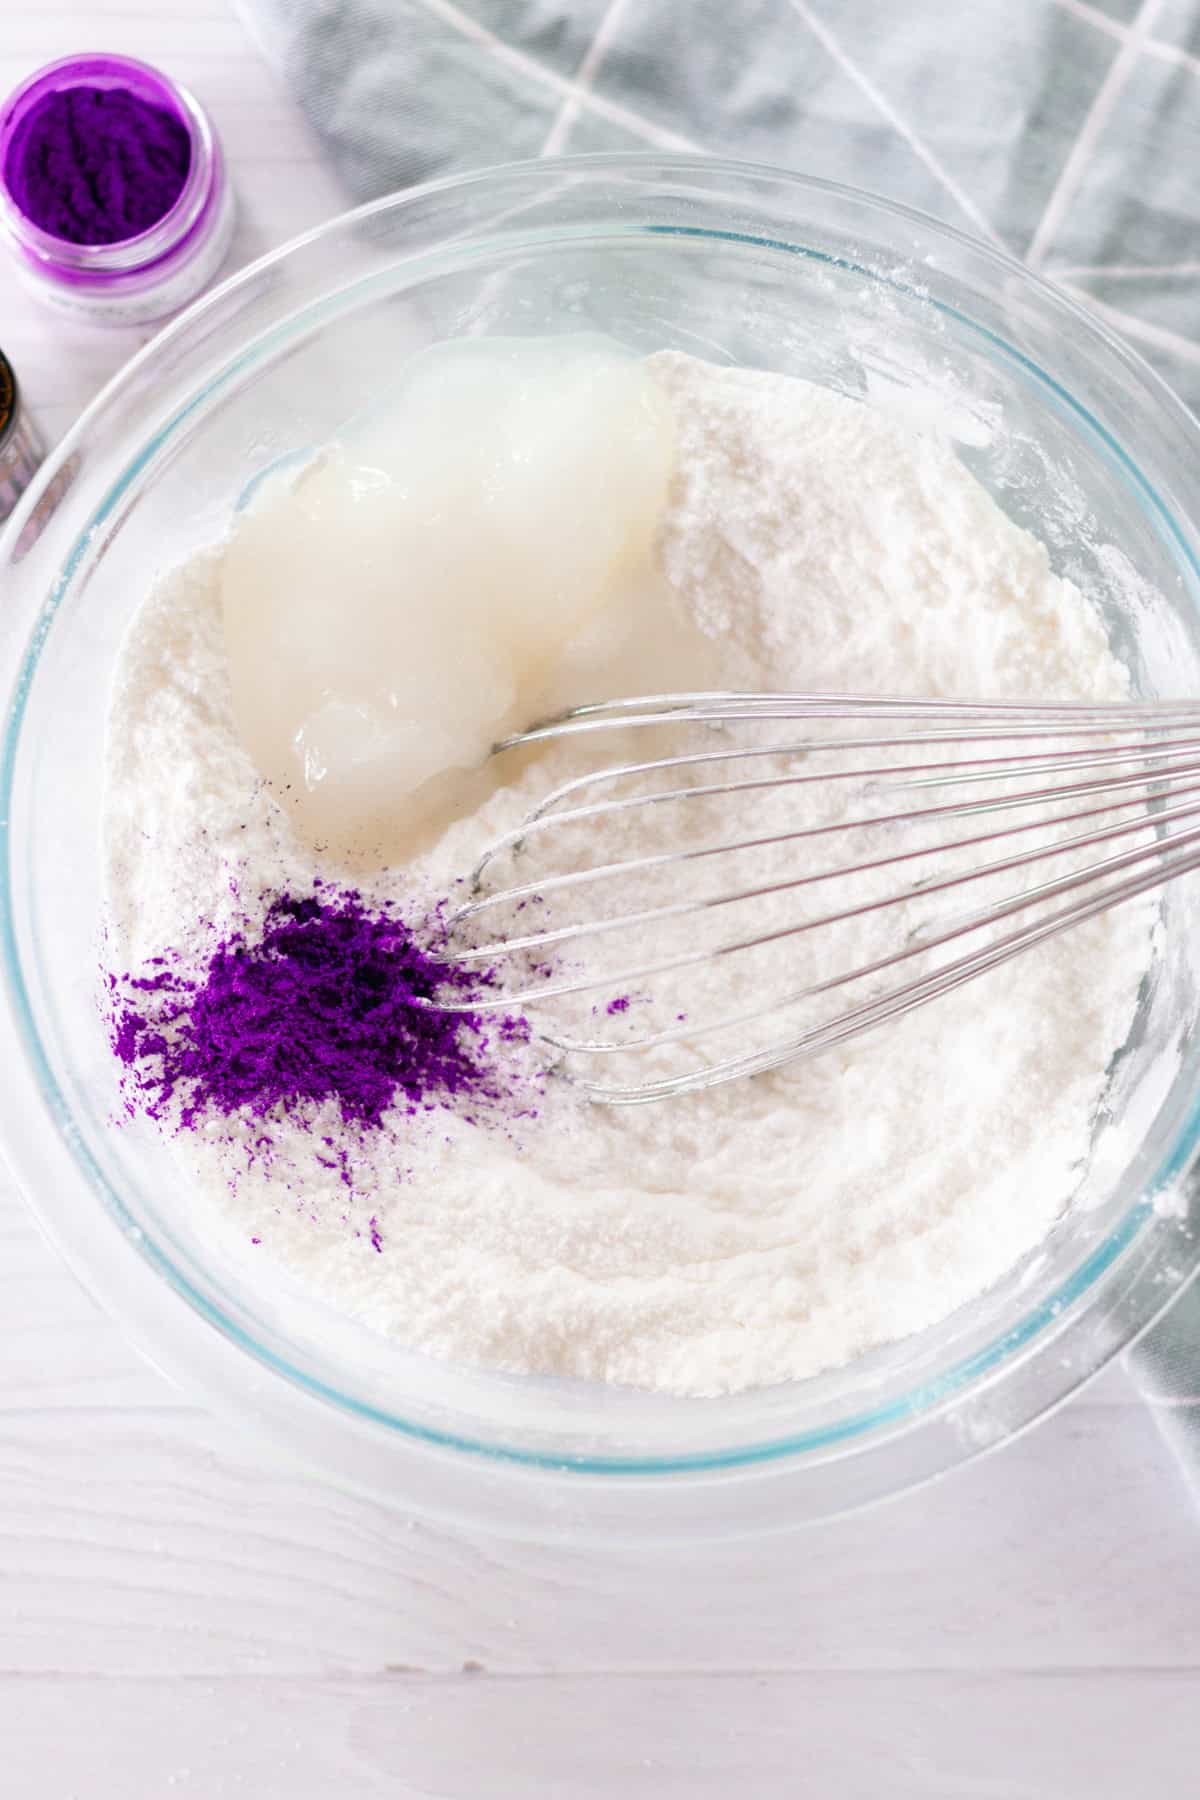
Combine dry ingredients
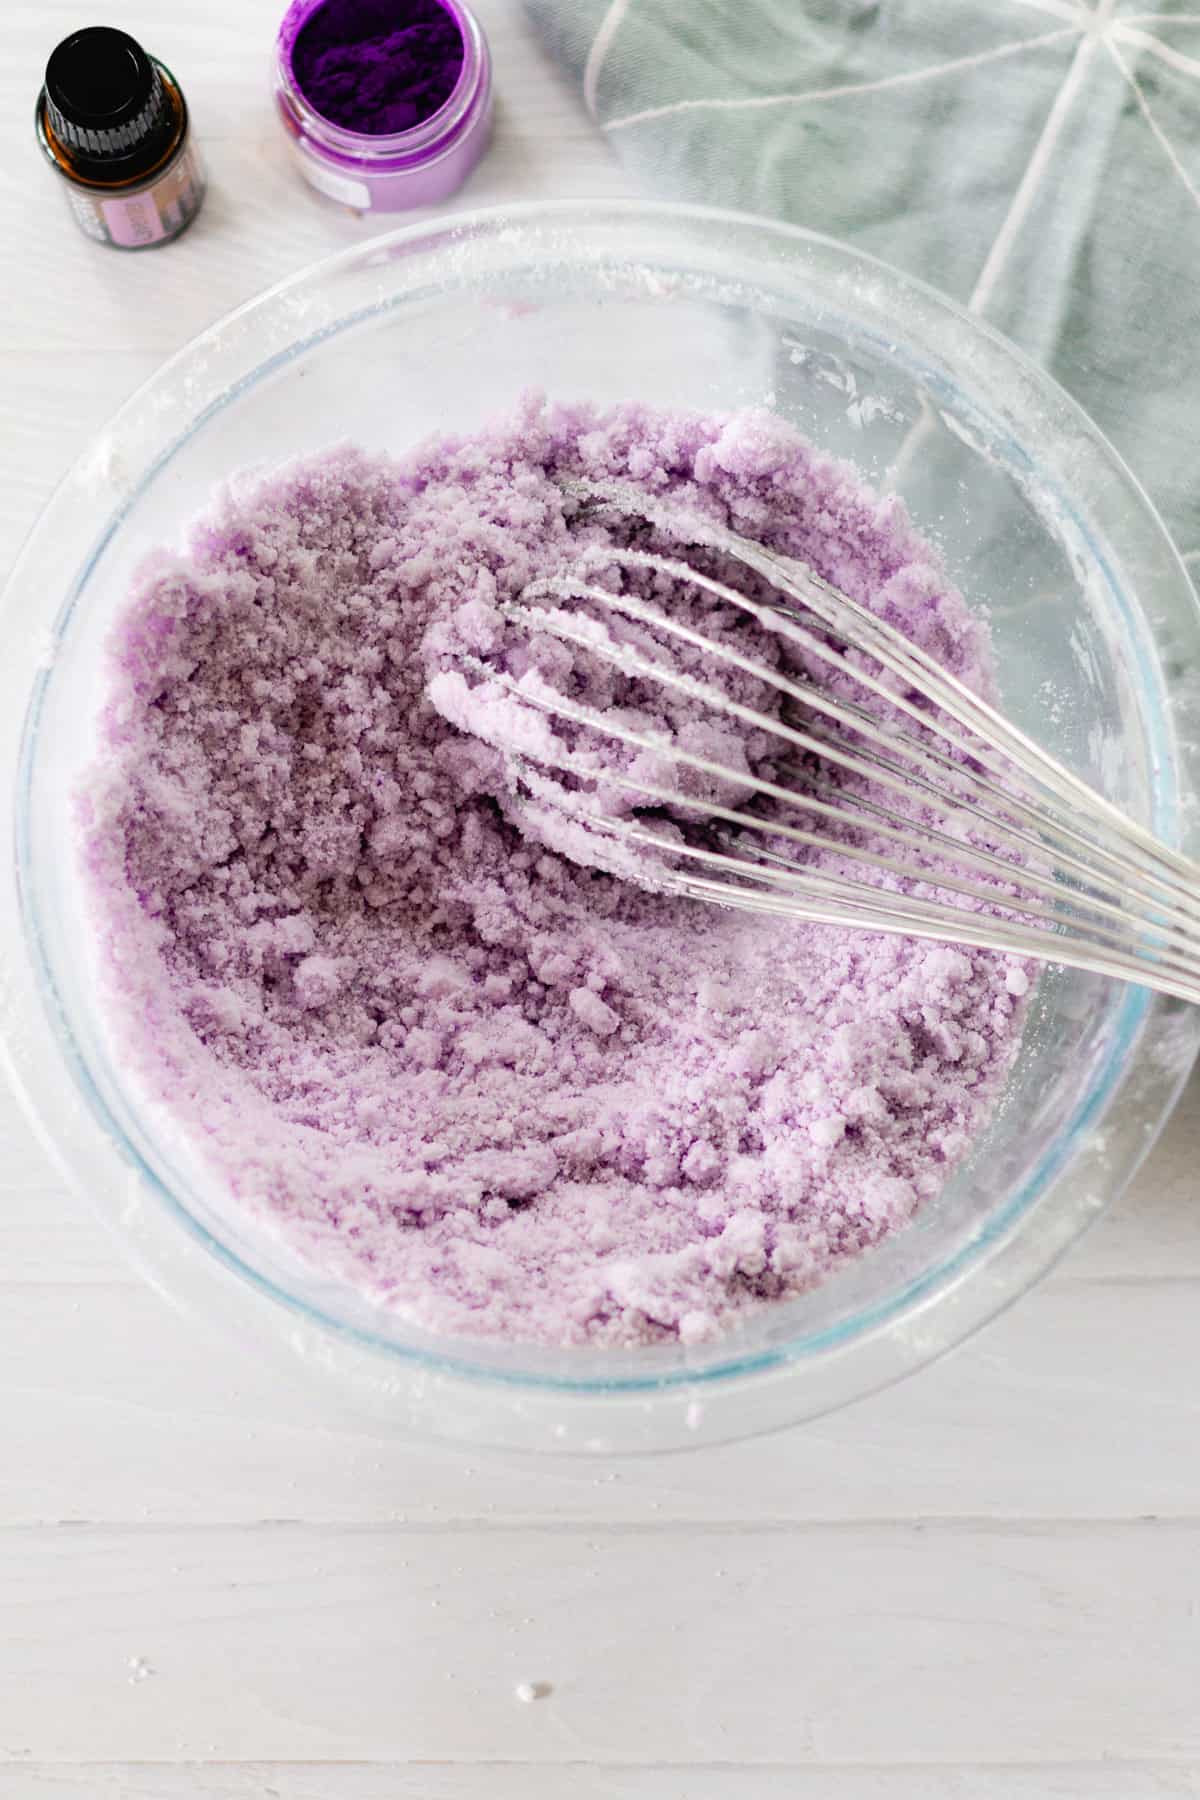
Mix well
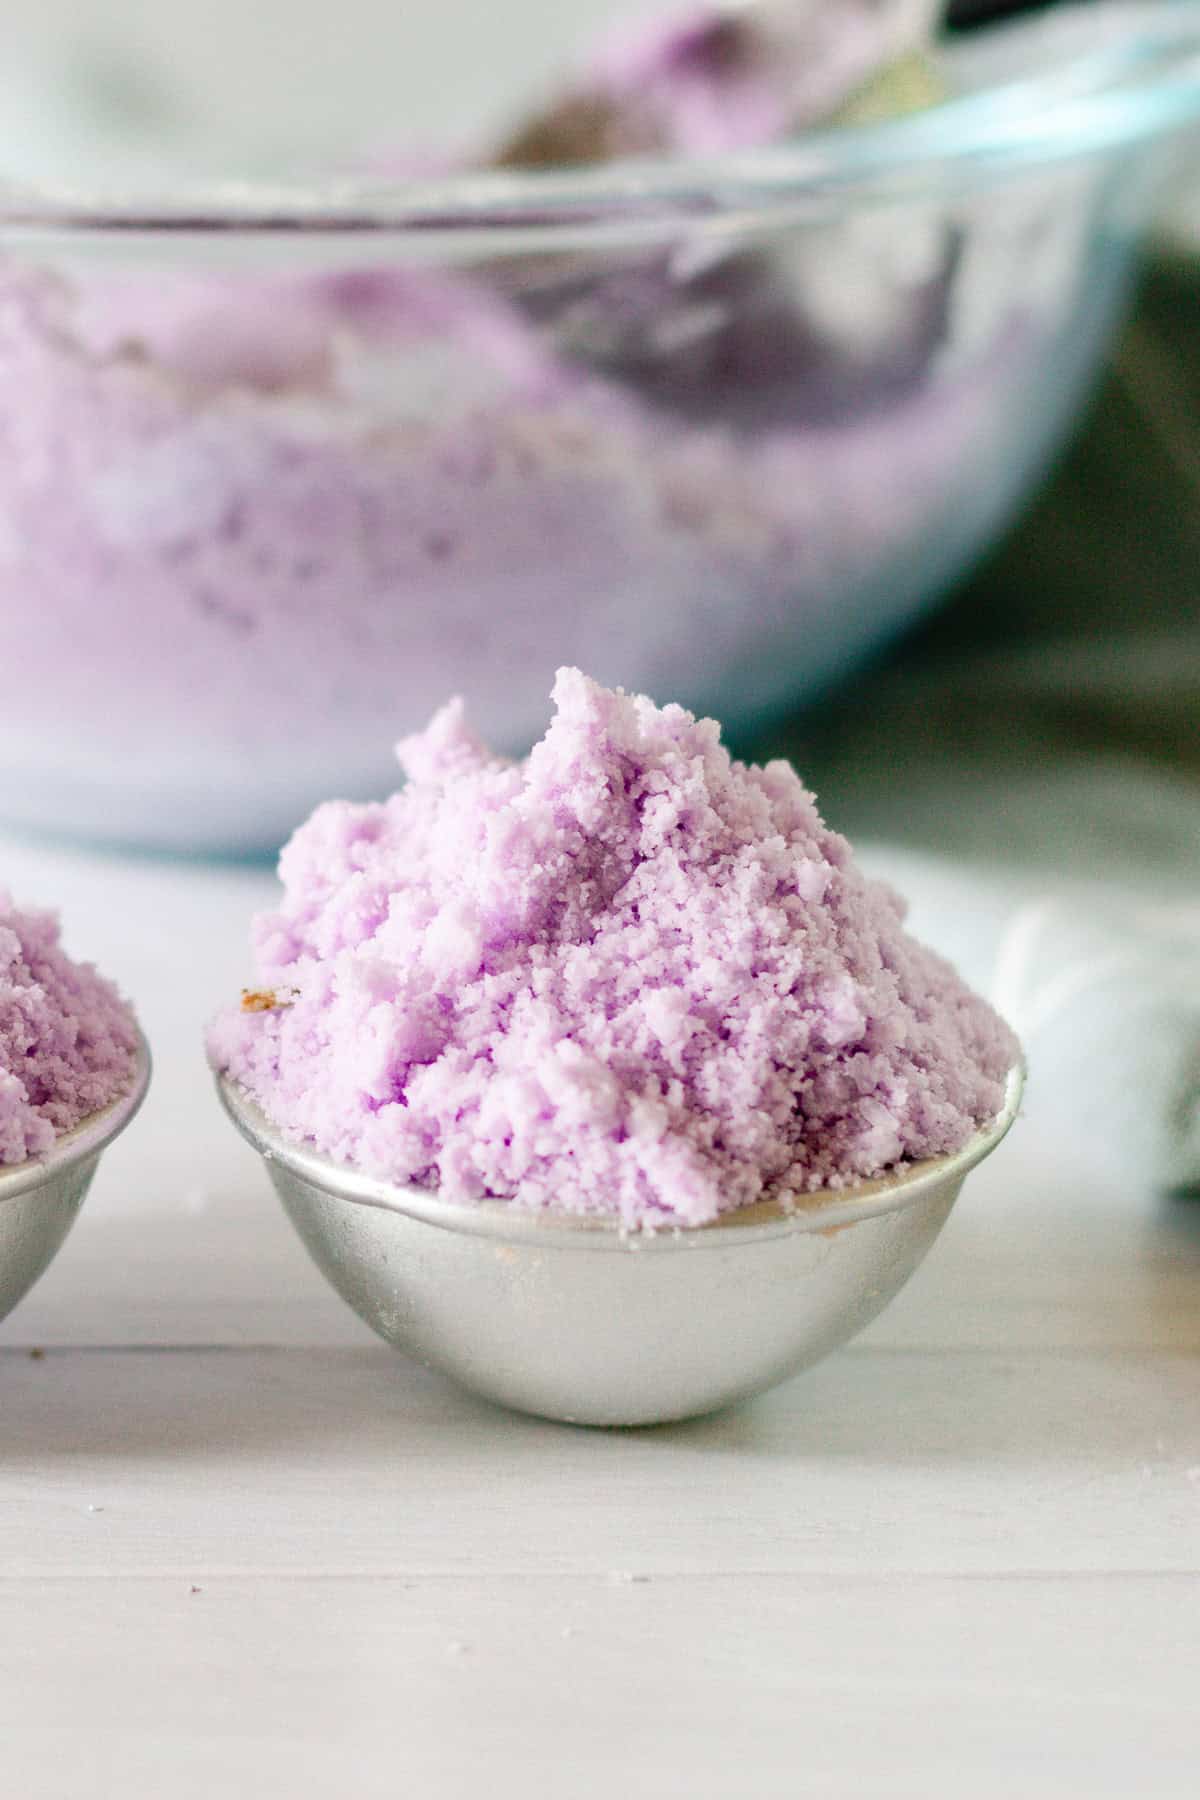
3. With a spray bottle, spray the mixture with water until the ingredients hold together when squeezed in your hands. Only do one spray at a time. We do not want to over-saturate it.
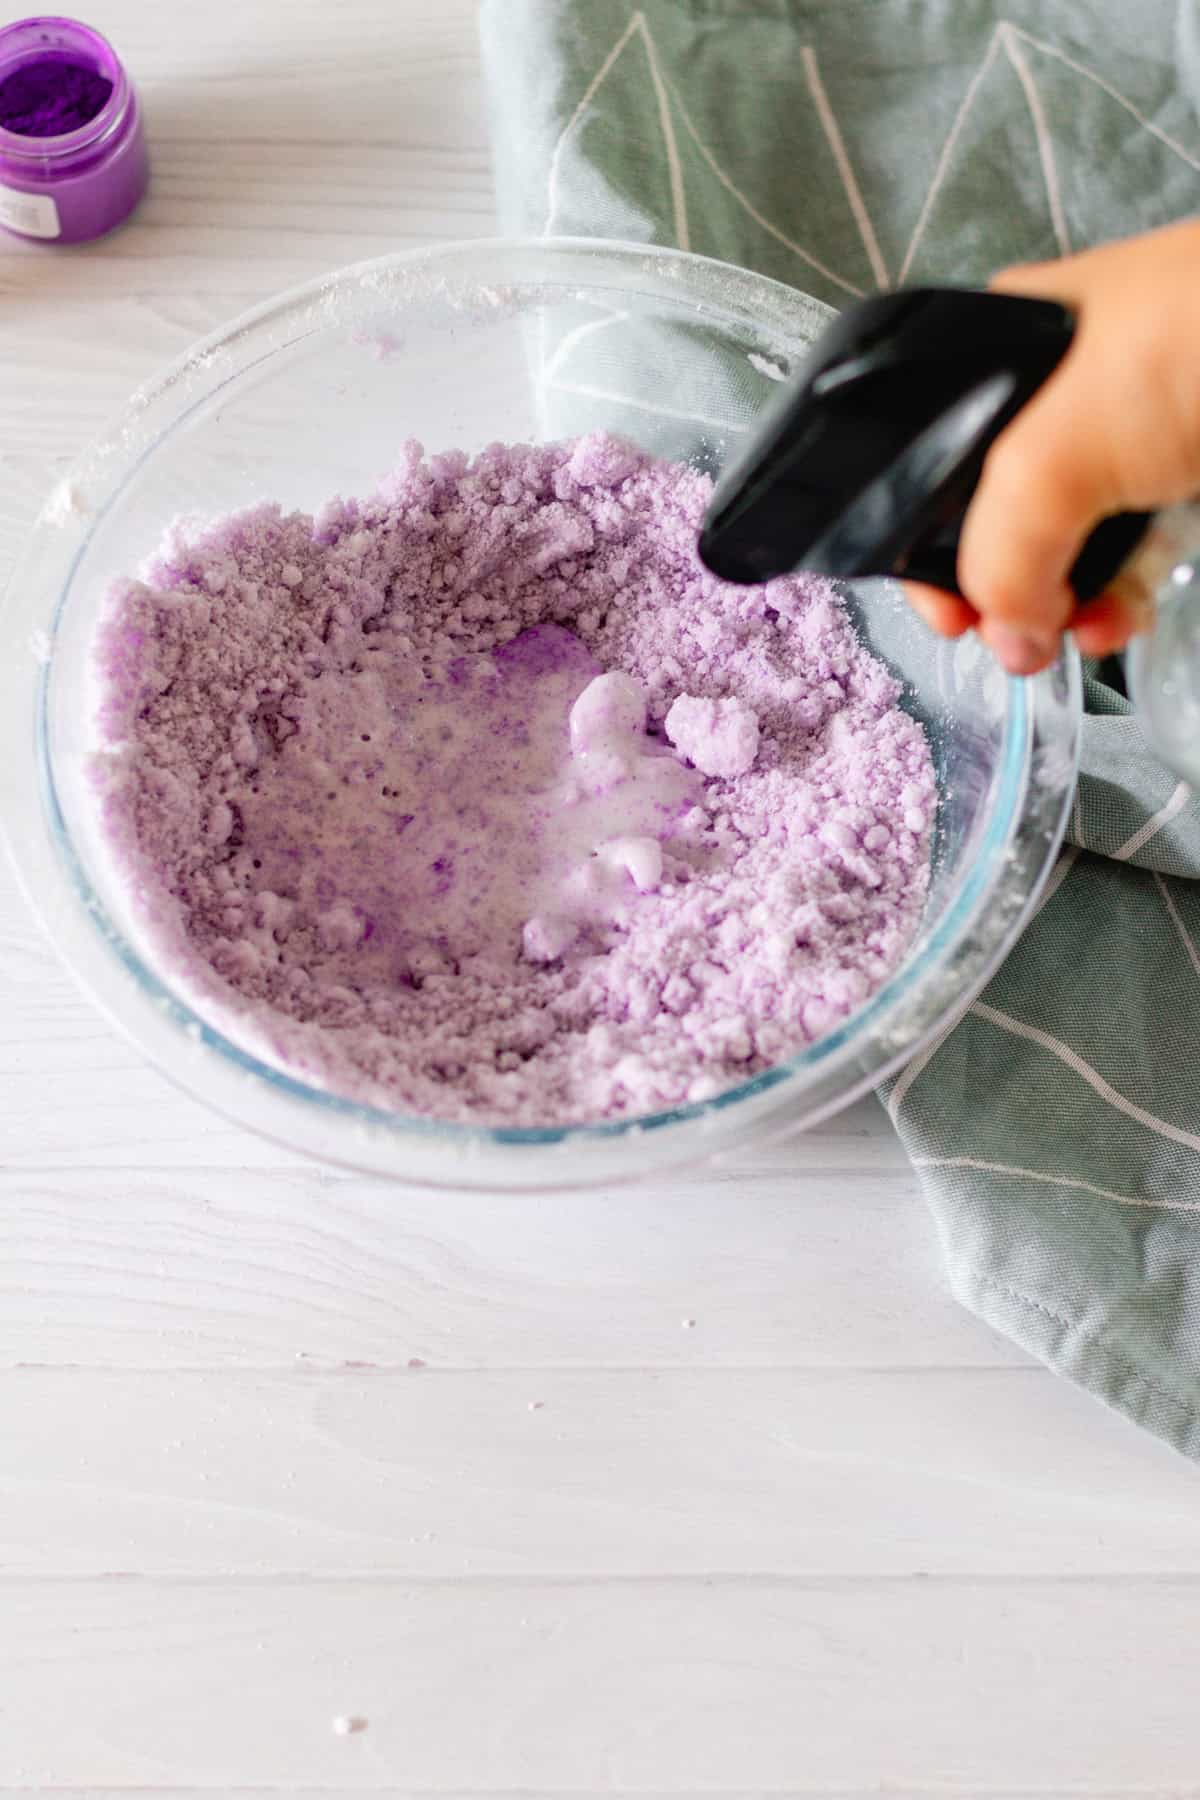
Spray mixture
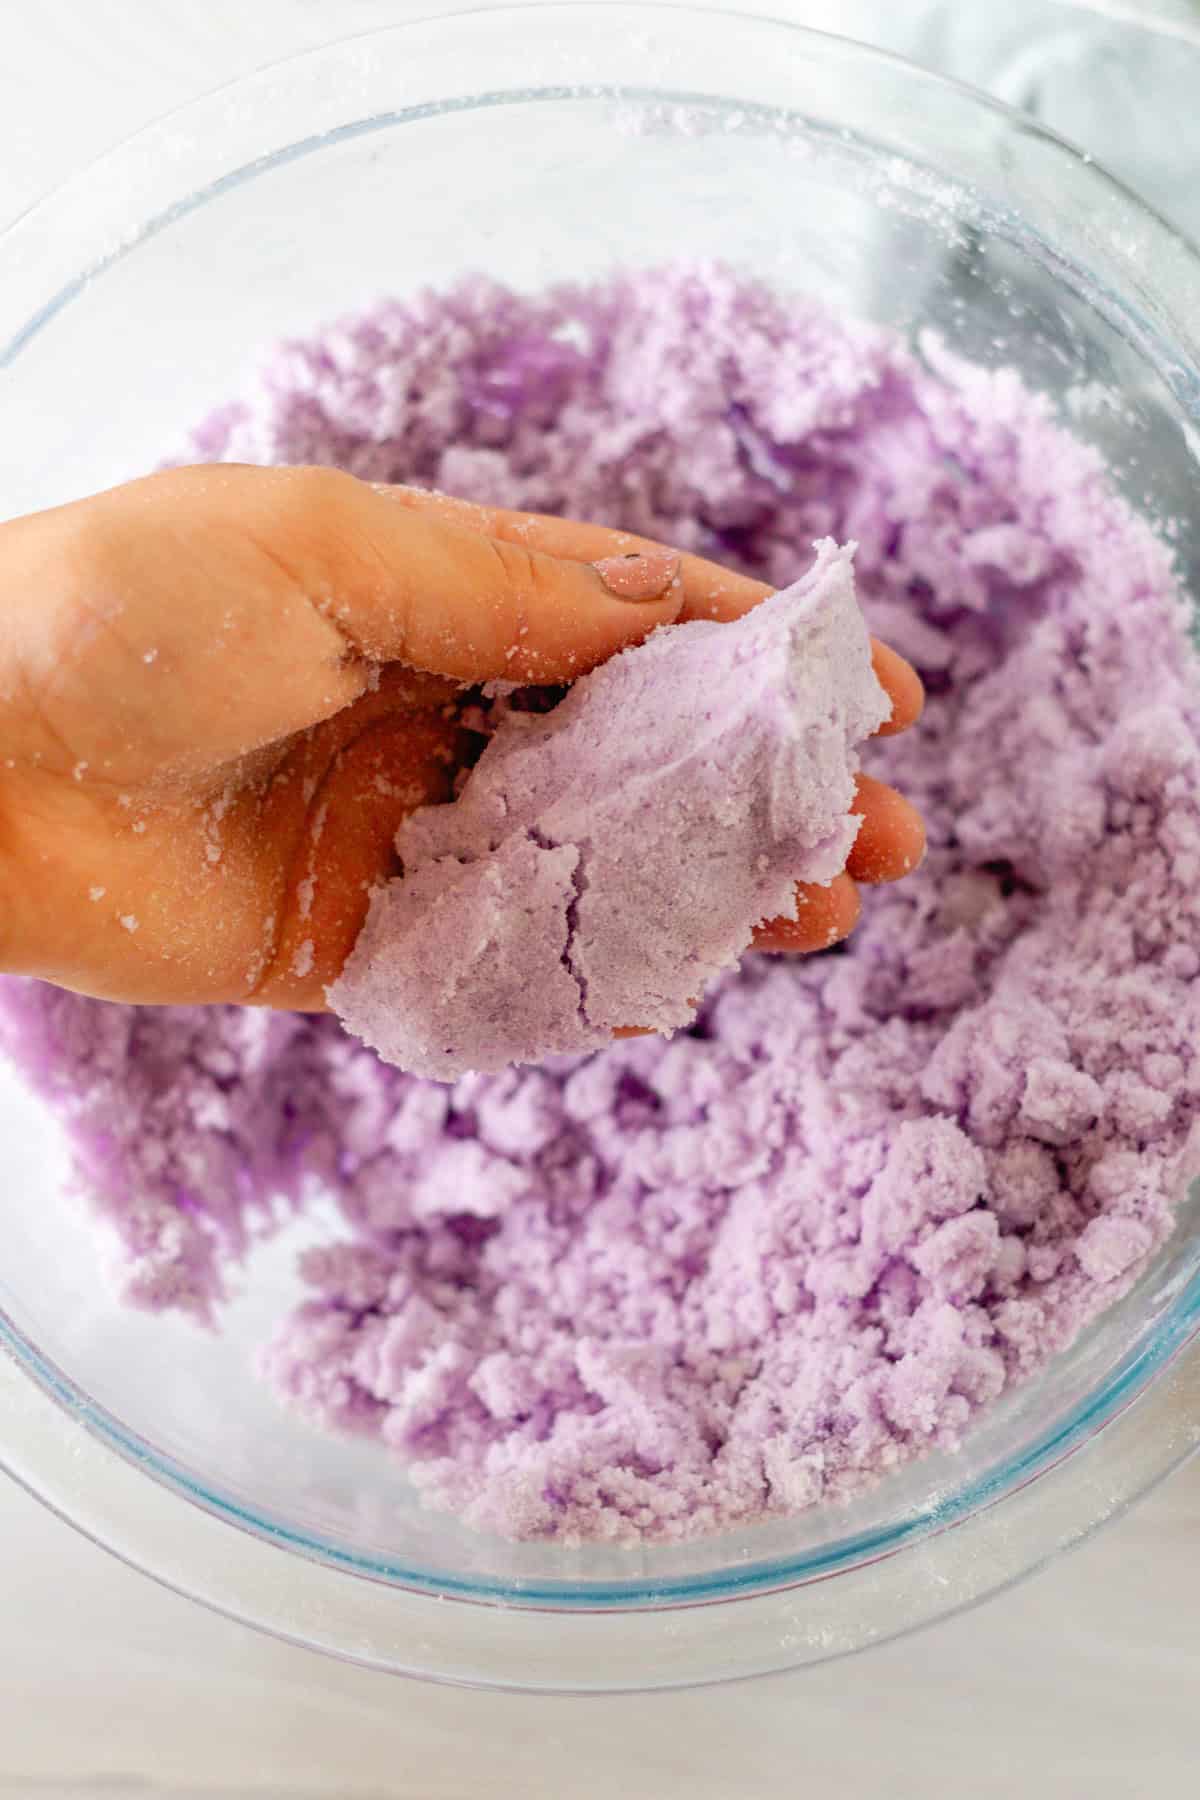
Ingredients should hold together when squeezed
4. Prepare your bath bomb molds by greasing them with coconut oil. If using dried lavender buds or flower petals, place a small amount into one side of the bath bomb mold.
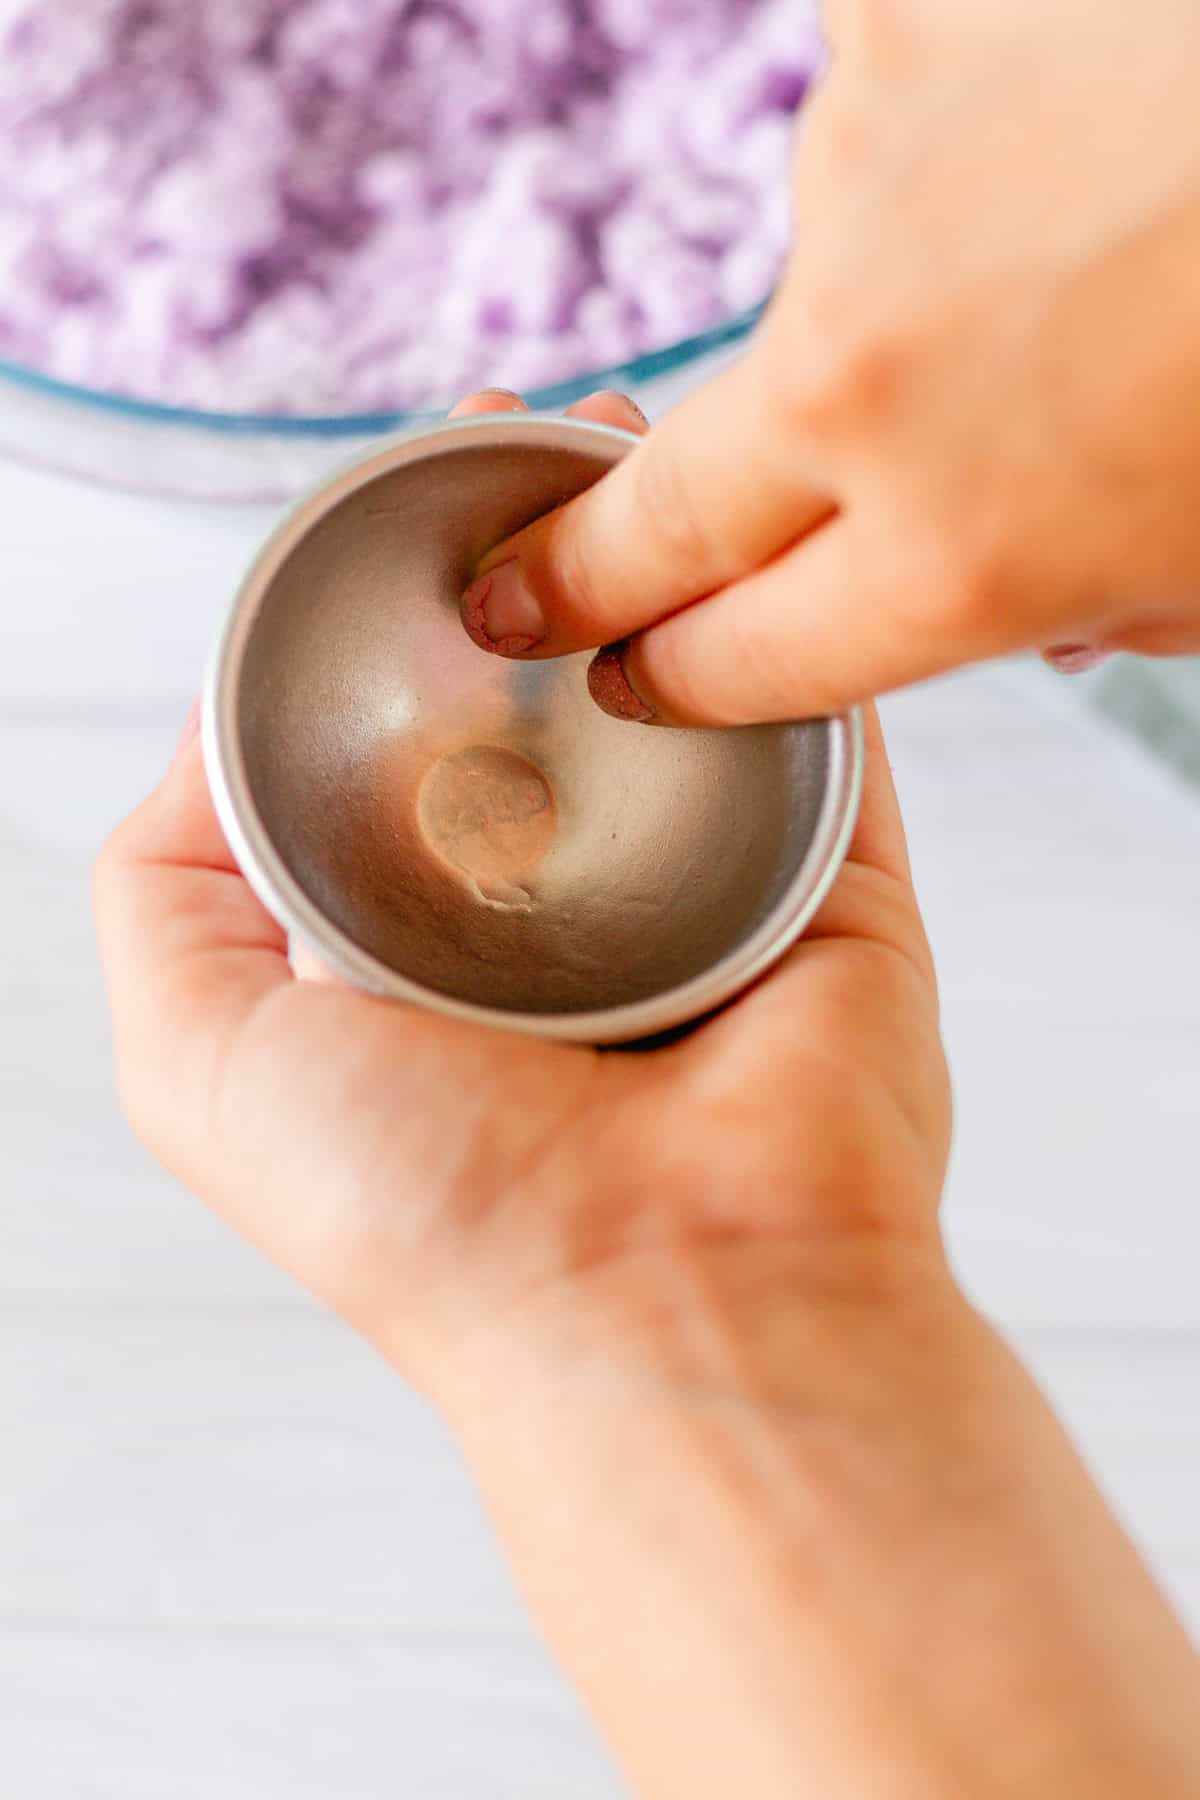
Grease molds
Fill molds
5. Press the mixture into both sides of the bath bomb molds and then put the two sides together. Rub the excess mixture off the sides and set aside.
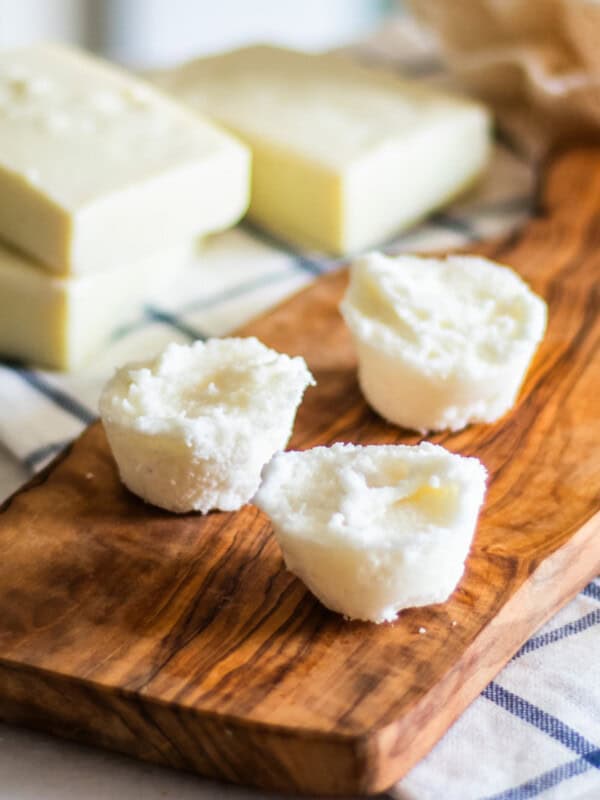
6. Allow the molds to sit for 24-48 hours or until completely dry and then pop out of the molds.
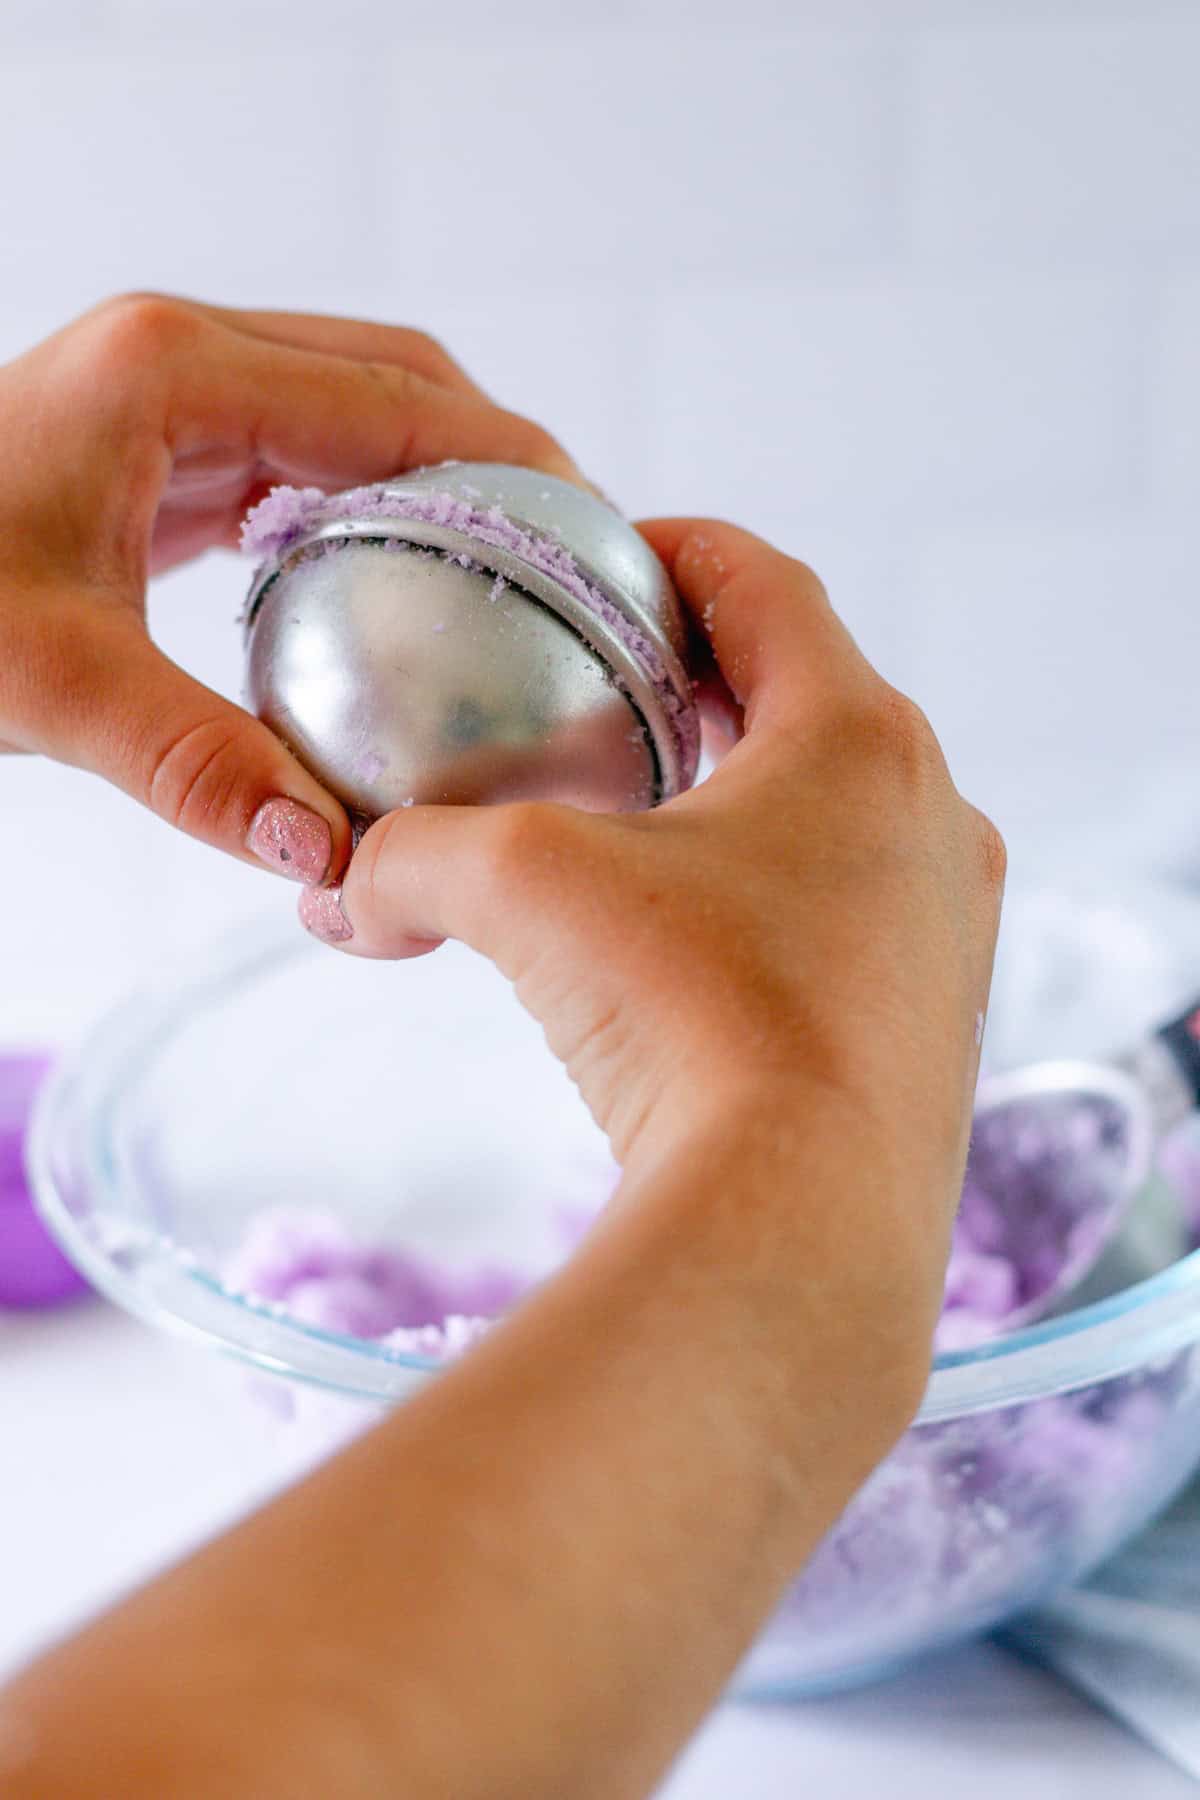
Press the molds together
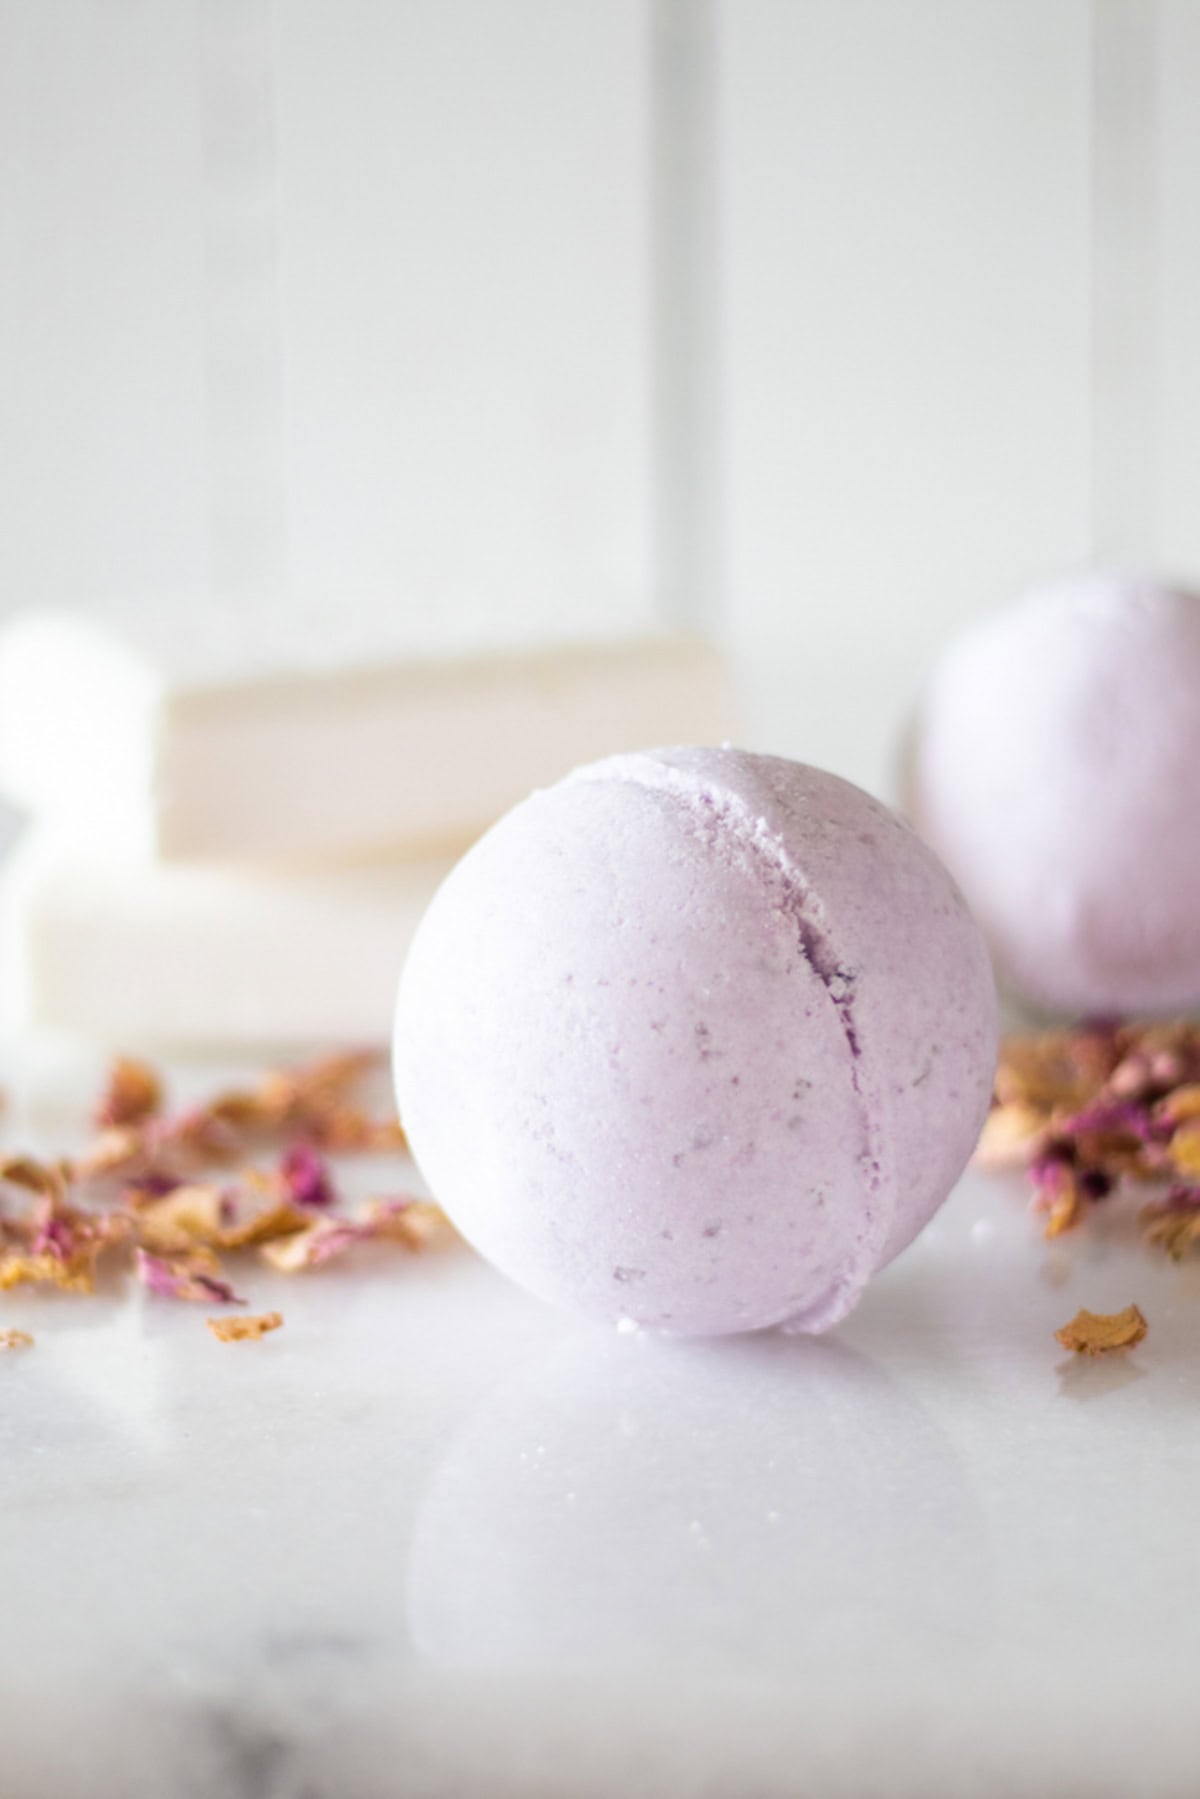
Once completely dry, the bath bombs are ready!
Essential Oils for Bath Bombs
Several essential oils can be used to make a relaxing bath bomb; my personal preference is lavender with pure vanilla.
Other essential oils that are great for soothing anxious feelings and calming the mind are rose, jasmine, patchouli, and chamomile.
Some people find that citrus essential oils are really good for calming, while other people find them to be uplifting and energizing.
Wild orange and lavender may be the best combo for you; try diffusing it first and see if you like it. If so, you can do a blend of these together.
Be sure to avoid hot essential oils such as oregano, clove, cinnamon, and thyme when making bath bombs, as they can burn the skin if not diluted properly.
Recommended Essential Oil Blends
Lavender & Sandalwood Bliss
- 10 drops lavender
- 5 drops sandalwood
- 3 drops vetiver
- 2 drops Roman chamomile
Peaceful Paradise
- 10 drops jasmine
- 5 drops rose
- 5 drops patchouli
Citrus Sunshine
- 10 drops wild orange
- 8 drops lavender
Serene Serenity
- 10 drops bergamot
- 5 drops cedarwood
- 3 drops lavender
- 2 drops Juniper Berry
How to Use Bath Bombs
Fill the bathtub with warm to hot water. Once the tub is full and the water is turned off, place one bath bomb in the tub.
It will slowly dissolve into the warm water. As it dissolves, the essential oils are released into the tub and you will start receiving the aromatherapy benefits.
Expert Tips
- If you have trouble getting the molds to release, try tapping them with the blunt end of a butter knife. That will help break them free.
- Allow the bath bombs to dry fully before removing them from the molds. If you remove them too early, they may crumble and not hold their shape.
- It’s important to get the right amount of liquid in your bath bombs so they hold their shape well. Only add water one spritz at a time and be sure to test the mixture by squeezing it together with your hand. It should hold its shape when squeezed.
- If you want to try a new essential oil blend in the bath bombs, I recommend testing the blend in your diffuser first. That way, you can know you love it before adding the blend to several bath bombs.
- On nights you don’t have time for a bath, you can get similar relaxing benefits in the shower with homemade shower bombs or DIY shower melts!
Recipe FAQs
All bath bombs are made a little different and the average shelf life is 6 months. These bath bombs will last for 6 months when stored properly.
Bath bombs are best kept in a dry location out of direct sunlight. I keep mine in a basket under my sink.
If you decide to add color to your bath bomb, you can add a natural coloring to the wet ingredients; I made my DIY bath bombs for kids that way.
More Relaxing Bath Recipes
- Bubble Bath Bars
- 6 DIY Bath Oil Recipes
- Moisturizing Bath Truffles
- Homemade Tropical Bath Bombs
- Bath Bombs without Coconut Oil
If you tried these Ultimate Relaxing Bath Bombs or any other tutorial on my website, please leave a 🌟 star rating and let me know how it went in the 📝 comments below. Thanks for visiting!
Ultimate Relaxing Bath Bombs

Equipment
Ingredients
- 1 cup baking soda, 10 oz
- ½ cup citric acid, 4 oz
- ½ cup cornstarch, 2.5 oz
- ¼ cup Epsom salt, 2.1 oz
- ¼ cup melted coconut oil, 2 oz
- 15-20 drops lavender essential oil
- 1 teaspoon vanilla, optional
- Natural purple dye, optional
- Dried lavender buds, optional
- Water
Instructions
- Mix all the dry ingredients together in a medium-size bowl. Stir until well incorporated.
- Add in the coconut oil, essential oils, vanilla, and food coloring if using. Whisk together until well combined.
- With a spray bottle, spray the mixture with water until the ingredients hold together when squeezed in your hands. Only do one spray at a time so it doesn't get to wet.
- Prepare your bath bomb molds by greasing them with coconut oil.
- If using dried lavender buds or flower petals, put a small amount into one side of the bath bomb mold.
- Press the mixture into both sides of the bath bomb molds and then put the two sides together. Rub the excess mixture off the sides and set aside.
- Allow the molds to sit for 24-48 hours or until completely dry and then pop out of the molds.
Video
Notes
- This will make approximately 4 bath bombs depending on the size mold you use.
- If you have trouble getting the molds to release, try tapping them with the blunt end of a butter knife. That will help break them free.
- On nights you don’t have time for a bath, you can get similar relaxing benefits in the shower with homemade shower bombs or shower melts!
- Allow the bath bombs to dry fully before removing them from the molds. If you remove them too early, they may crumble and not hold their shape.
- Be sure to check out my video tutorial in the post!


Are these safe for toddlers?
Hi – these look lovely, and I lvoe the link to the mica powder. Can I ask, how oily does the bathtub get with these bathbombs, after the water has been drained?
Can you use shrink wrap bags on these
Can you use a press mold for these? I like the pretty design of a press mold.
Can you use a pressmold with these?