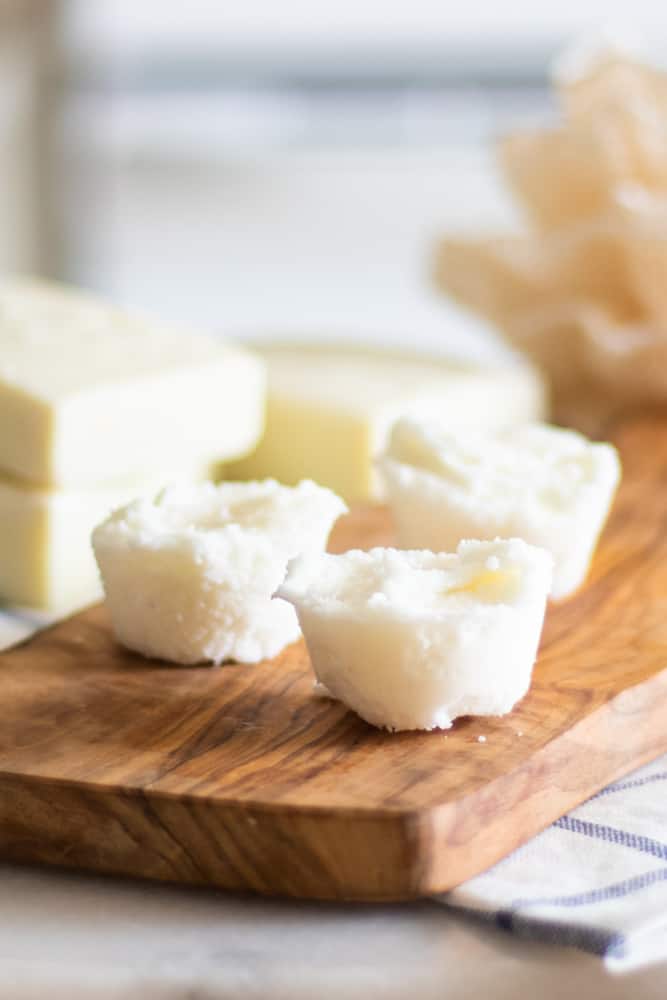
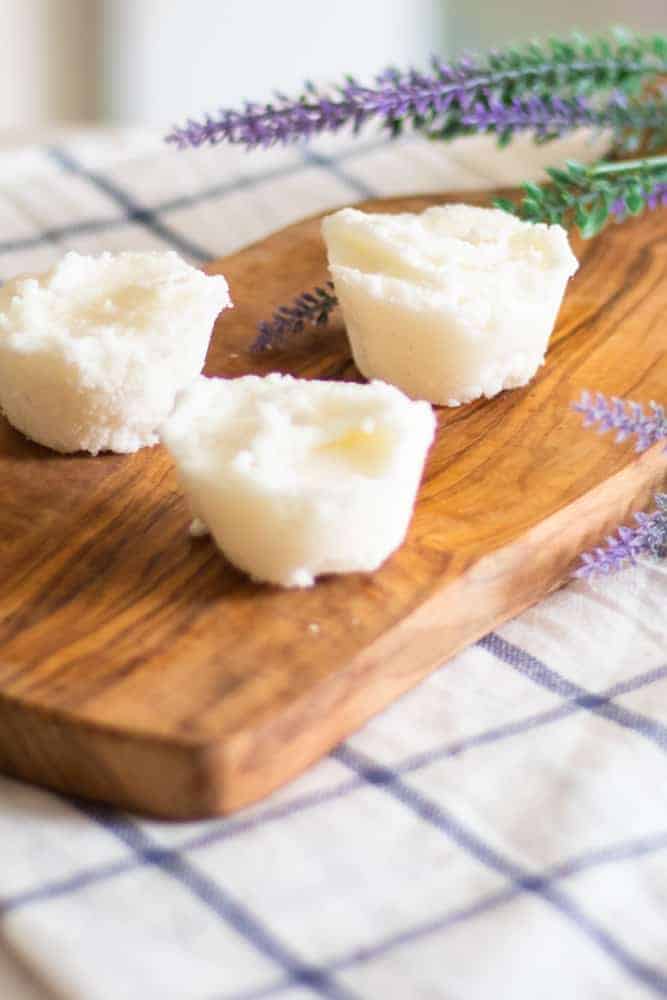
These DIY bubble bars are made with baking soda, citric acid, and mango butter. They are soothing for the skin, easy to make, and make for a fun and relaxing bath time.
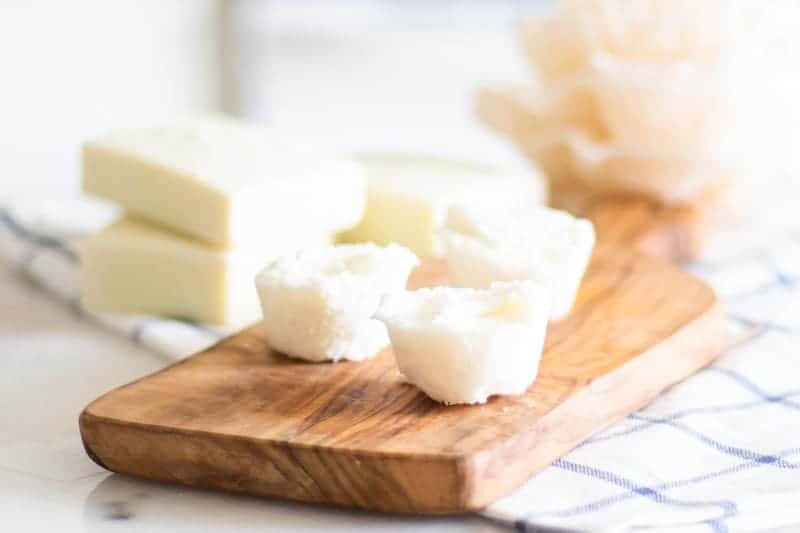
This simple bubble bar recipe will quickly become a favorite with the kids!
You can add in relaxing essential oils and add it to the bedtime routine to promote a healthy night’s sleep.
But don’t worry, these aren’t just for the kids! Adults can greatly benefit from these DIY bubble bars. Add in lavender for a relaxing aroma or wild orange to uplift the mood.
DIY BUBBLE BARS
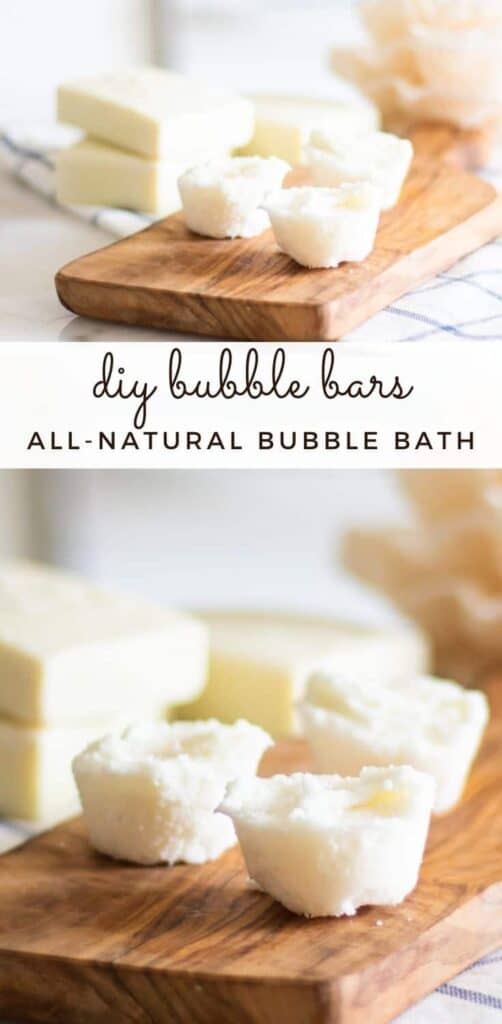
If you are new to making your own home products, learning how to make bubble bars is relatively simple.
These bars are made with baking soda, citric acid and similar to a bath bomb, bubble bars will fizz and bubble when they hit the bathwater.
With the added mango butter, bubble bars are more soothing to the skin than bath bombs.
I am also using pure sodium Lauryl sulfoacetate. Sodium Lauryl sufoacetate is made from coconut oil and palm oil and is the ingredient that is responsible for the bubbles!
WHAT INGREDIENTS DO I NEED TO MAKE BUBBLE BARS?
This post contains affiliate links, which means I make a small commission at no extra cost to you. Get my full disclosure HERE.
BAKING SODA
The baking soda mixed with the citric acid will make the bubble bar fizzle when it hits the water.
CORNSTARCH OR ARROWROOT POWDER
The cornstarch or arrowroot powder’s main job is to lengthen the time the bubble bath bar lasts in the water. It does this by slowing down the “fizzing” reaction when in the water.
CITRIC ACID
Citric acid is an acid found in citric fruits, most commonly from lemon and limes. It is oftentimes used in bath bombs, cleaning products, and food additives.
SODIUM LAURYL SULFOACETRATE
Sodium Lauryl sulfoacetate (SLSA) shouldn’t be confused with sodium lauryl sulfate. SLSA is a natural ingredient this is derived from coconut and palm oils. Sodium lauryl sulfate is an anionic detergent that is oftentimes found in beauty products.
This ingredient is gentle on the skin and will help to cleanse the skin. Most people do not have any issues with this ingredient; if you do, you can still make a bubble bar without SLSA.
MANGO BUTTER
Some type of butter or oil is needed to hold the bubble bar together. In my bath bomb recipes, I use coconut oil.
I decided to use mango butter to make these bars more moisturizing for the skin for this recipe.
You can substitute the mango butter for cocoa butter, shea butter, or tallow. I like mango butter best, but any butter or fat will do.
ESSENTIAL OILS
Adding in essential oils will give you aromatherapy benefits, plus have extra benefits for the skin.
Some of my favorite oils to add are floral or citrus oils. Lavender and wild orange are some of my favorites.
Tea tree and frankincense essential oil are my favorite for the skin and can help to reduce skin irritations. You can use a single oil or a blend of oils in your bubble bars.
TOOLS TO MAKE A BUBBLE BAR
- Cookie cutters or silicone molds
- Parchment paper or wax paper
- Double boiler or make your own with a small glass bowl placed over the top of a saucepan of water.
- Rubber gloves
HOW TO MAKE A BUBBLE BAR
Be sure to check out the full recipe below.
- Start out by melting mango butter in a double boiler. Once melted, allow it to cool slightly; you want to be warm to the touch. Mix in the essential oils.
- In a separate small glass bowl, stir together dry ingredients.
- Slowly add the dry ingredients to the melted mango butter. Stir well. The best way to do this is with your hands. Put on a pair of rubber gloves first and knead for about 5 minutes until it becomes a thick, dough-like consistency.
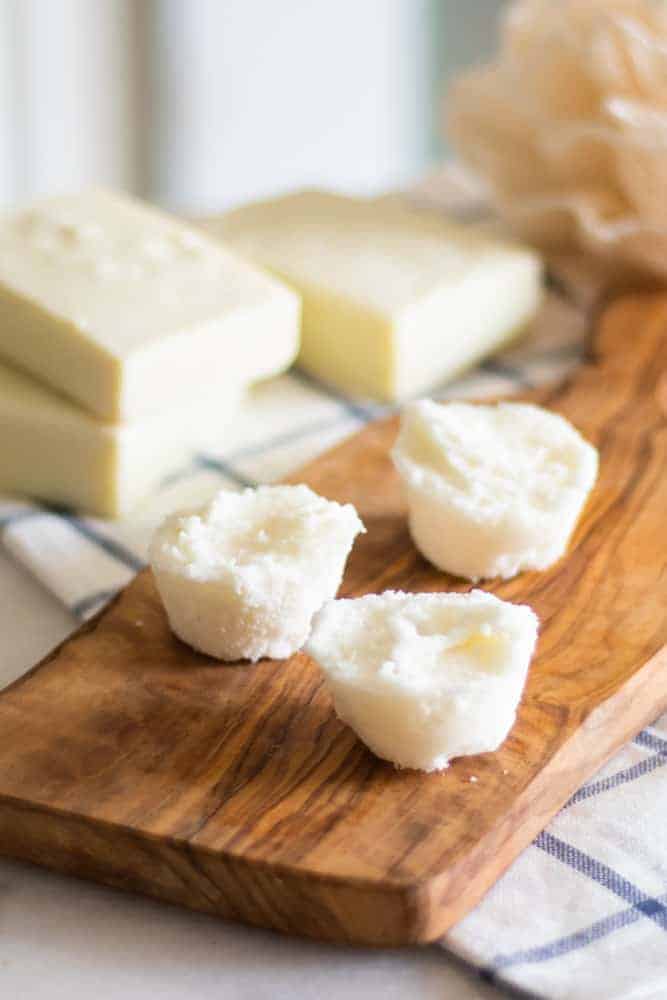
- At this point, you can either cut the dough into shapes with a cookie cutter or add the dough into silicone molds.
- If cutting into shapes, roll out a piece of parchment paper first and place the dough on it.
- Spread it out in an even layer that is about a 1/2 inch thick.
- Using a cookie cutter, cut the bubble bars out.
- Allow the bubble bars to dry overnight before using and storing.
HOW TO STORE BUBBLE BARS
Once the bubble bars are completely dried, they can be stored in an airtight container for up to 6 months. They will hold together pretty well, but it is important to be careful with them.
If they break, that is OK. They will still work, just not look as pretty. I store mine in a Tupperware with a snap lid.
HOW TO USE DIY BUBBLE BARS
Fill your bathtub with warm water. As the tub is filling, place the bubble bar under the water and watch it fizz.
You can use the whole bar at one time, or you can break off a small piece at a time. Then swirl the water around to help the bubble bar pieces dissolve and make bubbles.
If the bar feels like it is dried out or rough on the outside, rub it together in your hands to loosen it up before adding it to the water.
Depending on your bubble bar’s size, you may not need the whole bar at one time.
Place the bar under the water until you get the amount of bubbles you want!
ESSENTIAL OIL BLENDS FOR HOMEMADE BUBBLE BAR
RELAXING
- 10 drops lavender
- 6 drops geranium
- 4 drops copaiba
UPLIFTING
- 10 drops wild orange
- 6 drops lemon
- 4 drops bergamot
SOOTHING
- 10 drops peppermint
- 6 drops lavender
- 4 drops ylang ylang
CAN I ADD IN COLOR TO THE BUBBLE BATH BAR RECIPE?
Yes! Bubble bars can be made as fun and exciting or simple as you want. For a simple bubble bar recipe, you can leave them white.
Or you can add in mica powders to make them any color you want.
Once all the ingredients have been mixed in for the bubble bars, divide the dough into separate bowls.
Then add about a tablespoon of the coloring to each bowl, mixing well. Spread each layer evenly into the molds and allow to dry for one day.
And that’s it! Making bubble bath bars is really that simple! Let me know how it turned out for you in the comment section below!
And if you are looking for more great bath and beauty recipes, try out one of these favorites below!
- Tropical bath bombs
- Rainbow bath bombs for kids
- Moisturizing bath truffles
- Homemade bubble bath with natural ingredients

DIY Bubble Bath Bars
Equipment
- Double Boiler
- Rubber Gloves
- Small mixing bowl
- Parchment paper
Ingredients
- 1 ¼ cups baking soda
- 1 cup citric acid
- ¼ cup cornstarch
- ½ cup sodium lauryl sulfoacetate
- 1 cup mango butter
- 20 drops essential oils optional
Instructions
- Start out by melting mango butter in a double boiler. Once melted, allow it to cool slightly; you want to be warm to the touch. Mix in essential oils.
- In a separate small glass bowl, mix together dry ingredients.
- Slowly add the dry ingredients to the melted mango butter. Stir well. The best way to do this is with your hands. Put on a pair of rubber gloves first and knead for about 5 minutes until it’s a thick, dough-like consistency.
- At this point, you can either cut the bubble bars into shapes with cookie cutters, or you can put the dough into silicone molds.
- If cutting into shapes, roll out a piece of parchment paper and place the dough on it. Spread it out in an even layer about a 1/2 inch thick.
- Using a cookie cutter, cut the bubble bars out.
- Allow the bubble bars to dry overnight before using and storing.

marie says
what do you use for coloring that is safe and non toxic?
Laura says
Skin-safe coloring or mica powders
Pam says
Slsa do you wear a mask. I heard it makes you cough?
Laura says
I had no issues, but you can wear a mask if you prefer.
Anna says
Is there anything I can substitute for mango butter? I have had trouble finding. This recipe sounds great and fun!
Laura says
Yes, cocoa or shea butter would work too!
Jo says
Hi Laura, my daughter is allergic to coconut,what can I use instead sodium Laurel sulfoacetate?
Ps I love your recipes,very often watch you on YouTube. All the best
Jo
Laura says
Thank you so much! The sodium laurel sulfocetrate is what makes it bubble and foam.
Cheri says
Thanks Laura…these sound fun and I have everything to make them!! Thanks for sharing! 🙂
Laura says
You’re welcome!
Twin Mama says
I am allergic to arrow root and my kids are allergic to corn starch…do you think tapioca starch or something else would work instead? Thanks for the recipe, looks awesome, can’t wait to try!!
Laura says
Yes! Or you can do 1/4 cup more baking soda and eliminate the cornstarch.
Yvonne Holmes says
I was looking for a bubble bath recipe but bars sound so more interesting I will make these
instead. (less mess ) Since we almost out of bath bombs your recipe is perfect timing!!!!
Thank you
Yvonne
Laura says
You’re welcome!! These are so fun!