This post may contain affiliate links. Please see our disclosure policy.
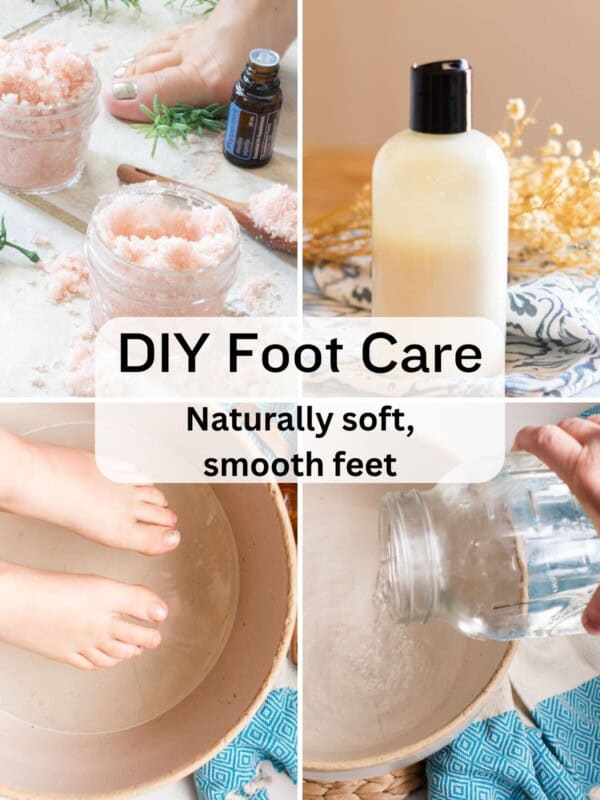
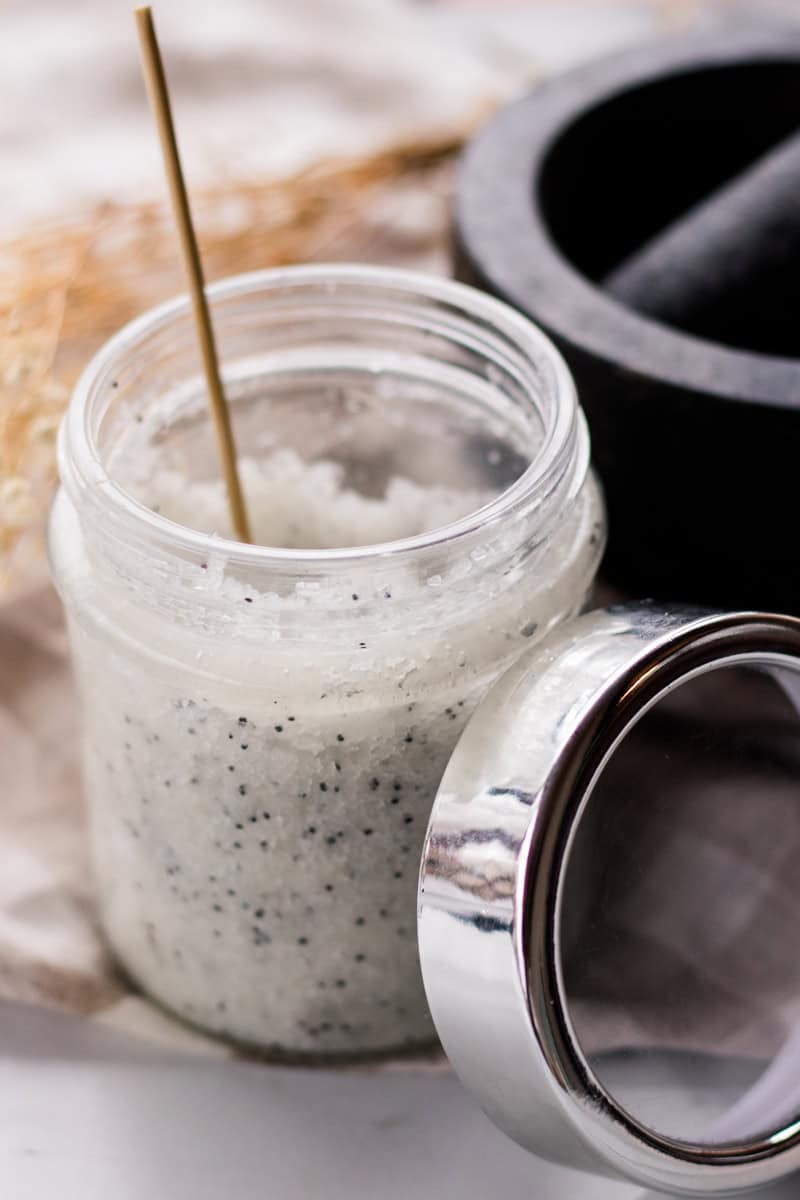
Transform your shower into a heavenly spa with a DIY Dead Sea Salt Scrub! Discover the recipe in this post – perfect for exfoliating and revitalizing your skin and calming the mind.

Doesn’t a Dead Sea salt scrub sound amazingly therapeutic? It’s because it is!
This Dead Sea salt scrub leaves your skin looking and feeling utterly gorgeous – thanks to the mineral-rich salts!
This really is one of those DIY recipes to keep in your toolbox for when your skin needs some extra care and loving attention.
I just love how my skin feels after using it, and the best thing? You’ll get multiple applications out of one batch, making this a great scrub to have on standby.
Why You’ll Love This Recipe
Promote skin health: This dead sea salt scrub will leave your skin healthier by exfoliating and moisturizing. Regular exfoliation helps keep the skin fresh and healthy by removing old, dead skin to reveal the brand new skin underneath. Three different nourishing oils will give that new skin lots of hydration!
Silky soft skin: It doesn’t just make your skin healthier, dead sea salt scrub makes it feel amazing, too! If you’ve never felt the silky smoothness that follows exfoliating with salt scrub, you’re going to love it.
Save money: Making your own salt scrub is an easy way to keep your skincare spending down. Once you purchase the ingredients for dead sea salt scrub, you’ll be set for numerous batches.
Natural ingredients: This recipe is made with natural, nourishing ingredients. They are eco-friendly and your skin will love them!
Ingredients
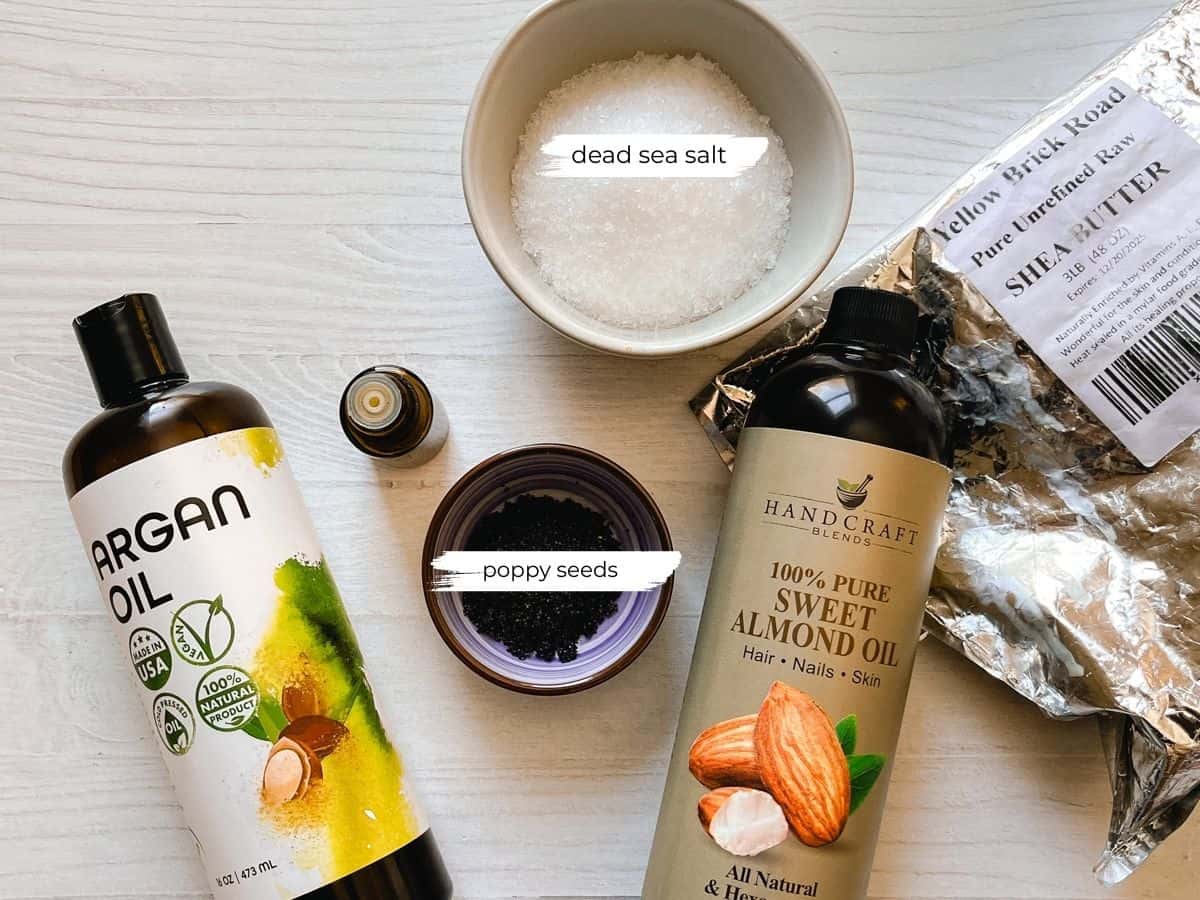
- Dead sea salt: Gently exfoliates without causing irritation and leaves the skin looking brand new, soft, fresh, and clean. Dead Sea salt is also loaded with minerals like magnesium, which can improve skin health and hydration and reduce inflammation.
- Shea butter: Shea butter will add some texture to the scrub and provide immense benefits for the skin. You can substitute mango butter if you wish.
- Sweet almond oil: Packed with skin-healthy nutrients, sweet almond oil is hydrating and can treat a variety of skin ailments, including acne and stretch marks.
- Argan oil: Another nourishing oil, argan oil moisturizes, soothes, and protects the skin.
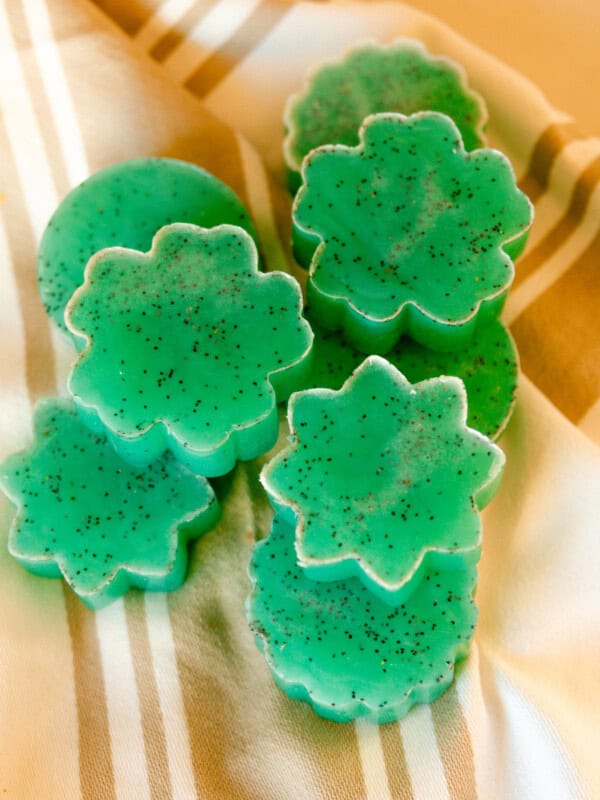
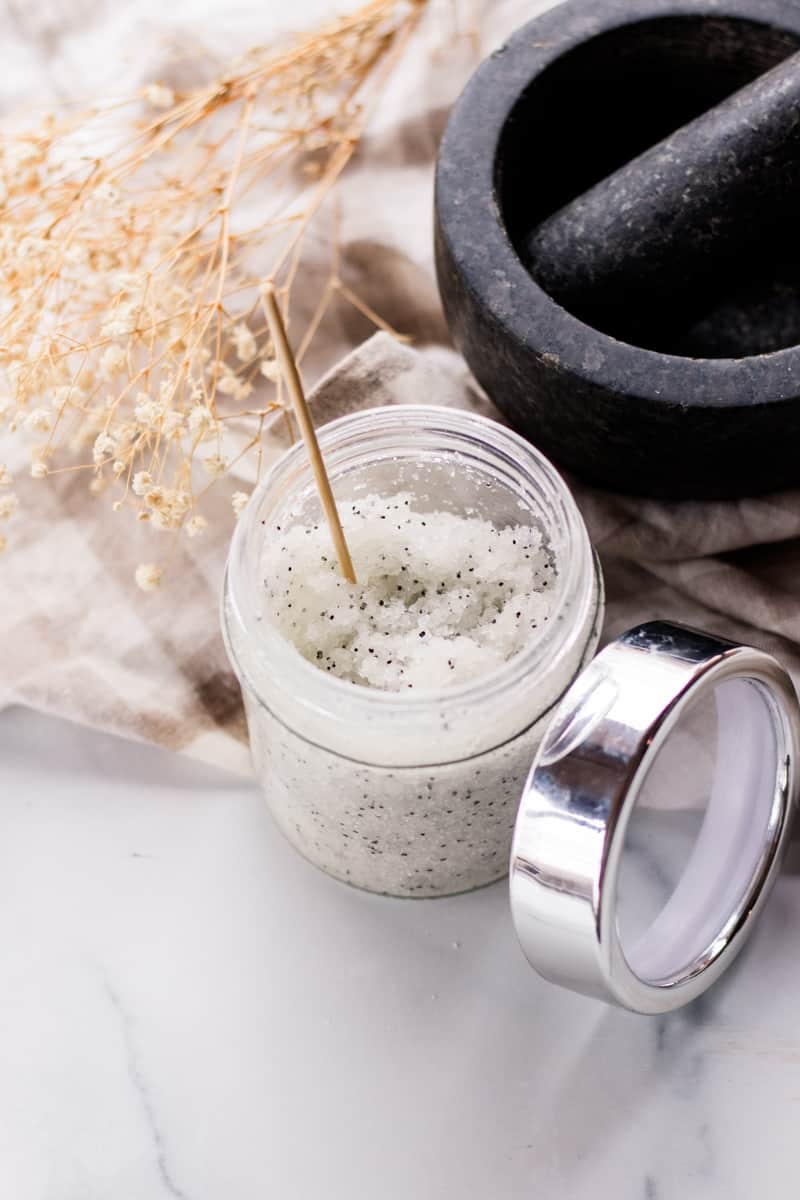
- Poppyseeds: An optional addition, poppyseeds add visual appeal and give the scrub more texture and exfoliating capabilities.
- Grapefruit essential oil: You can optionally add essential oil to your body scrub for natural fragrance. I like grapefruit because it reduces stress, improves mood, and I love how it smells.
How to Make Dead Sea Salt Scrub

Step 1: Add the salt to the container you’re planning to store it in.
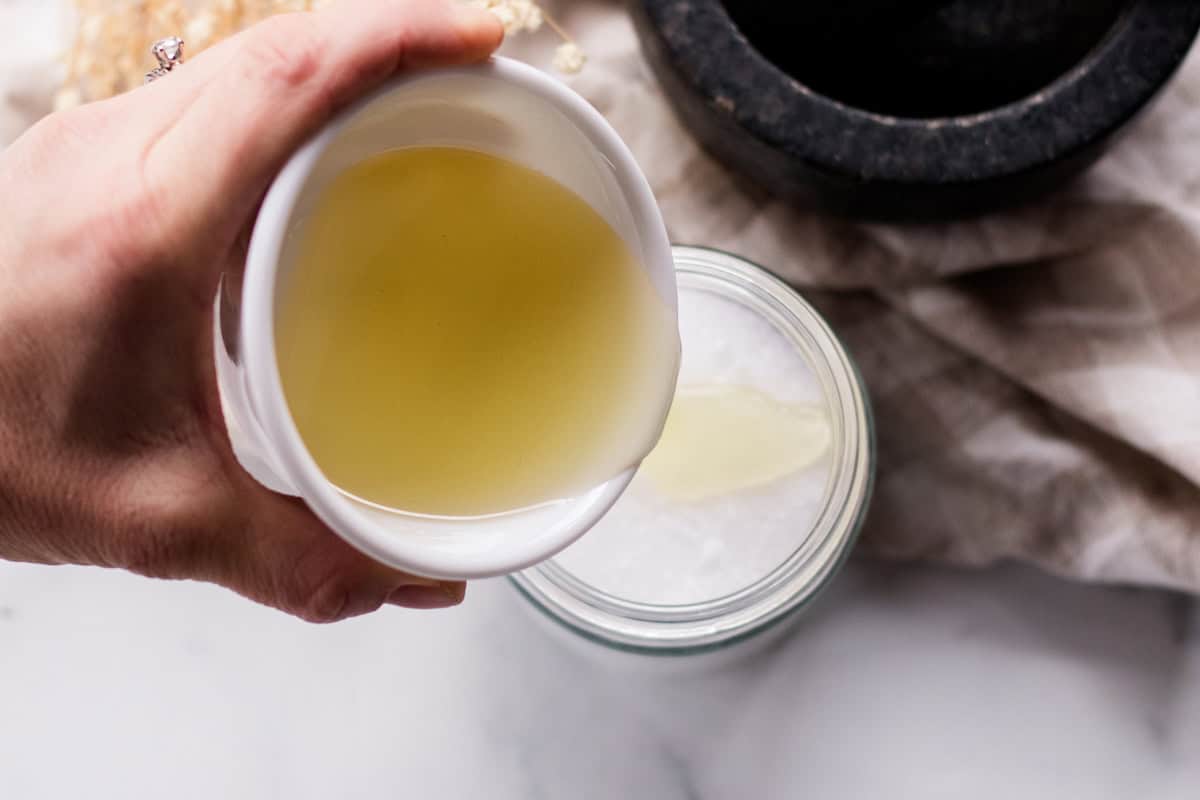
Step 2: Melt the butter and oils together on low-medium heat in a pan on the stove. Pour the melted oils over the salt.
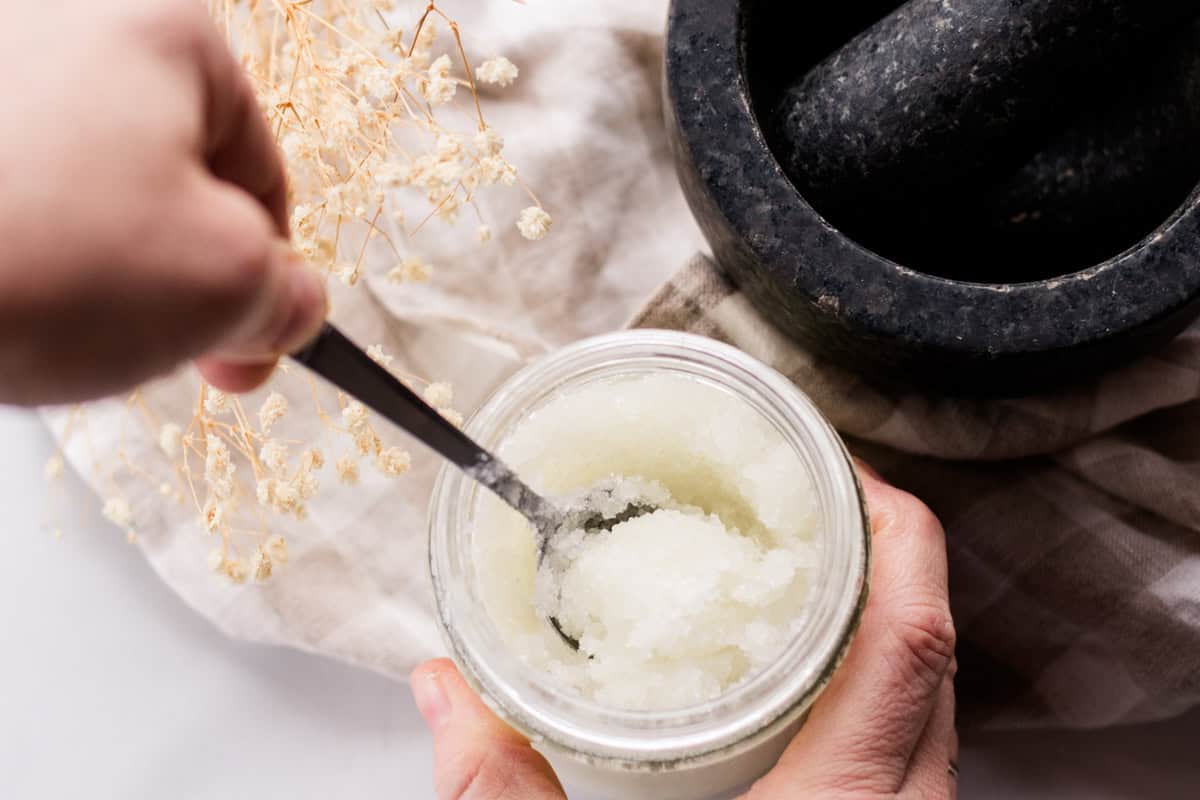
Step 3: Stir together until well combined.
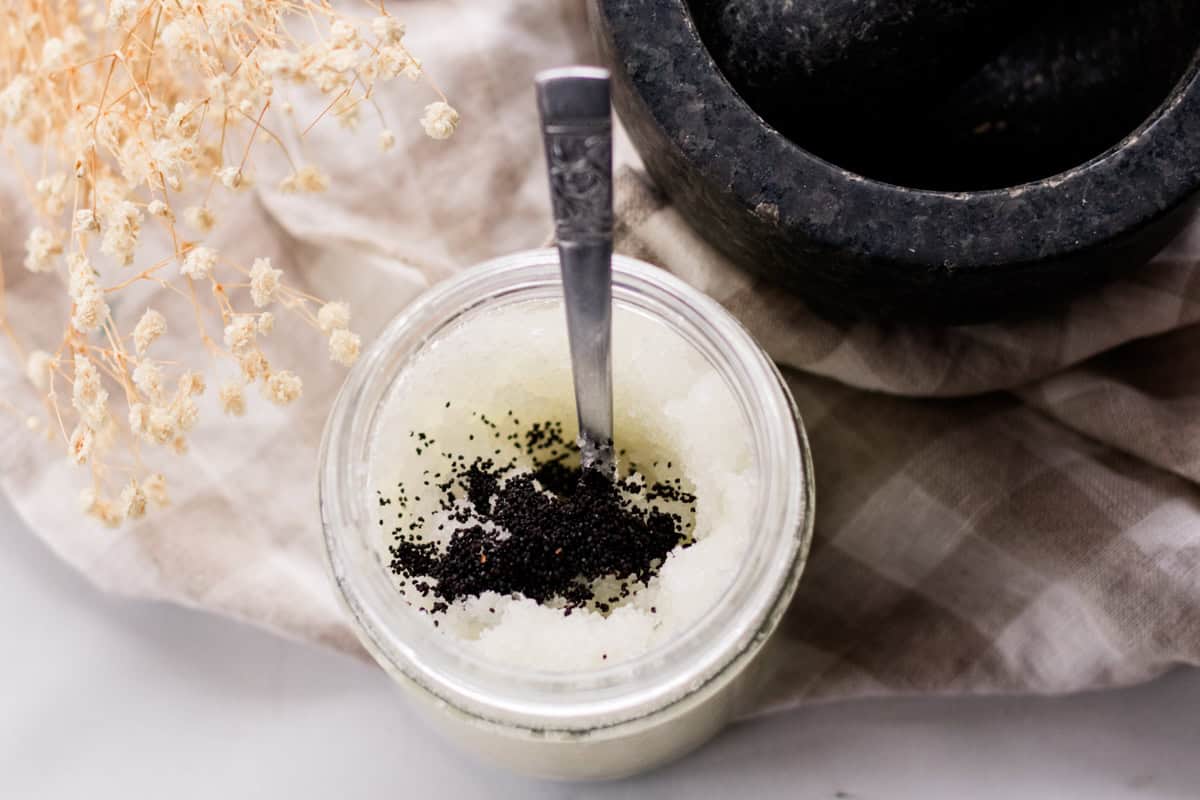
Step 4: Stir in the poppy seeds.
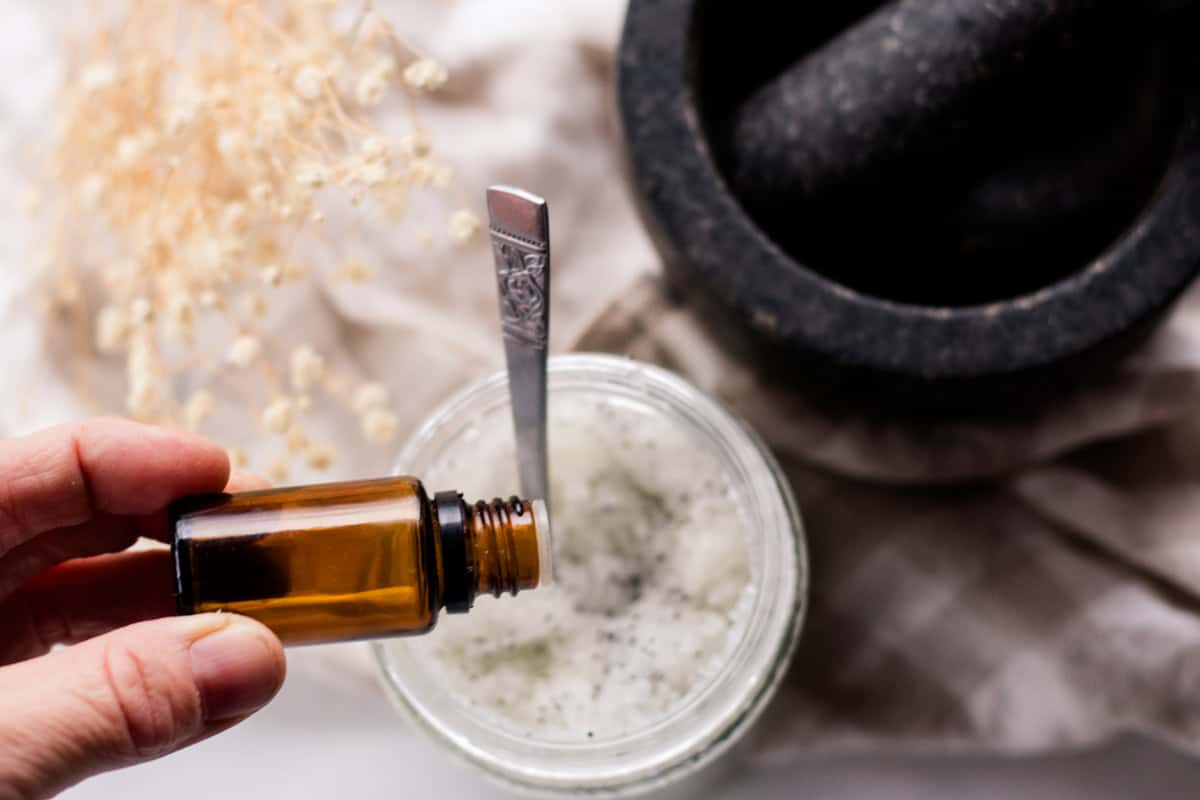
Step 5: Add essential oils and mix in well.
Step 6: Once the mixture fully cools, give it a good stir to break up any clumps.
How to use Dead Sea Salt Scrub
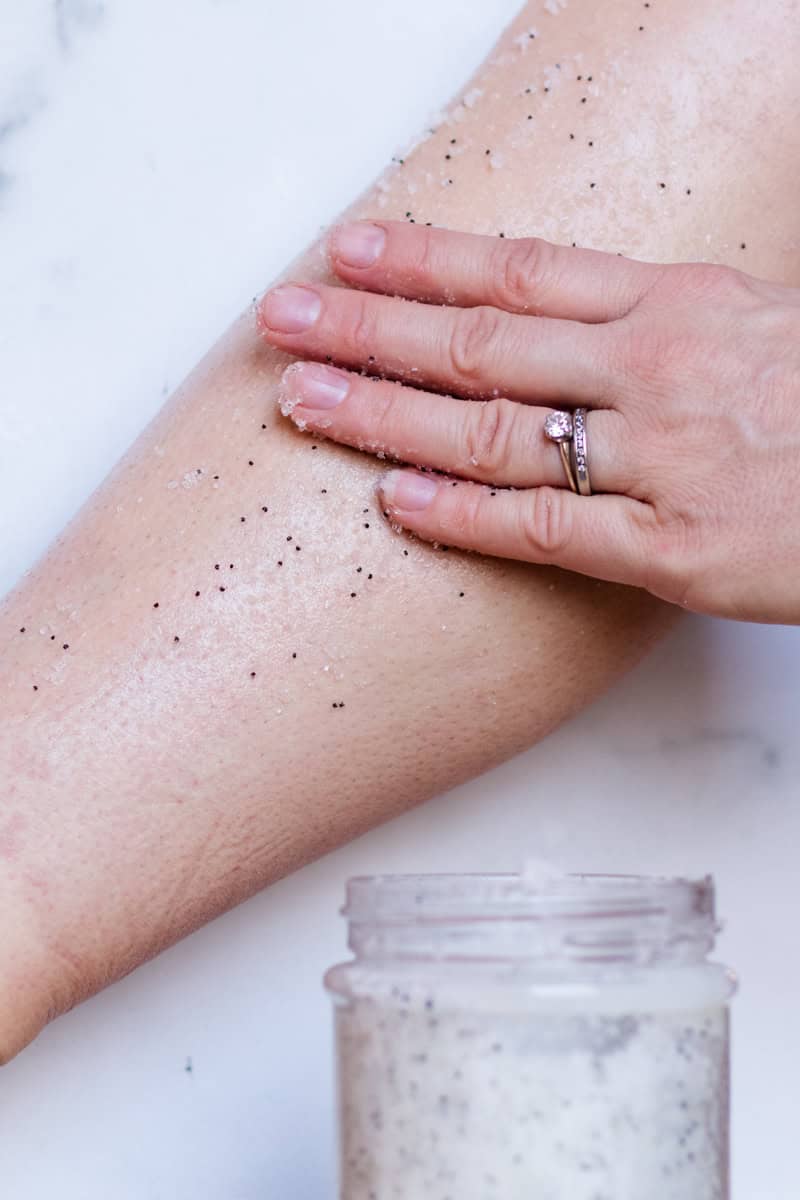
Wet your skin with warm water (say in the bath or shower), then massage the scrub in a circular motion into the dead skin.
Allow the scrub to remain on your skin for a few minutes for the best benefits. Rinse off when desired, dry yourself, and then finish with a good skin moisturizer, such as homemade body butter.
I personally keep this in the shower and use it about once a week.
Note: I do not recommend using this as a face scrub, as the salt granules are rather coarse.
Safety
- Use caution when using this in the tub, as the oils will make the floor slippery.
- This scrub is to be used only on the body. Avoid delicate areas and the face. If you want a scrub for the face, try this sugar scrub recipe.
- Do not use on broken, sore, or irritated skin.
- Always do a patch test first to see how your skin responds before use.
Storage
I store my dead sea salt scrub in an airtight glass jar with a screw-top that I had lying around. But you can use any type of container, really!
Just make sure it’s airtight; after all, salt dissolves when it gets wet, so it’s best to keep it as dry as possible until you use it.
A cool, dark place like a kitchen cabinet is ideal for prolonging its shelf life. The maximum I’ve been able to stretch this is 3-4 weeks before I find myself making a new batch!
Benefits of Dead Sea Salt Scrub
I love using Dead Sea salt on my skin. It gently exfoliates without causing irritation and leaves my skin looking brand new, soft, fresh, and clean.
It’s a fabulous scrub to use before heading out for the day to improve how your skin looks and feels before you go.
Or perhaps your skin needs some extra special attention during the winter months? To slough off patches of dry skin and brighten its texture. This is truly where a Dead Sea salt scrub comes into its own.
Here are some extra benefits:
Exfoliation
Dead Sea salt acts as a natural, gentle exfoliant. It gently removes dead skin cells to reveal fresher, smoother skin underneath. The fine salt granules are effective yet soft on the skin, making it suitable for regular use.
Mineral Content
Dead Sea salt is loaded with minerals like silica, calcium, and zinc, which are all amazing for the skin.
Skin Hydration
I’ve noticed that my Dead Sea salt recipe is amazing for helping my skin look fresher! My skin certainly looks brighter after using it. What’s not to love?!
Recipe FAQs
Yes, they are! They help exfoliate the skin gently, improving the skin’s texture and appearance and also offering cleansing properties that keep blemishes at bay.
You can if you like. Some suggested alternatives are normal sea salt (large granules work well for the feet), Epsom salt, or Himalayan salt. (I use Himalayan salt in my homemade foot scrub). I recommend doing your own research on the therapeutic benefits of those other salts, as they may be different from Dead Sea salt.
I would suggest using this sea salt scrub on the body only and not the face. Sea salt is a touch more coarse than sugar, which is why I suggest using only homemade sugar scrubs, or other gentle exfoliators (such as coffee scrub) on the face.
You can try this peppermint and mocha face scrub for your face!
For normal skin, I recommend 1-2 times a week. Exfoliate as you feel your skin needs it and if it starts to feel tender or raw, cut back use. For sensitive skin, I would limit use to once a week to avoid potential skin upset, and always go gently so you don’t irritate your skin.
Related Content
- How to make a whipped lavender sugar scrub
- Green tea matcha scrub
- My favorite fall body scrubs
- Simple homemade summer body scrubs
- Sugar scrub bars
If you tried this Dead Sea Salt Scrub or any other tutorial on my website, please leave a 🌟 star rating and let me know how it went in the 📝 comments below. Thanks for visiting!
Dead Sea Salt Scrub Recipe
Equipment
- Airtight container
Ingredients
- ½ cup 4.5oz of dead sea salt
- 2 tbsp 0.5 oz of shea butter
- ⅛ cup 0.5 oz of sweet almond oil
- ⅛ cup 0.5 oz of argan oil
- 1 tsp of poppy seeds
- 20 drops grapefruit essential oil for fragrance, optional
Instructions
- Melt the butter and oils together on low-medium heat in a pan on the stove.
- Add the salt to the container you’re planning to store it in.
- Pour the melted oils over the salt.
- Stir together well.
- Then, stir in poppy seeds.
- Add the fragrance oils and mix in well.
- Stir it up again to break the salt mix up loose once it cools.
- To use: Wet your skin with warm water, then massage the scrub in a circular motion into the dead skin. Allow the scrub to remain on your skin for a few minutes, then rinse and dry. Finish with a good skin moisturizer, such as homemade body butter.