This post may contain affiliate links. Please see our disclosure policy.
Making rebatch soap is a fun way to prevent waste in soapmaking. Whether you have a batch of soap you are unhappy with, or it’s time to use up those soap scraps, rebatching will allow you to reuse any unwanted soap.
Nearly every soapmaker has a bin of soap that they don’t want to use or gift, but they just can’t part with it.
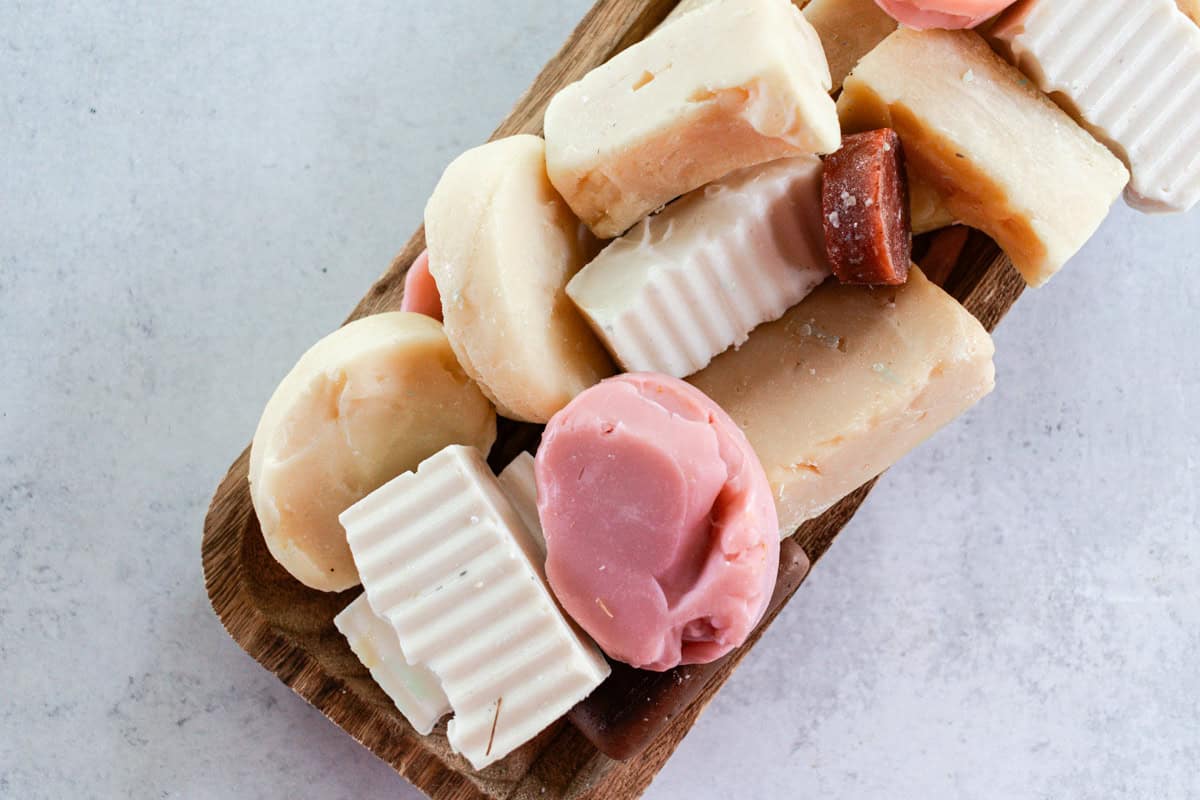
Sometimes, it’s soap bars that are an undesirable color or an odd shape, bars that are old and their scent has faded, or soap with dents, scratches, and imperfections. Other times, it’s end pieces that have been sliced off or shavings from soap being shaped.
If you have a bucket of soap scraps and old soap bars that you don’t want to waste, rebatching soap is just what you need!
I always have soap scraps on hand, either small pieces of used soap or the ends that didn’t turn out quite how I wanted, like with my homemade goat milk soap I was making the other day.
What is Rebatching Soap?
Rebatching soap is the process of melting soap scraps or other unwanted soap bars down with water and creating a new batch of soap. This process eliminates waste by repurposing messed-up soap and scraps.
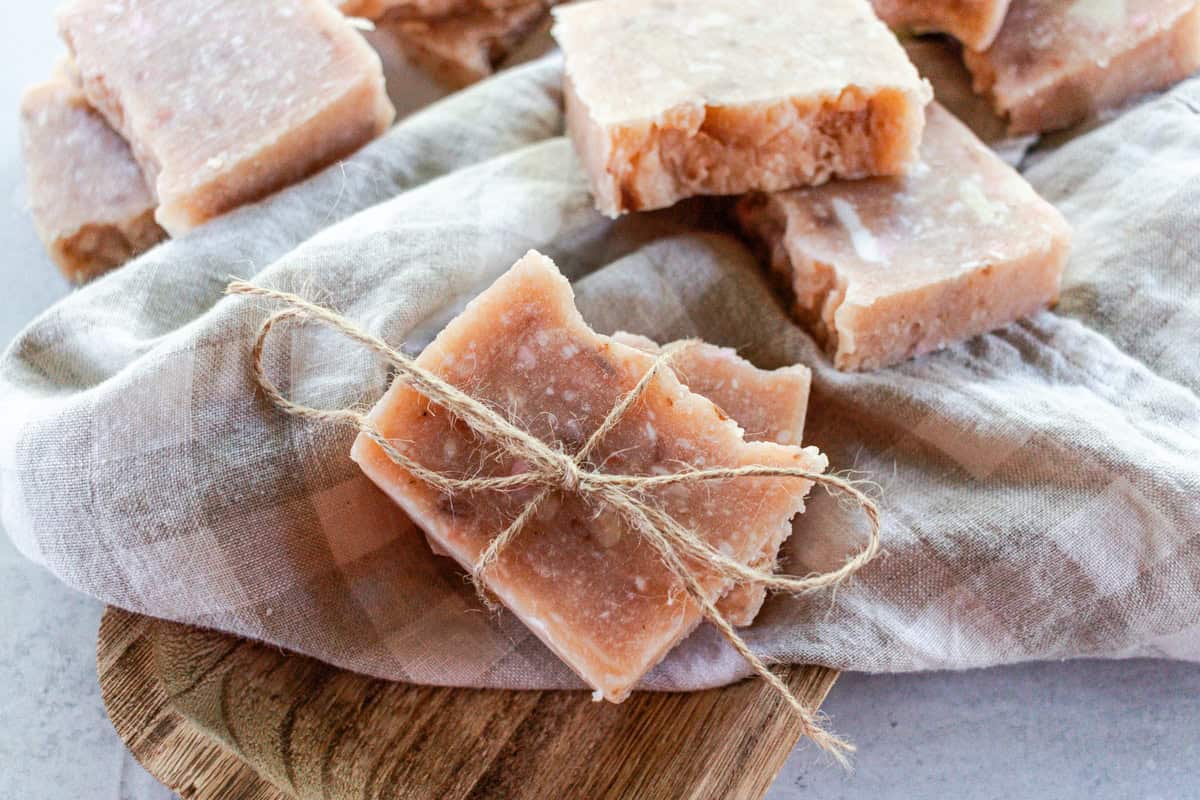
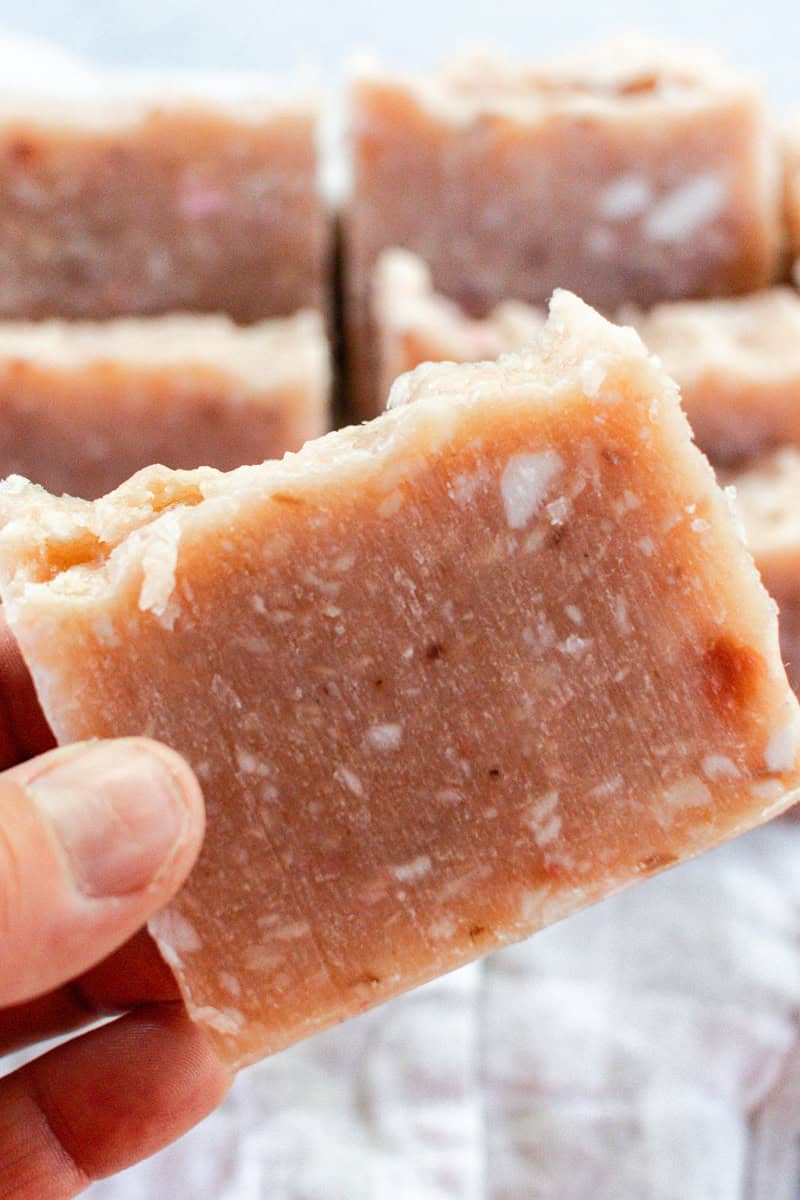
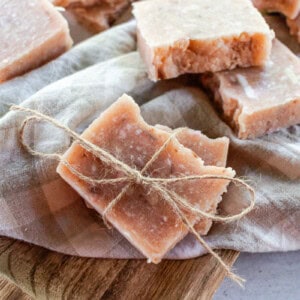
Rebatch soap does not have the same consistency as regular cold-process or melt and pour soap. Once the soap is melted down and reformed, it has a lumpier texture than you may be used to. I rather like the look and feel of rebatch soap, and it works just the same!
Reasons to Rebatch Soap
Reduce Waste: There’s no reason to waste good soap just because it isn’t perfect! But you don’t have to use it as-is either. Rebatching allows you to give undesirable soap bars and scraps a new life as brand-new soap.
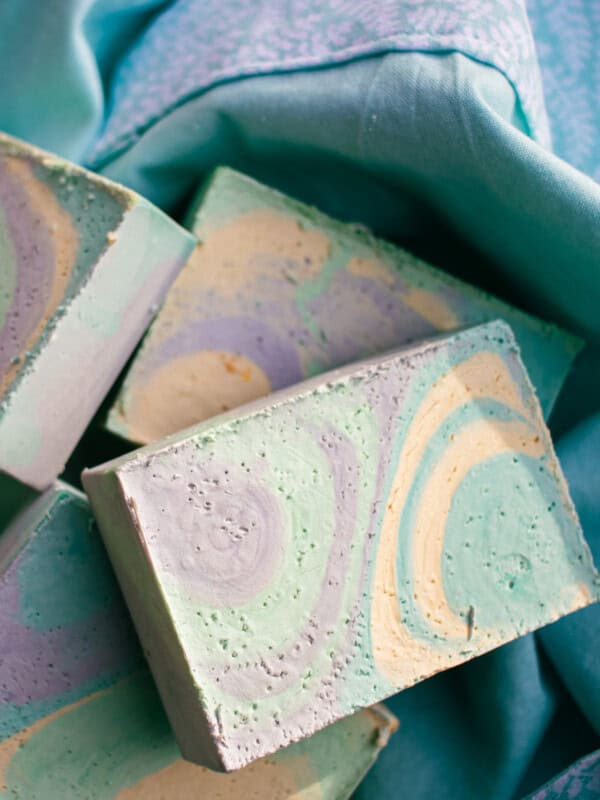
Reinvent Your Soap: Rebatching soap allows you to be creative and make a unique soap bar. You can add in different inclusions, change the color, or give it a multi-colored look by stirring in unmelted soap shavings.
Unique-Looking Soap: Rebatched soap doesn’t have the same smooth look as regular cold-process or melt and pour soap bars. It takes on a different, more rustic texture that I think is quite lovely!
Easy Process: Rebatching soap is quite a bit easier than a fresh batch of cold-process soap, and it doesn’t have to cure for as long. This process is fairly similar to melt and pour soap, though the result is different.
Ingredients
- Grated soap scraps (from old bars or messed up new bars)
- Distilled water
- Optional: Essential oils or fragrance oils for scent
- Optional: Colorants (micas, clays, oxides, etc.) for a new look
- Optional: Other additives (like honey, oatmeal, etc.) for additional properties
Tools
- Box grater
- Double boiler or crock pot (or a large pot and heat-resistant bowl)
- Spoon or spatula for stirring
- Soap molds (silicone loaf molds or other soap molds)
Instructions
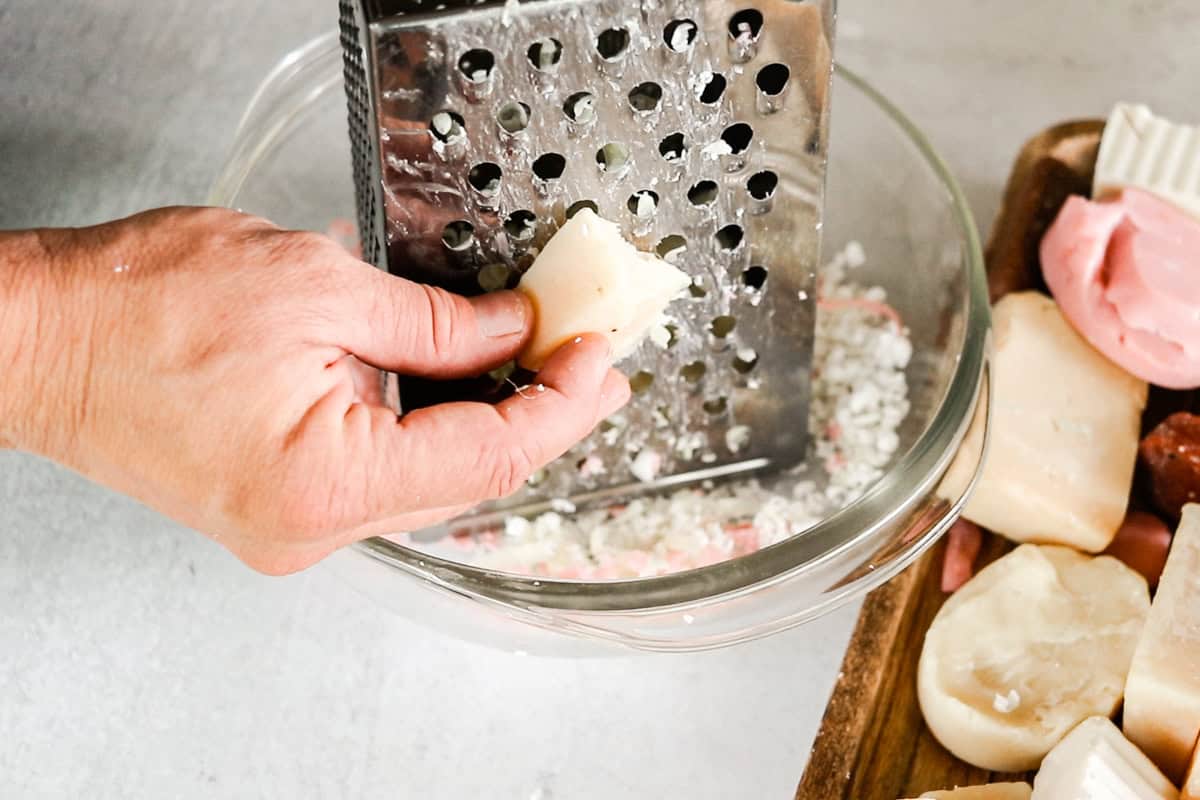
Step 1. Shred any larger pieces of soap with a box grater.
Step 2. Add the shredded soap and small soap scraps to a double boiler or crock pot, leaving room at the top to stir.
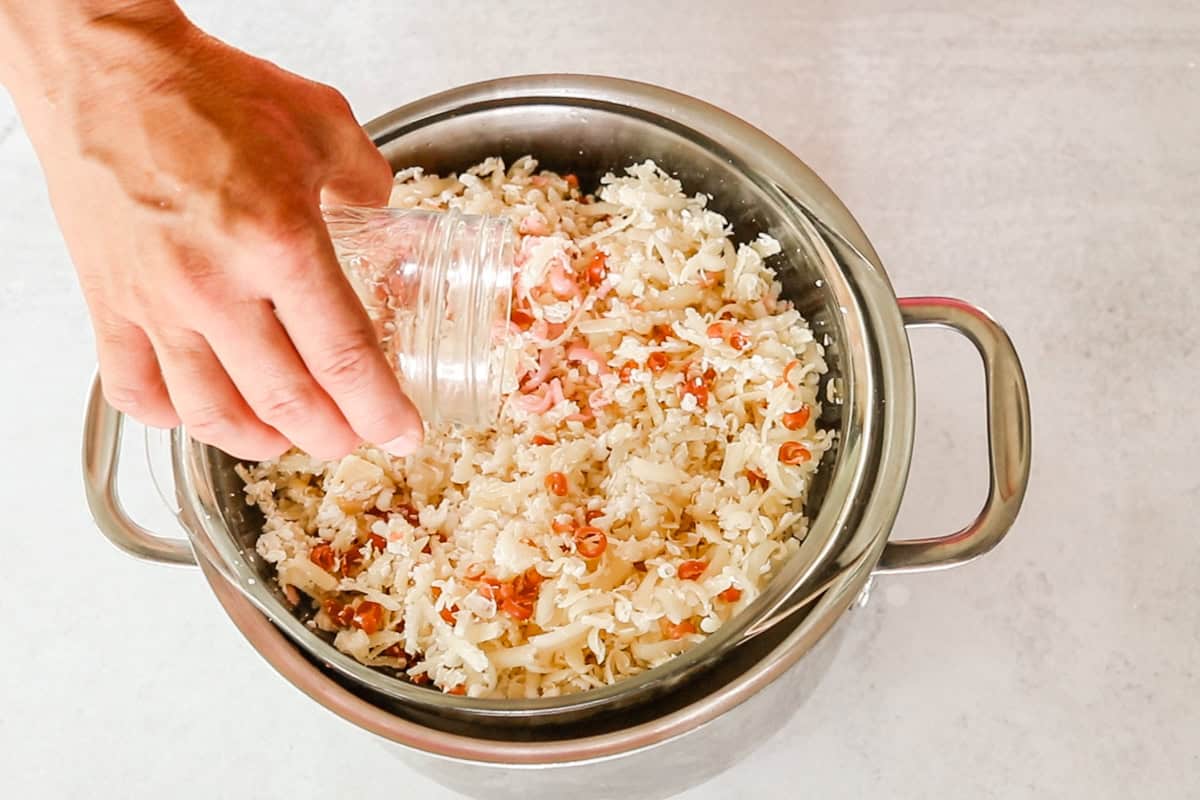
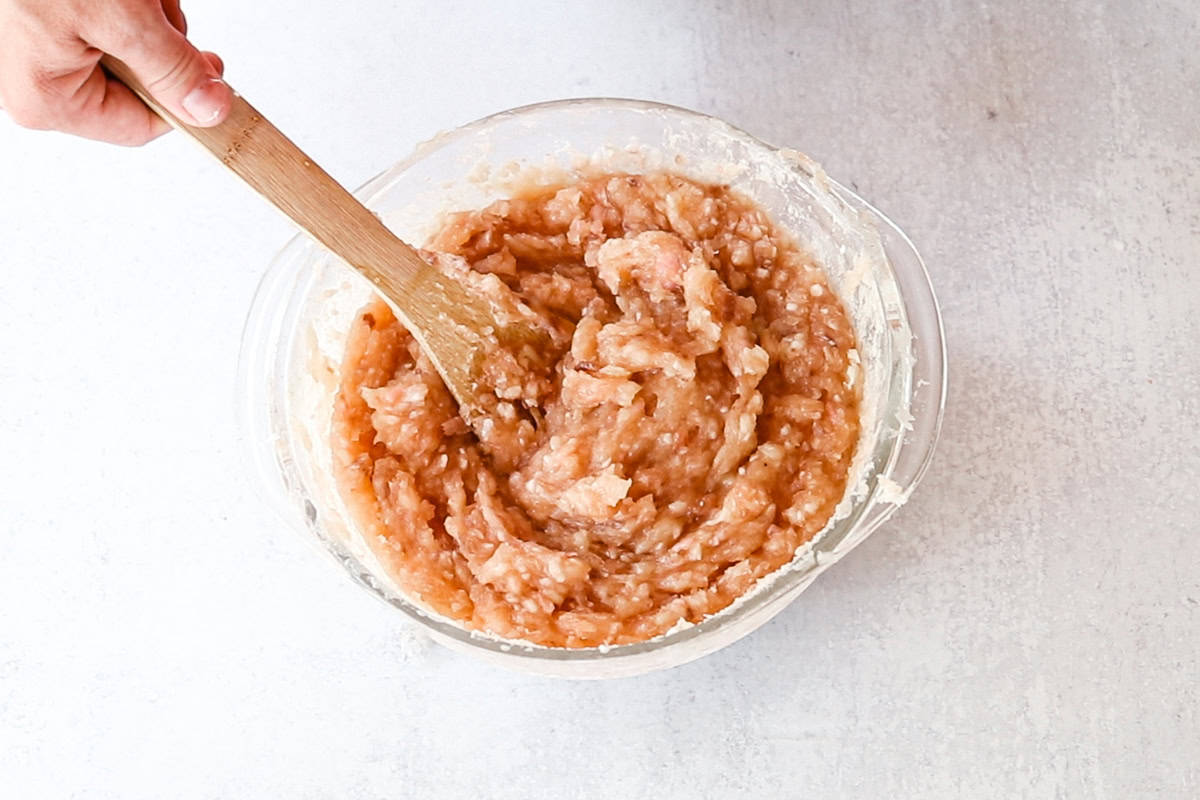
Step 3. Next, add distilled water and heat on medium-low, stirring often, until the soap is melted. Note: It’s going to be thick and gloopy, not smooth like typical melt and pour soap.
Step 4. Remove from the heat and stir in the fragrance if you are using it, along with any other add-ins.
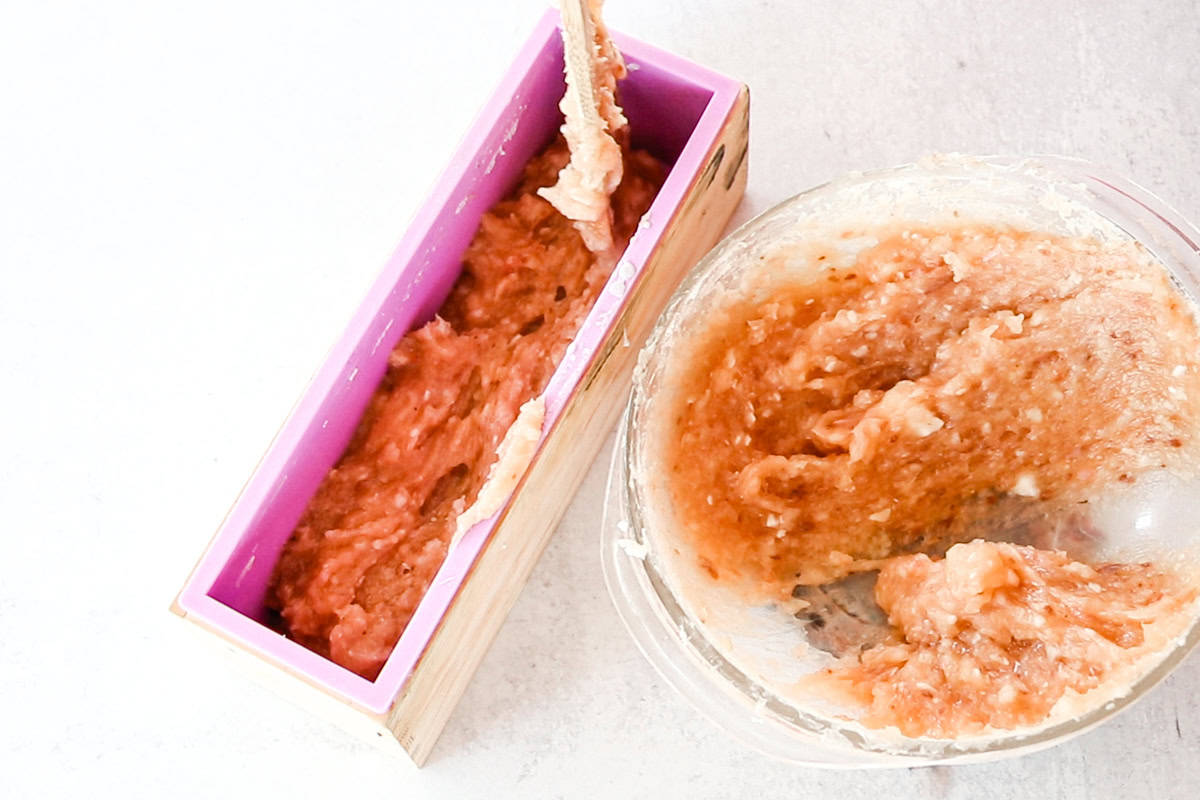
Step 5. Quickly scoop/pour the soap into your soap mold. It will probably be more of a scooping action than a pour because of how thick the mixture is.
Step 6. Tap the mold to release air bubbles.
Step 7. Let the soap cool completely for about 24 hours. If the mold pulls away from the soap easily, it’s ready. Otherwise, wait another day.
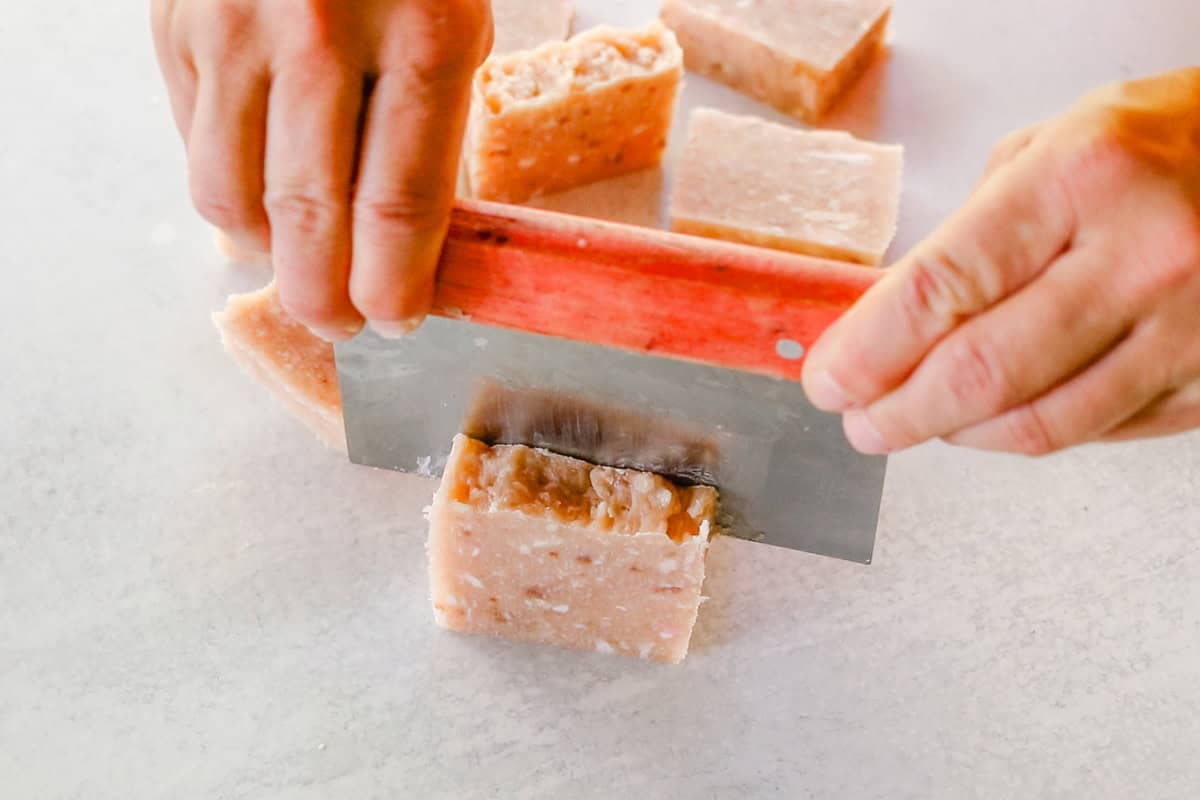
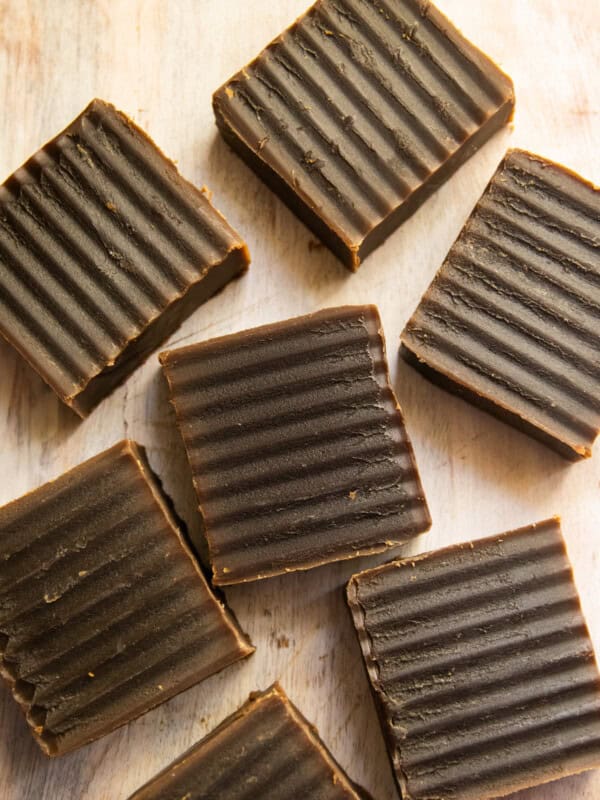
Step 8. Cut the finished soap into bars. You can use them immediately, but I do suggest letting them cure for two weeks for a firmer bar. Then, enjoy!
Expert Tips
- As a general rule of thumb, use 2 ounces of water for every 10 ounces of soap. The less water you use, the less time it will take for the final product to dry, but the soap may be more challenging to melt. On the other hand, more water will help the soap melt more smoothly, but it will take longer to dry.
- Melting the soap may take a while, so be patient with it. It will never be as smooth as a melt and pour soap base, but it will become soft enough to scoop into the molds.
- As the soap melts, you can help it along by spritzing it with more water.
- If you don’t have a slow cooker or a double boiler, you can melt your soap in a glass heat-resistant bowl set on a pot of water and bring it to a boil. This will achieve the same double boiler method.
- Only rebatch homemade cold-process or hot-process soap. Commercial soaps may have added ingredients that can interfere with the rebatching and react to the heat.
Important Note
Some unwanted soap bars may be the result of incorrectly measured ingredients that could result in a lye-light or lye-heavy soap bar.
If you suspect this is the case with your soap, it’s best to consult a soapmaking resource for guidance on adjusting the recipe.
This recipe is best used with properly made soap bars that simply didn’t meet standards for scent or visual appeal.
Rebatch Soap Add-Ins
Rebatching soap provides a perfect opportunity to recreate your soap bar into something special.
You can use this chance to add ingredients that can’t usually be included in cold-process soap.
Rebatching is also a great time to try different colors and add different fragrances to your soap.
You can add anything you would typically add to melt and pour soap once your rebatch soap is melted. Dried herbs, flowers, or tea leaves are all great options, but feel free to get creative! I have even added a loofah to soap bars before in my Hibiscus Loofah Melt and Pour Soap.
Other Uses for Soap Scraps
- You can make liquid soap for your hands or body with unwanted soap bars and scraps!
- Add soap scraps to a soap-saver bag for hand washing.
- Depending on the soap bar, you could use it in DIY laundry soap.
My Favorite Cold-Process Soap Recipes
How to Rebatch Soap
Equipment
- Double boiler or crock pot or a large pot and heat-resistant bowl
- Silicone loaf soap molds or other soap molds
- Spoon or spatula for stirring
Ingredients
- 30 oz Grated soap scraps, from old bars or messed up new bars
- 6 oz Distilled water
- Optional: Fragrance oils or essential oils, for scent
- Optional: Colorants, such as micas, clays, oxides, etc. for a new look
- Optional: Other additives, like honey, oatmeal, etc. for additional properties
Instructions
- Shred any larger pieces of soap with a box grater.
- Add the shredded soap and small soap scraps to a double boiler, or crock pot, leaving room at the top to stir.
- Next, add distilled water and heat on medium-low, stirring often, until the soap is melted. Note: It’s going to be thick and gloopy, not smooth like typical melt and pour soap.
- Remove from the heat and stir in the fragrance if you are using it, along with any other add-ins.
- Quickly scoop/pour the soap into your soap mold. It will probably be more of a scooping action than a pour because of how thick the mixture is.
- Tap the mold to release air bubbles.
- Let the soap cool completely, for about 24 hours. If the mold pulls away from the soap easily, it’s ready. Otherwise, wait another day.
- Cut the finished soap into bars. You can use them immediately, but I do suggest letting them cure for 2 weeks for a firmer bar. Then, enjoy!
Video
Notes
- You can adjust the recipe based on how much soap you have to use up. As a general rule of thumb, use 2 ounces of water for every 10 ounces of soap.
- If you suspect your unwanted soap is lye-light or lye-heavy, it is best to consult a soap-making resource for guidance on adjusting the recipe.
- More water will help the soap melt more smoothly, but the final soap will take longer to dry.
- As the soap melts, you can help it along by spritzing it with more water.
- Only rebatch homemade cold-process or hot-process soap. Commercial soaps may have added ingredients that can interfere with the rebatching and react to the heat.


This is such a great idea! Especially for all the small scrap pieces of soap!