Get cozy with our herbal soap recipe for the ultimate in natural skincare! Unveil the magic of herbs in every lather. Follow along with me as I take you through it step by step!
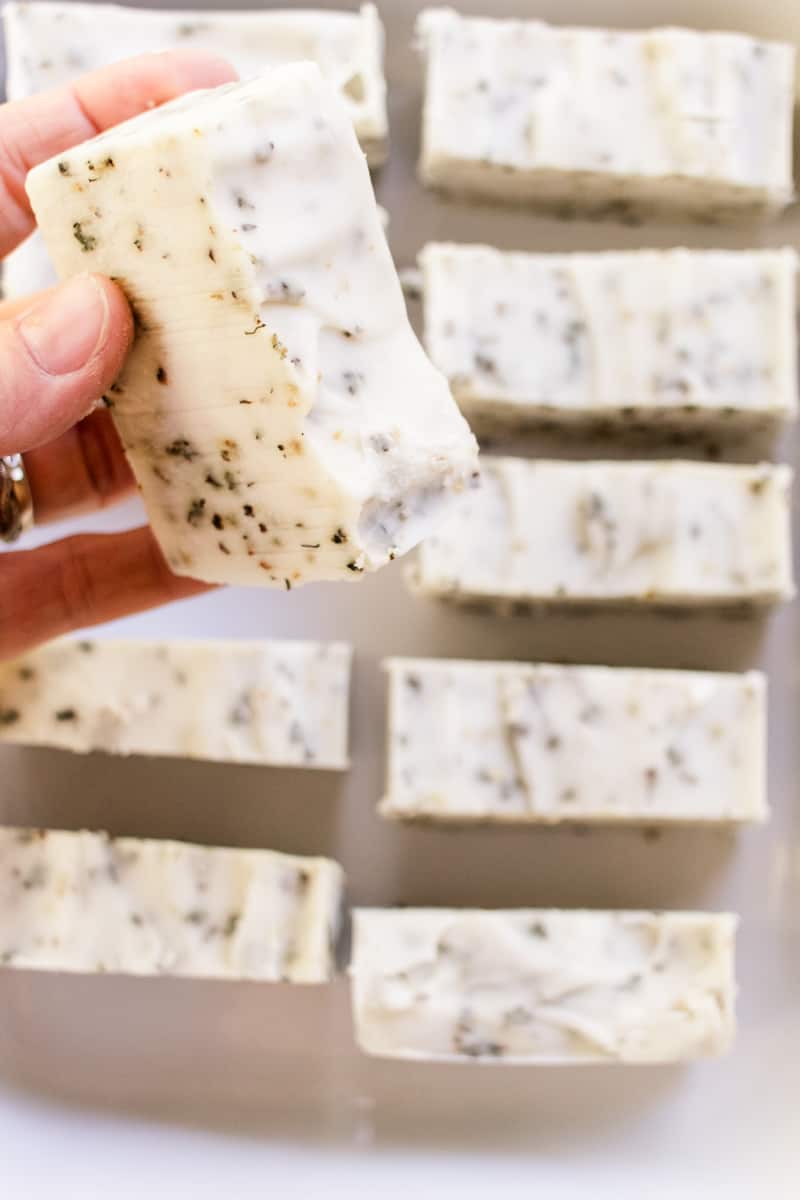
If you love anything herb-related, you’ll fall head over heels for my herbal soap recipe!
I feel there’s something so grounding, natural, and comforting in an herbal soap.
The scents are wonderfully soothing – perfect for the change in season and those fall vibes we’re entering.
If you’re brand new to soap making, don’t worry! I’ll share all I know about soap-making DIY here in this post, along with the recipe itself, which you can follow along with.
You’ll find a section with tips and soap-making precautions so you get the best results at the end, plus heaps of information on the ingredients and what benefits they contain for the skin and body.
Please note that this is a cold process recipe. I do have a melt-and-pour soap with herbs available here if you prefer.
Benefits of herbal soaps
There are so many benefits of herbal soaps! And it’s not just down to the herbs either…
- Natural ingredients: When you make an herbal soap, you can be sure there are natural ingredients in it that are far better for your skin than anything made in a factory. This soap bar recipe has zero toxins or synthetics, so it’s actually healthy to use on yourself!
- Aromatherapy effects: One of the best things about herbs is the fragrances. They are so natural and have a calming effect on the body – perfect for an overly stressed mind, too.
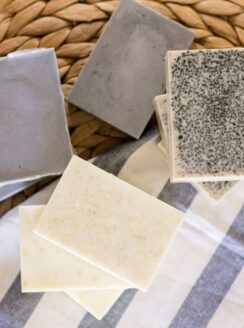
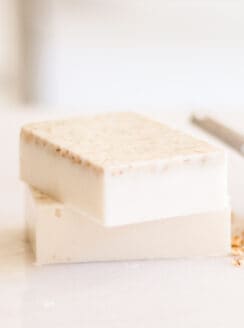
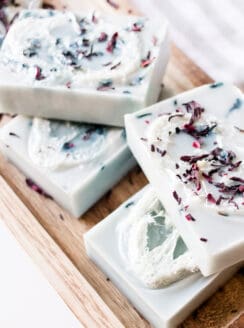
- Unique appearance: Another love of herbal soaps is that hand-crafted look. I am a total convert when it comes to non-symmetrical, creatively poured soap bars!
- Gentle on the skin: I used to get awfully bad dry skin from synthetic soaps before I made my first moisturizing soap bar at home. They won’t zap your skin of moisture, so they are far gentler to use, even on sensitive skin types.
- Moisturizing: Look at that ingredient list! This soap recipe contains shea butter and coconut oil, which are infamous for their moisturizing effects on the skin. Washing your hands with soap that doesn’t leave them feeling parched afterward feels so great, believe me!
- Environmental: Herbal soaps are 100% biodegradable. Nothing in this soap recipe will harm the planet, which is a great benefit.
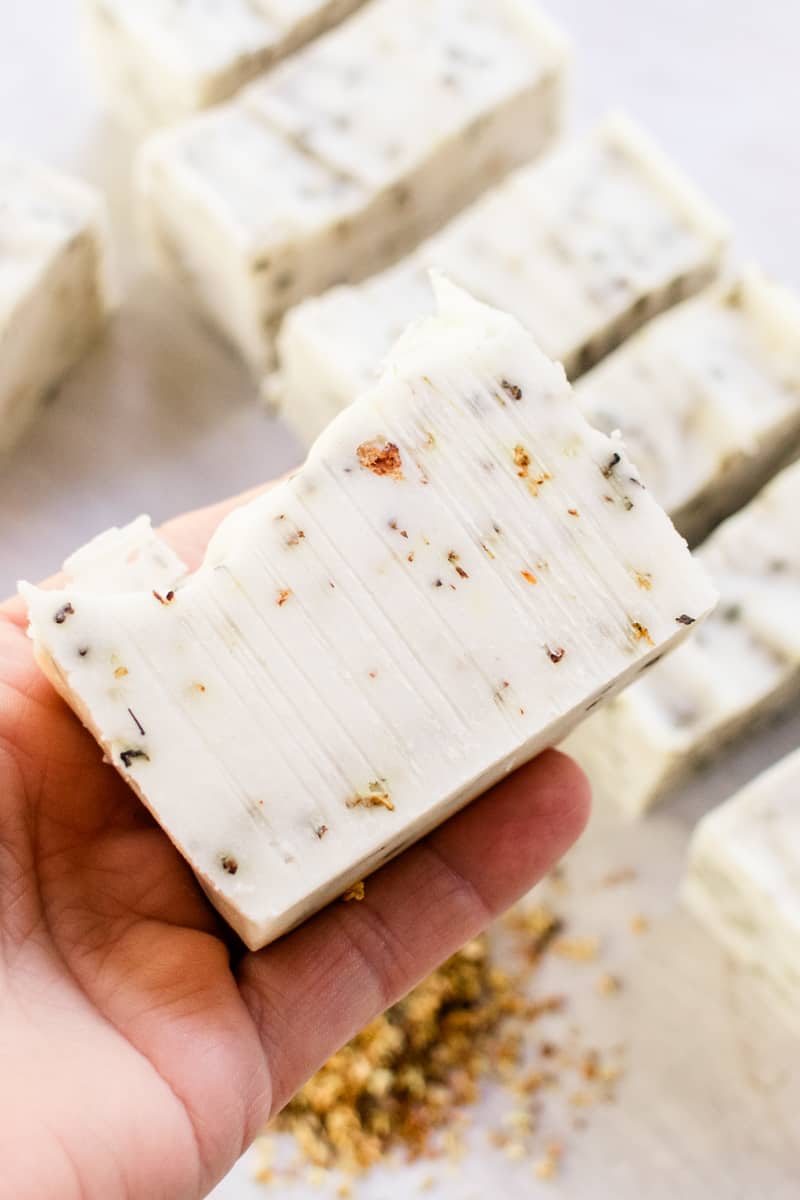
Why use herbs in soap?
It’s a great question. Why use herbs in soap?
One of the main reasons is that herbs are wonderfully natural, which appeals to anyone looking to live a more relaxed, in-tune life with nature and the outdoors.
In fact, herbs have been used for centuries in soap making, with the tradition being passed down through generations.
I guess partly because of certain medicinal benefits of herbs and because herbs smell nice, too?
I mean, think about it. When you consider the different herb species, there’s just so much variety with herbs.
Herbs often have distinct qualities that benefit the mind and body in numerous ways, whether through scent, appearance, or bodily effects, such as reducing stress or improving digestion.
And here, herbs can be turned into amazing soap! No, this isn’t the first time I’ve included herbs in my soap bars. Check out my loofah bars for a completely different spin.
This post contains affiliate links, which means I make a small commission at no extra cost to you. Get my full disclosure here.
How to make herbal soap
The ingredients needed
- Coconut oil 10 ounces
- Shea butter 5 ounces
- Castor oil 5 ounces
- Sunflower oil 2 ounces
- Water 7.18 ounces
- Lye 3.21 ounces
tools needed
- Digital scale
- Mixing bowl
- Double boiler
- Soap molds
- Spoon for mixing
Addins:
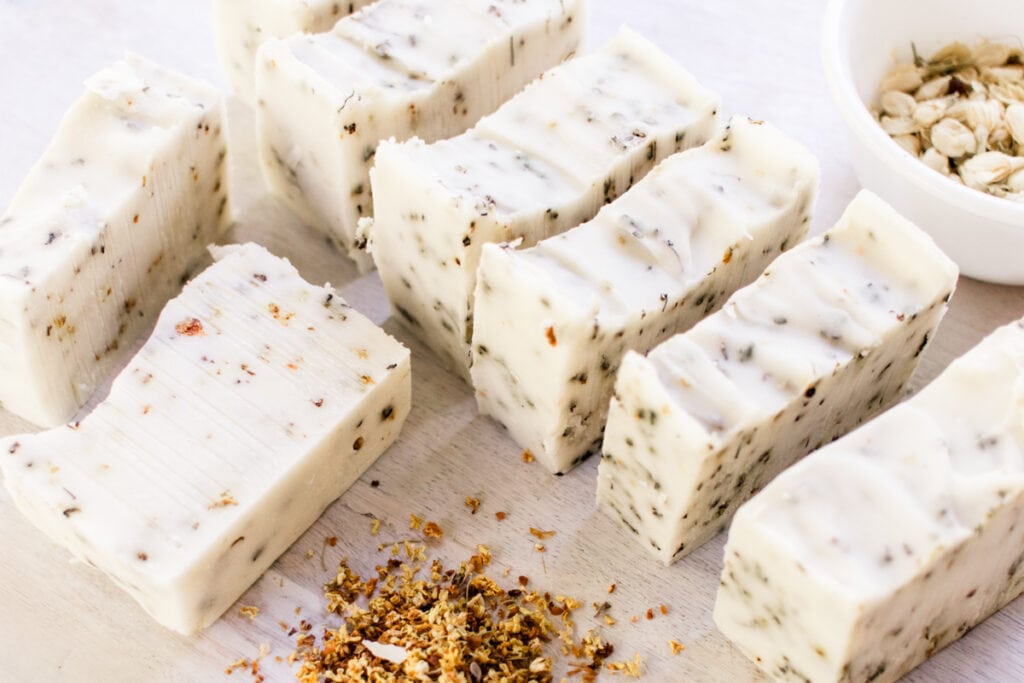
- 2 tablespoons of dried osmanthus
- Alternatively, use any dried herbs or flowers that you enjoy. I used osmanthus flowers that I had purchased from a local shop. You can otherwise find any dried flowers and herbs online.
Note: This recipe is made with a 5% superfat. Any adjustments made to the recipe will require the ingredients to be recalculated with a soap calculator.
Instructions:
- Work in a well-ventilated area away from kids. Wear gloves, goggles, long sleeves, and, if needed, a mask.
- Use a digital scale to measure all your ingredients out.
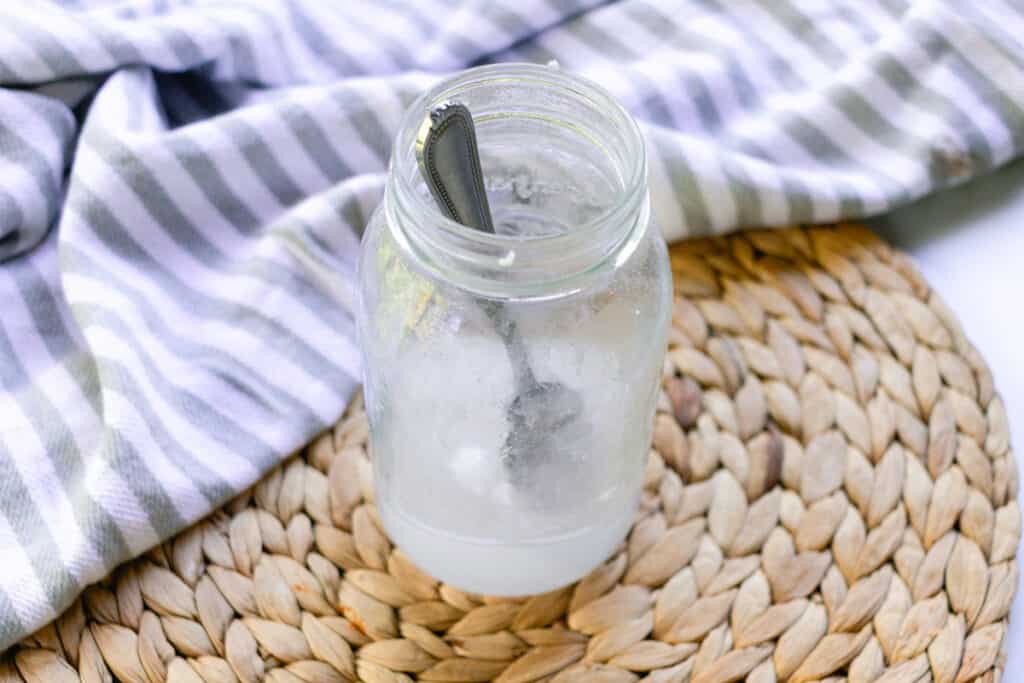
- Pour the water into a heat-resistant glass container.
- Add the lye to the water and stir slowly until it dissolves. Take care on this part as the chemical reaction will cause it to heat up quickly (avoid splashing on your skin or breathing in the fumes)
- Set the lye aside in a safe area out of reach to cool.
- Melt the coconut oil, shea butter, castor oil, and sunflower oil in a double boiler.
- Once the oils are melted and mixed together, allow them to cool down to 100 degrees before mixing with the lye water.
- Slowly add the water and lye mixture to the oils, a little at a time (again, being careful!)
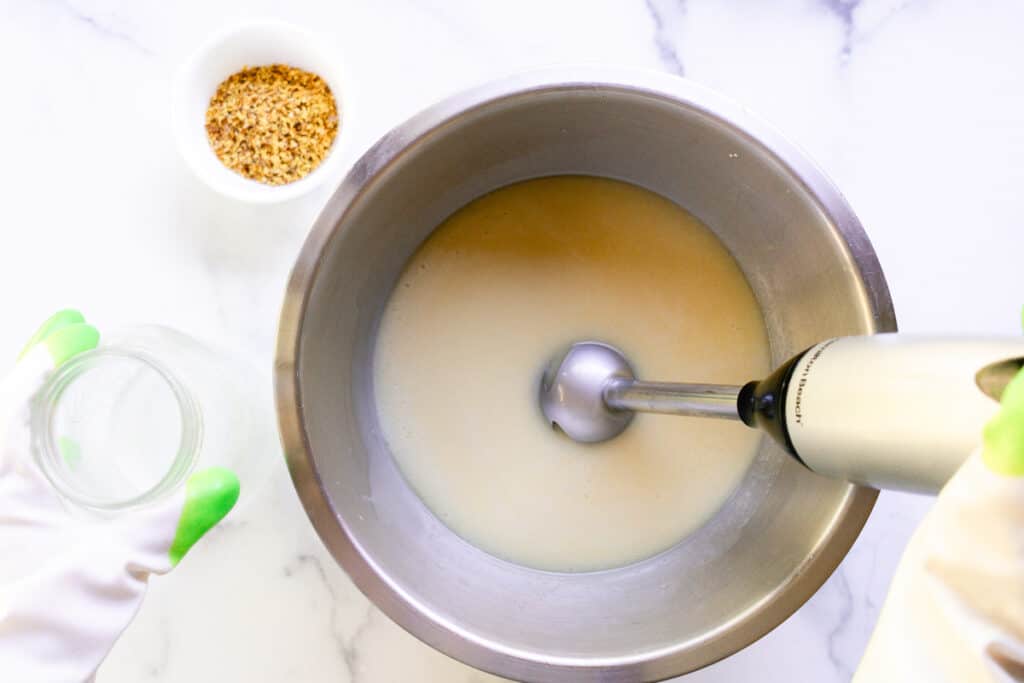
- Place the immersion blender in the middle of the bowl at the base. Pulse for several seconds, then quickly swirl with the blender switched off. Repeat until it comes to a trace (see section on trace below.)
- Finally, add your dried herbs and stir them in well.
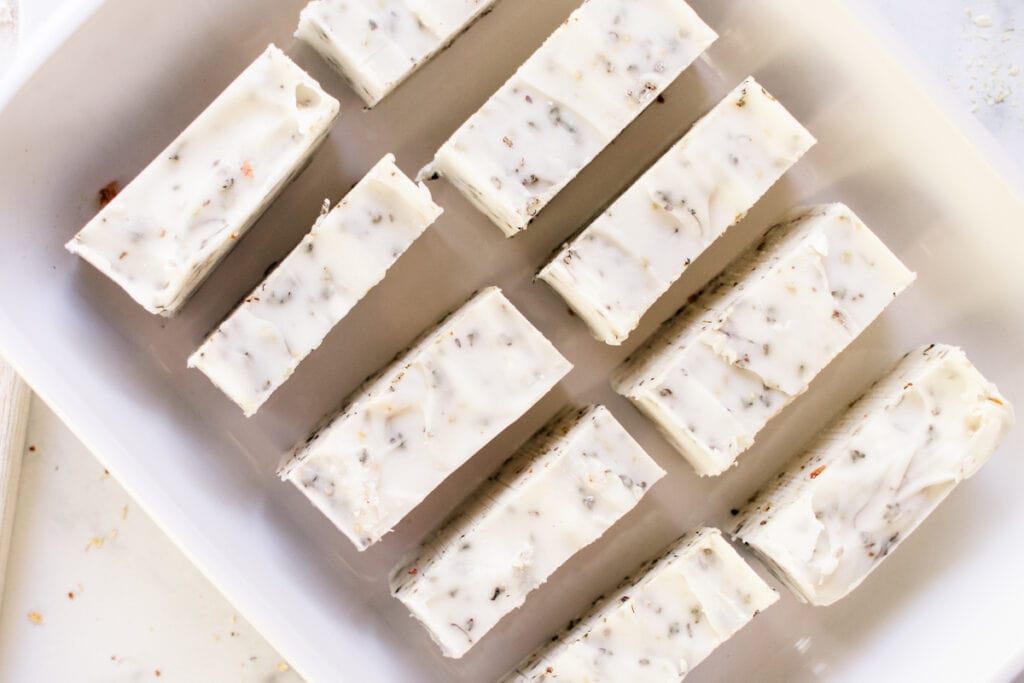
- Pour the soap into the mold and let it dry for one to three days before removing it to cure.
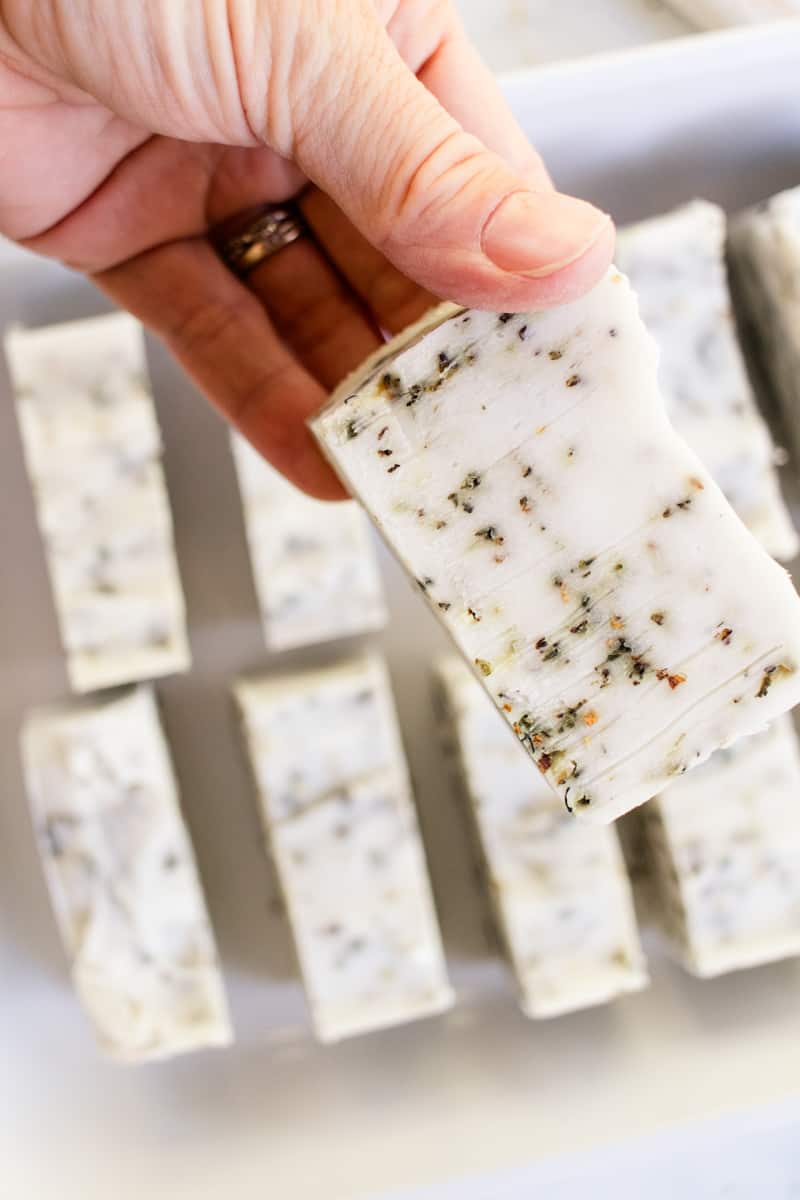
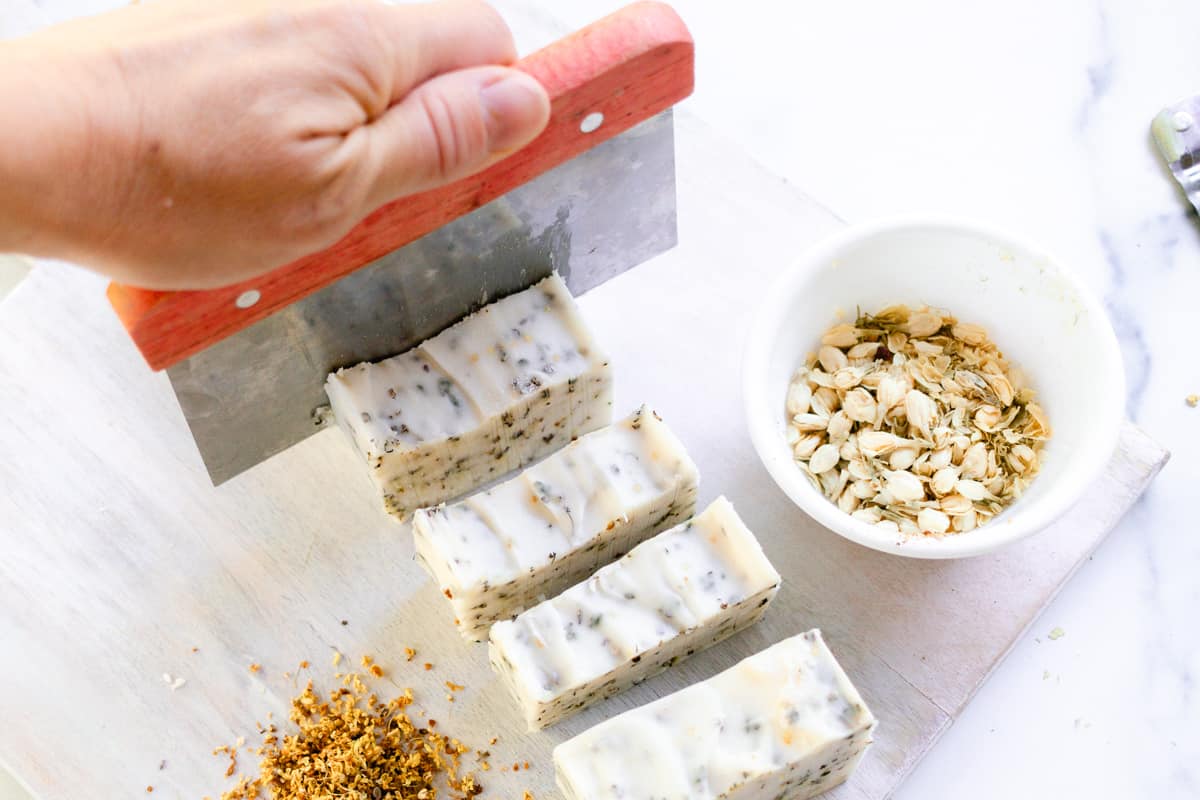
- Once the soap has hardened enough to hold, remove it from the mold, cut it into bars, and place them on their ends in a cool, dark place for 4-6 weeks to fully cure.
Top Tip: Always add the lye to the water. Never add water to lye.
If you are a visual learner, detailed step-by-step images are provided below!
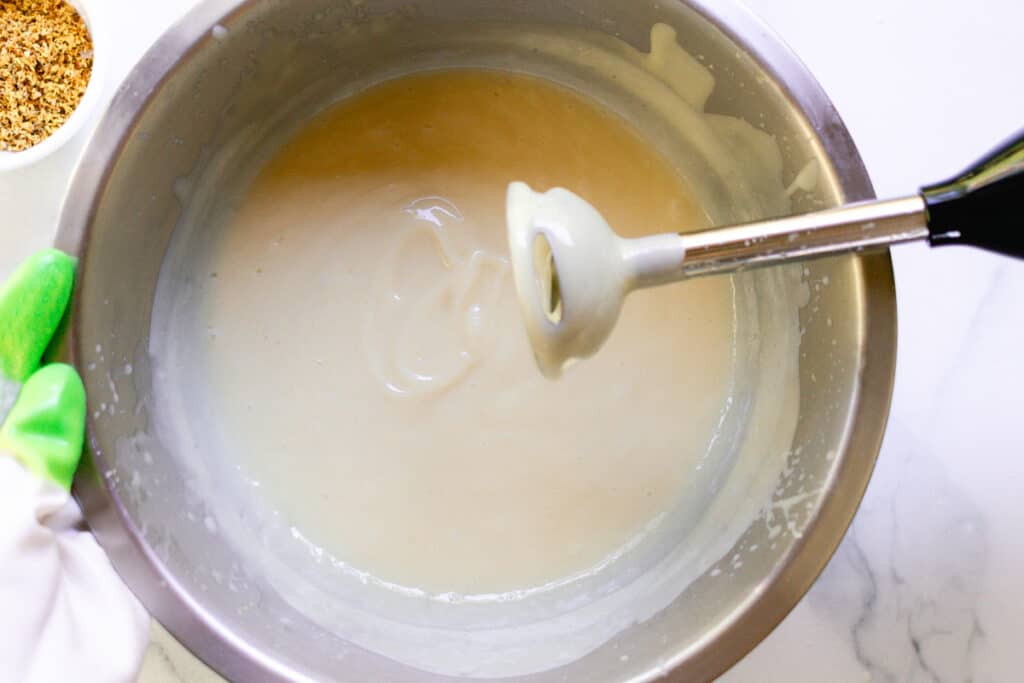
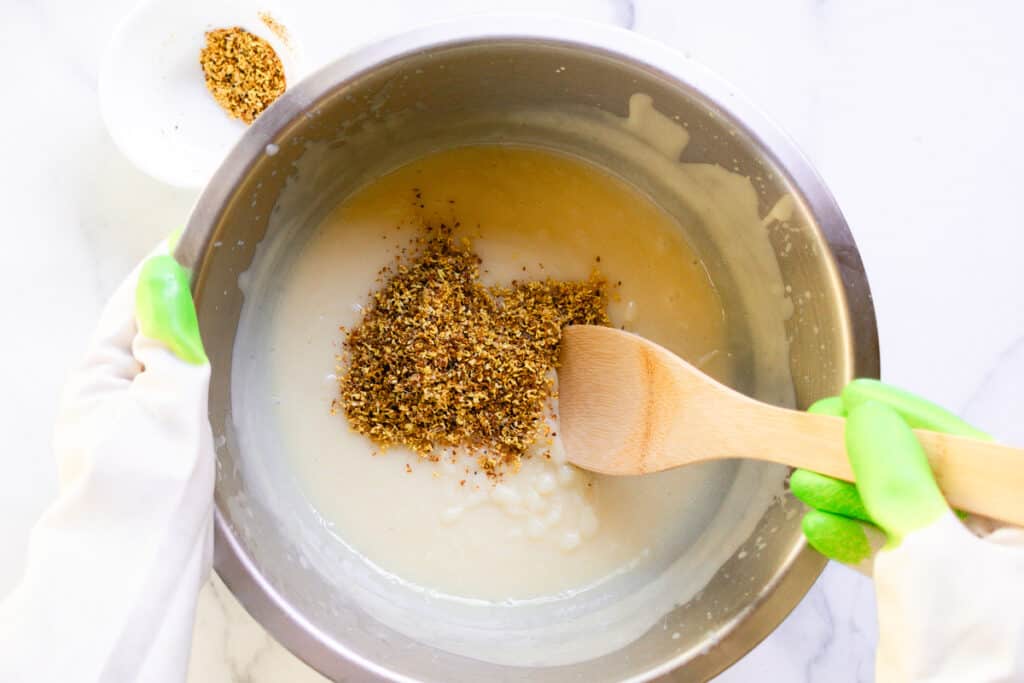
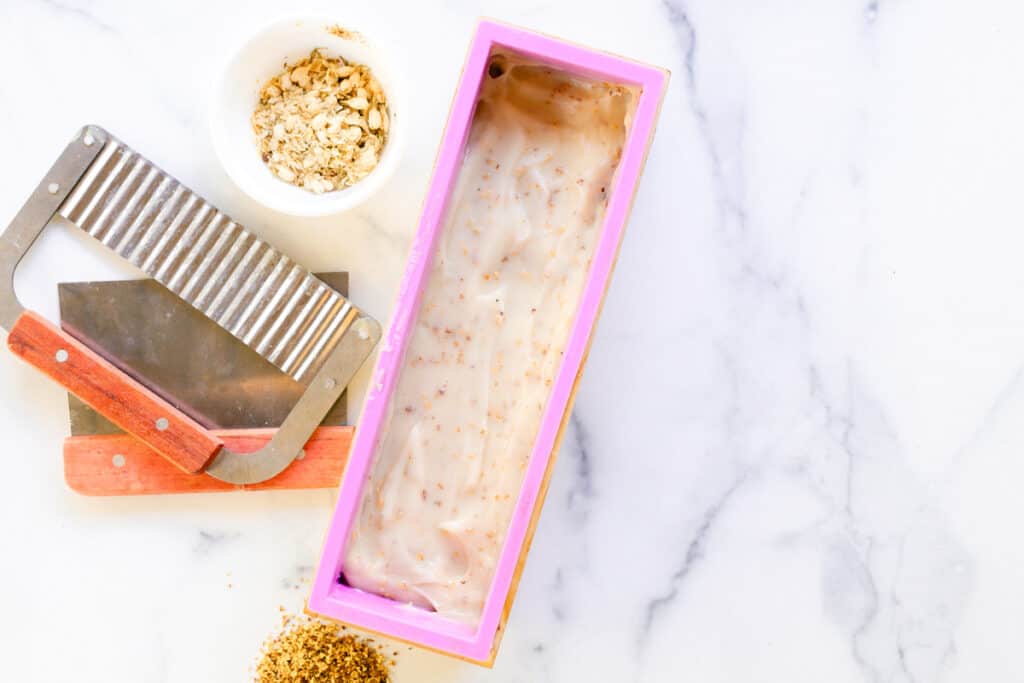
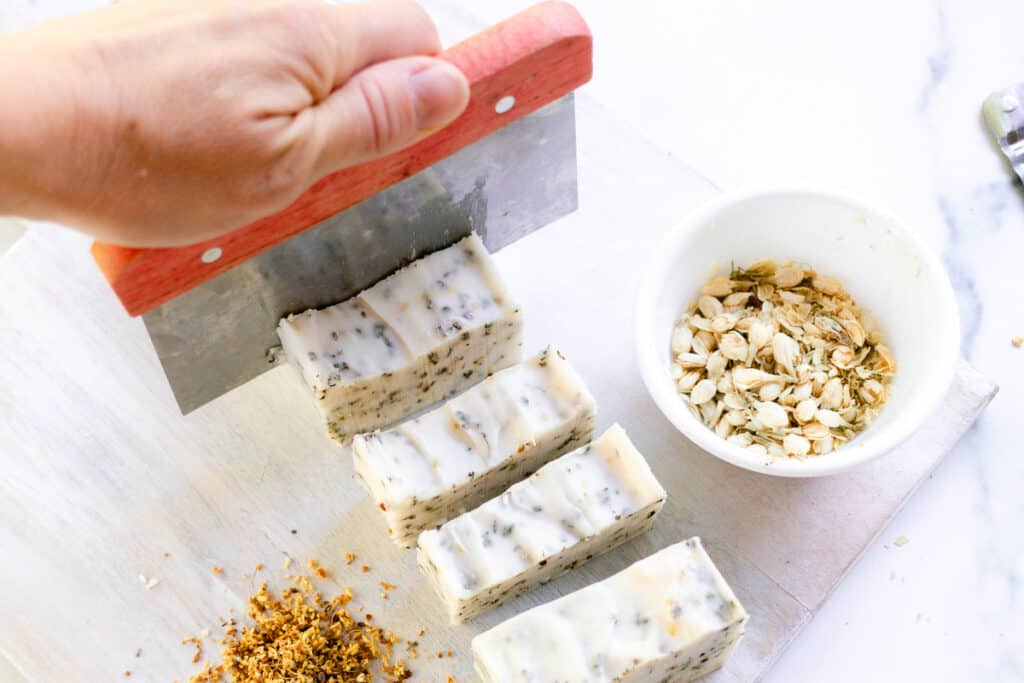
Tips and precautions!
Be safe: Lye heats up rapidly when mixed with water, so be ultra careful when working with it. This is the stage where you absolutely need gloves, long sleeves, and goggles. Avoid breathing in the fumes as the lye at this stage is extremely harmful.
Remember to work in a well-ventilated area. Outdoors is a good idea!
Use soap-specific tools: I always keep aside a special soap-making ‘kit,’ which I made by setting aside some of my kitchen pans. It means I don’t mix soap-making and food prep!
I advise keeping your soap-making bowls, spoons, and everything else you use separate from your kitchen utensils so you don’t cross-contaminate.
Lye: I often use this lye, but you can find others online and in hardware stores. Lye should always be stored out of reach.
Avoid aluminum with Lye: Lye reacts with aluminum -, so use safer materials for the soap mixing part, such as a stainless steel bowl or a tempered glass one.
Check your soap: During the curing phase, it’s worthwhile checking your soap to ensure it doesn’t dry out too quickly and crack. This often happens if the room is too hot, so move the soap to somewhere cooler if you see this.
What does trace mean?
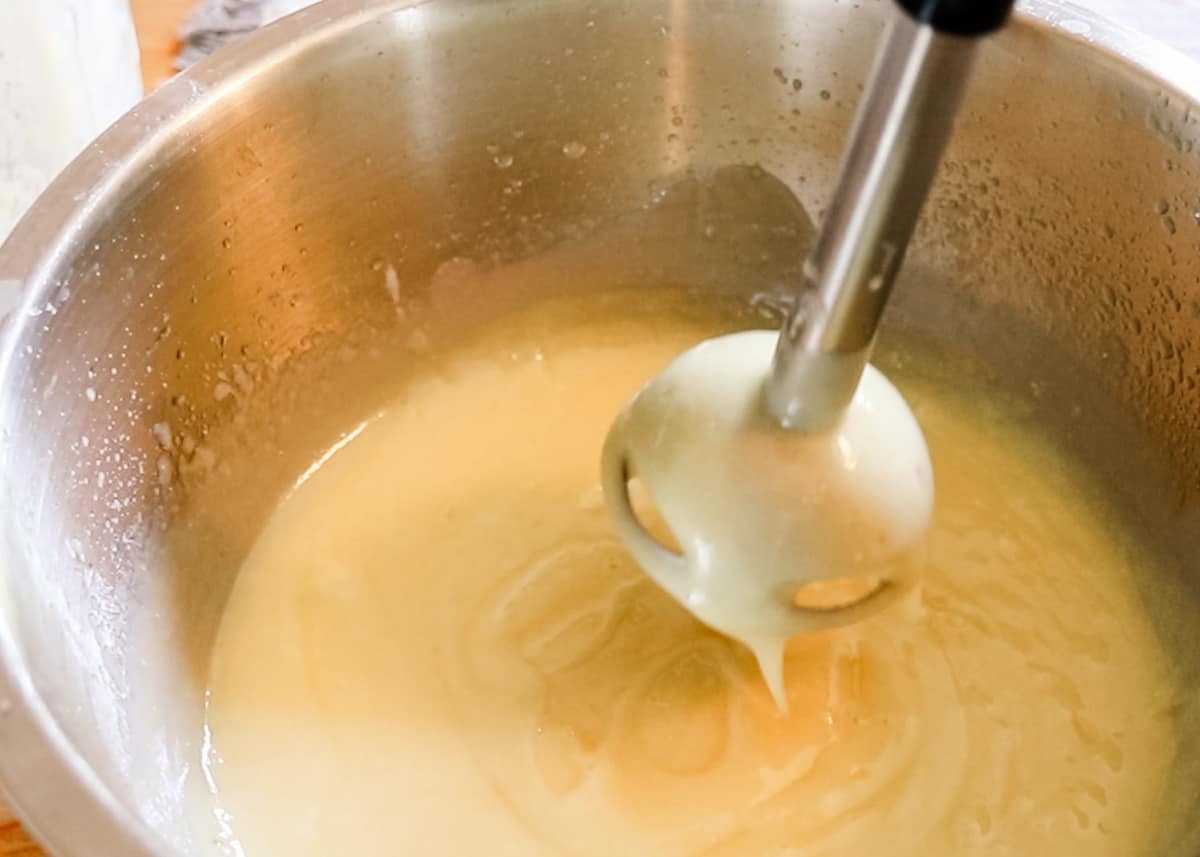
Think of ‘trace’ as the level of consistency you want the soap to reach during the mixing stage.
Specifically, ‘Trace’ is related to saponification, which is the chemical change of oil and water to soap.
There is no set time limit on when the trace stage occurs. It’s more of a visual thing; when the soap is mixed, you’ll see it change through various stages quickly. Learn more about trace in my beginner’s soap post.
You’ll know when your soap is at the ‘trace’ stage, as the mixture will be thicker, and you’ll be able to swirl a spoon in it, leaving visible lines behind.
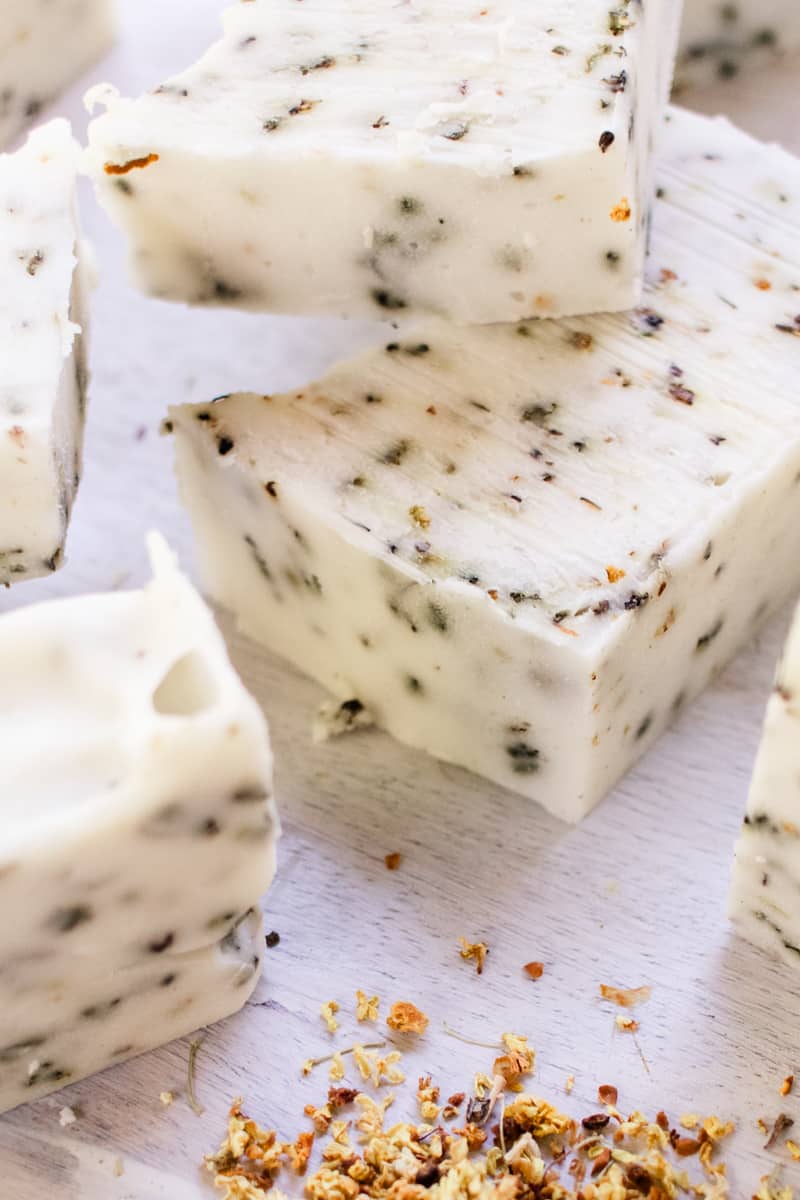
What different herbs or flowers can be put into soap?
You can use any herbs you like, so long as they’re dried herbs. Fresh herbs don’t work as there’s too much moisture in them.
My top favorites for making an herbal soap look pretty are using dry flower petals, such as rose petals, pansies, lavender buds (as I use in my lavender soap), and fir or pine needles.
Chamomile and juniper berries work great, too. You choose your favorite and go with that!
Wrapping up
I hope you love making and using this herbal soap! I forgot to mention that herbal soap makes a wonderful gift when wrapped with simple twine and greaseproof paper.
I’ll surely be making more of these for gifts ahead of the holiday season!
Feel free to drop a comment or leave a review below if you made these!
For more exciting soap reads, check these out:
- Sea Salt soap bar recipe
- How to make charcoal soap bars
- Easy turmeric soap bar recipe
- Cold process chamomile soap
- No lye coconut oil soap bars
Herbal Soap Recipe
Equipment
- Mixing bowl
- Double Boiler
- Spoon for mixing
Ingredients
- 10 oz Coconut oil
- 5 oz Shea butter
- 5 oz Castor oil
- 2 oz Sunflower oil
- 7.18 oz Water
- 3.21 oz Lye
- 2 tablespoons of dried herbs
Instructions
- Work in a well-ventilated area away from kids. Wear gloves, goggles, long sleeves, and, if needed, a mask.
- Use a digital scale to measure all your ingredients out.
- Pour the water into a heat-resistant glass container.
- Add the lye to the water and stir the lye into the water slowly until it dissolves. Take care on this part as the chemical reaction will cause it to heat up quickly (avoid splashing on your skin or breathing in the fumes). Note: the temperature will rapidly increase!
- Set the lye aside in a safe area out of reach to cool.
- Melt the coconut oil, shea butter, castor oil, and sunflower oil in a double boiler.
- Once the oils are melted and mixed together, allow them to cool down to 100°F before mixing with the lye water.
- Slowly add the lye/water mixture to the oils, a little at a time (again, being careful!)
- Place the immersion blender in the middle of the bowl at the base. Pulse for several seconds, then quickly swirl with the blender switched off. Repeat until it comes to a trace.
- Finally, add your dried herbs and stir them in well.
- Pour the soap into the mold and let it dry for one to three days before removing it to cure.
- Once the soap has hardened enough to hold, remove it from the mold, cut it into individual bars, and place them on their sides in a cool, dark place for 4-6 weeks to cure fully.
Jen Manginelli says
Hello! I love creating in my kitchen whether that be food or personal care products and cleaning products. I have not attempted to make soap yet. The Lye is holding me back. I’m hesitant to use it, but have read that soap without it is very different. Perhaps, I’m over thinking it. Thank you for this recipe. I’ll be saving it for future reference. 😊