This DIY essential oil diffuser necklace is easy to assemble and makes the perfect gift. Diffuser jewelry can be worn to receive aromatherapy benefits, boost the mood, and support the immune system.
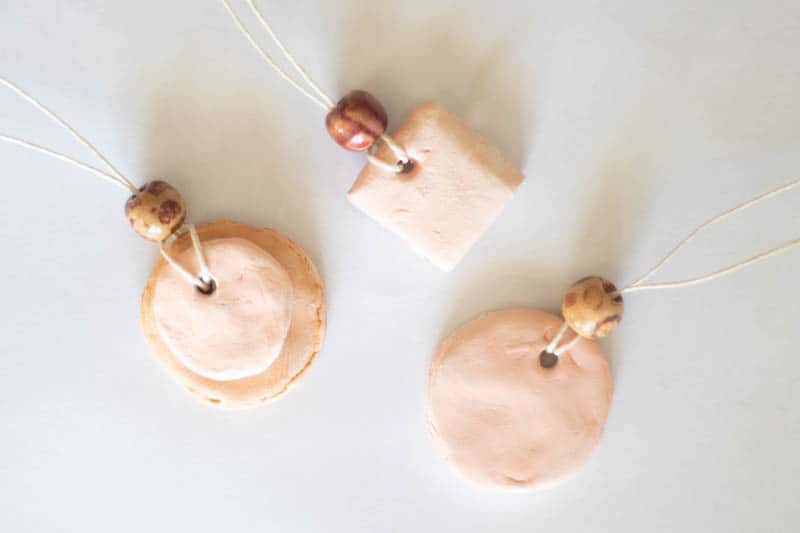
I am not much of a jewelry person but give me a piece of jewelry that can be smothered in essential oils, and I am all in! A diffuser necklace is a perfect way to receive aromatherapy benefits all day long.
This post contains affiliate links, which means I make a small commission at no extra cost to you. Get my full disclosure here.
You can find a lot of premade diffuser necklaces, or you can make your own. It is fun to make your own, so you can customize it the way you like. Plus, it will make the best homemade Christmas gift for anyone on your list!
I will also share my favorite essential oils to use on the jewelry and how to care for your diffuser necklace.
PIN IT FOR LATER
DIY DIFFUSER NECKLACE
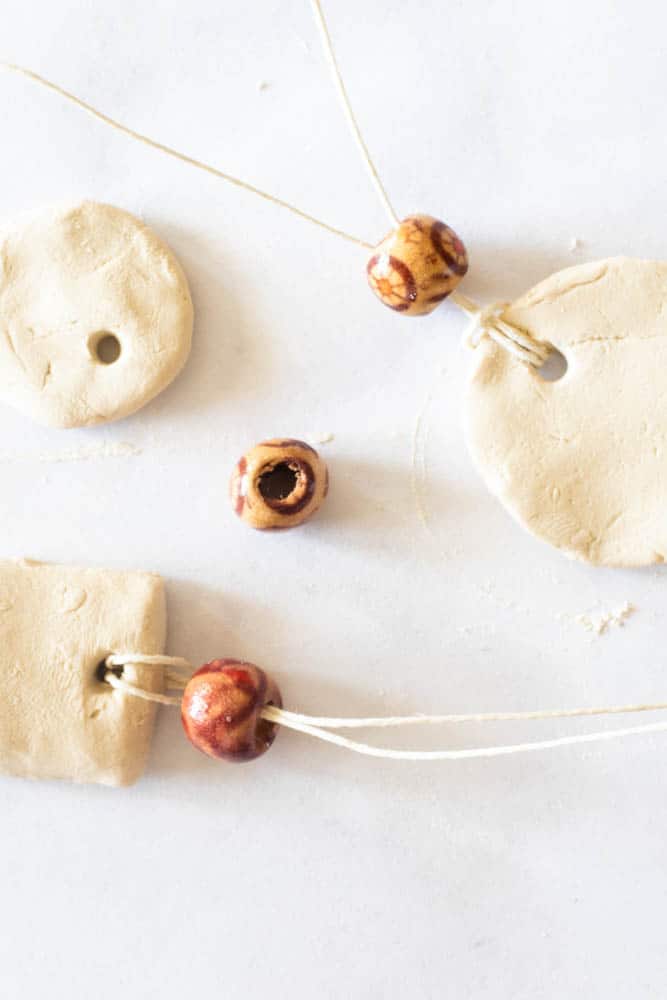
You can get as DIY as you want with this project if you will. Making your diffuser necklace can be as simple as buying beads and stringing them on some hemp. Or you can make your own pendant using air-dry clay.
Of course, you can make these as simple or fancy as you want! That is the beauty of making your own essential oil diffuser.
ESSENTIAL OIL DIFFUSER JEWELRY
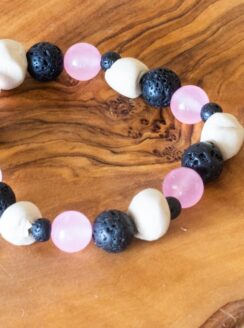
Essential oil diffuser jewelry is jewelry made with beads or pendants that can absorb essentials oils.
I like to wear diffuser necklaces for both their aromatherapy benefits and because of their beautiful scents.
The best beads to use for essential oil diffuser jewelry are lava stone, wood, leather, or clay. These porous materials can absorb oils easily.
Once you learn how to make a diffuser necklace, you can easily follow this same recipe for other diffuser jewelry. Other popular diffuser jewelry includes bracelets, ankle bracelets, and rings.
ESSENTIAL OILS FOR DIFFUSER NECKLACE
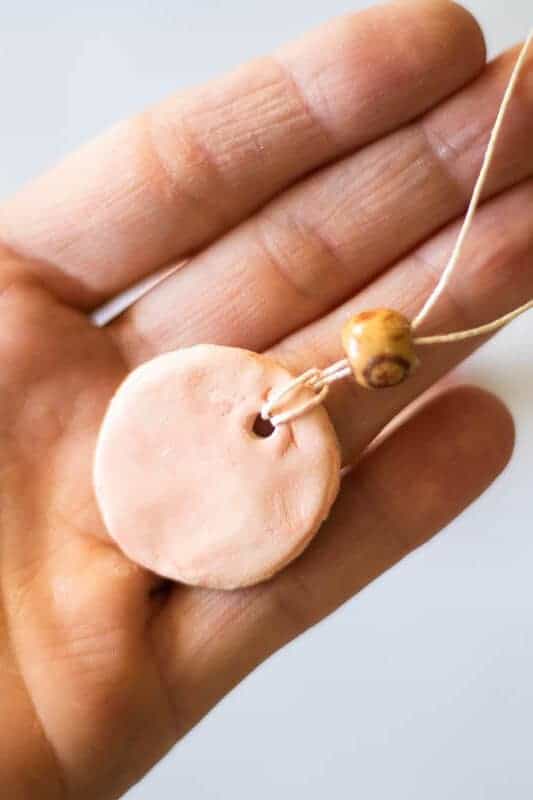
With a few exceptions, you can use any essential oils for diffuser jewelry. You can use a single essential oil or a blend of essential oils.
You will want to avoid hot oils that need to be diluted before applying them to the skin. Even though the oils are not placed directly on the skin, the beads and pendant will touch the skin.
HOT ESSENTIAL OILS TO AVOID
- Oregano
- Clove
- Cinnamon
- Cassia
- Thyme
If you are wanting to use these essential oils for a certain blend or ailment, you can dilute them first to make them safe to use. Simply place the drops of oils in a teaspoon of carrier oil and roll the bead in it.
BEST ESSENTIAL OILS FOR DIFFUSER JEWELRY
- Lavender
- Roman Chamomile
- Ylang Ylang
- Patchouli
- Jasmine
- Tangerine
- Wild Orange
- Bergamont
- Lemon
- Sandalwood
- Cedarwood
- Cypress
- Vetiver
WARNING: Remember that citrus essential oils are photosensitive and should not be worn in direct sunlight. If you plan to add a citrus essential oil to the diffuser jewelry, be sure to stay out of direct sunlight.
BEST ESSENTIAL OIL BLENDS FOR DIFFUSER JEWELRY
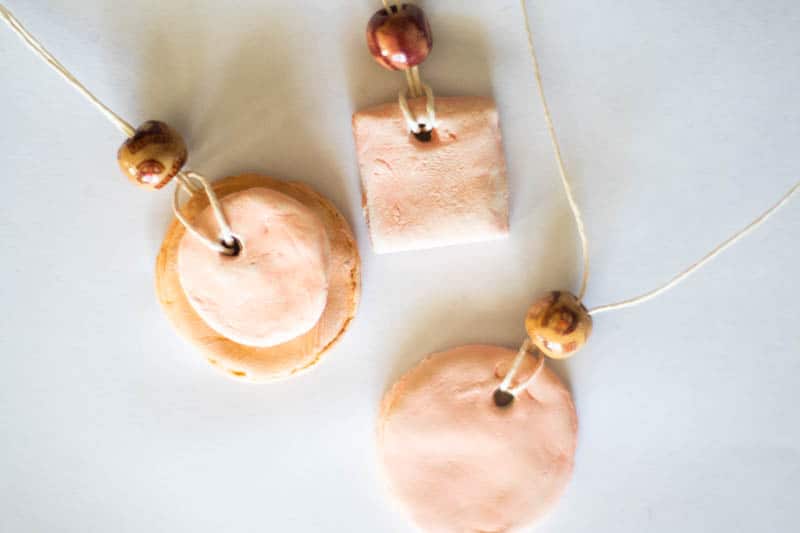
While you wear the diffuser jewelry, you will receive aromatherapy benefits. Try some of these blends below to target a particular ailment or mood:
CALMING
- 3 drops lavender
- 2 drops copaiba
- 1 drop bergamot
Get these oils bundled here.
UPLIFTING
- 3 drops lemon
- 2 drops lime
- 1 drop wild orange
Get these oils bundled here.
HAPPY
- 3 drops sandalwood
- 2 drops tangerine
- 1 drop wild orange
Get these oils bundled here.
STRESS
- 3 drops vetiver
- 2 drops lavender
- 1 drop copaiba
Get these oils bundled here.
MOOD SUPPORT
- 3 drops ylang ylang
- 2 drops frankincense
- 1 drop Roman chamomile
Get the oils for this blend here.
IMMUNE SUPPORT
- 3 drops wild orange
- 2 drops frankincense
- 2 drops copaiba
Get the oils for this blend here.
CLEAR BREATHING
- 3 drops eucalyptus
- 2 drops lime
- 2 drops peppermint
Get the oils for this blend here.
Find more blends here and here.
HOW TO MAKE A DIFFUSER NECKLACE
SUPPLIES YOU WILL NEED:
Decorative Beads (optional)
Paint (optional)
Small cookie-cutter or small-cap to cut out clay, I am using the cap to my avocado oil.
HOW TO MAKE A DIFFUSER NECKLACE:
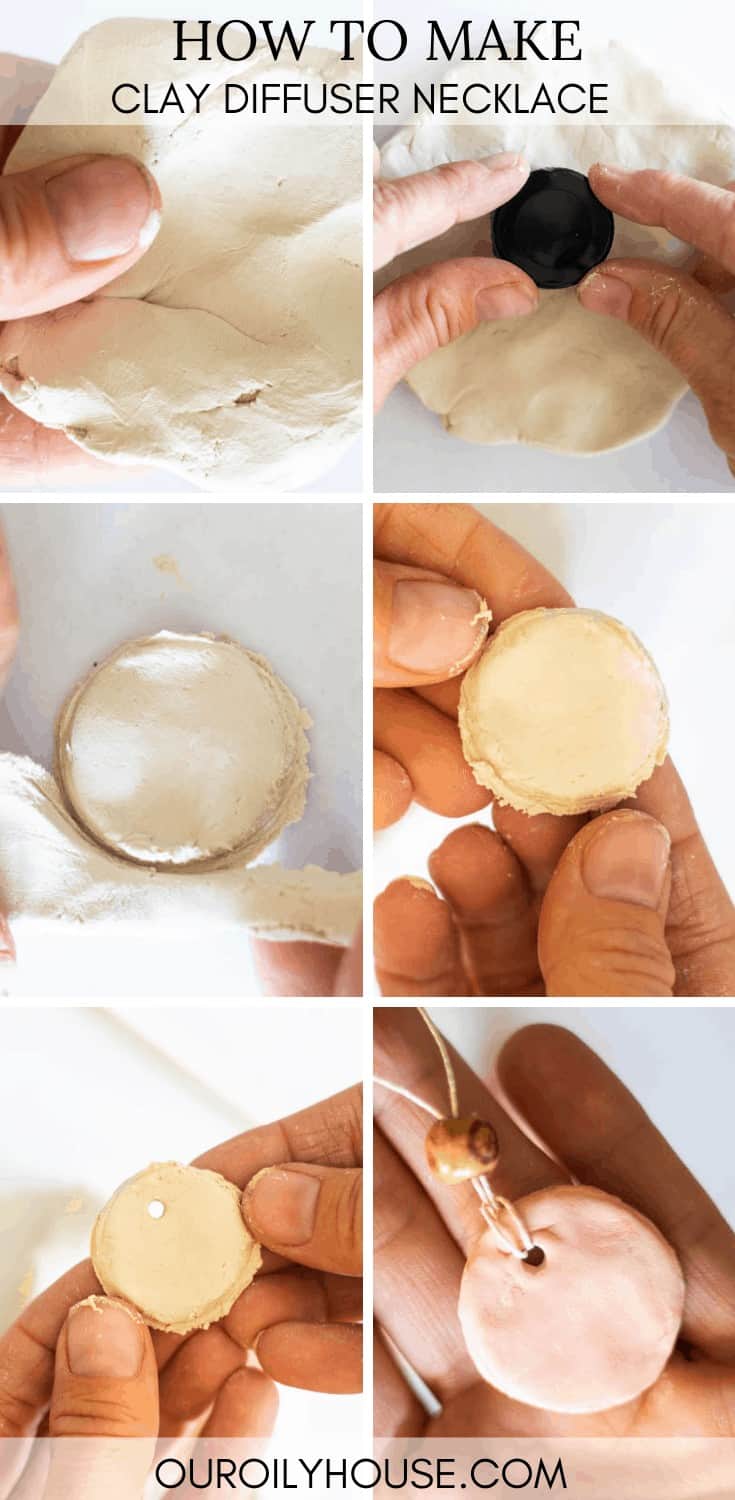
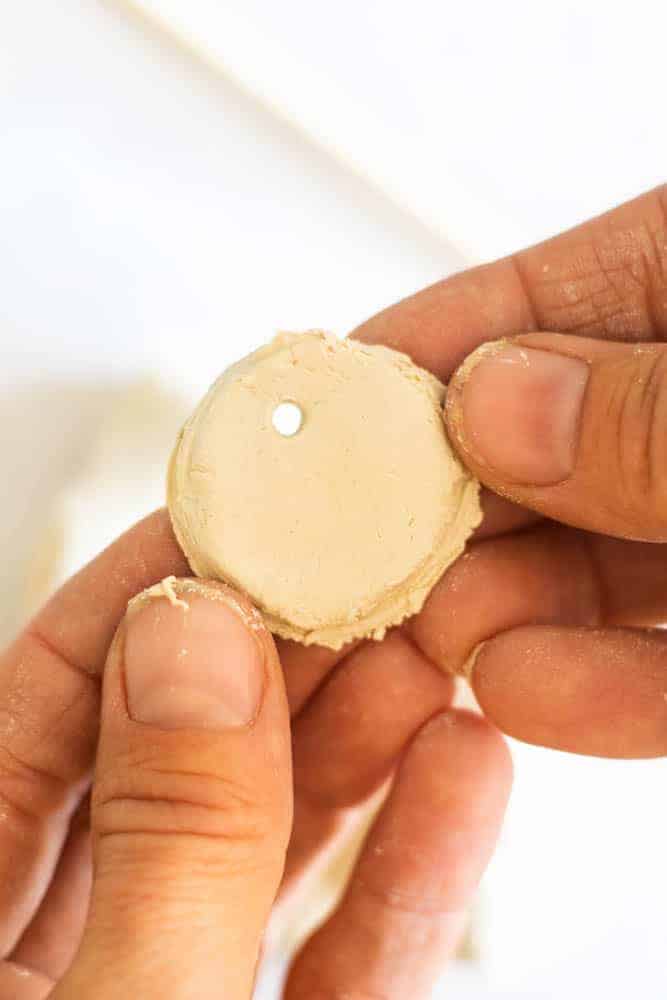
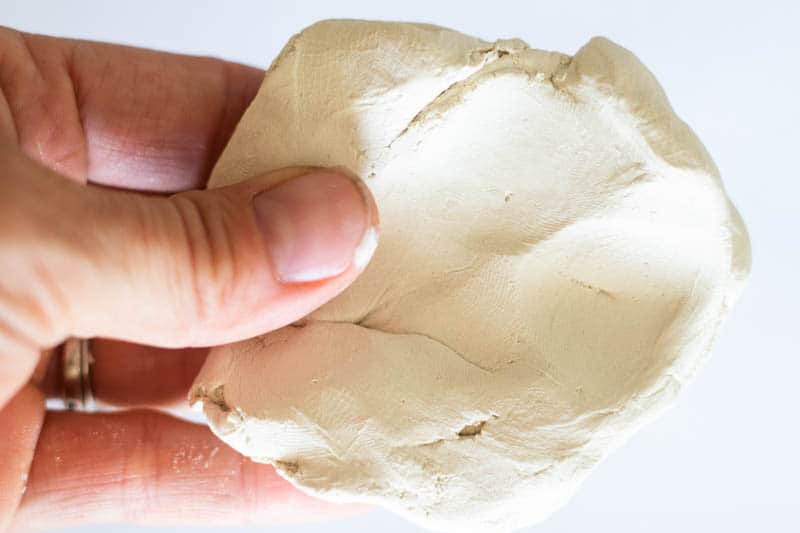
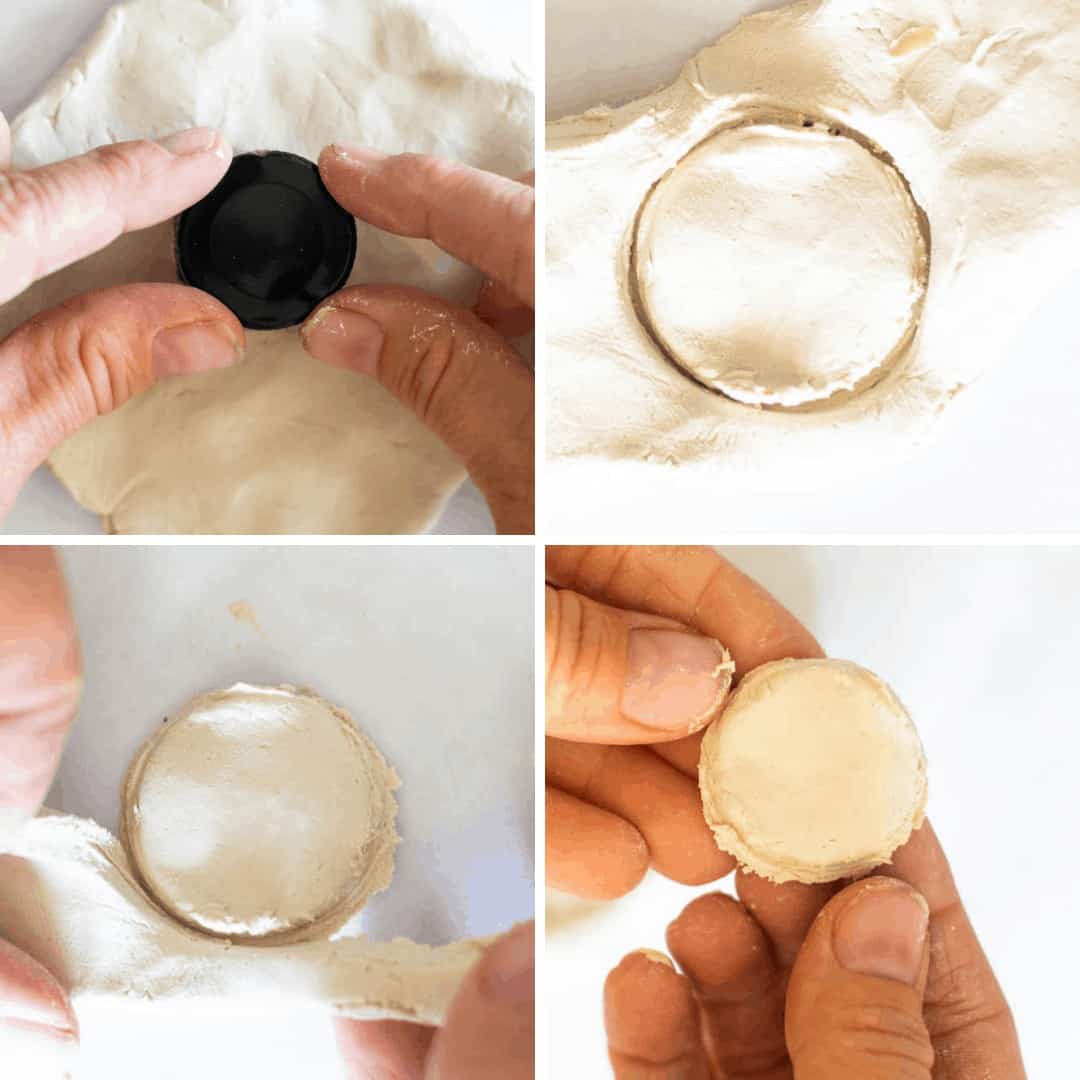
- Start by shaping the clay into a “patty.” You want it to be about 1/4″ thick.
- If you want to make a circle pendant, use a cookie cutter or small object to cut it into a circle. I am using the cap off my olive oil. If you prefer a square, you can cut it with scissors or a knife.
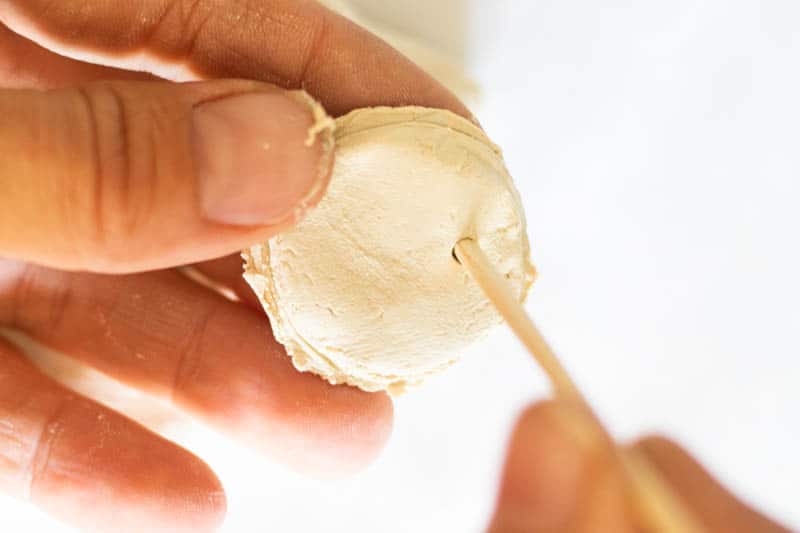
- Make a hole near the top of the shape with a bamboo skewer. This will be the hole where you string the hemp or leather through, so be sure it is big enough for this. I stuck the bamboo skewer all the way through and made a small circle with it to stretch the hole to the right size.
- Set the pendant aside for 2-3 days or until it is completely dry.
- I leave my pendant bare to allow the oils to soak in easily, but if you prefer to paint yours, you can.
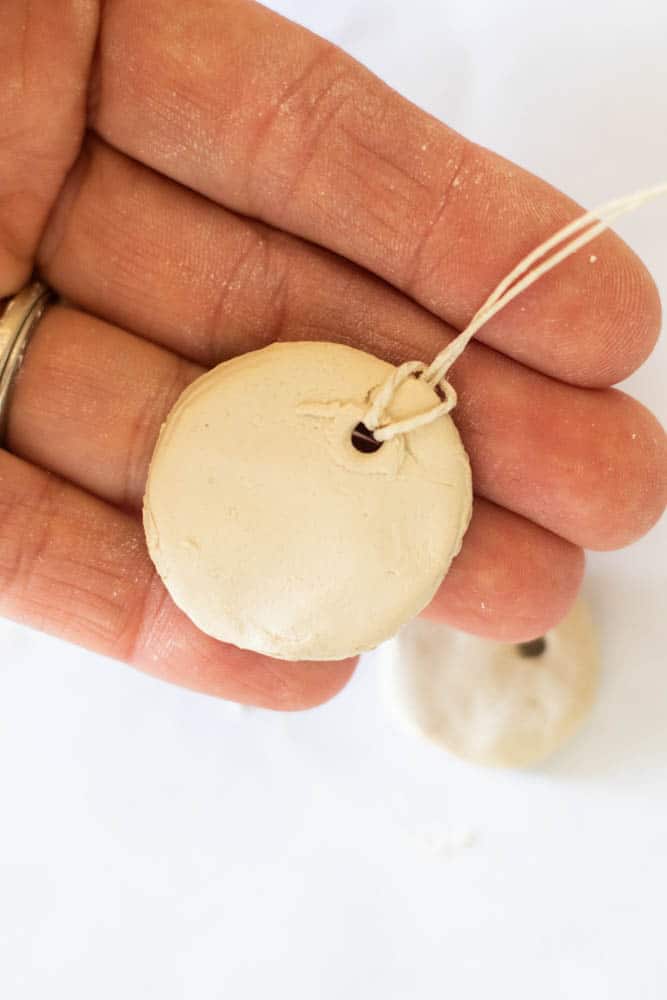
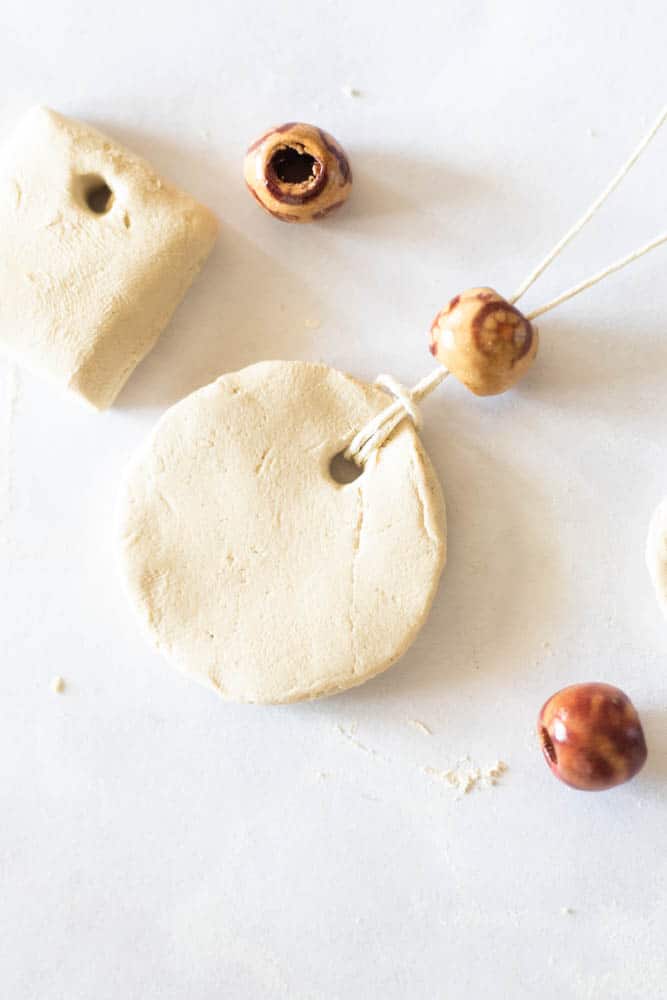
- Once the pendant is dry, it is time to make the necklace. You can string the pendant onto a piece of hemp. Add decorative beads if you want. I found some cute wood beads to put on either side.
HOW TO USE THE DIFFUSER NECKLACE:
Add 4-6 drops to the necklace before putting it on. Apply more essential oils as needed throughout the day.
HOW TO CLEAN A DIFFUSER NECKLACE?
Diffuser necklaces that are made out of clay should not be cleaned under running water for obvious reasons. It is best to wipe them clean with a cloth. If a dry cloth isn’t getting a particular spot clean, you can use a very damp cloth on the clay.
It is delicate, so wipe softly and do your best to keep it clean.
I hope you enjoyed this DIY. For more great recipes and hacks, check out these posts below.
- 10 DIFFUSER HACKS
- VANILLA LAVENDER BODY SPRAY
- BUG REPELLENT BRACELET
- HOMEMADE REED DIFFUSER
- PEACEFUL DIFFUSER BLENDS
DIY Essential Oil Diffuser Necklace
Ingredients
- Air Dry Clay
- Bamboo Skewers
- Hemp Cord
- Decorative Beads optional
- Paint optional
- Water Bottle Cap or other small object to cut clay
- Essential Oils
Instructions
- Start by shaping the clay into a "patty." You want it to be about 1/4" thick.
- If you want to make a circle pendant, use a small cookie cutter or small object to cut it into a circle. I am using the cap off my avocado oil. If you prefer a square, you can cut it with scissors or a knife.
- Make a hole near the top of the shape with a bamboo skewer. This will be the hole where you string the hemp or leather through, so be sure it is big enough for this. I stuck the bamboo skewer all the way through and made a small circle with it to stretch the hole to the right size.
- Set the pendant aside for 2-3 days or until it is completely dry.
- If you decide to paint the pendent, do it at this time.
- Once the pendant is dry, it is time to make the necklace. You can string the pendant onto a piece of hemp.
- Add decorative beads if you want.
- Add 4-6 drops of essential oils to the pendant before putting on.
Joe says
Could you use polymer clay that you bake in the oven, to make a more durable/stronger pendant, or will that type of clay not absorb the oils properly?
Hope says
Has anyone vaped Shirley Tempo E-Liquid E-Juice?
Teresa says
This seen great iam about to start my xmas stash, thanks for sharing oh before I forget can you do one with a minture glass bottle
Laura says
Great Christmas gift ideas! Yes you can!
Marisa says
Diffuser necklaces are so much fun to make! I made a bunch and gave them as gifts!
Laura says
It is such a great gift idea! I would love to receive them! 🙂