This post may contain affiliate links. Please see our disclosure policy.
Razor burn can be uncomfortable, but a little self-care can make all the difference! Here, I’ll show you simple, natural ways to care for your skin after shaving. From soothing irritation to restoring moisture, these DIY ideas focus on using gentle, sustainable ingredients and easy techniques to help you feel your best.

Note: The tips and ideas shared here are for informational purposes and are not intended as medical advice. For persistent skin concerns, please consult a healthcare professional.
Razor burn can be so frustrating—the sting, the redness, the itching, and the inconvenience of it all. For me, it often happens when I’m in a rush, grabbing the nearest razor and skipping steps.
Today, I will be sharing with you simple ways to care for your skin after shaving, DIY ideas that focus on soothing irritation, and tips to prevent razor burn and bumps in the first place.
What Causes Razor Burn?
The most common cause of razor burn is a blunt, overused razor blade. This catches many of us – particularly if, like me, you’re in a rush and trying to do several things at once.
Another common cause is shaving too quickly or applying uneven pressure, which can also irritate the skin, particularly in tricky areas like the ankles, knees, or neck.
Another common culprit is skipping proper preparation, like using enough DIY pre-shave oil, Homemade shaving cream, or water. Dry shaving is a sure way to invite discomfort! Even a sharp, fresh blade can lead to razor burn if the technique isn’t right or you skip the lubrication.
The key to avoiding razor burn is using a sharp blade paired with a smooth, gentle shaving technique while taking extra care around areas that need more attention.
What Does Razor Burn Look Like?
Razor burn looks like a sore, red patch of skin that an angry razor blade has chafed off. And it hurts – a lot.
You might also ask the question: what are razor bumps?
Some people get razor bumps due to ingrown hairs from shaving.
Razor bumps (called pseudofolliculitis barbae) look like tiny spots (pimples) on the skin and can also look red and inflamed if infected or inflamed.
These are most common in people with curly hair. When the hair is cut with a razor, it can curl back into the skin, resulting in razor bumps. You can learn how to get rid of ingrown hairs here.
How Long Does Razor Burn Last?
It’s normal for razor burn to last for a day or so, but the angry, red phase usually goes away after a few hours (thank goodness!)
The pain can last longer, and of course, it’s best to avoid shaving the sore area during this time.
How to Care for Razor Burn
When razor burn happens, natural and simple solutions can help your skin feel more comfortable. Here are a few ideas to try:
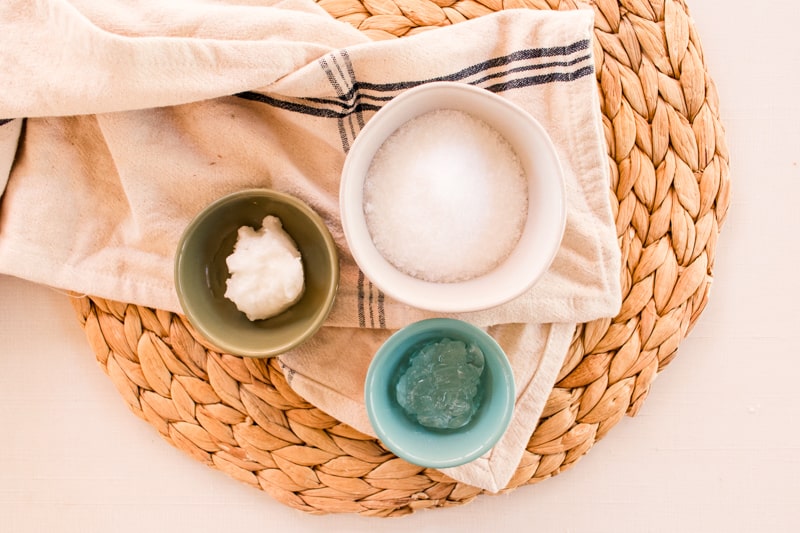
- Aloe Vera Gel: Fresh from the plant is ideal. It’s naturally cooling and adds a refreshing touch to the skin.
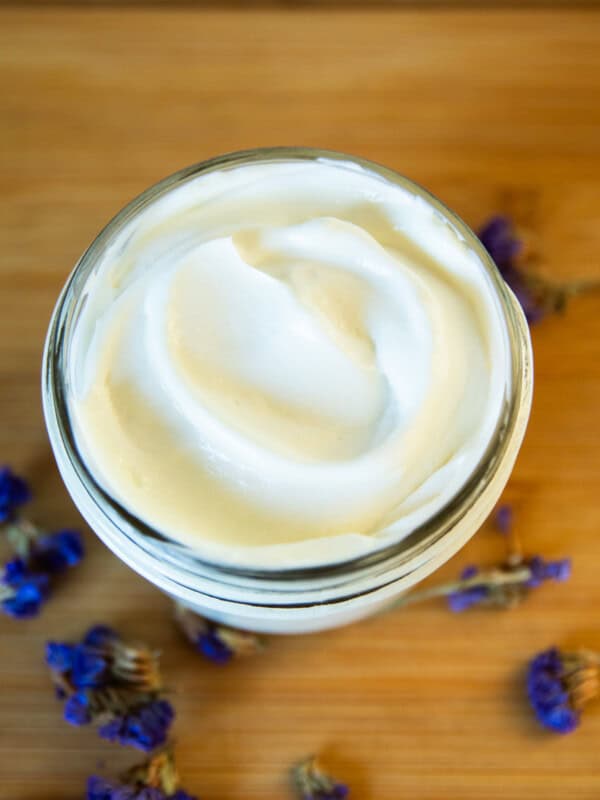
- Coconut Oil: A great way to replenish lost moisture and leave your skin feeling soft and nourished.
- Cool Compress: Applying a cool compress right after shaving can be a soothing way to bring comfort to irritated skin.
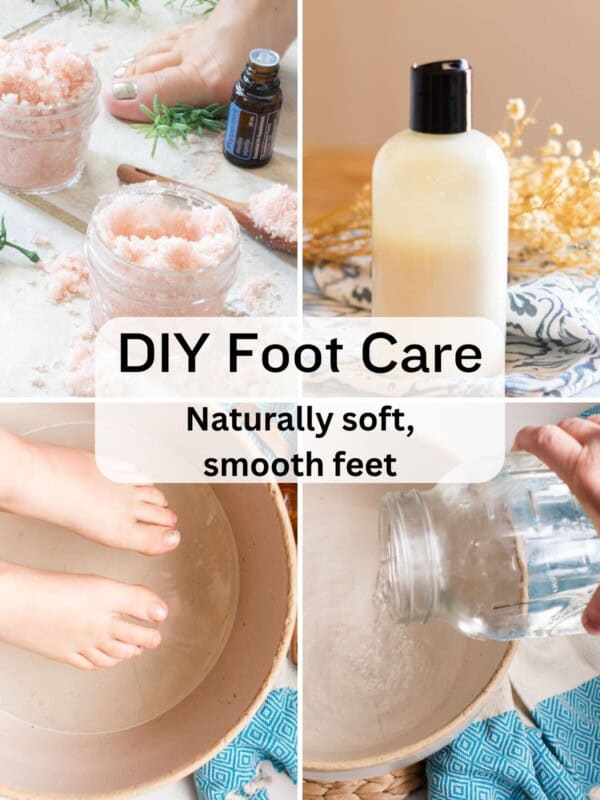
- Epsom Salt Soak: A soak with Epsom salts or your favorite bath salts can turn bath time into a calming ritual while pampering your skin.
These ideas are all about using simple, natural ingredients to create a moment of care for your skin.
Tips for a Smooth, Bump-Free Shave
1. The best way to manage razor bumps is to prevent them altogether by using a sharp razor and adopting proper shaving techniques.
2. Some individuals are more prone to razor bumps, especially those with curly hair, as it can lead to ingrown hairs, which may contribute to razor bumps.
3. One simple step is to exfoliate your skin before shaving. Exfoliation helps to open pores and remove dead skin cells, creating a smoother, more comfortable shave.
4. Don’t forget to use a fresh razor, ideally a reusable one with replaceable blades. The sharper the blade, the better your shave.
5. Before shaving, always wet the skin and apply a homemade foaming shaving cream or DIY shaving bar. This natural approach ensures the razor glides smoothly over the skin, reducing the risk of nicks, cuts, and razor burn.
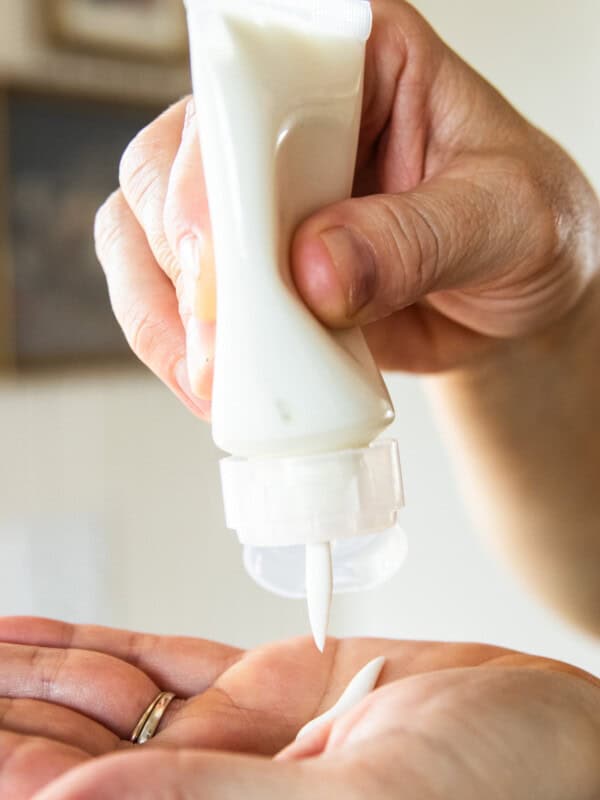
6. After shaving, rinse the skin with cold water to close the pores, and finish with a nourishing, homemade natural face moisturizer or DIY aftershave to keep your skin hydrated and calm.
Shaving FAQs
Razor bumps can sometimes improve overnight, but more often, they may take a few weeks to fully calm down.
To help speed up the process, try applying a cool compress to soothe and reduce swelling. This gentle approach helps shrink the pores and comfort the skin.
Some people, including my husband, have found that applying a natural homemade aftershave or soothing balm every few hours can help reduce the appearance of bumps more quickly. Just be cautious with products containing alcohol, as they can dry out the skin, which isn’t ideal for maintaining softness and moisture.
To prevent irritation, use a sharp razor, ensure your skin is well-hydrated before shaving, and apply a natural shaving cream or bar. Shaving in the direction of hair growth, rather than against it, also helps minimize irritation.
Razor blades should be replaced regularly, usually every 5-7 shaves, depending on the coarseness of your hair and the condition of the blade. A dull razor increases the risk of irritation, so switching to a new blade ensures a cleaner, smoother shave.
To reduce your environmental impact, opt for reusable razors with replaceable blades, choose natural and biodegradable shaving products, and avoid single-use plastic shaving creams. Always be mindful of packaging by selecting eco-friendly, recyclable options.
Eco-Friendly Shaving Tips
My best advice is to use quality shaving equipment first and foremost!
Invest in a quality reusable razor and help the environment by simply replacing and recycling the blades.
Also, be conscious of how used a razor blade is in your bathroom.
Replace them at least every few days if you’re a regular shaver or weekly if you’re not shaving every day.
So be thorough; always use sharp blades and a proper shaving gel. Moisturize well after shaving or use aftershave, and keep the skin clean.
I hope you found this post helpful! Feel free to comment below and let me know if you have any questions.
Related Recipes
- Homemade beard & mustache wax
- DIY beard shampoo
- DIY beard conditioning balm
- Homemade beard growth oil
How to Care for Razor Burn

Equipment
Ingredients
Instructions
Using Aloe Vera Gel
- Apply a thin layer of aloe to the affected area for a refreshing touch to the skin.
Using Coconut Oil
- Massage a small amount of coconut oil onto the skin immediately after shaving.
Using Epsom Salts
- Use epsom salts just like you would in an epsom salt bath.
Using a Cool Compress
- Use a cool compress to cool the burn and minimize the irritation. This works particularly well right after shaving the neck area.