This post may contain affiliate links. Please see our disclosure policy.
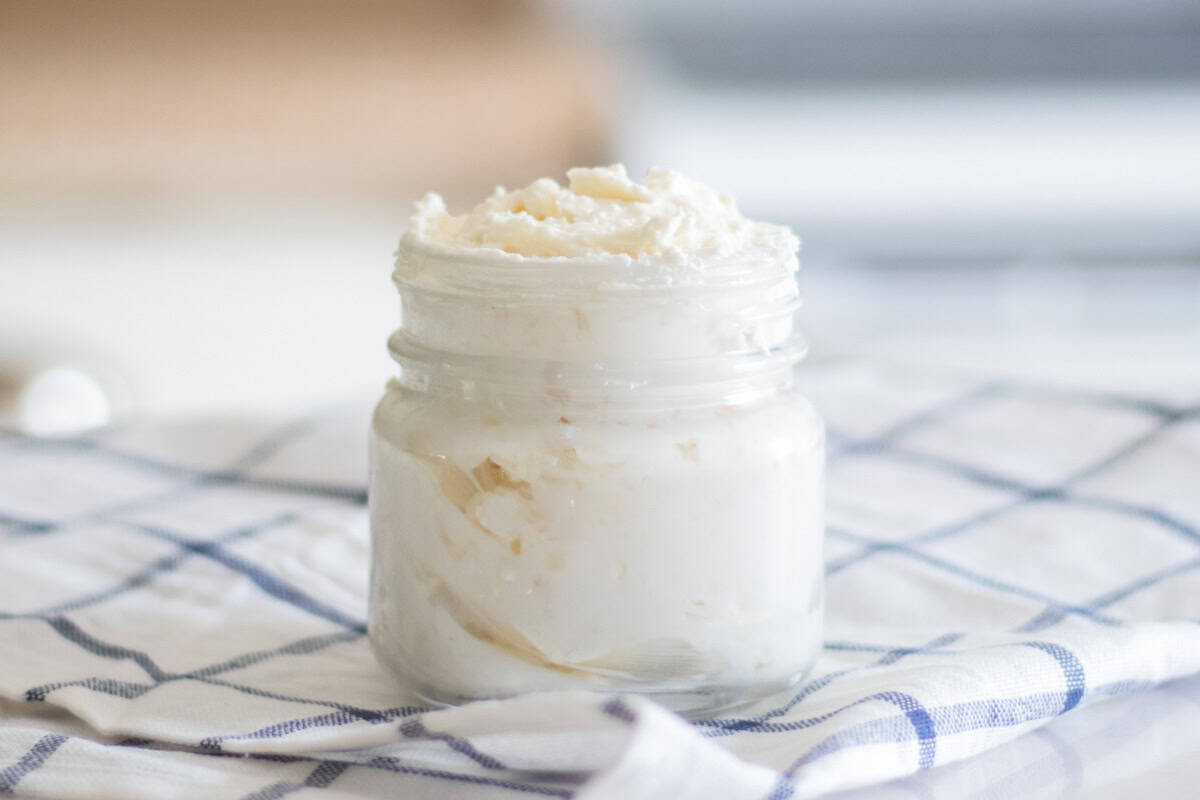
This homemade shea butter lotion recipe is non-greasy, cost-efficient, and extremely moisturizing for dry skin. With just a few ingredients, you can whip up this simple shea butter lotion in no time.

I am a huge advocate for making your own skincare products. Whether it be a daily lotion or a DIY face wash, there are so many reasons to opt for homemade.
Not only is it much cheaper, but you can also customize each product for your particular skin type and preference.
Making homemade lotion and whipped body butter is so easy and doesn’t require any special equipment.
It is as easy as melting a few ingredients together, allowing them to cool, whipping them up with a hand mixer, and transferring the lotion to an airtight container.
Once you try homemade lotion, you won’t want to go back! It’s amazing how easy, affordable, and effective it is.
Why You’ll Love It
- Silky smooth skin: You’ll love the way your skin feels with this hydrating shea butter lotion. Say goodbye to dry, cracked, or rough skin!
- Save money: Making your own skincare products is an excellent way to save money each month. The ingredients last for many batches and cost far less than buying pre-made natural products.
- All-natural ingredients: I like my skincare products to be as simple and natural as possible. This lotion uses all-natural ingredients to hydrate my skin.
- Non-greasy: Where a lot of homemade lotions leave a greasy feeling on your skin, this lotion soaks in well and has a nice non-greasy skin feel. The inclusion of arrowroot powder makes all the difference!
What Goes Into This Recipe
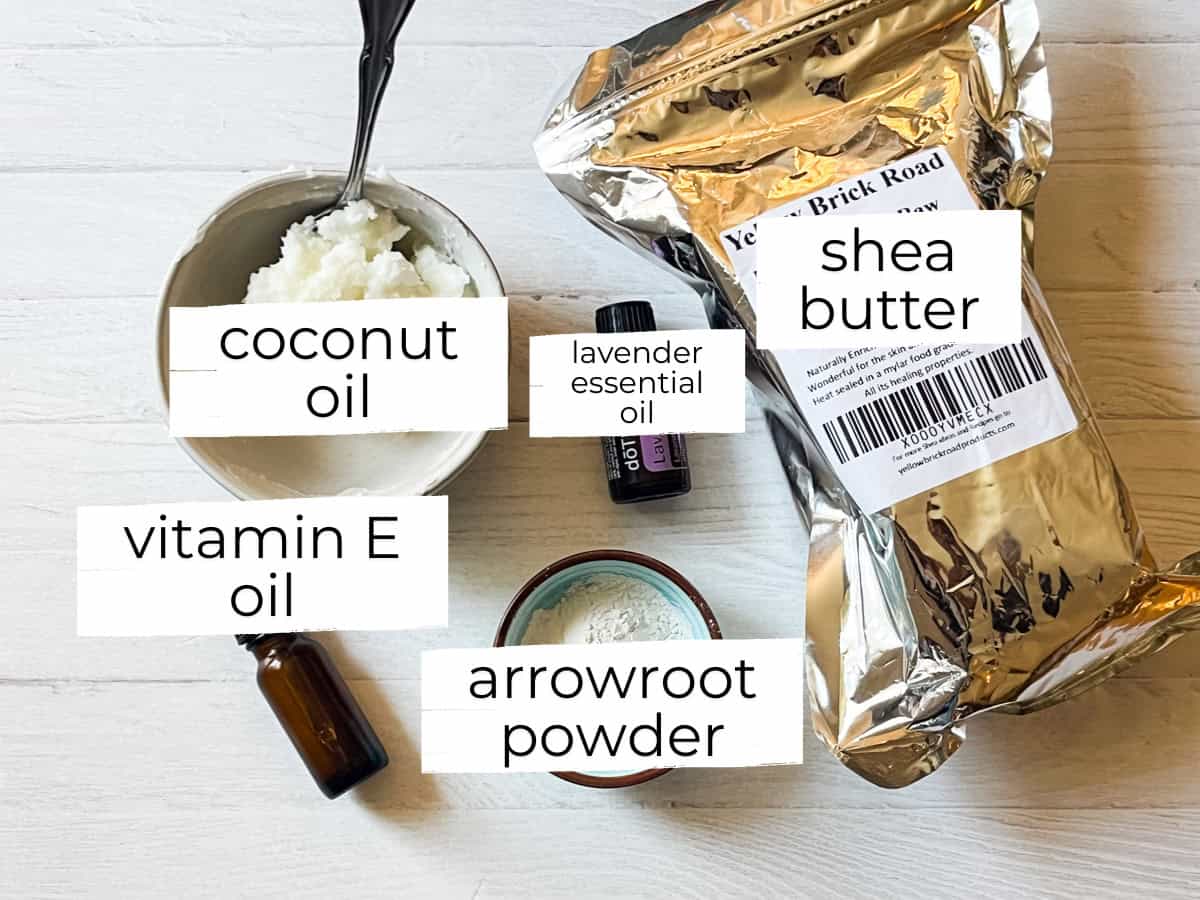
- Shea butter: The star of this recipe, shea butter is a highly moisturizing butter that feels wonderful on the skin. I love shea butter so much, I also use it in my simple shea butter soap recipe.
- Coconut oil: Gives the lotion a nice spreadable texture and adds additional moisturizing properties.
- Essential oils: If you love scented lotion, you’ll definitely want to add essential oils! You can use lavender (my go-to) or see my list below of the best oils to add. You can also omit this for an unscented lotion.
- Vitamin E oil: Vitamin E is an antioxidant that helps extend the shelf life of the lotion and offers amazing skin benefits. Antioxidants nourish and protect the skin while providing possible anti-aging properties.
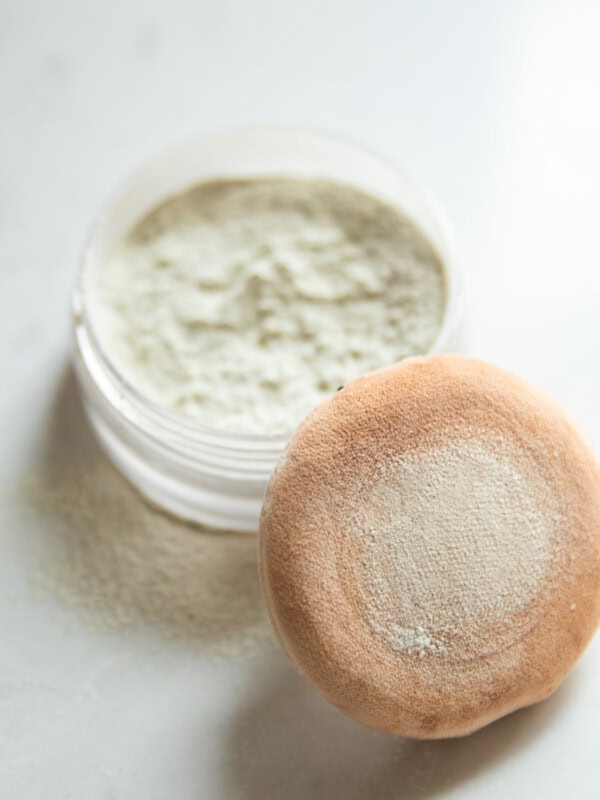
- Arrowroot powder: The addition of arrowroot powder gives this lotion a wonderful non-greasy skin feel. I don’t recommend skipping this ingredient as it makes all the difference in the greasiness of the product.
- Mason jar for storage: An airtight container is essential for maintaining a good shelf life. I use a wide-mouth mason jar.
How to Make Shea Butter Lotion

Step 1. Melt the shea butter and coconut oil in a double boiler.
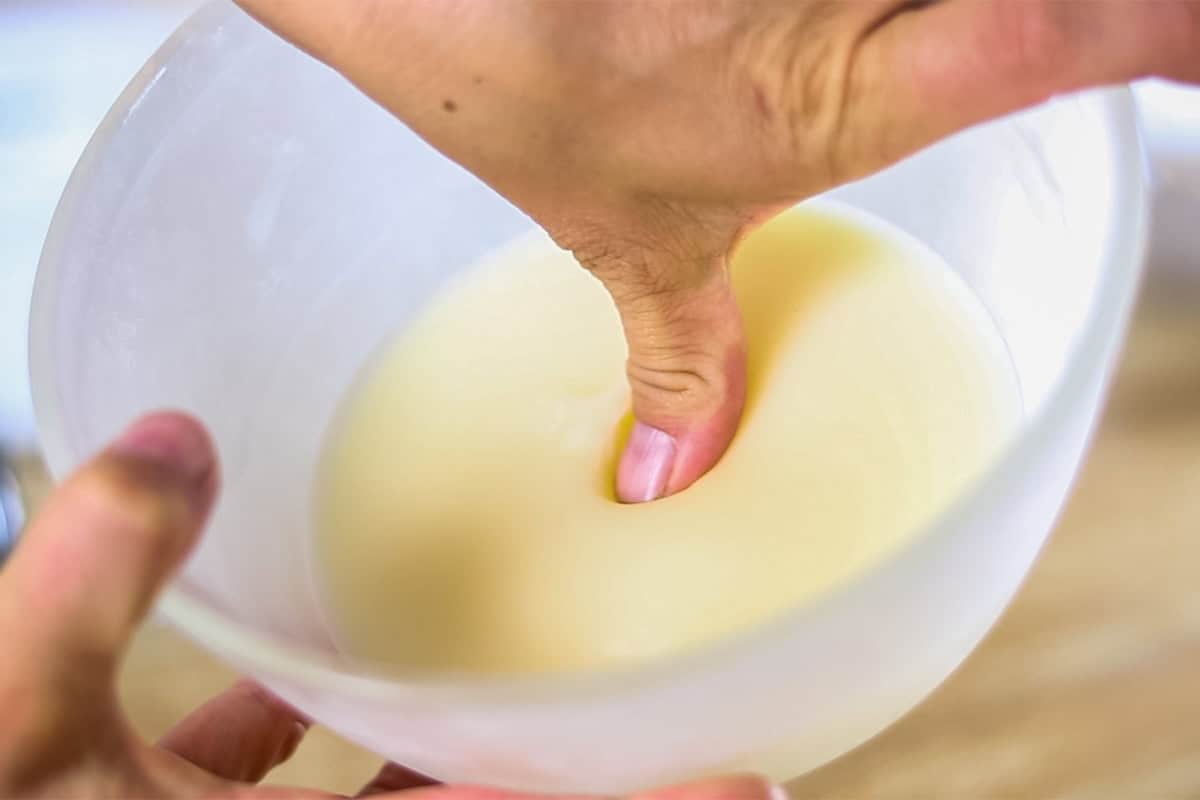
Step 2. Once the ingredients are melted, remove from the heat. Place the bowl in the freezer for about 20 minutes or until the ingredients start to set up. You don’t want the ingredients to be solid, just firm enough to be able to use a hand mixer on.

Step 3. Add in the essential oils and vitamin E oil if using. Slowly add in the arrowroot powder while mixing the lotion with a hand mixer.
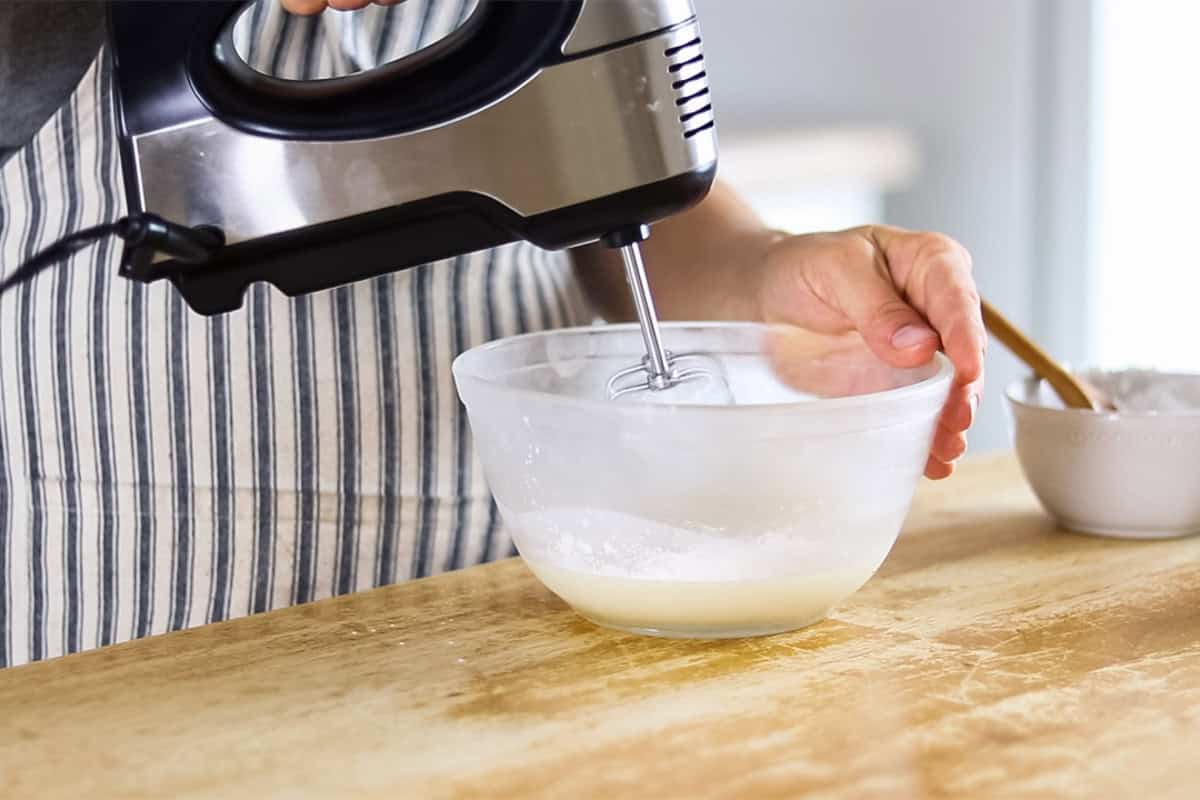
Step 4. Slowly add in the arrowroot powder while mixing the lotion with a hand mixer.
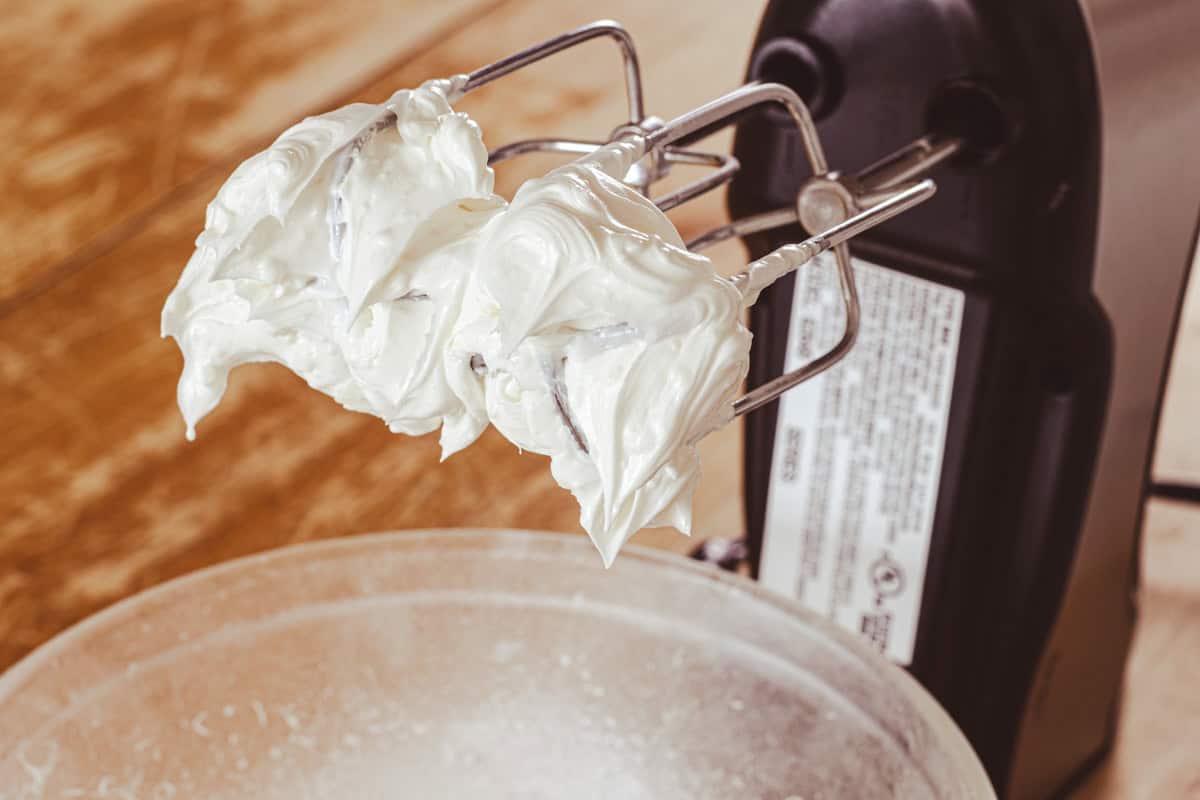
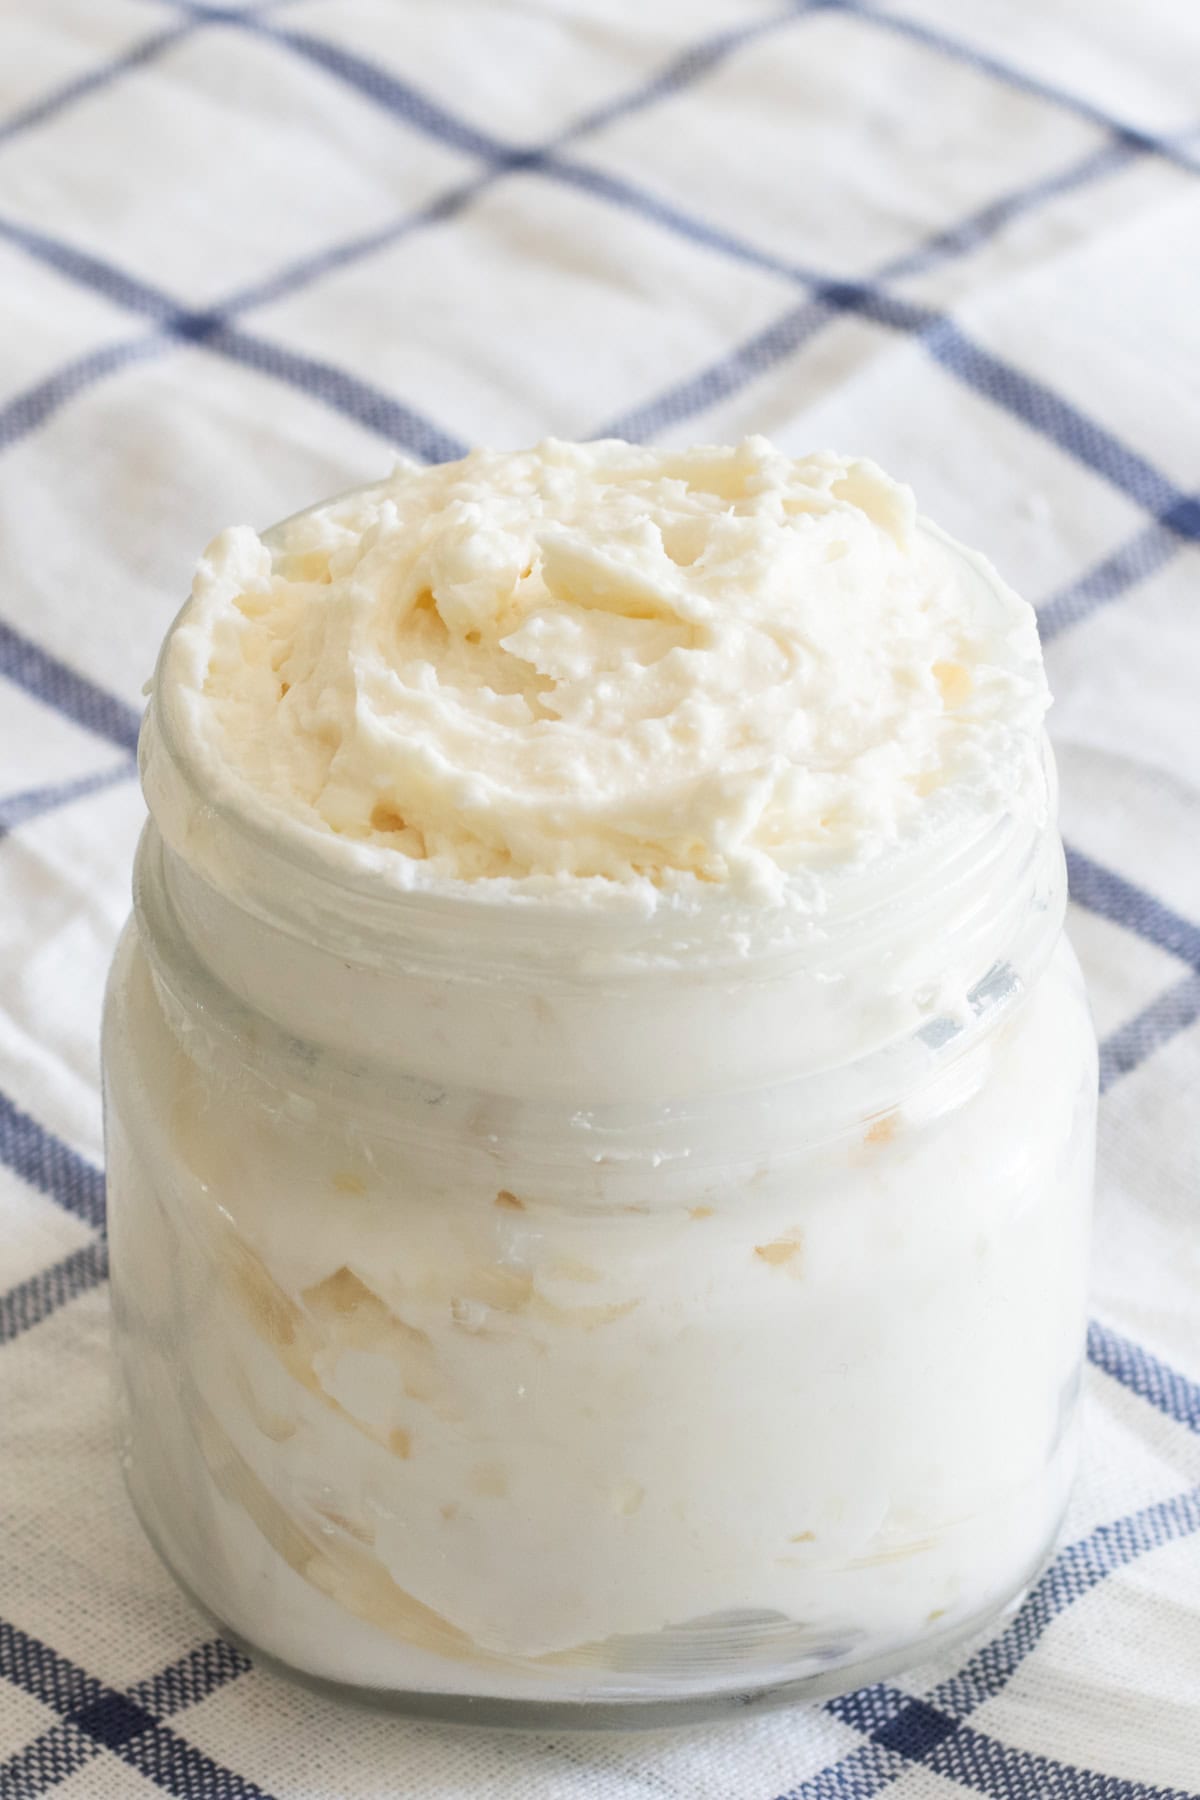
Step 5. Continue mixing until light and fluffy, about 3 minutes.
Step 6. Transfer the homemade lotion to an airtight storage container.
Recipe Notes and Tips
- Store out of direct sunlight for up to one year.
- It is best to store any DIY product with essential oil in a glass container. I am using a wide-mouth mason jar.
- If you are using essential oils, be sure to dilute further if making this recipe for a child by cutting the amount of oil in half.
- If you do not have a double boiler, you can make your own by placing a glass bowl over a pot of boiling water.
- You can substitute equal parts of mango butter or cocoa butter for the shea butter if you prefer (read more about mango butter vs. shea butter).
Essential Oils for Shea Butter Lotion
Adding in essential oils is optional, but highly recommended! Essential oils add a lovely natural fragrance and can help to customize your lotion just the way you want.
You will want to avoid citrus essential oils if you plan to use your lotion before being outside in direct sunlight. Some citrus essential oils are photosensitive oils and can cause the skin to sunburn or get a rash.
It is also important to note that the amount of essential oils you use will depend on who you are making it for. If making this lotion for an adult, you can add 10-15 drops of essential oil to the lotion. If making the lotion for a child, you can add 5-10 drops of essential oil to the lotion.
Best Essential Oils for Skincare
- Frankincense
- Rose
- Lavender
- Sandalwood
- Roman Chamomile
- Yarrow
- Tea tree
- Geranium
- Jasmine
- Rosemary
How to Make Non-Greasy Lotion
The trick to making homemade lotion non-greasy is adding in arrowroot powder. Arrowroot powder helps to absorb some of the oil and makes the lotion the perfect consistency.
I have made a lot of lotions in my time, from DIY sunscreen lotion to homemade whipped mango butter, and it wasn’t until recently that I discovered the arrowroot powder trick.
I loved all of my homemade lotions as they left my skin so soft and moisturized, but they were a bit oily. Adding in the arrowroot powder will help with that! Before whipping the lotion to make it light and fluffy, try adding a small amount of arrowroot powder to make the perfect homemade lotion.
One other way to make a non-greasy lotion would be to make a water-based recipe like my DIY pump lotion. They easily absorb into the skin and can be stored in a pump-style bottle for easy application.
Recipe FAQs
I would not recommend omitting the coconut oil. Shea butter gets very hard at room temperature, and the coconut oil helps the lotion stay fluffy, soft, and spreadable.
You can substitute cornstarch for the arrowroot powder with similar results.
Related Recipes
- Homemade Lotion Bars
- DIY Bug Repellent Lotion Bars
- Homemade Moisturizing Hand Cream
- DIY Foot Lotion
- DIY Anti-Aging Face Cream
If you tried this homemade shea butter lotion or any other tutorial on my website, please leave a 🌟 star rating and let me know how it went in the 📝 comments below. Thanks for visiting!
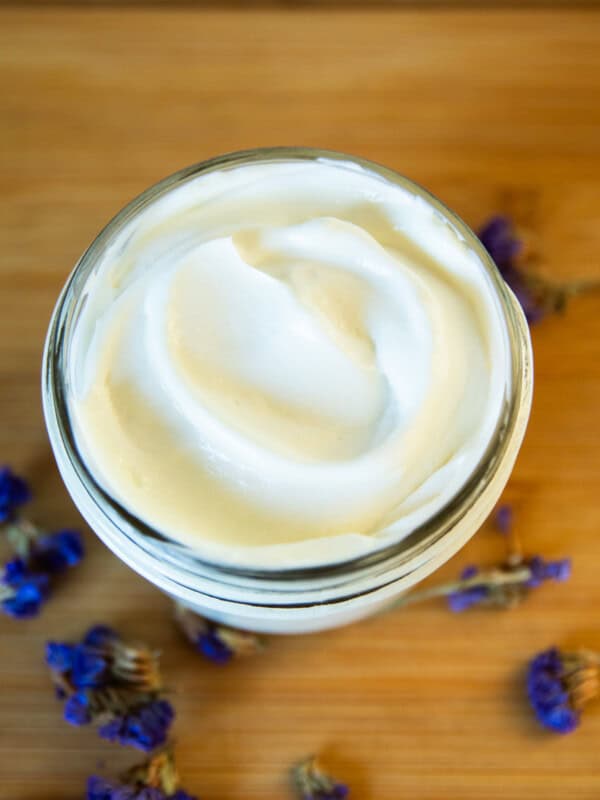
Homemade Shea Butter Lotion
Ingredients
- 5 oz shea butter
- 2 oz coconut oil
- 15 drops essential oils, optional
- 5 drops vitamin E oil, optional
- 1 tablespoon arrowroot powder
Instructions
- Melt the shea butter and coconut oil in a double boiler.
- Once the ingredients are melted, remove from the heat. Place the bowl in the freezer for about 20 minutes or until the ingredients start to set up.
- Add in the essential oils and vitamin E oil if using.
- Slowly add in the arrowroot powder while mixing the lotion with a hand mixer.
- Continue mixing until light and fluffy; about 3 minutes.
- Transfer the homemade lotion to an airtight storage container.
Notes
- Store out of direct sunlight for up to one year.
- It is best to store any DIY product with essential oil in a glass container. I am using a wide mouth mason jar.
- If you choose to use essential oils, cut the number of oils in half if a child uses it.
- If you do not have a double boiler, you can make your own by placing a glass bowl over a pot of boiling water.
- You can substitute equal parts of mango butter or cocoa butter for the shea butter if you prefer.


I love love this recipe! I’ve made it a few times. I have a Dr that is allergic to coconut oil so I made a batch with avocado oil 3/4 and 1/4 jojoba mix. It turned out beautiful too!
Thank you for sharing your natural recipes, I have used quite a few of them.
You’re beautiful!
So glad you have found this helpful. Enjoy!
I love how easy it was to follow the instructions. My end result was a lotion that’s not super spreadable though. I just hold in my had a few moments to soften it and then apply. Is this normal or did I do something wrong? Just wondering for next time.
Thank you so much for asking. You could try to whip it a bit longer with the hand mixer! That should help.
Hi Laura, I made the Shea butter lotion but it seems to be kind of dry and not very smooth. Can I add anything to it to make it a little smoother. Would whipping it more make a difference or adding more oils? I do like the smell and feel of it.
It was fun to make.
Shea butter can feel dry or grainy if it cools too slowly. You can gently remelt the lotion, add a bit more liquid oil to improve slip, and then whip it again as it cools. Whipping longer can help, but adjusting the oil balance usually makes the biggest difference.