This post may contain affiliate links. Please see our disclosure policy.
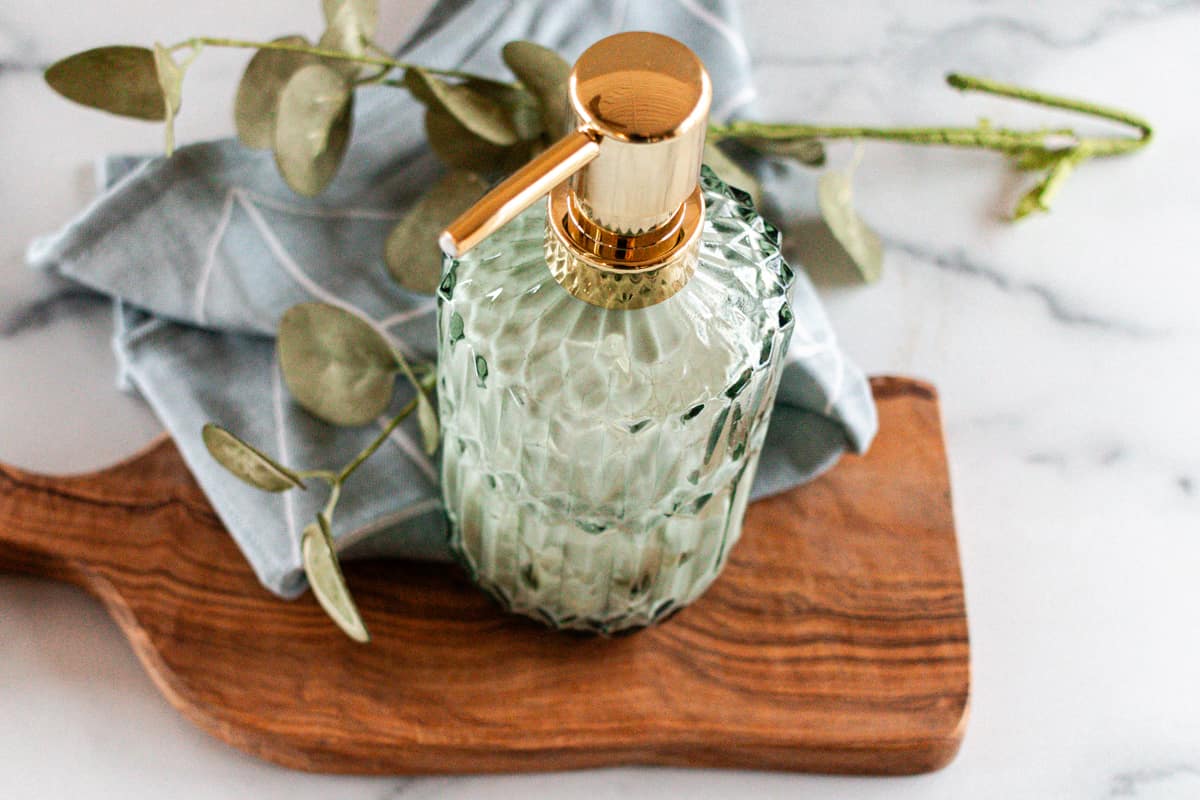
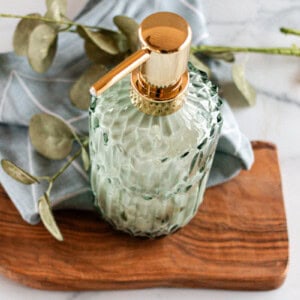
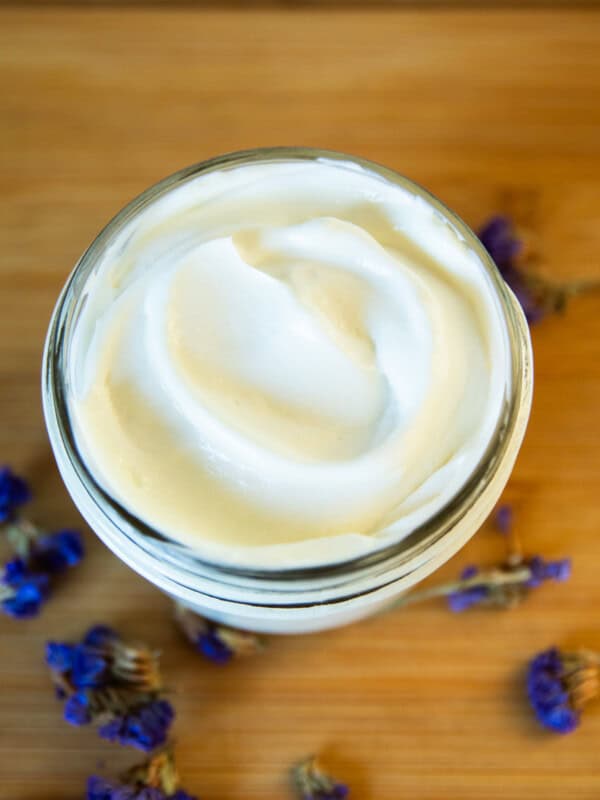
This pumpable lotion recipe is the perfect DIY for easy application and moisturizing your skin.
It seems like forever that I’ve been a fan of DIY beauty products, and recently, I’ve been experimenting more with making my own lotions.
Now, I’ve made a lot of moisturizing recipes, from DIY goat’s milk lotions to homemade anti-aging face creams and homemade body butters in my time, but not a good old-fashioned pump-style lotion.
After some trial and error, I finally have a lotion that is incredibly moisturizing and absorbs easily.
Plus, because it’s pumpable, it’s easy to apply, far less messy and doesn’t leave a greasy residue like some lotions do.
Read on to discover the recipe and make your very own pump-style lotion!
Oh, and if you like these creamy, conventional-like lotions, be sure to check out my squeezable homemade tallow lotion.
How to make your own pump lotion
Follow along with me, and I’ll take you through this recipe step by step. Be sure to have all the ingredients and tools ready before you start.
Ingredients:
- Shea butter 1.12 oz
- Sunflower oil 0.56 oz
- Emulsifying Wax 0.4 oz
- Cetearyl Alcohol (co-emulsifier) 0.32 oz
- Distilled water 5.6 oz
- Geogard 221 preservative 0.08 oz (or 1 % of the total weight. See notes below)
Instructions:
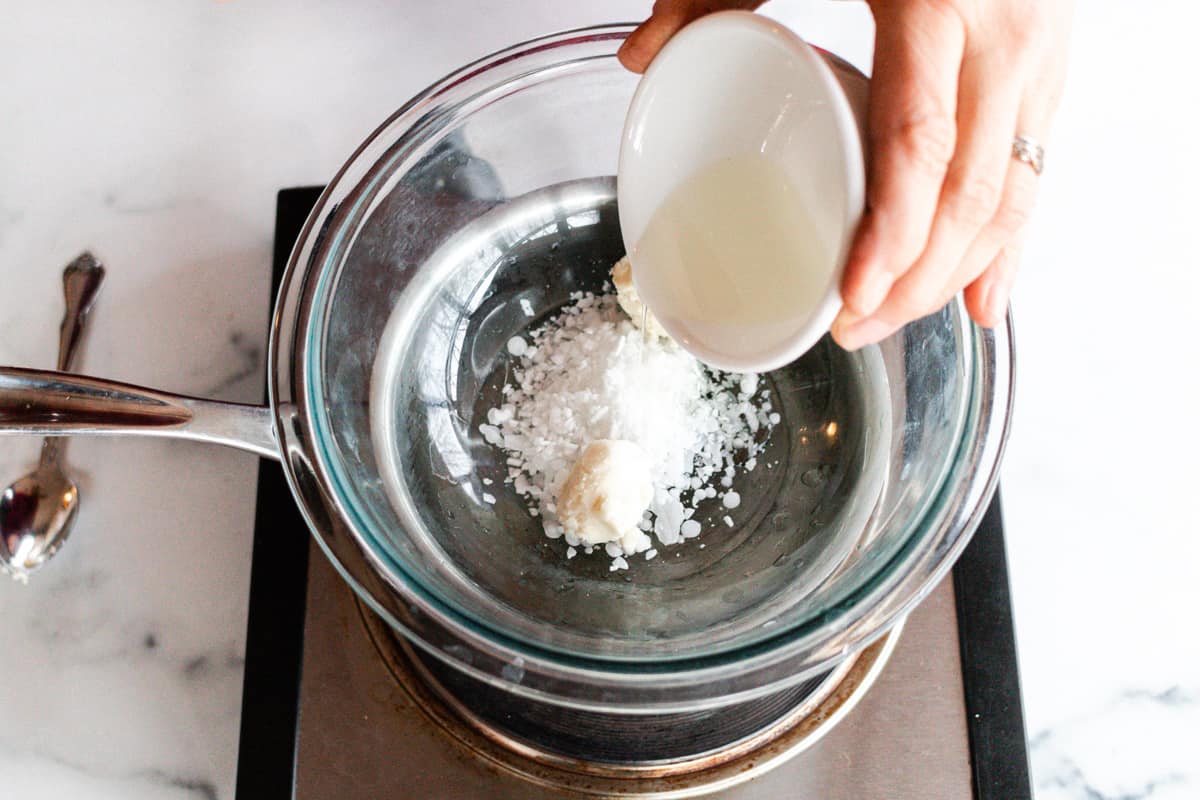
Step 1: Melt the shea butter, sunflower oil, emulsifying wax, and cetearyl alcohol in a double boiler. If you don’t have one, you can melt the ingredients in a saucepan over low heat.
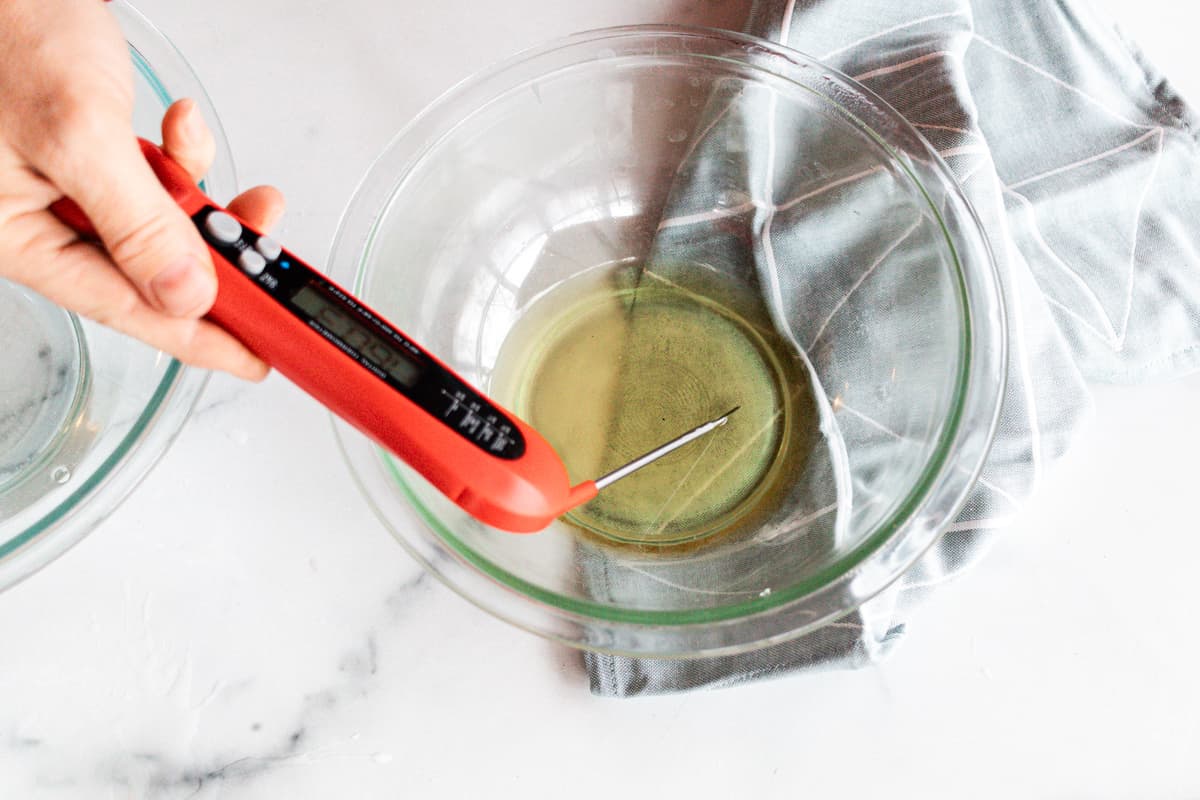
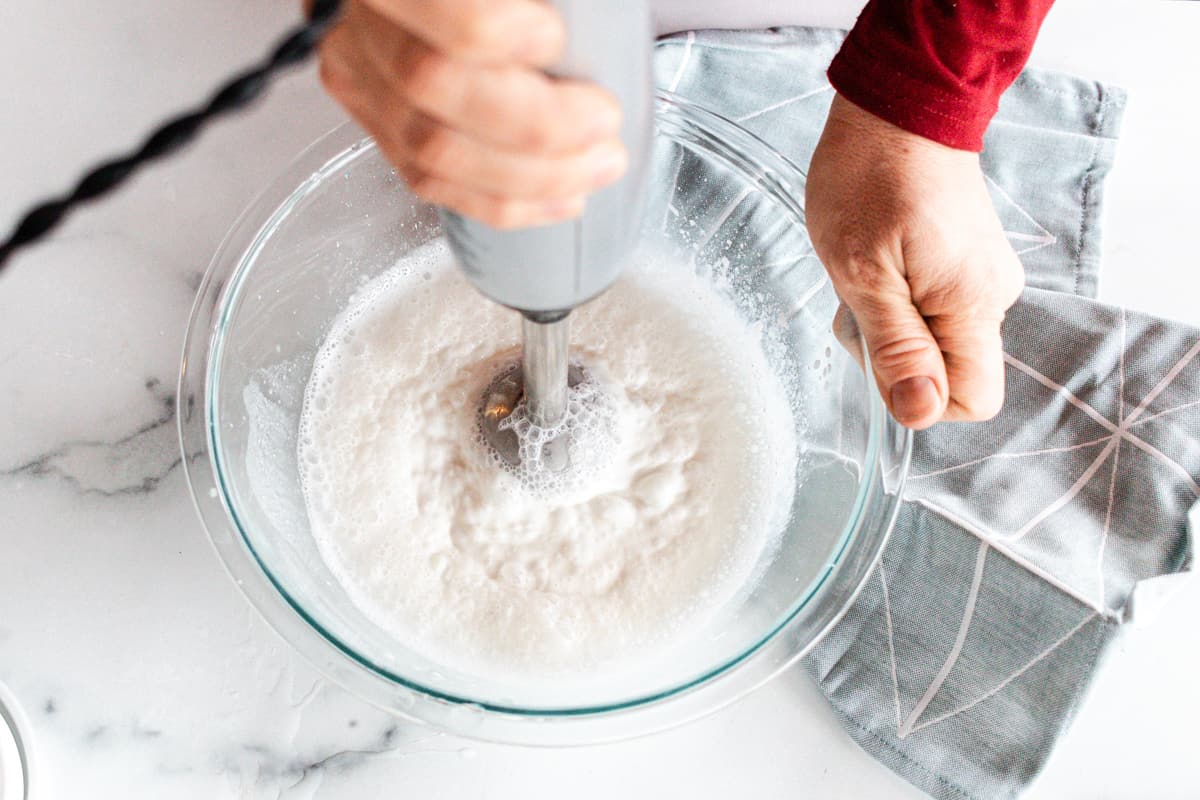
Step 2: Once the oils are melted, heat the distilled water in a separate container to about 160°F. You can use a microwave or saucepan.
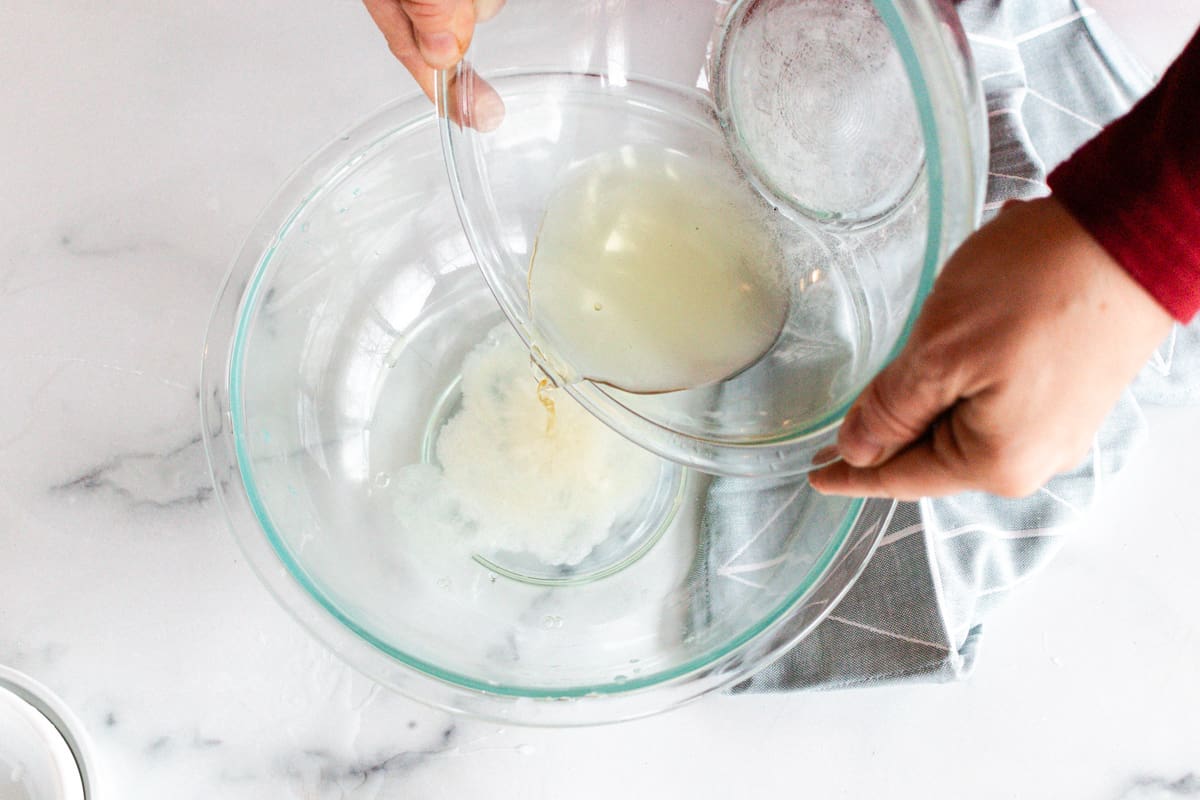
Step 3: Transfer the water into a large bowl and slowly add the melted oils—pulse with an immersion blender for about 60 seconds. You’ll want the temperature to be 130-145°F before moving on to the next step.
Step 4: Add your preservative and continue mixing with the immersion or stick blender until it’s completely combined, about another 60 seconds.
Step 6: Transfer to an airtight container and allow it to cool completely before securing the lid.
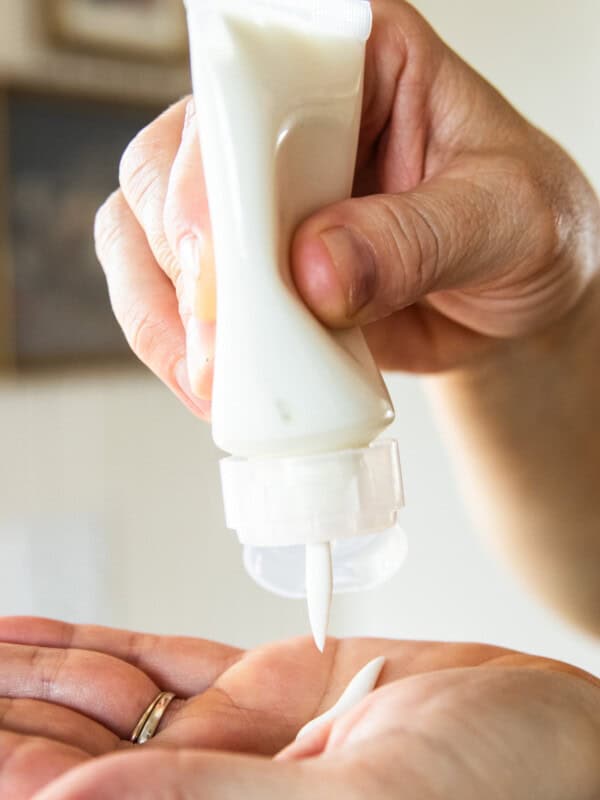
Top Tip: Scoop the lotion into a zippered bag, close it fully, then trim off a corner and squeeze the lotion into a pump bottle. This is especially helpful if your container has a small neck.
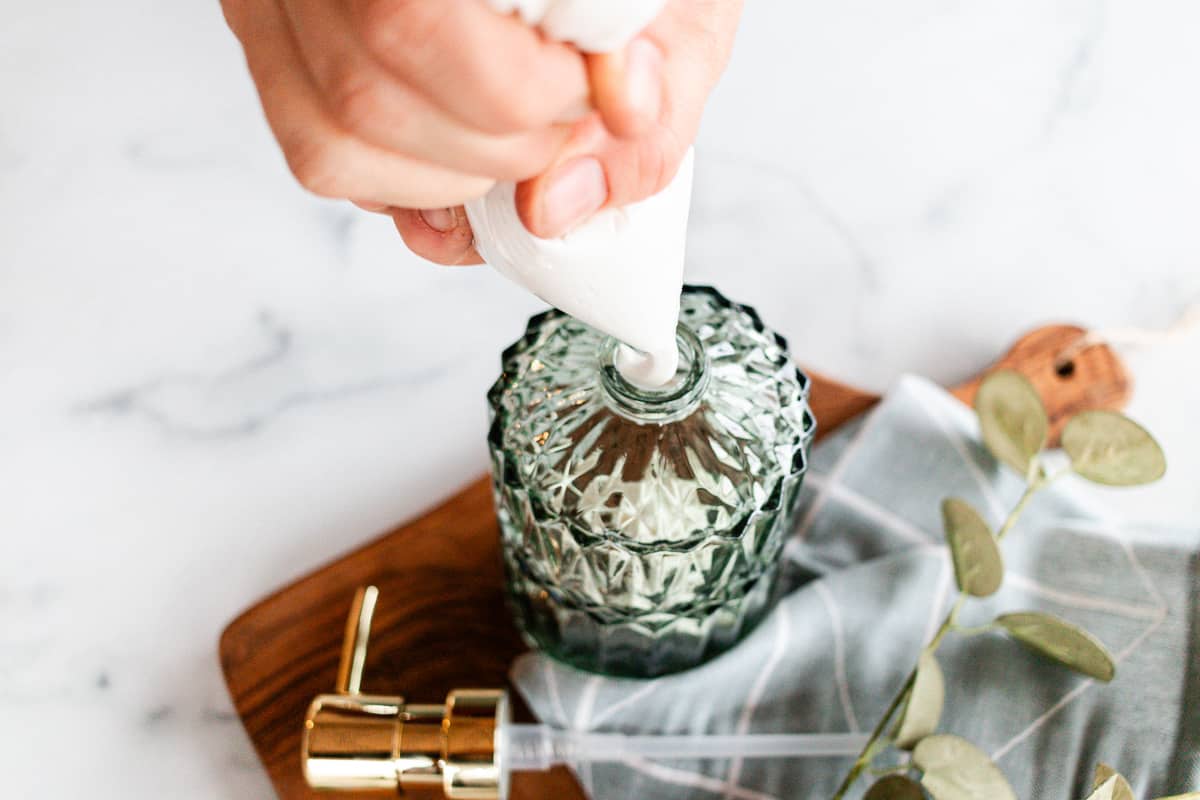
You could also use a funnel if you have one suitable, but it will have a creamy-like consistency, so it doesn’t pour the best.
Customizing your pumpable lotion
Making your own lotion is so much fun simply because you can create it however you want!
Here are some ideas for making your lotion unique. Just understand that any adaptations will probably require you to adjust the amount of preservative you use accordingly.
Scent Customization
Adding essential oils to your lotion is an easy way to improve the scent while avoiding synthetic fragrances. I use them in my homemade lotion bars and love their natural, aromatic qualities.
Some of the better options, in my opinion, include lavender, peppermint, and eucalyptus.
Be sure to choose the best quality essential oils and only add a few drops at a time to avoid overpowering the lotion. You can always add more, but you can’t remove them once they’re added, of course!
Texture Adjustments
You can add more shea butter to the recipe if you prefer a thicker lotion. Alternatively, if you prefer a lighter lotion, just add more distilled water. Just note, keep the water 70% or less of the total weight of the lotion.
Experiment with different ratios until you find the texture that works best for you. It took me a few attempts to get the texture right, I admit, so for the first try, follow my guidance and see how you like it.
And, of course, if any amounts are changed, you’ll need to recalculate the amount of preservative to ensure it’s doing its job.
Color and Appearance
The natural color of this lotion is light beige, but you can add natural colorants to change the appearance if you like as I do in my tinted moisturizer recipe.
As some suggestions, you could add a few drops of beet juice for a pink tint or cocoa powder for a darker color.
Be sure to test the colorant first to ensure it doesn’t affect the texture or scent of the lotion nor cause a reaction on your skin.
FAQs
Are there safety tips when making this lotion?
Yes, there are. I say safety should always be a top priority. Below are some safety tips to keep in mind when making your own pump lotion:
- Always wash your hands and sterilize the equipment before starting the recipe. This will help prevent the likelihood of bacteria or germs contaminating the lotion.
- Don’t be tempted to use tap water! Always use distilled water to avoid impurities or minerals that can affect the lotion’s consistency and shelf life.
- Make sure to use a clean and dry container to store your lotion.
- Always perform a patch test before using your lotion on a larger skin area. Look for signs of skin irritation before using it on your whole body.
- Keep the lotion out of direct sunlight and in a cool, dry place to extend its shelf life.
- If you notice any changes in the lotion’s texture, color, or smell, discard it immediately.
What is the shelf life?
This recipe has been made to last four months.
However, I recommend always checking the lotion for any signs of spoilage before using it. If the lotion has an off smell or appearance, it’s best to discard it and make a fresh batch.
Can you share application tips for this lotion?
Applying this gorgeous pumpable lotion is super easy! Follow these tips to get the most out of your DIY lotion:
- Use a small amount every time. A little goes a long way, so start with a coin-sized amount and add more as needed.
- Apply the lotion to clean dry skin. This helps the lotion absorb better and provides longer-lasting moisture too.
- Massage the lotion in circular motions. This helps the lotion absorb and also promotes circulation.
- Pay extra attention to dryer skin areas such as elbows, knees, and heels. These tend to need more moisture than the rest of the body.
- Allow the lotion to absorb fully before getting dressed to prevent transfer onto your clothes.
- Use the lotion daily for best results. Consistency is the secret key when it comes to moisturizing your skin!
Summary
Creating your own pumpable lotion is a simple, cost-effective way to keep your skin smooth and moisturized. It’s also one of the best moisturizers out there, and I truly mean that!
With just a few ingredients and basic kitchen tools that you’ll likely have in your home right now, you’ll be able to whip up a batch of this nourishing lotion in no time at all.
Related content
- How to make body cream
- DIY Non-greasy shea butter lotion
- How to make a night cream
- Easy tallow balm recipe
- Homemade face moisturizer
If you make this recipe and love it like I do, please leave a review or comment below so others can be inspired to make their own!
DIY Pumpable Lotion Recipe
Equipment
- Glass Bowl
- Pump bottle old lotion bottles work great!
Ingredients
- 1.12 oz Shea butter
- 0.56 oz Sunflower oil
- 0.4 oz Emulsifying Wax
- 0.32 oz Cetearyl Alcohol, co emulsifier
- 5.6 oz Distilled water
- 0.08 oz Geogard 221 preservative, or 1% of the total weight, see notes below
Instructions
- Melt the shea butter, sunflower oil, emulsifying wax and cetearyl alcohol in a double boiler. If you don't have a double boiler, you can also melt in a saucepan on low heat.
- Once the oils are melted, heat your water up in a separate container to about 160°F. You can use a microwave or saucepan.
- Transfer the water into a large bowl and slowly add the melted oils-pulse with an immersion blender for about 60 seconds. You'll want the temperature to be 130-145°F before moving on to the next step.
- Add your preservative and continue mixing with the immersion blender until completely combined, about another 60 seconds.
- Transfer to an airtight container and allow it to cool completely before securing the lid.
- If you are using a pump style container, scoop the lotion into a zippered bag, close it fully, then trim off a corner and squeeze the lotion into a pump bottle. This is especially helpful if your container has a small neck.


I’d love to use this as the base for a sunscreen lotion. Have you tried this or do you have recommendations? I’ve scoured the internet for a mango butter sunscreen lotion recipe and have come up with nothing. I’d also love to add sweet almond oil, carrot seed and raspberry seed oils to help increase the SPF.
Thanks so much for any suggestions or help!
Hello! Can I substitute sunflower oil for one that is not a seed oil, like olive or avocado oil? Also, if I am out of shea butter could I sub with mango or cocoa butter?
Hi there! I haven’t personally made this lotion with those substitutions, so I can’t say for sure how it would turn out. You’re welcome to try it though. Just keep in mind that different oils and butters can change the texture a bit. Let me know how it goes if you give it a try!
hy,
if I put non-nano zinc powder in this lotion can I create a UV face cream?
How much can I add?
Thank you