This post may contain affiliate links. Please see our disclosure policy.
It’s so easy to make your own DIY blush cream from scratch. Not only do you get to choose what color blush you make, but the ingredients are wonderfully kind and moisturizing – caring and color for the cheekbones – in one application!
Here’s my confession. I need blush in my life.
It’s the one makeup item I just can’t live without – keeping me from looking washed out more times than I can count.
Blush is a fantastic beauty product that brightens your appearance quicker than a makeover or a workout in the gym.
It’s great to use during the day to help freshen your look and make you feel more alive (great for us busy women!)
Yet many blush products in stores can cause breakouts and skin problems, often being full of chemicals and synthetics.
They can also dry out the skin depending on the ingredients inside.
In this post today, I’m sharing a recipe for an all-natural DIY cream blush that can be colored with various ingredients to suit any skin type.
This blush won’t hurt your skin – instead, it’ll do the opposite! Adding much-desired nourishment, moisture, and care while giving glorious color to the cheeks.
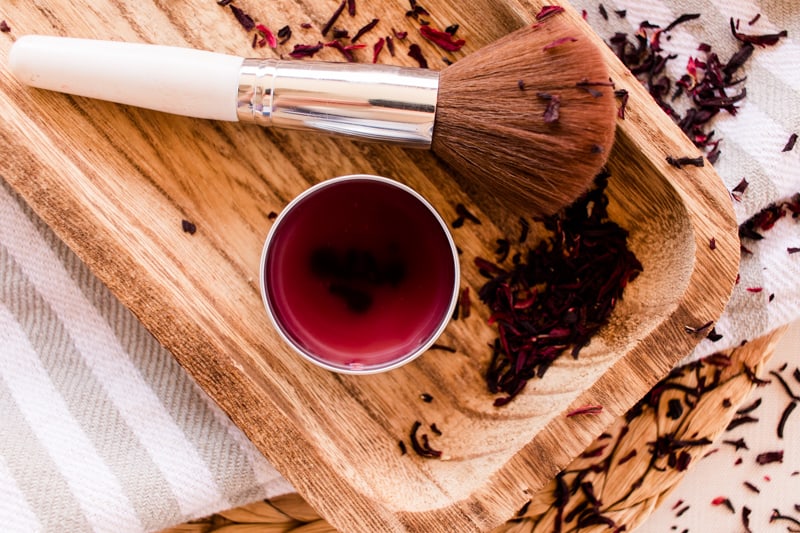
Table of Contents
What is blush in makeup?
Blush is precisely as the word describes – when you blush from being shy or embarrassed by the cute boy in school.
Remember those days? (Me too, ugh!)
Your cheeks flushed bright red, and you wish to the high heavens that the ground would swallow you whole.
This is what blush does. It gives you a touch of color on your cheekbones to accentuate and highlight your face.
In doing so, it adds youth and vitality to your look, being a welcome addition to a makeup routine (particularly in winter, when the summer tan has long faded).
How to apply blush
Depending on what you read, there are several ways to apply blush, and neither is better than the other – it’s more a personal preference.
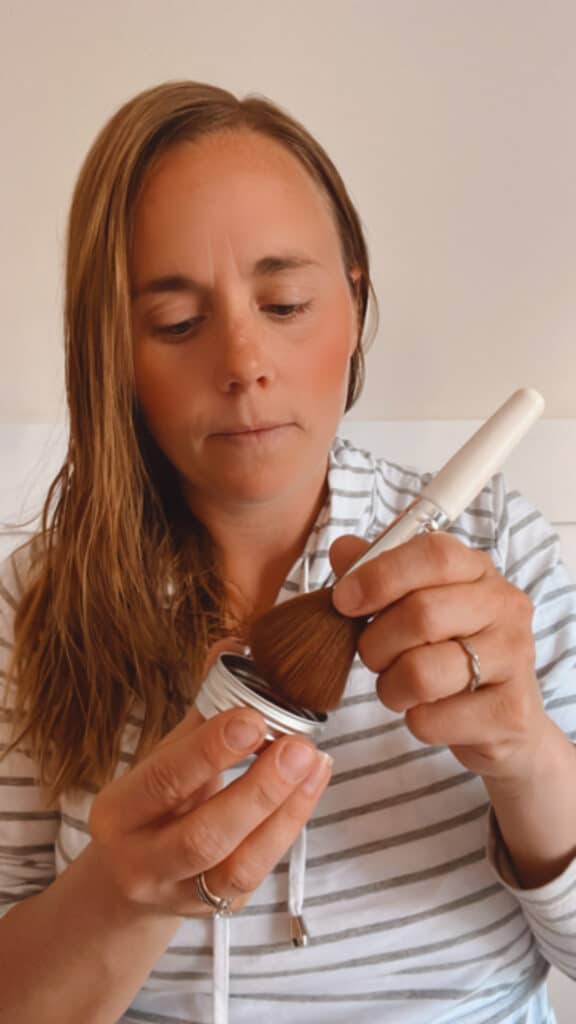
One way is to use a blusher brush, which is often seen as the most hygienic way to apply blush.
First, I’ll apply a thin layer of primer to my face to help the blush hold better.
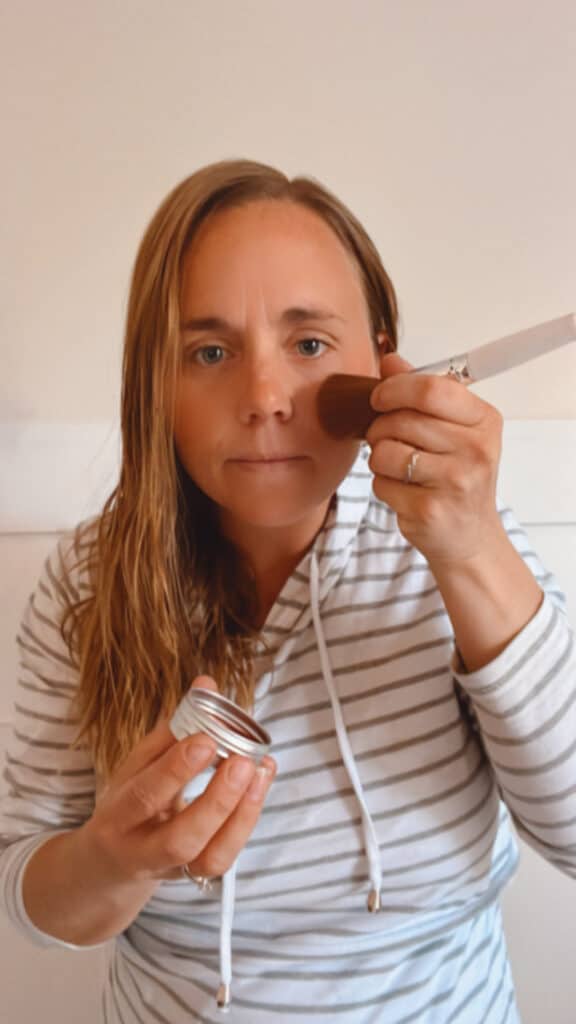
Then, simply swirl the blusher brush in the blush, tap off any excess, and apply to your cheeks in a sweeping upwards motion (I smile when I add blush as it makes my cheeks pop out for better results).
Another way to apply blush is to use your fingertips. This can also work well and helps blend the blush equally onto the cheekbones.
There are also blush sponges you can buy – so too, helping even out the blush color and blending easily with your skin tone.

Is cream blush better than powder?
This is one of those debates that everyone has a different opinion on!
One thing I’ve found is that powder blush is more likely to dry the skin out compared to cream blush.
I also find that a cream blush lasts longer on my skin – but some people find the opposite, so it is down to personal choice.
The recipe I’ve included in this post will result in a cream blush – give it a go and see how it works for you!
And in some cases, blush cream can be substituted for concealer!
Why you’ll love this blush
The best thing about this blush is that it’s fantastic for your skin!
The cocoa butter and rosehip oil are moisturizing with the added benefit of blending nicely onto the skin, giving a beautifully natural blushed look.
I also love that the tints can be changed with different colors, giving a great degree of flexibility.
So too, it is more cost friendly to make your own DIY blush cream – the savings compared to store-bought purchases are well worth it.
This post contains affiliate links, which means I make a small commission at no extra cost to you. Get my full disclosure HERE.
How to make cream blush
Follow along with my recipe below – it explains how to make blush from scratch and what colors to add depending on what blush look you’re after.
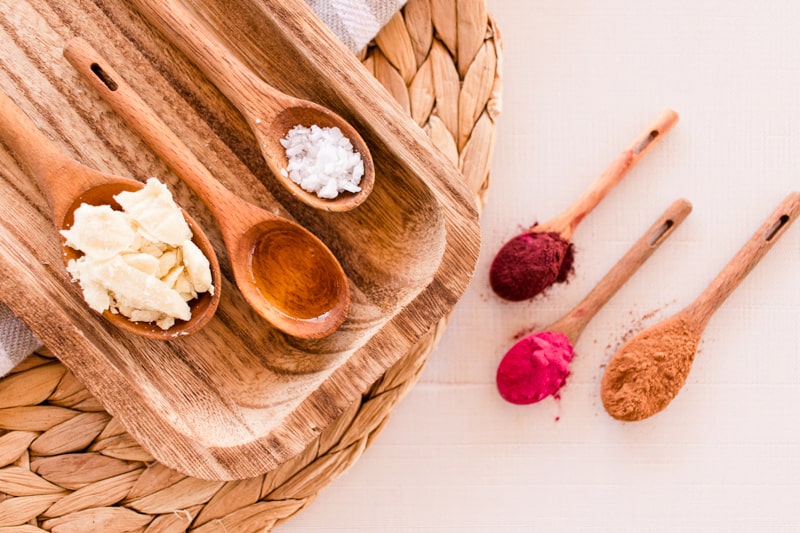
Ingredients:
- 1 tbsp of cocoa butter
- 1/2 tsp of Emulsifying wax
- 2 tsp of rosehip oil
- 1 tsp of beet powder or another natural coloring of choice
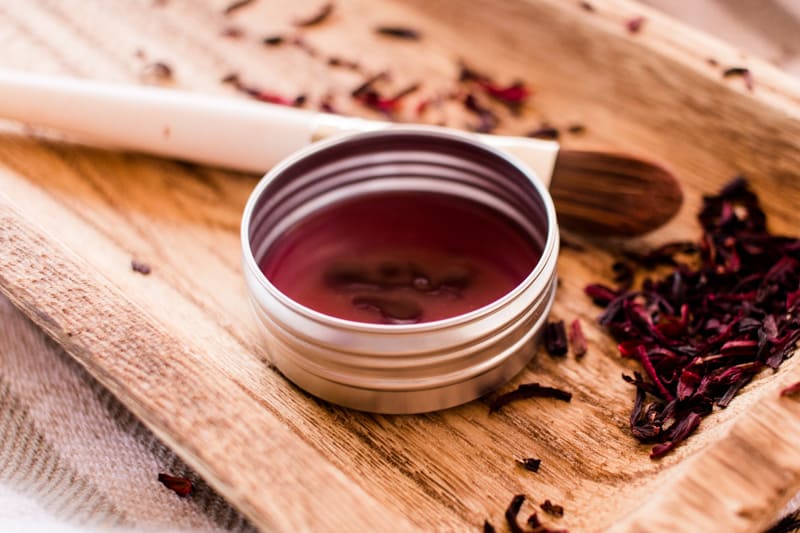
Note: To achieve different blush shades, I switched from beet powder to hibiscus powder and tried cocoa powder too.
It’s worthwhile trying out different shades to see which one works best on your skin. Go and experiment!
Recipe Instructions:
- Melt the cocoa butter and emulsifying wax in a small bowl in the microwave for 15-second intervals or on the stovetop in a mini saucepan.
- Stir in the rosehip oil until well combined.
- Add in beet powder and stir until smooth.
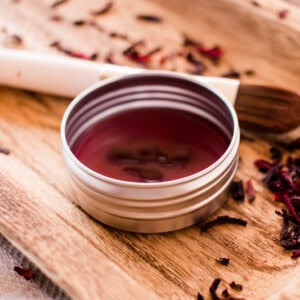
- Transfer to your storage tin to cool and harden.
- Use as and when desired!
Follow up with a natural setting spray or powder.
How to store this DIY blush cream
It’s best stored in a dry glass or tin container with a lid on top – to stop the blush from drying out. I store mine in a closet in the bathroom so it’s away from sunlight too.
A container of this blush should last for around three months if stored correctly.
How long does cream blush last on your skin?
You can expect your cream blush to last throughout the day in normal conditions if you apply it in the morning; however, as with all makeup, the look fades over time.
Your best bet, if you want day-long blush, is to keep it in your bag and apply it around lunchtime. This should (in theory) give you that continuous healthy flush until evening time.

Can you wear blush without foundation?
Yes, of course!
Foundation, as with any makeup item, is down to personal choice. I don’t wear foundation that much, yet I do apply this DIY blush when I need it.
Many readers have noted that applying foundation first will help the blush last longer while applying a setting powder after may help the blush to perform its job longer.
Tips
To give yourself a beautiful, healthy flush, use less blush.
This stuff goes a long way and is relatively strong if you add too much too quickly.
Also, make sure you blend it in well!
Blending it into the contours of your cheekbones makes it look natural. No one wants that clown look, surely?!
Finally, don’t forget to store it in an airtight container. This will help it last longer and prevent a hard crust from developing across the top.
Try this simpler blush option!
I have had many people reach out to me asking for a liquid blush recipe, and while I consider this a ‘liquid style blush’ most everyone was essentially asking for a simpler way to make blush.
Here is a simple option:
To make a liquid blush, take 2-3 tablespoons of a lotion that absorbs easily. (I have a DIY lotion recipe if you’d like to make your own.)
Begin adding beet powder, a teaspoon at a time, until you reach your desired color. Test it on your face and adjust the lotion or powder as needed. Experiment with micas or other colorings for different shades.
I hope you love making and trying this gorgeous DIY cream blush. Let me know what you think by sharing a comment below.
If you loved reading this post, I think you’ll enjoy one of these next.
- Natural homemade eye shadow
- Smudge-free homemade mascara
- Natural lip gloss recipe
- How to make tinted moisturizer
DIY Blush Cream
Equipment
- Makeup brushes
- Storage tin
Ingredients
- 1 tablespoon of cocoa butter
- ½ teaspoon of emulsifying wax
- 2 teaspoons of rosehip oil
- 1 teaspoon of beet powder, or coloring of choice
Instructions
- Melt the cocoa butter and emulsifying wax in a small bowl in the microwave for 15-second intervals or on the stovetop in a mini saucepan.
- Stir in the rosehip oil until well combined.
- Add in beet powder and stir until smooth.
- Transfer to your storage tin to cool and harden.
- Use as and when desired!


Hi Laura! I know this is an older post, and may not get answered…but I would love to make this and put it in a tube (like my Boomsticks by Cindy Joseph). Would this forumula work in a tube or would I need to adjust. I am VERY new to all of this DIY but am so happy I found you!
Hi! I have not tried it that way but I imagine it would be fine to place in a tube.
What kind of wax? Emulsifying olive wax?
What other wax can we substitute, beeswax or soy?
I use emulsifying wax, which is a combination of cetearyl alcohol and polysorbate 60.
Made this for the first time and it seems like the oil rose to the top and settled. What did I do wrong??
I would make sure it was well combined next time. Hopefully you will have a better result 🙂