Choose between these 3 DIY highlighter recipes based on your skin type! Add a glow, shape your cheekbones, and define your look exactly how you want to.
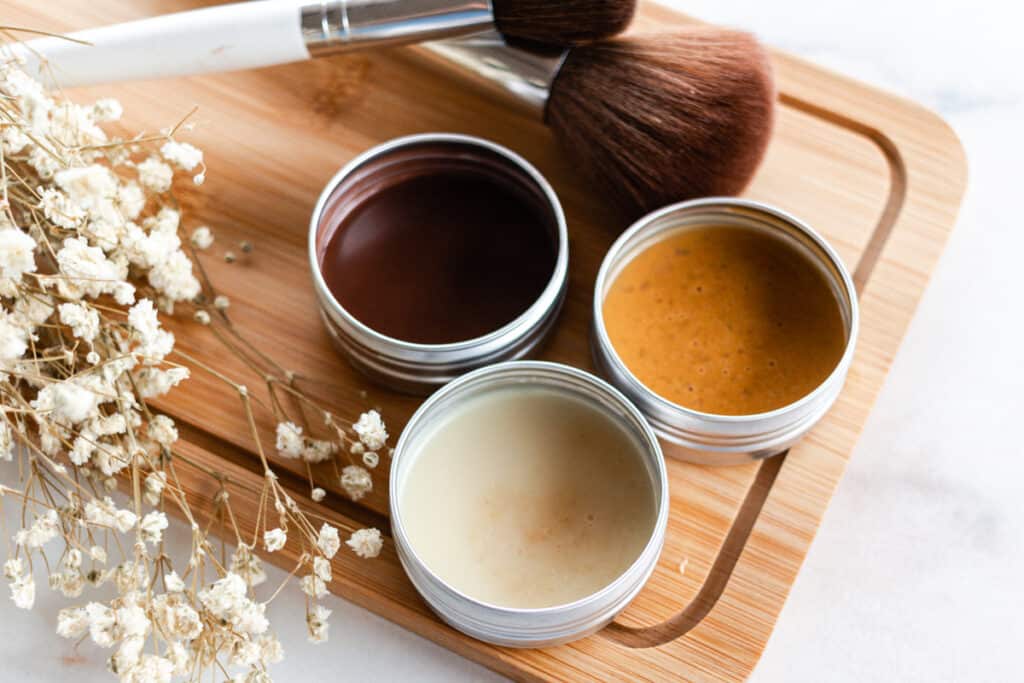
Highlighters have exploded in the makeup industry lately. Everyone is wearing them, it seems.
And I see why!
A good highlighter can take years off your complexion and make you look way more awake than you actually feel (great news for us tired moms!)
I was super excited when I discovered how to make a DIY highlighter simply because it saved on cost and was fun to create.
I loved playing with different tints and tones, and the recipe I’m sharing today is the best version I came up with.
Follow along with me, and you’ll have made your own homemade highlighter which is perfectly customized for your skin tone.
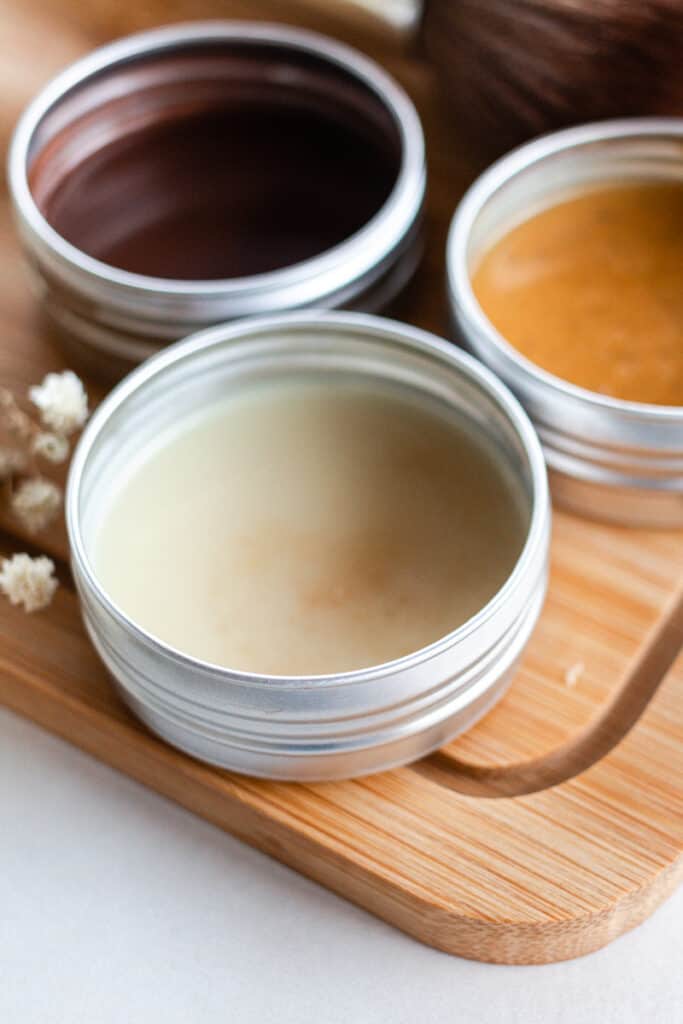
What is highlighter
A highlighter is a product used to accentuate parts of the face with a brighter ‘glow.’ It creates depth and sculpts the face to deepen cheekbones. It can even help you add a chiseled jawline if you choose.
It can also slim down your nose (if desired) and minimize under-eye circles, awakening the face and giving a refreshed, vibrant feel.
You can get highlighters in different forms – namely, powders, pencils, gel-like products, and liquid forms.
Each has different benefits and purposes, and the type you go for depends on what look you’d like to achieve and how you want to apply it.
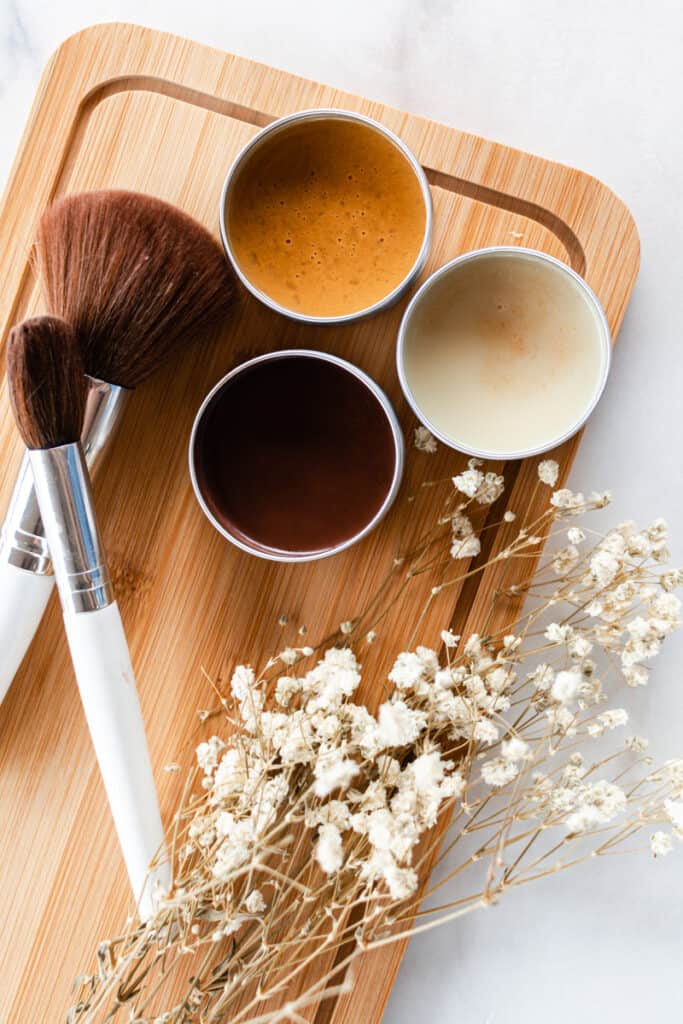
Why you’ll love this recipe
- It’s fun to make! I love this post because you’ve got three options for the recipes based on varying tints.
- You’ll love the results. These highlighters are subtle but equally, do a great job of highlighting the bits you want to emphasize!
- They make great gifts. A DIY makeup highlighter is on every woman’s wish list, even if she doesn’t know it yet! There’s something super special about handmade gifts, I always think.
This post contains affiliate links, which means I make a small commission at no extra cost to you. Get my full disclosure HERE.
How to make highlighter at home
You’ll need to choose which highlighter you’d like to make and gather the few ingredients together beforehand, so you’re ready to start.
Also, prepare the container that you’d like to store the highlighter. I bought these metal tins forever ago for a recipe and have been repurposing them for new makeup and skincare products ever since.
Any old container will work, metal, plastic, or glass! If you have an empty highlighter container, that would be perfect!
Ingredients:
Gather the ingredients from one of the three recipes below before moving on to the instructions.
For light-colored skin
- 1 tablespoon of lard
- 1 teaspoon of candelilla wax
- 1/8 teaspoon of lemon peel powder
For medium-colored skin
- 1 tablespoon of lard
- 1 teaspoon of candelilla wax
- 1/8 teaspoon of yellow Brazilian clay
For dark skin
- 1 tablespoon of coconut oil
- 1 teaspoon of candelilla wax
- 1/8 teaspoon of brown oxide pigment
Instructions:
Melt the lard and wax in a small bowl in the microwave for 15-30 seconds at a time. You can also use a double boiler, but I found it to be a bit overkill since we are making such a small amount.
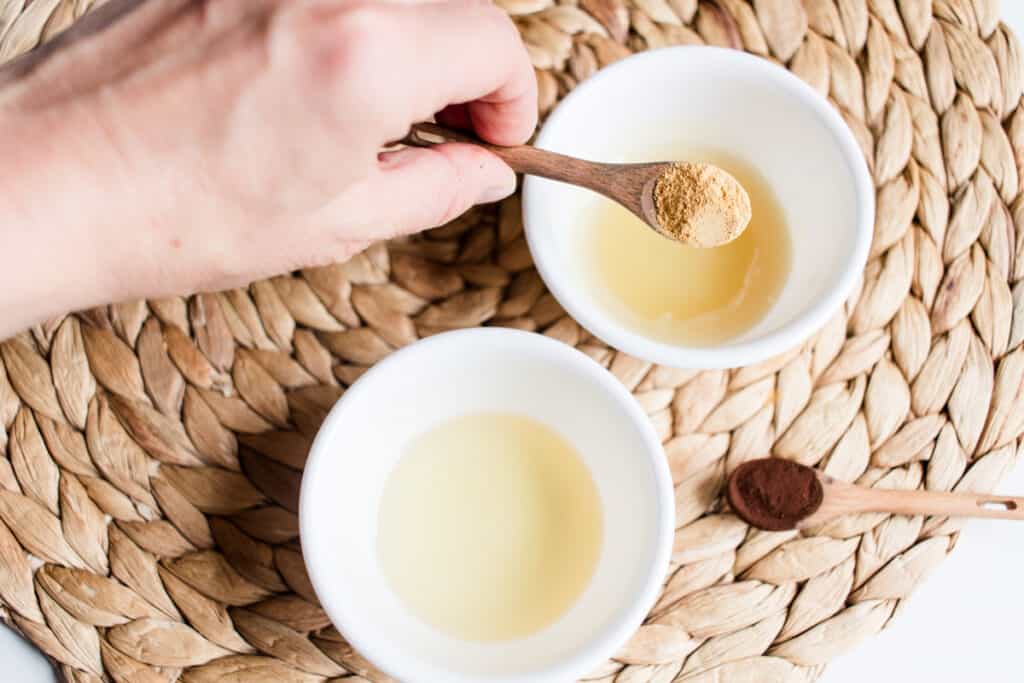
Use a metal spoon to stir in your colorant. I tried both the lemon peel and Brazilian clay before finally deciding on the lemon peel.
You may need to play around with the colorants and even mix and match the colors to get the exact color you are looking for!
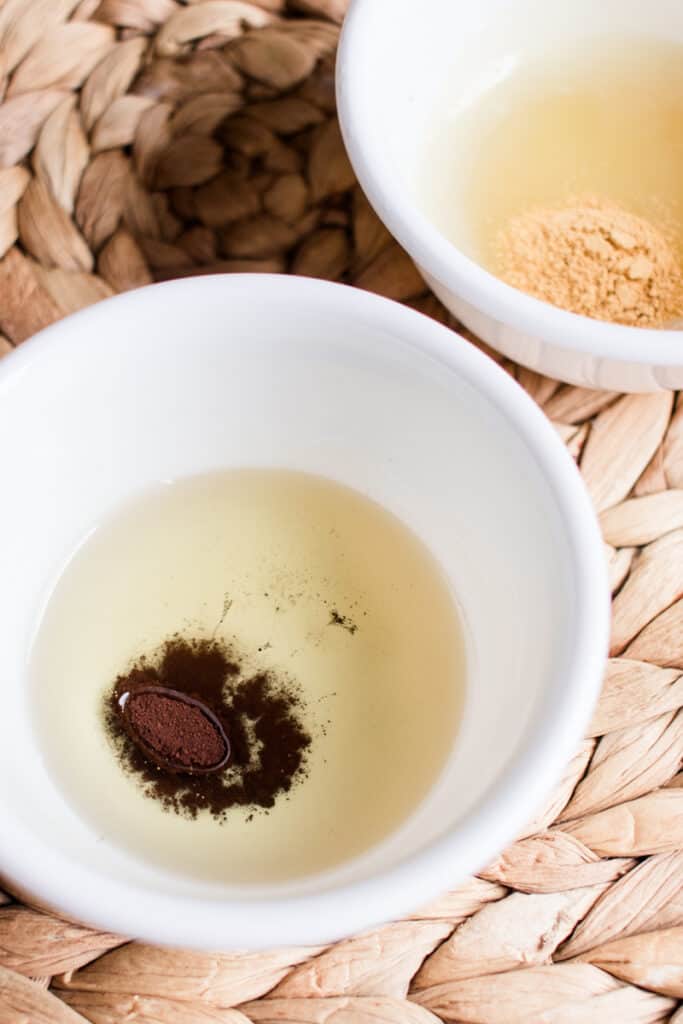
Once you have the color pigment fully dissolved, transfer it to an airtight container with a screw-top lid.
Don’t put the lid on just yet; allow it to cool completely first, then secure the top and store it in a cool dark place.
Always perform a patch test on your skin to make sure you have no skin sensitivities with this product.
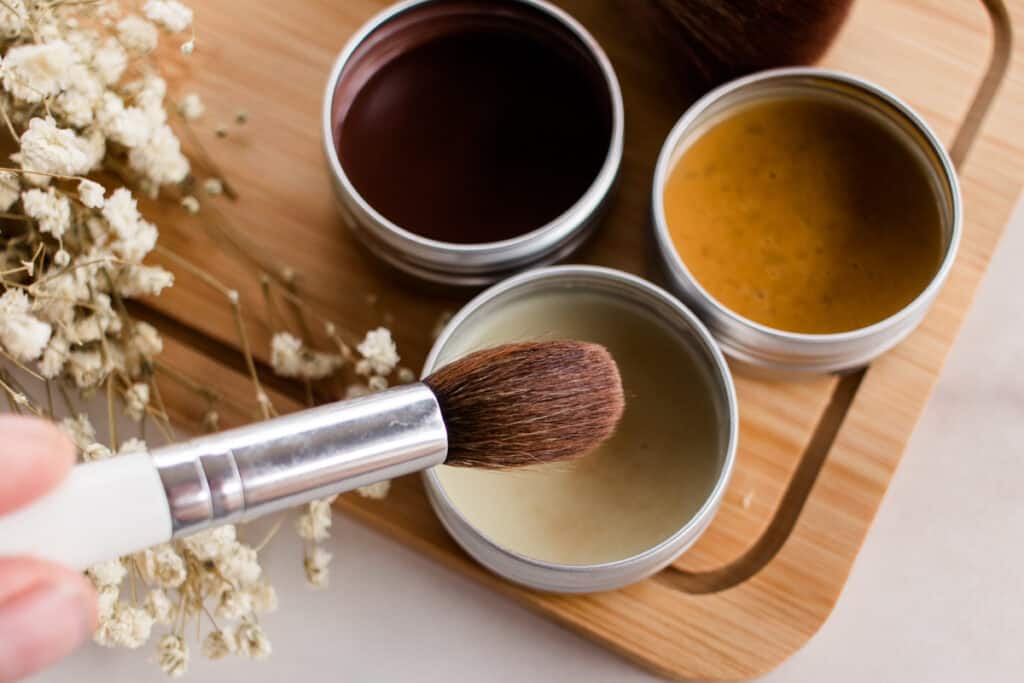
how to use highlighter
First up, make sure you match your DIY highlighter to your skin tone. This is important!
And the wonderful thing with highlighters is you don’t only match the shade (light, medium, dark, etc.) but also the tint, whether that’s a yellow-based tint, bronze, pink or nude color.
Once you’ve made the highlighter, ensure you’ve cleansed and moisturized, and grab a mirror.
Look in the mirror and check your face for any angular, high-seated areas.
Commonly these areas are the top of the cheeks (cheekbones), the midline top lip (cupid’s bow), the sides and ridgeline of the nose, and the top of the hairline.
You can also use a highlighter at the inner eye to give a freshly awake look. The great thing about a highlighter is you know where to apply it best based on the look you want.
It’s all about accentuating the areas which we want to show more of. My favorites are the cheekbones and the nose line.
Now, take my experience as a guide! The first time I used a highlighter, I put on way too much. Like, I ended up looking like a clown.
I soon realized that less is more. You only need a tiny amount of highlighter, so go easy and add more if you like later on.
And the key is to blend it in really well. If a highlighter isn’t blended, you get visible lines on your face which isn’t ideal!
Why are we using lard for this recipe?
I know what you are thinking. Pig fat? Really? Lard has a number of incredible benefits for the skin, namely the face.
I have read story after story, like this one, of the incredible skin-softening, wrinkle-reducing, collagen-building benefits lard provides.
That and the fact it provides the exact texture I was going for in the highlighter recipe is why I chose it.
You can find lard from your local butcher or in most grocery stores.
Do I have to use a highlighter if I use blush?
This is my personal preference – whether to use a highlighter if you use blush also. I would suggest using them both as they do different things and create different looks.
Blush is purely about color. Whereas a highlighter is used to enhance features on the face. So combining them is a great thing!
Apply your blush first, and then use the highlighter as the finishing touch.
FAQs/Storage
How long will this highlighter last? This highlighter will last up to 6 months when stored correctly in an airtight container. (Check the exp date on your lard container, as that will be the first to expire).
How should I store this highlighter? As with all natural and DIY products, it’s best to keep them away from direct sunlight, so store them in the cabinet to improve their life.
Can I add essential oils? As the quantities in the recipes are quite small, you can certainly add some in; however, no more than a few drops. Any more and the highlighter will be too runny and risk not working right.
Can I use different color pigments? Yes! I only included the most basic color types in this recipe.
You can use any color pigment, Mica powder, Oxide pigments, or common household products such as cocoa powder and rose clay.
Wrapping up
I wish you an enjoyable experience making this DIY highlighter, and remember, have fun experimenting!
Don’t take it too seriously. Trial and error is the way forward with DIY skincare products! You can’t go wrong that way; it takes the pressure right off.
If you made today’s post and loved it, leave a review! And if you have any questions, leave a comment below!
And if you are looking for more great beauty care recipes, try one of these next!
3 DIY Highlighter Recipes
Equipment
- Mixing bowl
- Storage tin
Ingredients
For light colored skin
- 1 tablespoon of lard
- 1 teaspoon of candelilla wax
- ⅛ teaspoon of lemon peel powder
For medium colored skin
- 1 tablespoon of lard
- 1 teaspoon of candelilla wax
- ⅛ teaspoon of yellow brazilian clay
For dark skin
- 1 tablespoon of coconut oil
- 1 teaspoon of candelilla wax
- ⅛ teaspoon of brown oxide pigment
Instructions
- Melt the lard (or coconut oil) and wax in a small bowl in the microwave for 15-30 second intervals. (or use a double boiler)
- Use a small spoon to carefully stir in your preferred colorant.
- Transfer to an airtight container.
- Allow it to harden fully and cool before securing the lid.
Rachel says
Quick question about lard, I am super allergic to both pork and beef. I found a lard substitute by Nutiva for cooking. It’s a palm based shortening. Would that work as a substitute for the lard in this recipe?