This post may contain affiliate links. Please see our disclosure policy.
If you’ve ever had a dry or itchy scalp, you know what an irritating distraction it can be. You can hardly think of anything else! This homemade scalp serum can save the day with soothing and nourishing ingredients.
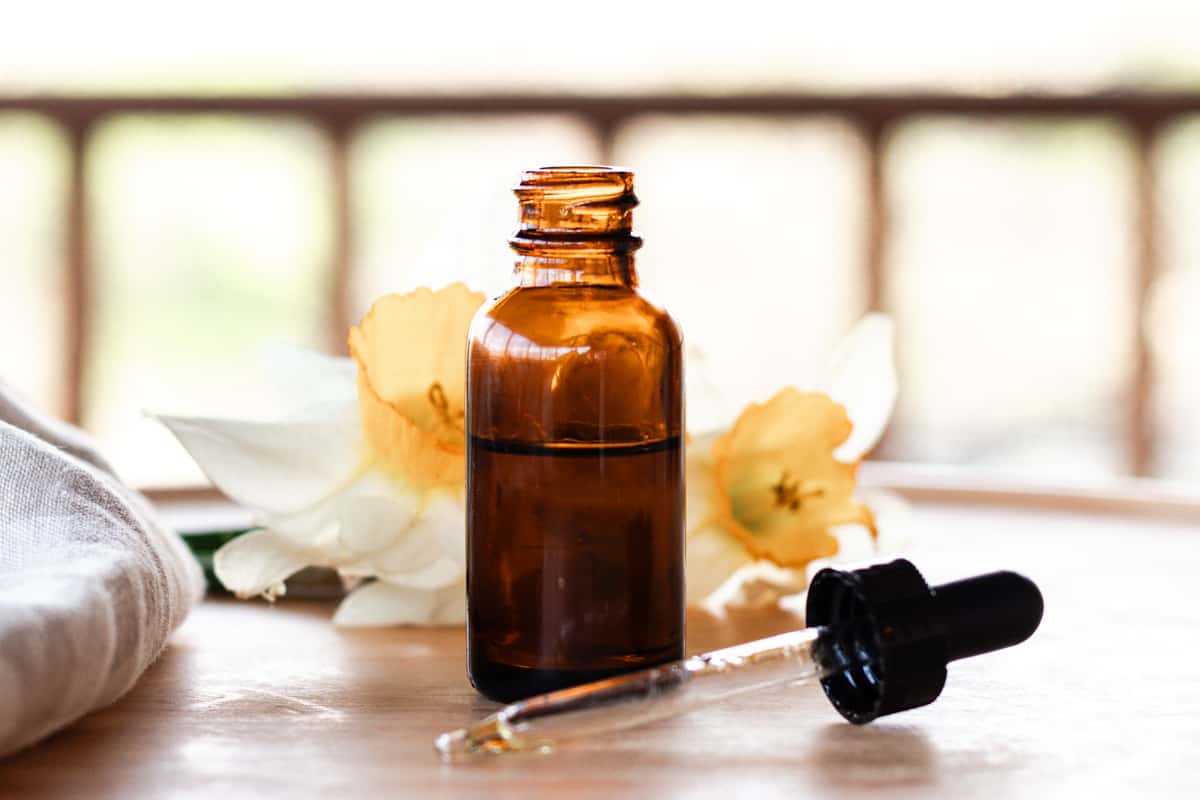
I love that you can tackle a problem like a dry, itchy scalp without having to resort to harsh ingredients or expensive treatments. This scalp serum is made from ingredients I use regularly in my DIYs: jojoba oil, tea tree essential oil, and lavender essential oil.
The hyaluronic acid serum is an ingredient you haven’t seen in many of my homemade recipes. However, it is a powerful moisturizer and is still very budget-friendly. I have a feeling I’ll be finding other ways to add it to my skincare routines.
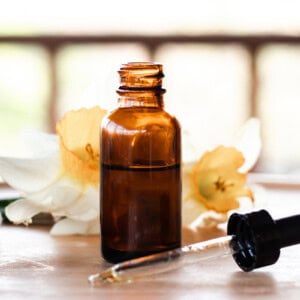
DIY Dry Scalp Serum
Ingredients:
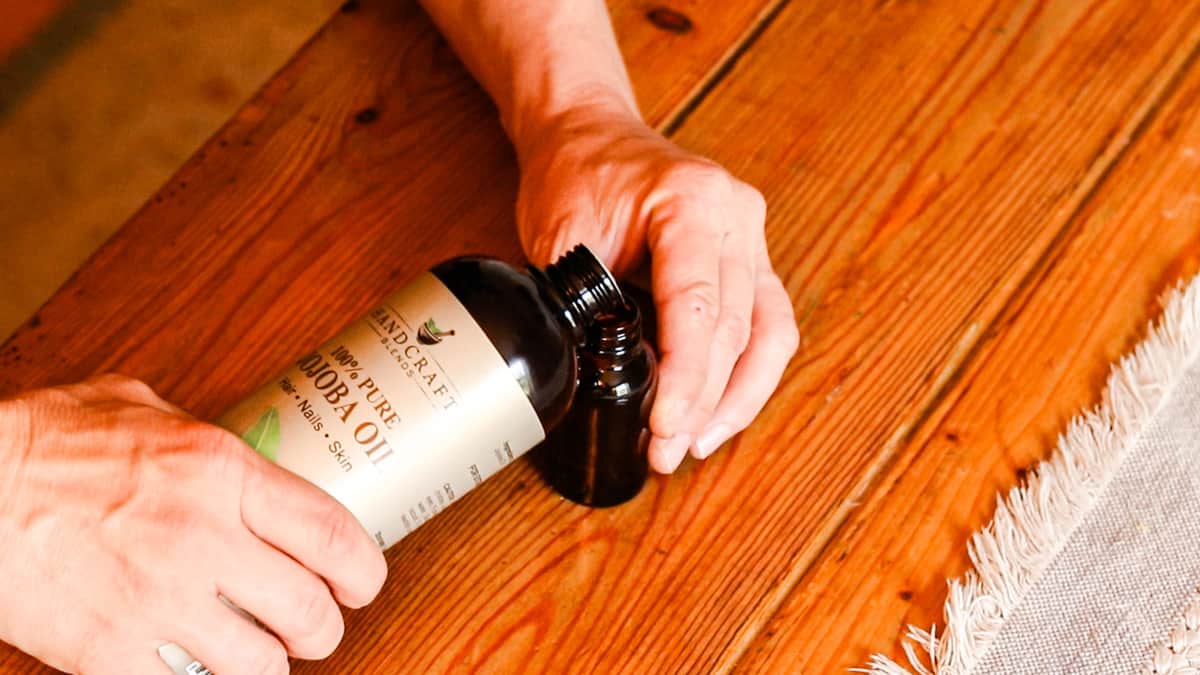
- 0.5 oz jojoba oil
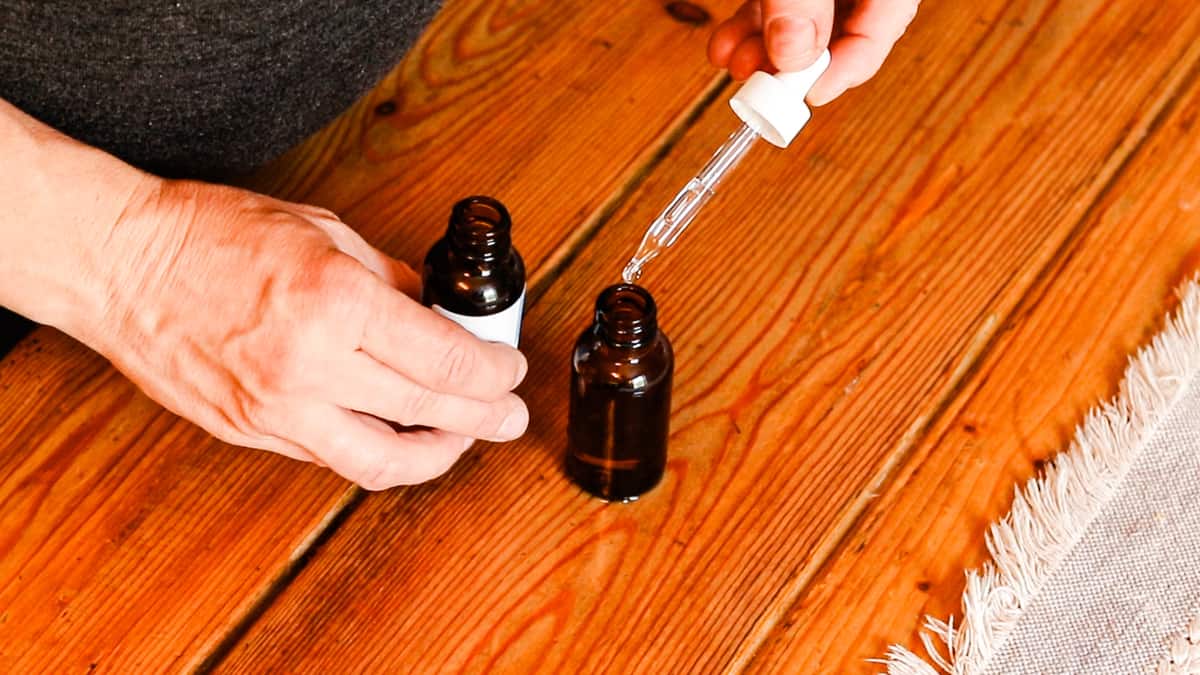
- 0.1 oz pre-made Hyaluronic acid serum (oil-soluble)
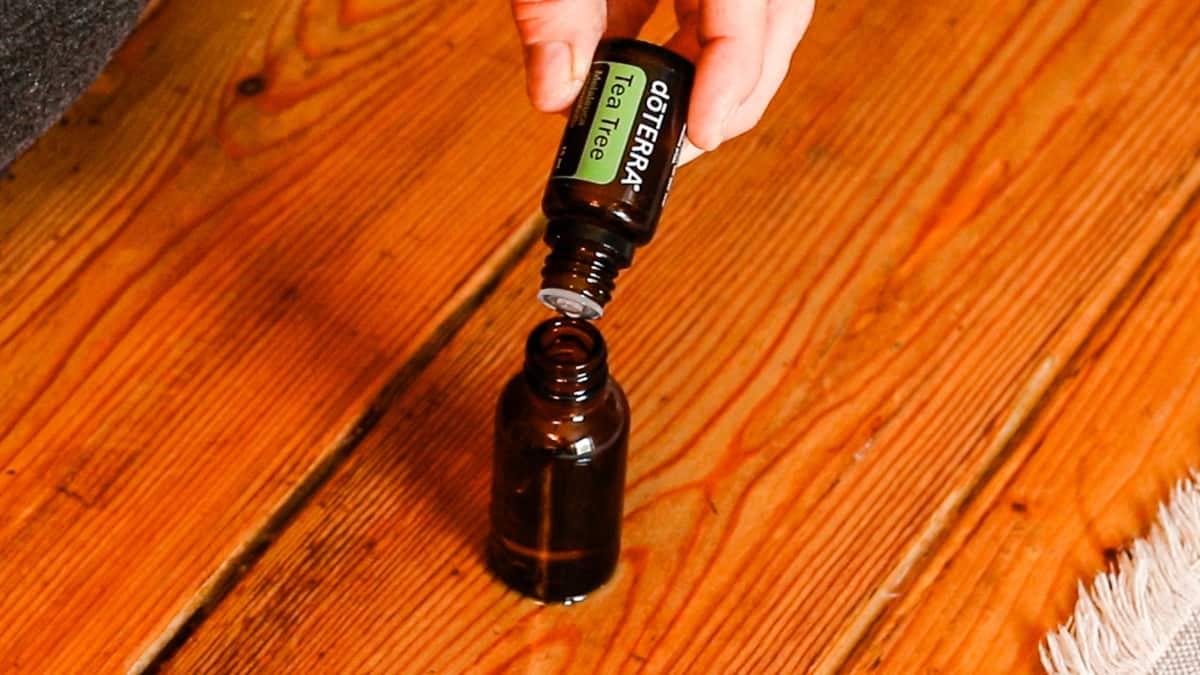
- 3 drops tea tree essential oil
- 3 drops lavender essential oil
Instructions:
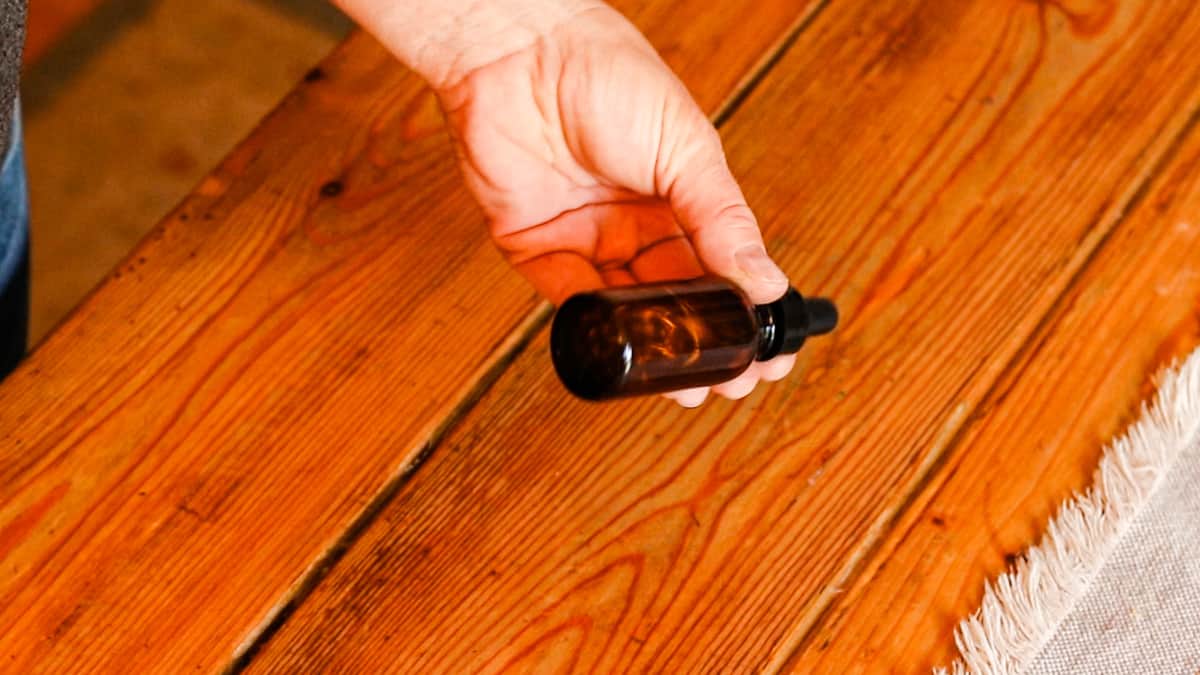
Step 1: Combine the jojoba oil and the pre-made Hyaluronic Acid Serum in your dropper bottle.
Step 2: Add 3 drops of Tea Tree Oil and 3 drops of Lavender Oil.
Step 3: Secure the lid on the dropper bottle and shake well to combine the ingredients.
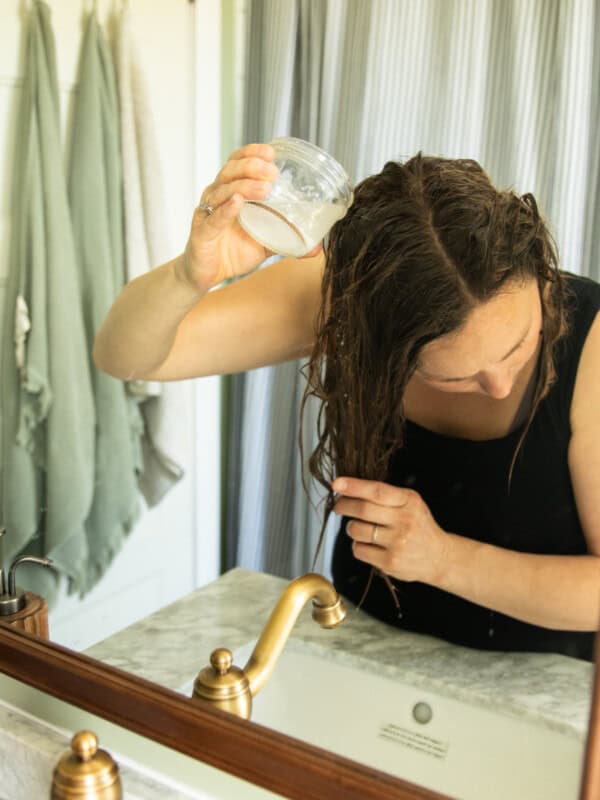
How to apply a scalp serum:
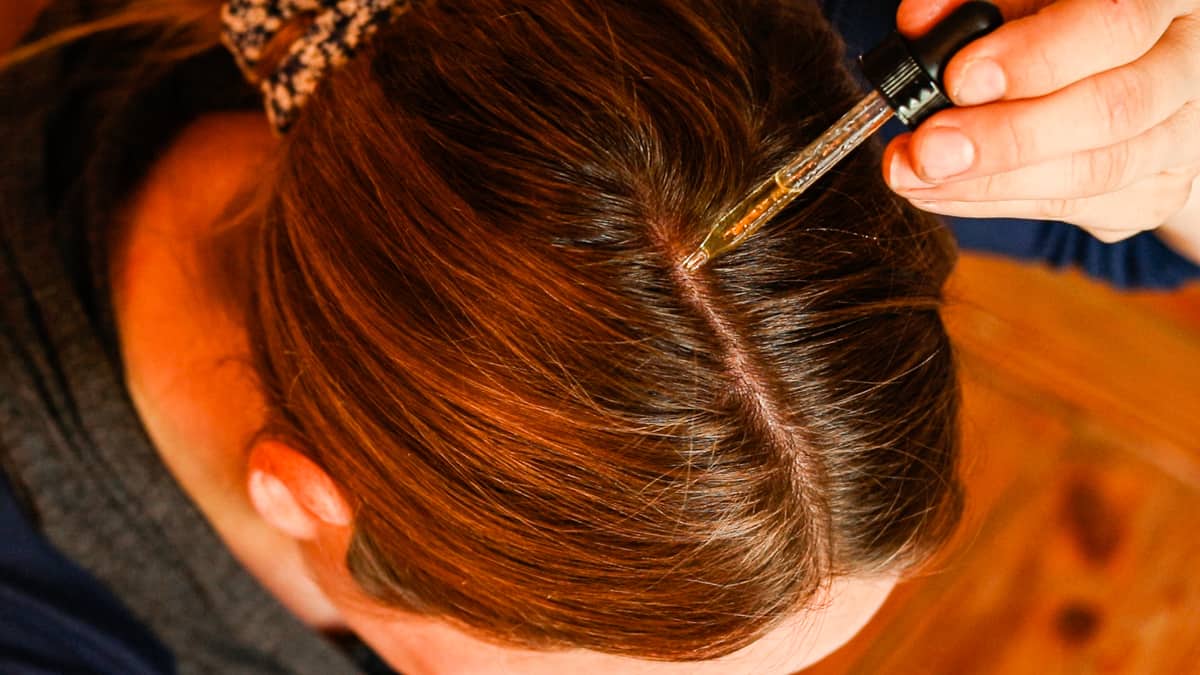
- Use the dropper to apply a few drops of scalp serum to your fingertips.
- Rub your fingertips together to warm up the scalp serum. This will make it easier to apply.
- It may be easier to work in sections, especially if you have longer hair or thicker hair.
- Part your hair to expose the scalp and massage your fingertips into your scalp using small circular motions.
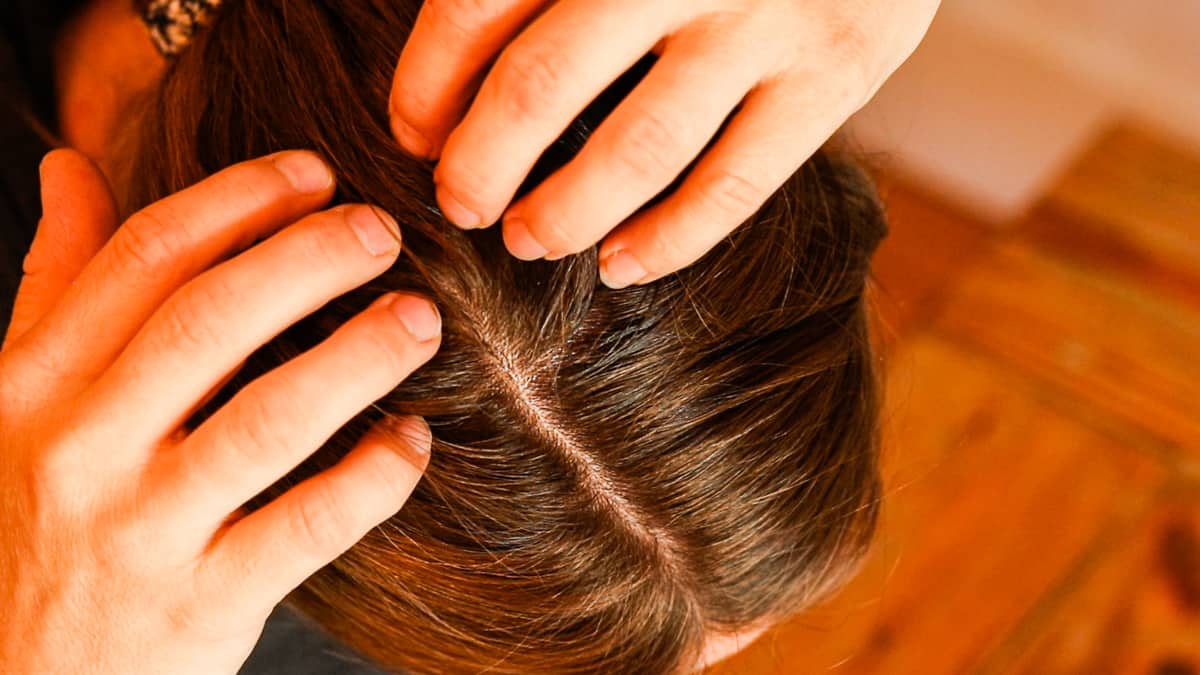
- It will take a couple of minutes to apply the serum to your entire scalp.
- For best results, leave the scalp serum on overnight.
- Shampoo your hair the next day as usual.
Notes about your scalp serum:
- You will want to store your serum in a cool, dark place for maximum shelf life.
- The shelf life of this scalp serum is up to one month because the hyaluronic acid has been diluted.
- You should always do a patch test on your inner arm before applying any DIY beauty product.
- If any skin irritation occurs, discontinue use of the product.
A little on the ingredients
Jojoba Oil: This nourishing serum starts with jojoba oil, which is rich in fatty acids and very compatible with our skin barrier. I’ve used jojoba oil in everything from a lip scrub to pre-shave shower oil. It will moisturize your scalp and can reduce itchiness.
Jojoba oil is one of the most versatile ingredients you can have on hand for all your natural, chemical-free DIY projects. It is a popular carrier oil for any homemade recipe using essential oils.
Tea Tree Oil: I use tea tree essential oil in many of my hair care products because it can promote scalp health and hair growth. I also love the invigorating and refreshing smell. It’s a perfect wake-me-up for the shower!
Tea tree essential oil is steam-distilled from the leaves of the tea tree plant; you may hear it sometimes called melaleuca. Tea tree oil is most known for its cleansing and purifying properties.
Lavender Oil: I always associate lavender oil with calming and relaxing. It’s perfect for unwinding after a stressful day or preparing for a good night’s sleep.
Those same calming and soothing qualities of lavender essential oil are effective in this dry scalp serum. This study here shows the effects of lavender and how it can help with hair growth, which is a bonus in my book!
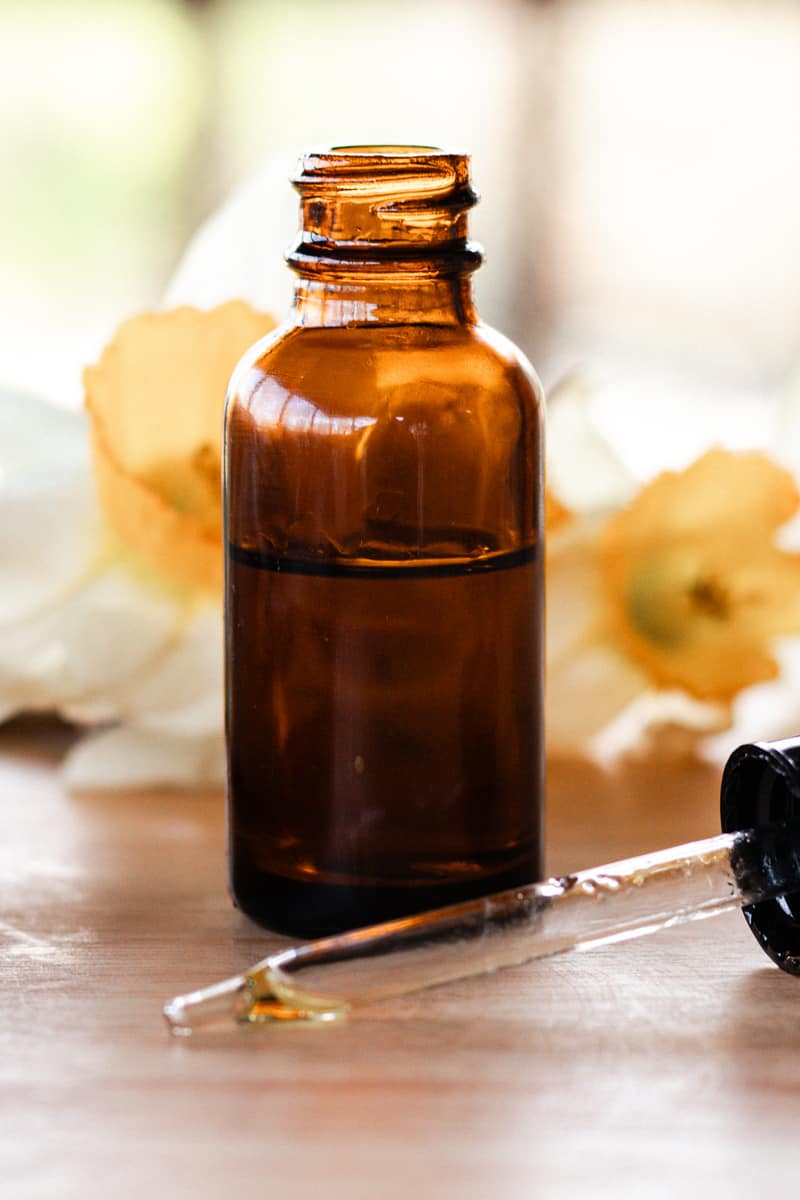
Hyaluronic Acid Serum: The hyaluronic acid serum is the heavy lifter in this DIY recipe for treating your dry scalp. You can think of it as a moisturizing superhero. It sounds like an expensive ingredient, but it really isn’t, and a little bit goes a long way.
Hyaluronic acid attracts and holds onto moisture in skin cells. So, it is deeply hydrating while also being gentle on the scalp. It is safe for sensitive skin and can be used daily.
FAQ
This serum is safe to use nightly or every other night as part of your hair care routine.
This is not a one-and-done product. I’ve found a hair scalp serum gets the best results with consistent use. I know we are all busy, but if you can find time to apply it at night and let it work its magic before you shower each morning, you’ll love your results.
This nourishing dry scalp serum is suitable for all hair types, no matter your hair density. While the serum is applied directly to your scalp, not the hair itself, if you have fine hair that feels weighed down, you can simply shampoo twice to remove any excess product.
A hair serum, or hair oil, is applied to hair strands and designed to moisturize dry hair. On the other hand, a scalp serum is applied directly to the scalp, not down through the hair strands.
If you are like me, you love the shine-boosting qualities of a hair treatment. But like many others, scalp serums have been picking up in popularity as dermatologists and trichologists educate more and emphasize that healthy hair starts with a healthy scalp.
So, I decided to try it for myself and have found this serum to be incredibly nourishing to the scalp! No more dry and itchy skin!
Other DIY natural hair products for you:
Soothe Your Dry Scalp With a Homemade Scalp Serum
Equipment
- 1 oz dropper bottle
Ingredients
- 0.5 oz Jojoba Oil
- 0.1 oz pre-made Hyaluronic Acid Serum, oil-soluble
- 3 drops Tea Tree Essential Oil
- 3 drops Lavender Essential Oil
Instructions
- Combine Jojoba Oil and the pre-made Hyaluronic Acid Serum in your dropper bottle.
- Then, add your tea tree and lavender essential oil.
- Secure the lid and shake well.


would it be safe for children as well, just wondering because of hyalaoronic acid
Hi, I don’t understand the image you show of the finished product when the measurements for the HA acid and Jojoba oil are 2.8ml and 4.2 ml respectively! That would barely cover the base of the bottle… have you massively multiplied the amounts you used for the image of the bottle at the end of the recipe??
The recipe listed will yield 0.6 oz. You can multiply this to make as much as you would like.
Laura, how do you measure 0.1 of an ounce in this mixture? I cannot, for the life of me, think how much this relates to.
Thanks so much for asking. I use the hyaluronic acid at about 17% of the total recipe. You can always add more if you prefer. I make such a small amount because I’m literally only using a few drops at a time.
Thanks so much for responding Laura, but I need to impose just a little more. I plan to mix a 4 oz. bottle. I multiplied 17% x 4 and got 68 or roughly 3/4 ounce. Is that right? I’m new to E-oils and a lot of the recipes will use drops, ounces and percent’s in each one.. I just get a little confused. At my age, I should be glad it’s not worse I guess.
also, your post said you could add more. What would you say the limit would be? Thanks again for your attention!
Can you use argon instead of jojoba oil?
Yes.