This post may contain affiliate links. Please see our disclosure policy.
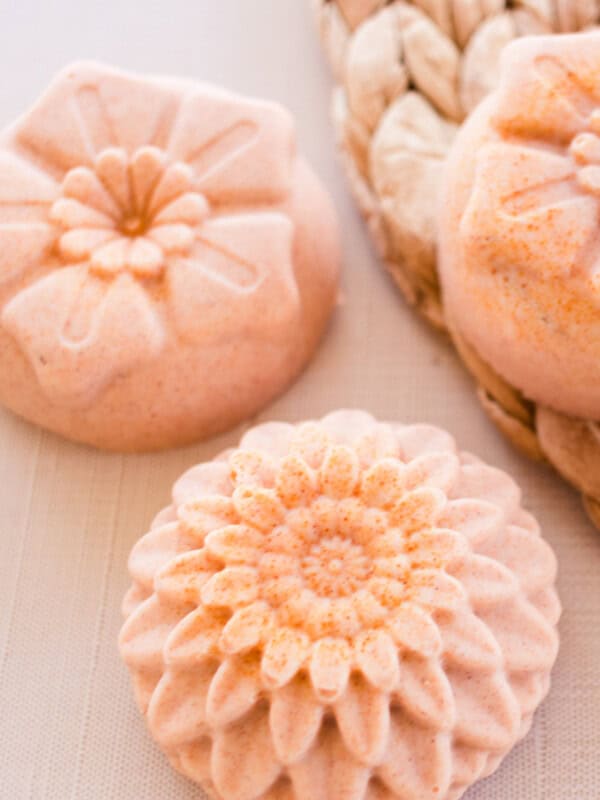
DIY orange creamsicle soap smells decadent and nourishes the skin as you use it! This DIY soap recipe is easy to make, takes less than 30 minutes, and creates stunning soap bars. Make extras for a lovely holiday gift!

My favorite thing about making my own soap is coming up with different scents and looks for each bar.
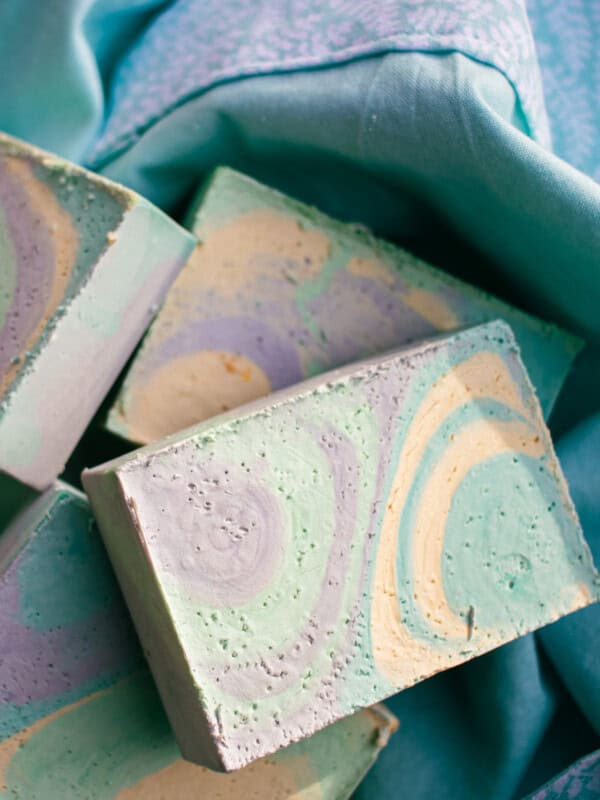
I’ve made some fun ones, like my coffee soap recipe, hibiscus-infused loofah soap recipe, and a variety of DIY Christmas-scented soaps!
Orange creamsicle has always been a favorite of mine, so I knew I needed to turn it into a soap.
This orange creamsicle soap smells as good as it sounds and is perfect for gifts around Christmas or any time of the year.
Made with a nourishing soap base of your choice and essential oil, this simple soap bar is great for any skin type! Everyone on your list will be happy to receive a homemade soap bar crafted with care.
Why You’ll Love This DIY
- Easy DIY: Melt and pour soap is the perfect option if you are new to DIY soap or don’t have a lot of time to commit. It doesn’t require much special equipment and is so easy for beginners!
- Handmade gift: I love gifting handmade gifts for the holidays! This soap will surely impress, and nearly everyone on your list can enjoy a homemade soap bar. Give it as a hostess gift, use it as a stocking stuffer, or include it in a DIY beauty Christmas gift basket.
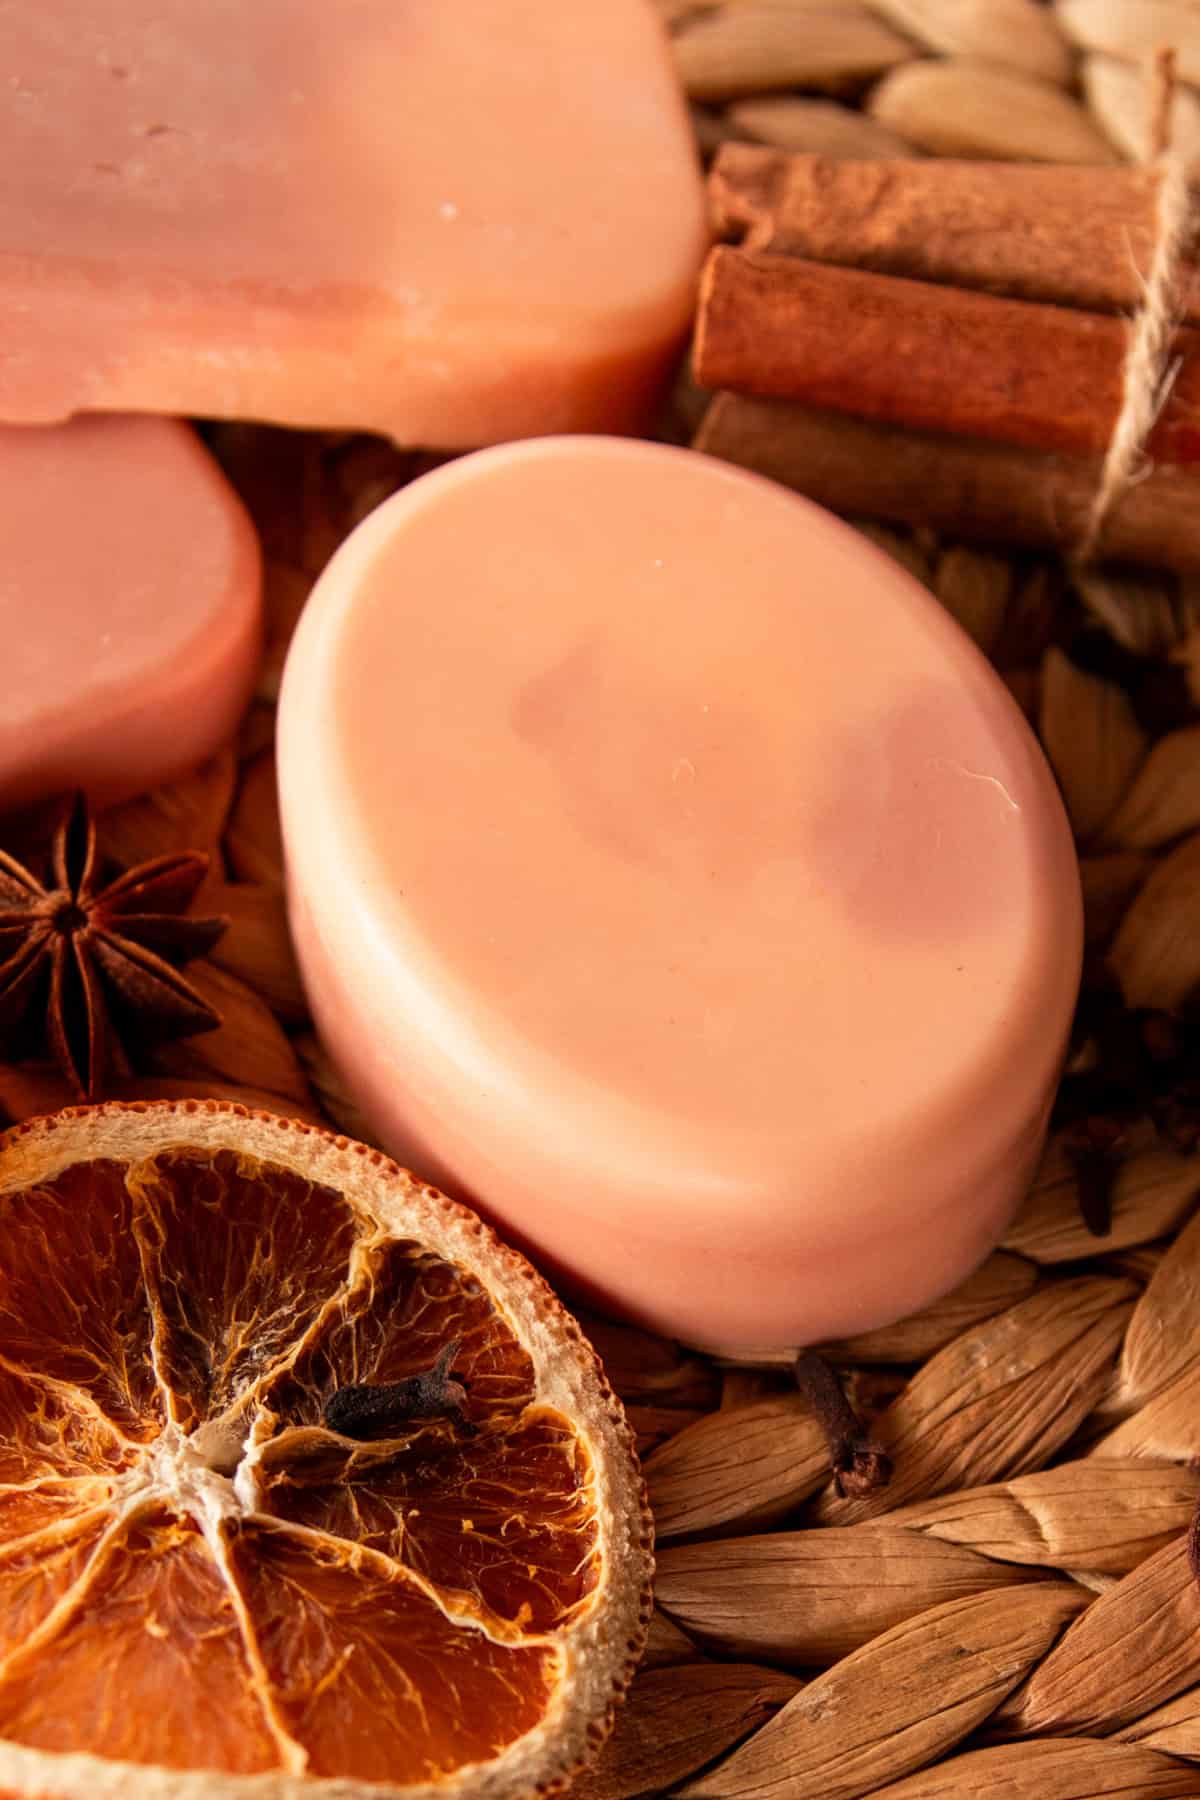
- Delicious scent: Orange and vanilla bean combine to make a soap that smells like dessert! The orange gives it a fresh scent, while the vanilla balances and sweetens it. If you love the smell of orange creamsicle, you will love this soap!
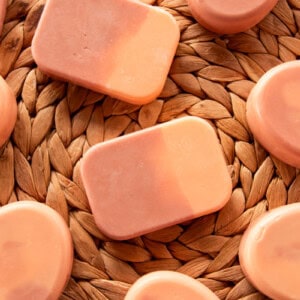
- Stunning soap: It’s so fun making soap that turns out so beautiful. This two-toned orange soap is gorgeous, and you’ll love the results.
What Goes Into This Recipe
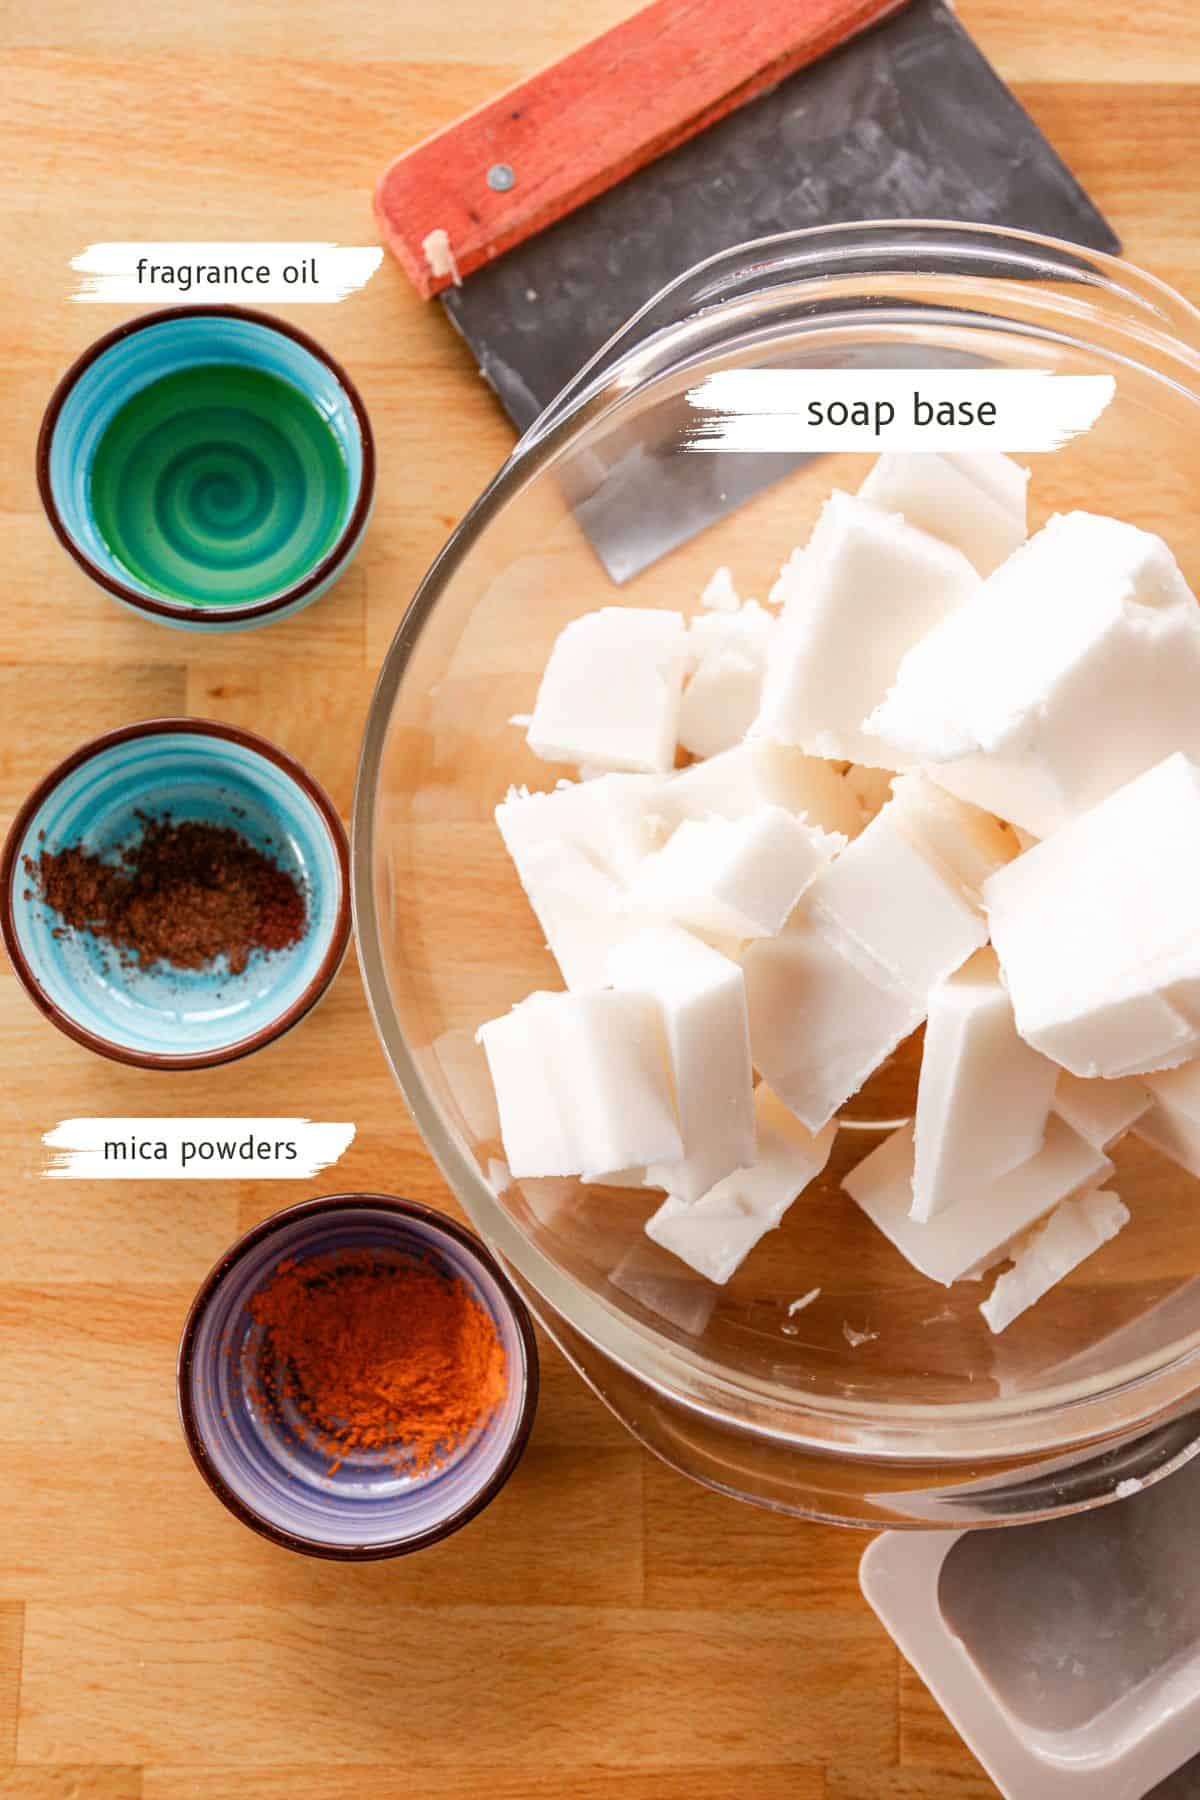
- Melt and pour soap base: You can use any soap base you prefer for this recipe! I usually opt for shea butter or goat milk soap base.
- Fragrance: A combination of orange essential oil and vanilla bean fragrance oil gives this soap a deliciously creamy, citrusy scent!
- Mica powder: Mica is a great natural colorant for homemade soap. Many mica powders are unethically sourced, so be sure to do a little research and find a trustworthy company. I use Mad Micas because they have a comprehensive ethics statement that checks off all of the boxes for me.
- Silicone soap molds: You can use any shape of silicone mold. I do recommend silicone rather than other materials, as it makes extracting the soap very easy.
Substitutions and Variations
Feel free to make this soap your own! You can substitute the essential oil and fragrance oil if you wish to make something other than orange creamsicle. Vanilla bean fragrance oil can be substituted with vanilla essential oil, though it may have a slightly different scent.
The orange and brown mica powders can also be substituted with colors of your choice.
Lastly, you can add different inclusions to your soap if you’d like to. Dried orange peel, dried flowers, or whole cloves are some ideas, but you can get creative with it!
How to Make Orange Creamsicle Soap
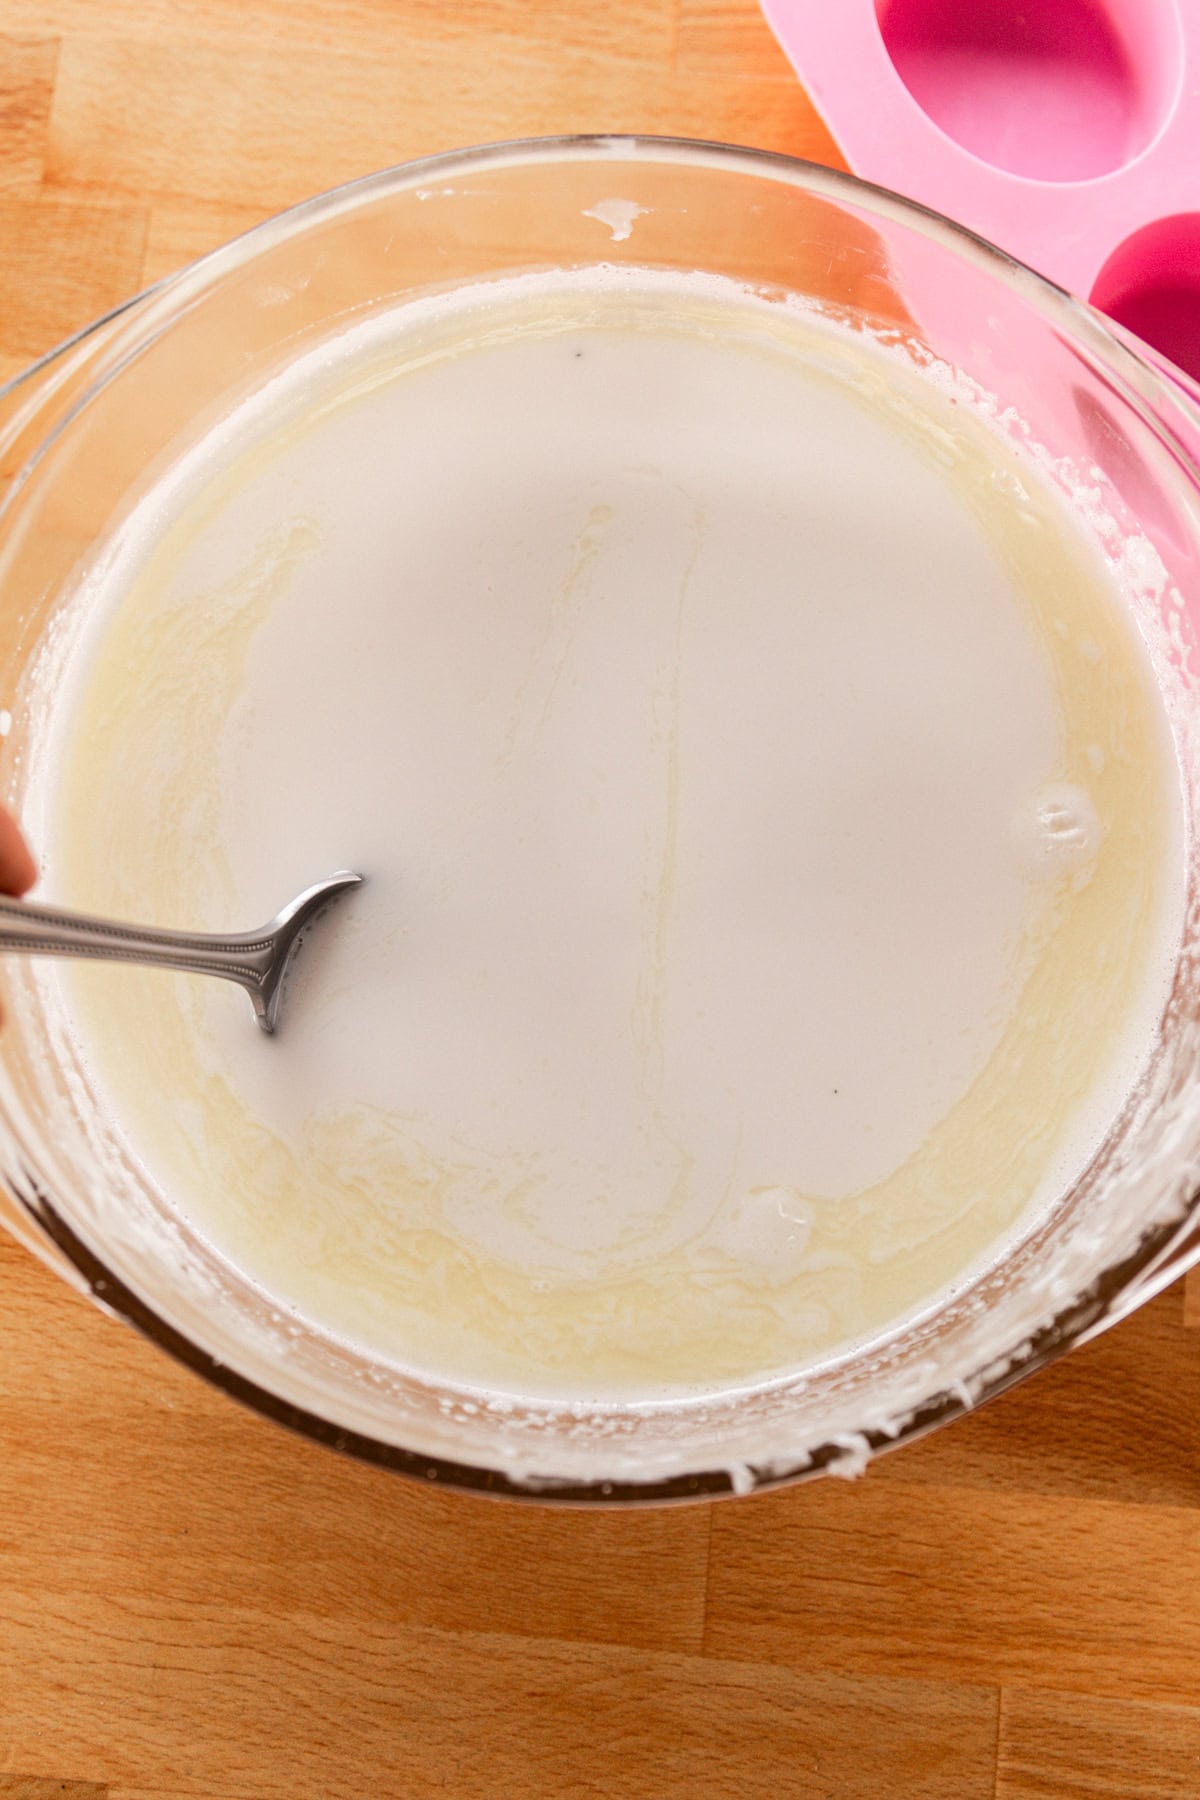
Step 1. Chop the melt and pour soap base into small pieces. Melt it in a double boiler, then remove from heat and stir in the fragrance oil and essential oil.
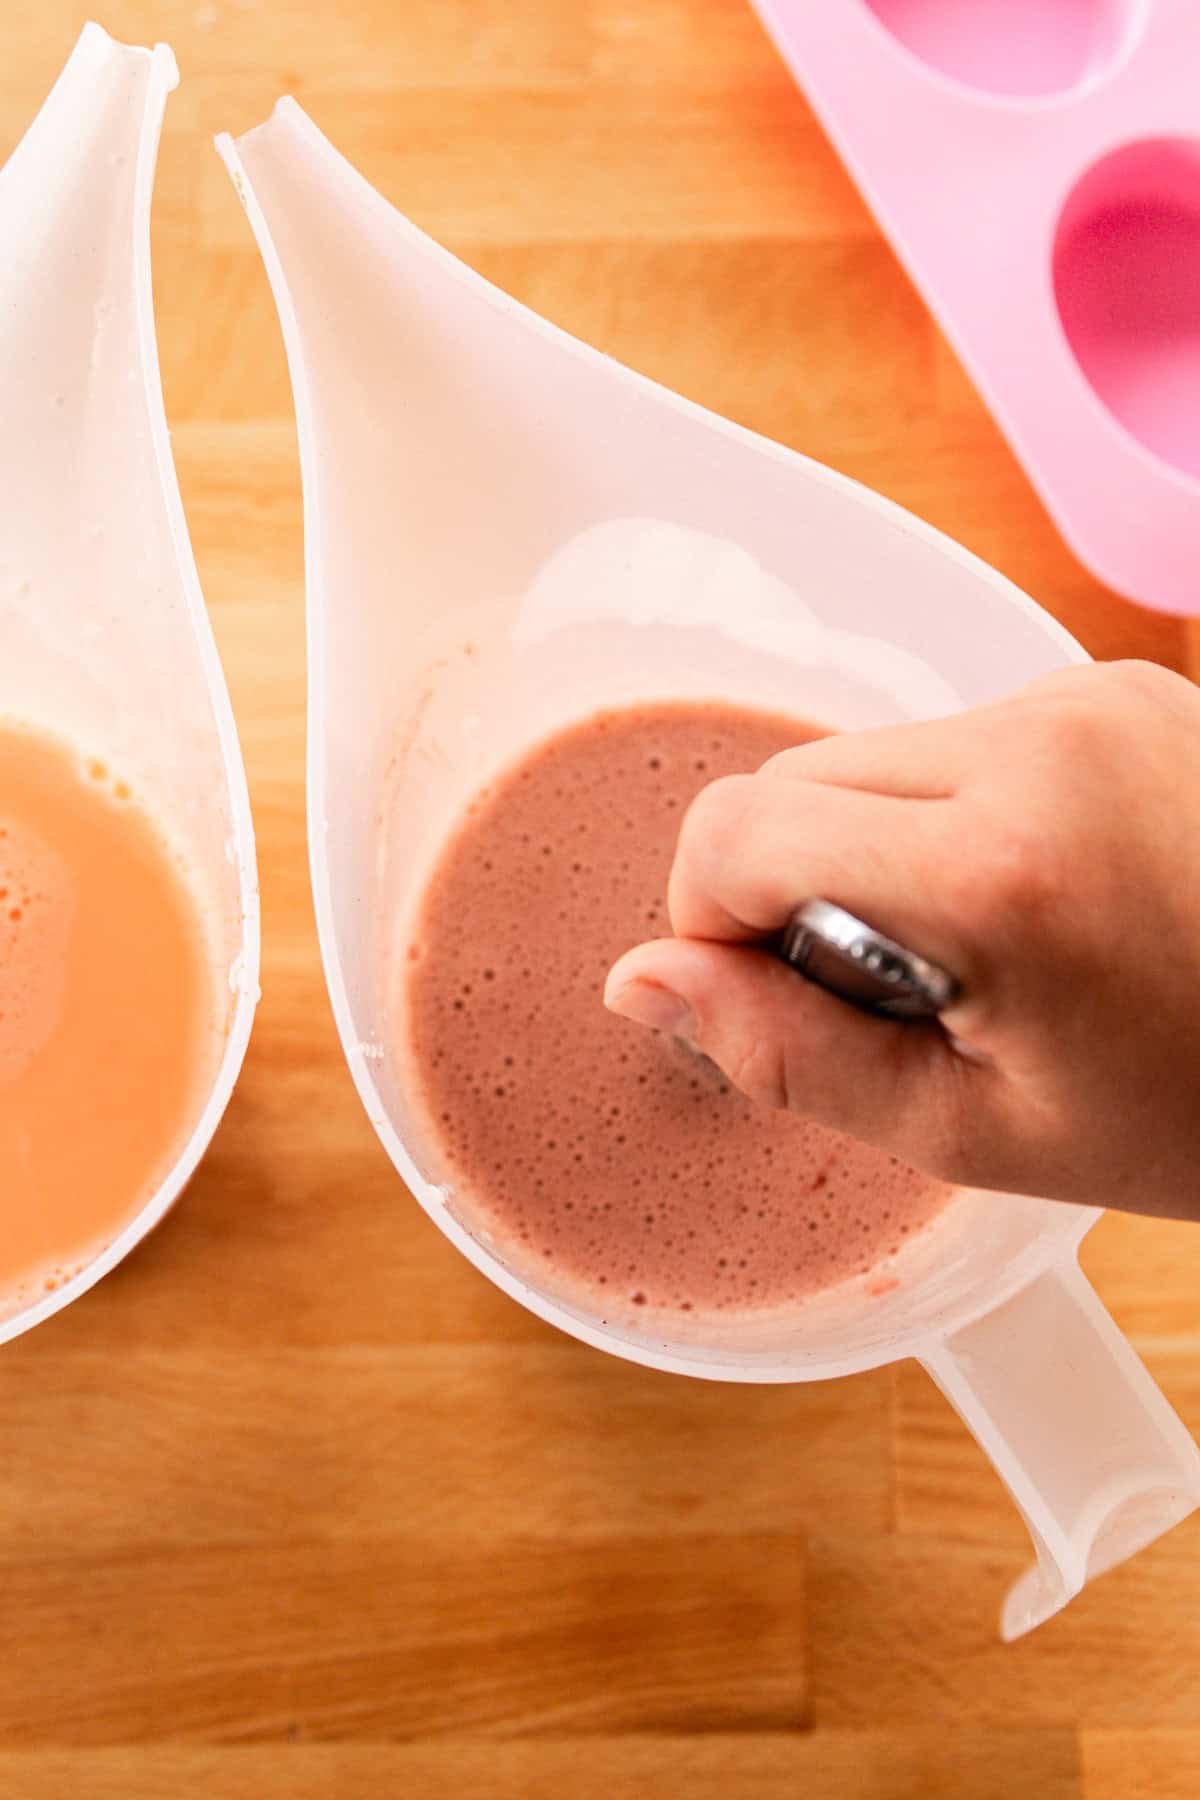
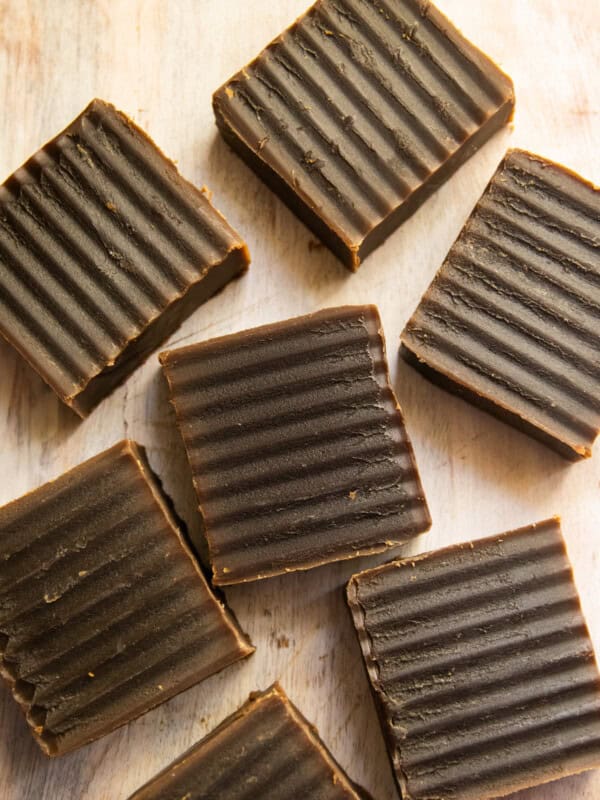
Step 2. Split the melted soap base into two pitchers and stir in the mica powder. Make each pitcher a different color (I did orange and brown).

Step 3. Pour the soap base into the silicone molds, alternating between colors to give it a layered look.
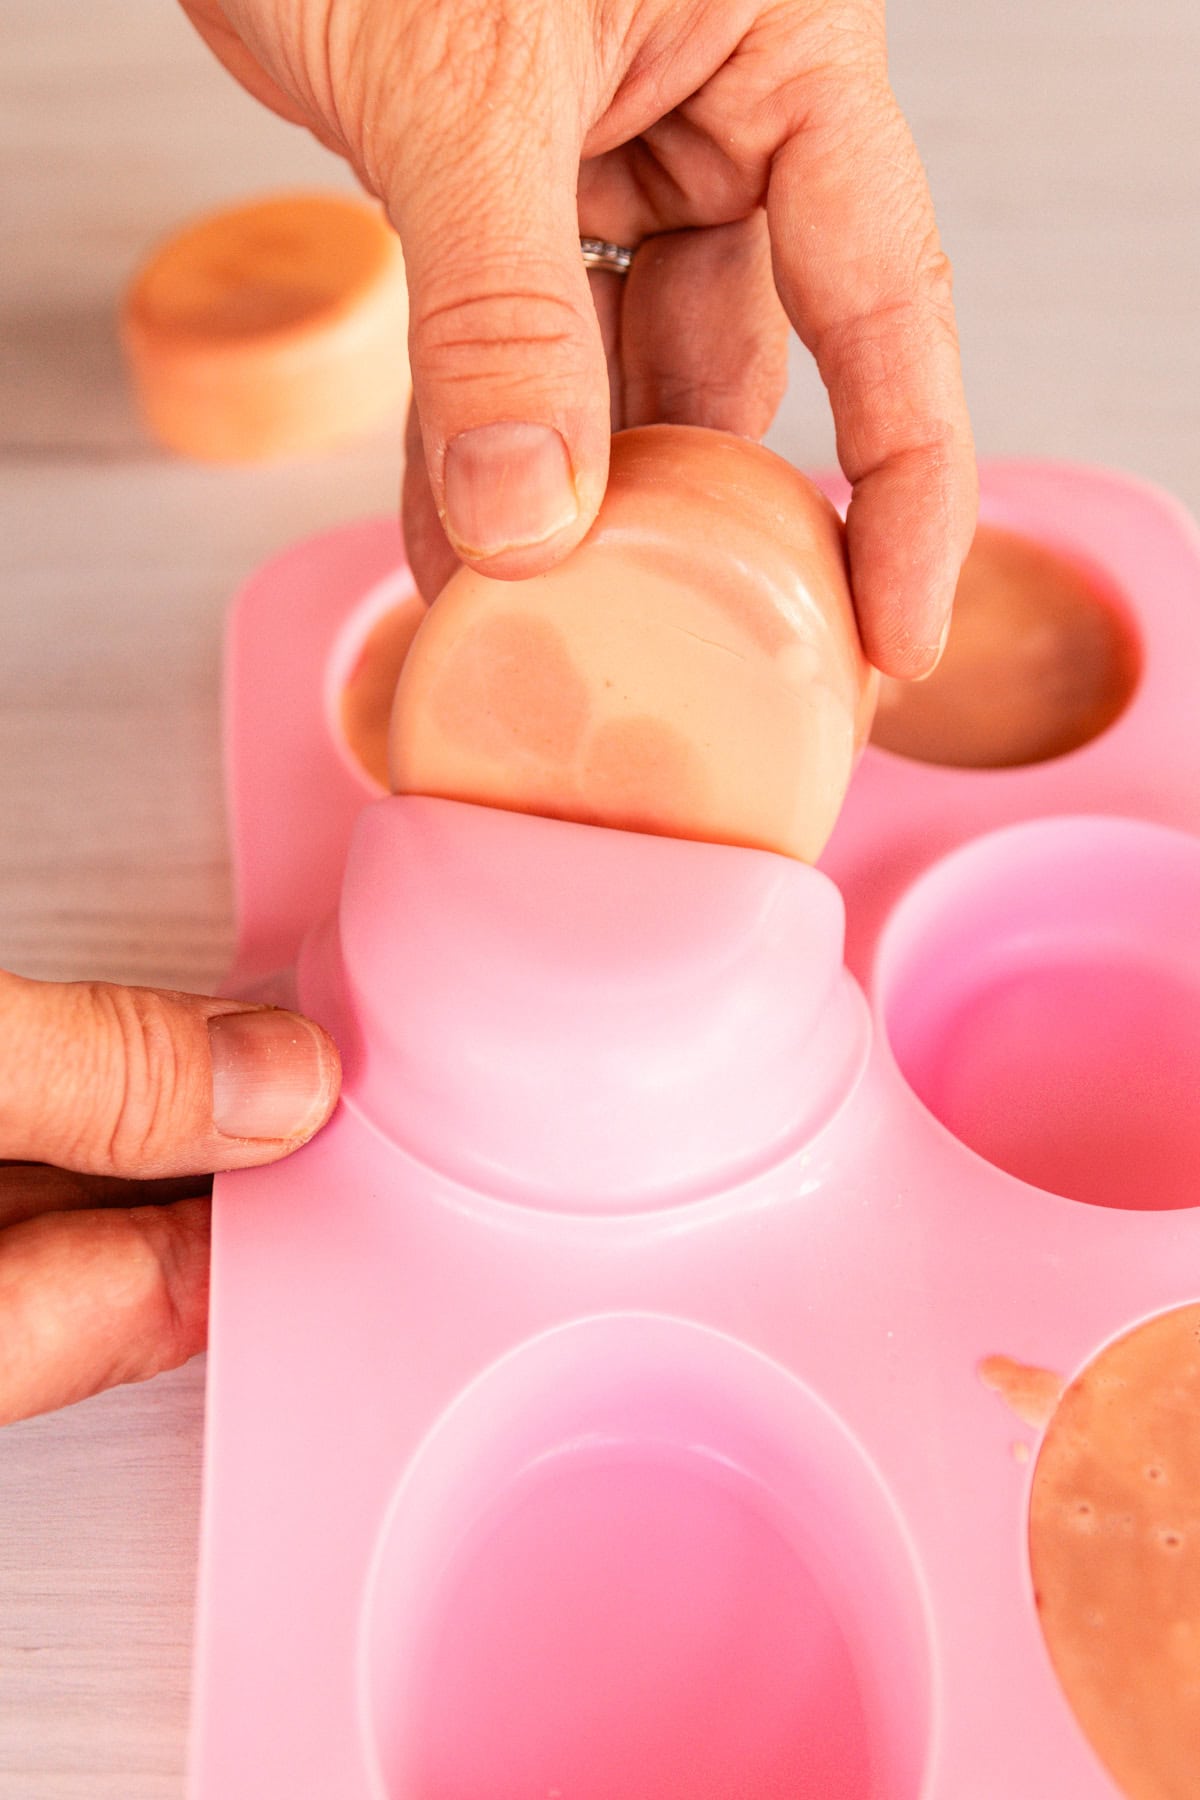
Step 4. Allow the soap bars to harden completely before removing them from the molds.
Expert Tips
- Melt and pour soap base can take a long time to melt down. The smaller you chop it up, the faster it will melt.
- Work quickly! The soap will begin to harden rather quickly, so it’s important to get it into the molds as fast as you can.
- Rather than a double boiler, you can melt the soap base in a glass bowl set atop a pot of boiling water.
- This recipe will make about 12 bars of soap, depending on the size of your molds.
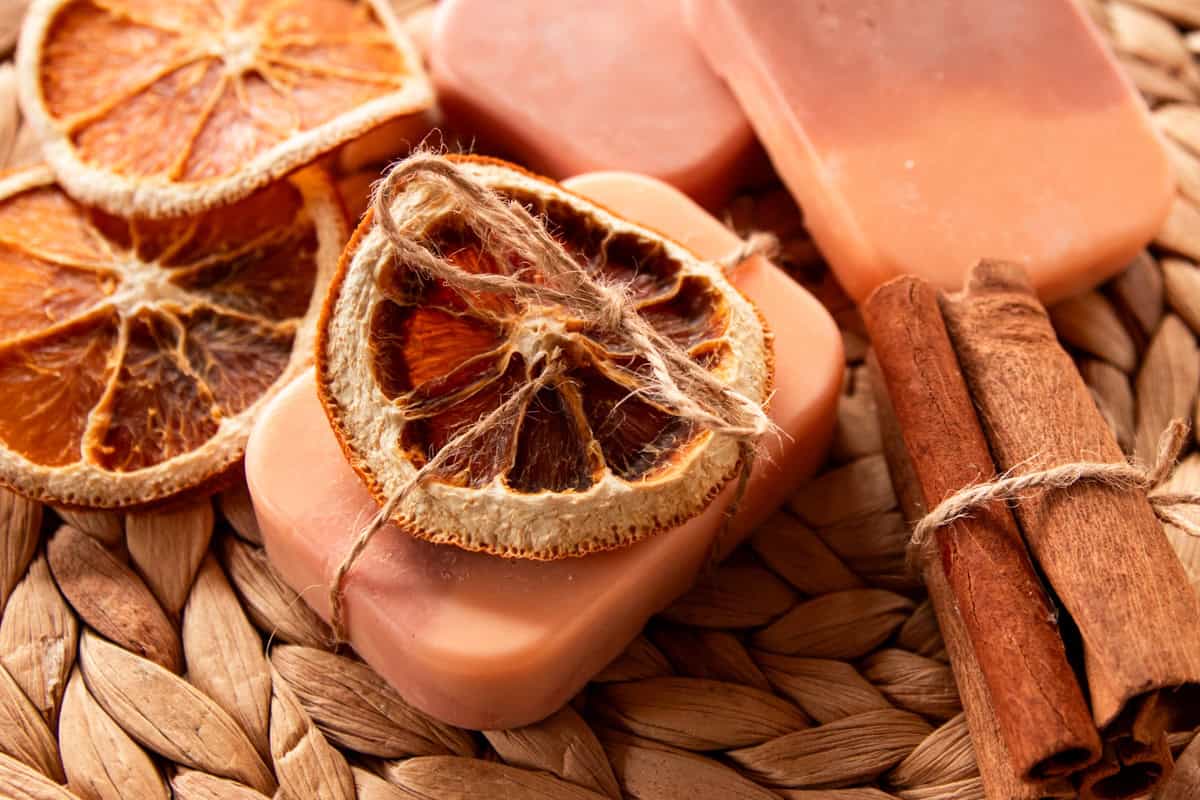
- If you’re giving the soap as a gift, I like to add a piece of hemp twine and a gift tag or dried orange slice before gifting. You can download a free printable gift tag for this recipe in my membership resource library! You can also put it in a paper bag or small box. Packaging your gift beautifully adds that extra special touch!
Recipe FAQ
No, you don’t. That’s a great thing about melt and pour soap! Let it harden overnight and the soap is ready to use the next day.
Of course! You can use the same process and substitute any essential oil or fragrance oil you prefer. You might like one of my tropical essential oil blends or a Christmas essential oil blend.
That depends on your skin type and preference. I like shea butter soap base the most, but they all have a different skin feel, lather, and benefits. I recommend trying a few to find your favorite!
More Festive Christmas Recipes
- Holiday Spice Soap Bar Recipe
- DIY Peppermint Bath Salts
- Peppermint Mocha Face Scrub
- DIY Christmas Scented Candles
- Homemade Candy Cane Soap
If you tried this Orange Creamsicle Soap Bar Recipe or any other tutorial on my website, please leave a 🌟 star rating and let me know how it went in the 📝 comments below. Thanks for visiting!
DIY Orange Creamsicle Soap
Equipment
- Double Boiler or a glass bowl and a pot of water
- 2 Plastic pitchers
Ingredients
- 2 lbs melt and pour soap base
- 0.5 oz vanilla bean fragrance
- 0.05 oz orange essential oil, (40 drops)
- ½ tsp orange mica powder
- ½ tsp light brown mica powder
Instructions
- Chop the melt and pour soap base into small pieces. Melt it in a double boiler, then remove from heat and stir in the fragrance oil and essential oil.
- Split the melted soap base into two pitchers and stir in the mica powder. Make each pitcher a different color.
- Pour the soap base into the silicone molds, alternating between colors to give it a layered look.
- Allow the soap bars to harden completely before removing them from the molds.
Notes
- Melt and pour soap base can take a long time to melt down. The smaller you chop it up, the faster it will melt.
- Work quickly! The soap will begin to harden rather quickly, so it’s important to get it into the molds as fast as you can.
- Rather than a double boiler, you can melt the soap base in a glass bowl set atop a pot of boiling water.
- This recipe will make about 12 bars of soap, depending on the size of your molds.
- If you’re giving the soap as a gift, I like to add a piece of hemp twine and a gift tag or dried orange slice before gifting. You can also put it in a paper bag or small box. Packaging your gift beautifully adds that extra special touch!


These look and smell absolutely fabulous!