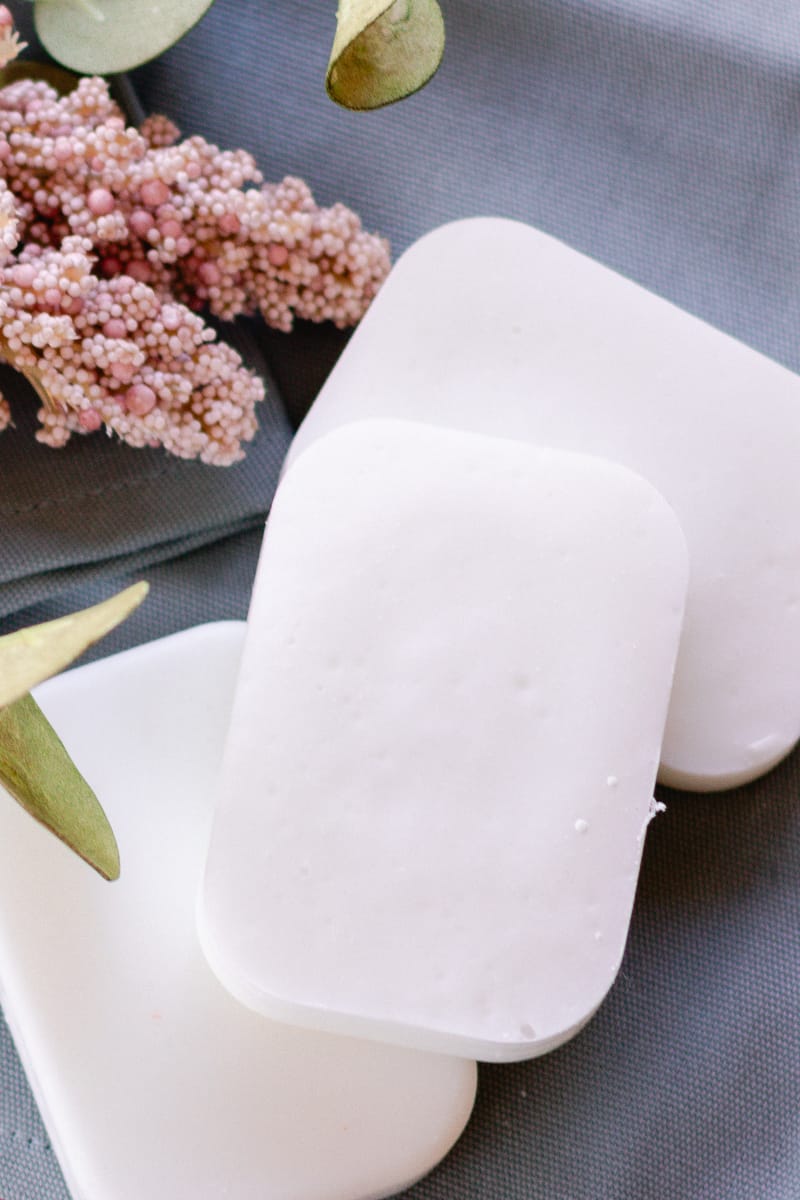
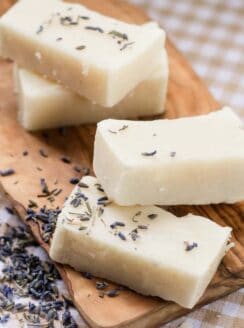
Indulge in some homemade luxury with coconut oil soap! This nourishing soap provides a soothing and moisturizing cleansing experience and is so fun to make and use.

Doesn’t this soap sound delicious?! Made using a cold-process soap-making method, this bar will satisfy the most eager soap fans.
This is an extremely simple recipe, made with four simple ingredients and a 10% superfat. So, if you are just getting into soap making, this is the perfect recipe to get started.
Plus, the ingredients are all-natural, so there are no overpowering fragrances or synthetic materials to worry about. Find the recipe below!
This post contains affiliate links, which means I make a small commission at no extra cost to you. Get my full disclosure here.
Unscented coconut oil soap bar ingredients
Oils and Fats:
- 12 oz coconut oil
- 4 ounces of almond oil
Lye and Water
- 5.39 oz of water
- 2.41 oz of lye
Unscented coconut oil soap bar recipe
Work in a well-ventilated area away from any people and wear proper safety gear, including goggles, mask, gloves, and sleeves.
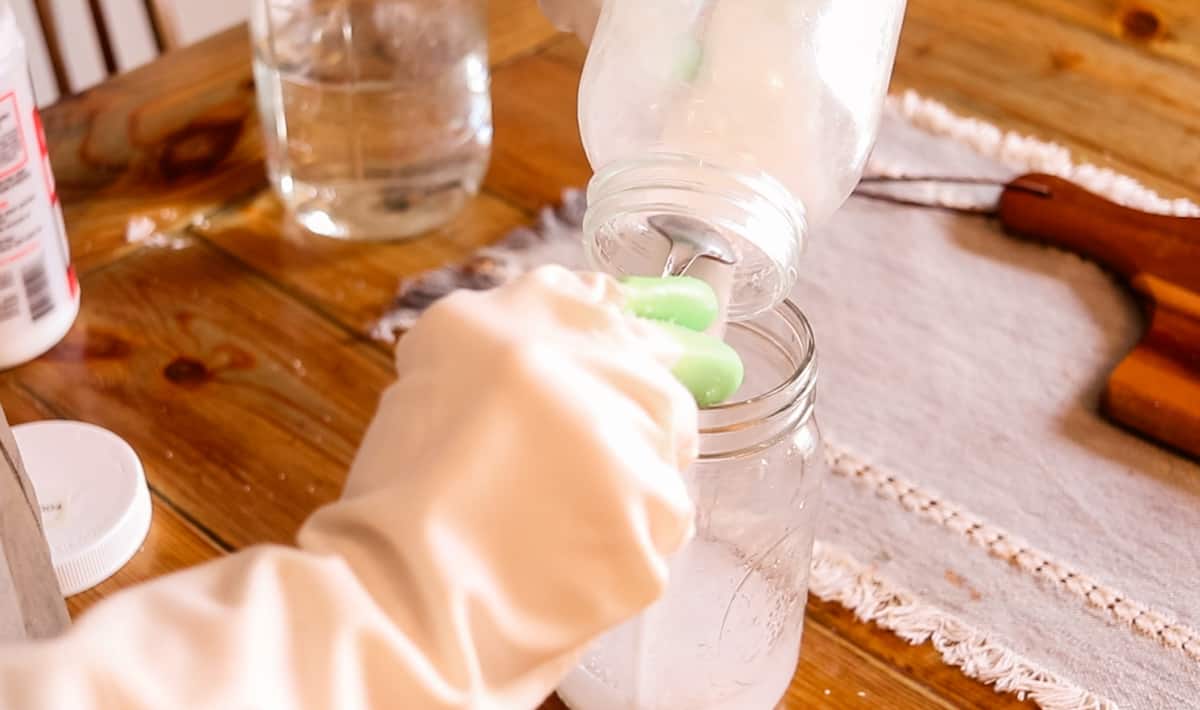
Step 1: Add the water to a heat-resistant glass or metal container. Then, carefully and slowly add the lye to the water and gently stir it until dissolved. Then, set aside.
- Note: The liquid will shoot up over 200°, so you must use a container that can handle the rapid increase in temperature.
- Note: Do not breathe in the fumes.
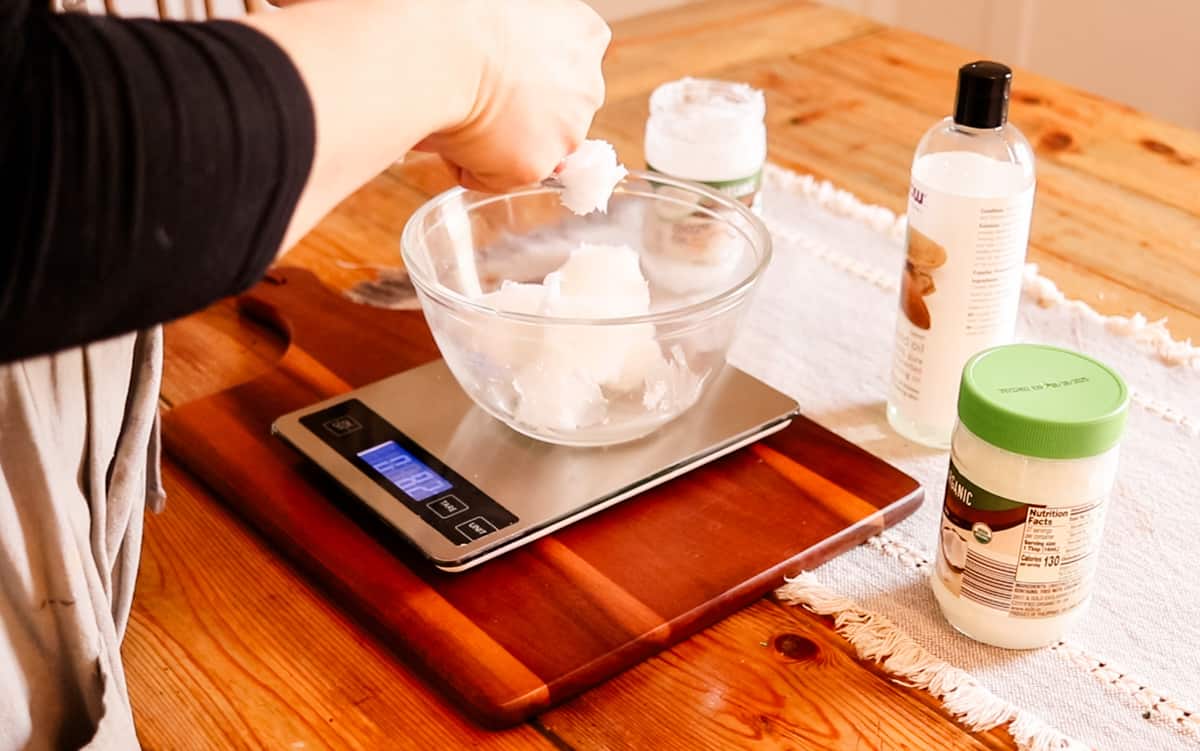
Step 2: Using the digital scale, measure the coconut and almond oils and melt them in a double boiler or small saucepan on medium-low heat.
Step 3: Once the oils are melted, allow them to cool to 100°F before mixing with the lye water.
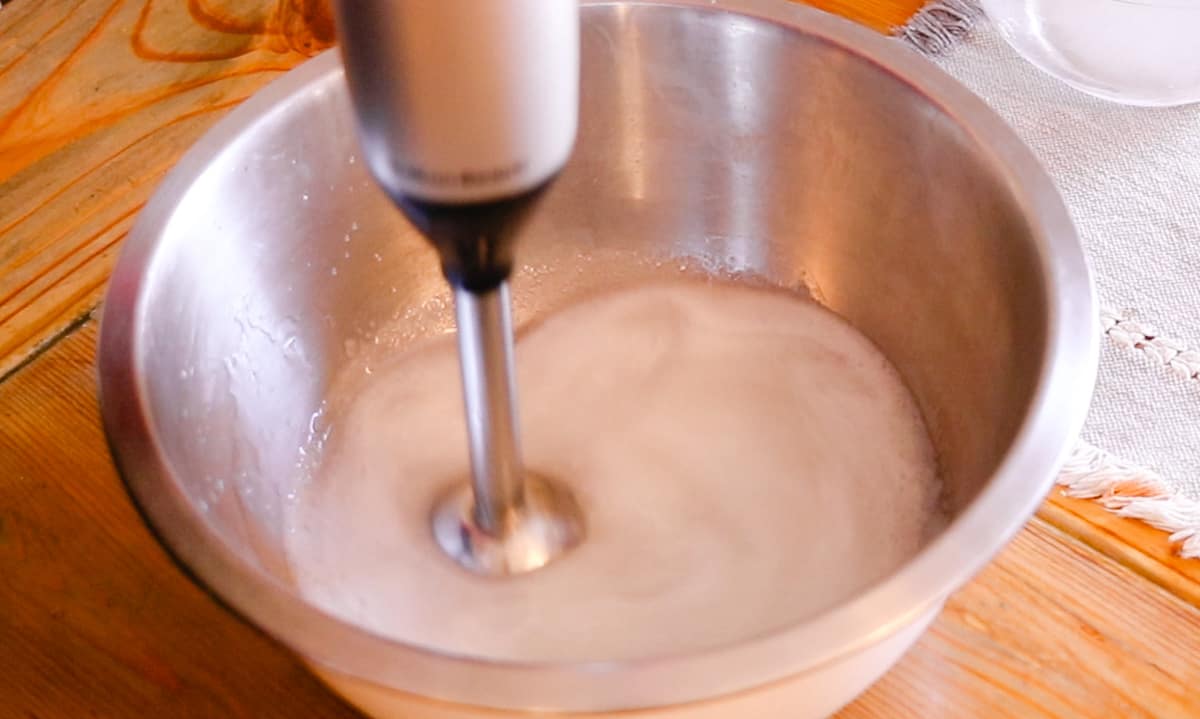
Step 4: Slowly add the lye and water to the oils, a little at a time. Then, place the immersion blender in the middle of the bowl at the base. Pulse for several seconds, then quickly swirl with the blender switched off. Repeat until it comes to a light trace. Be careful not to let it splash, as it will burn the skin.
Note that this soap takes a bit longer to come to a light trace – usually about 10-15 minutes of blending time.
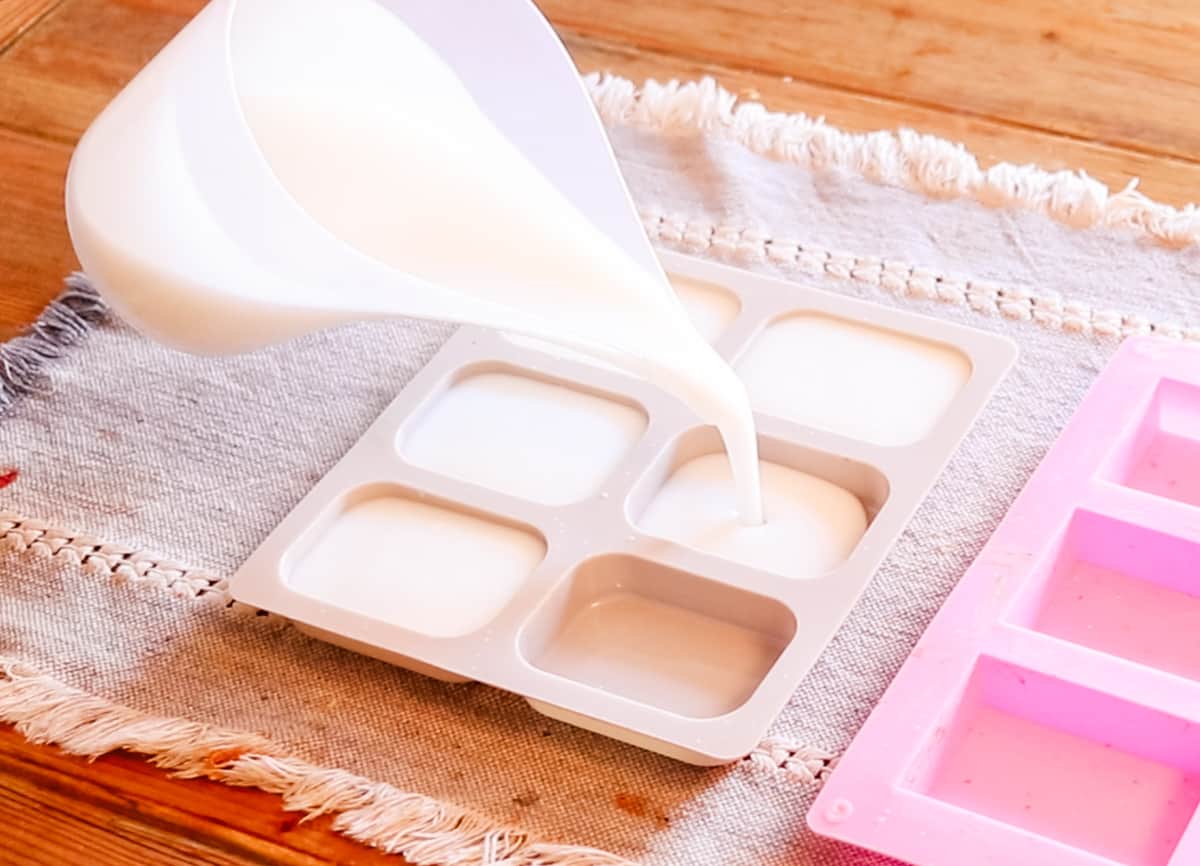
Step 5: Once ready, transfer the soap mixture immediately to your soap mold.
Note: I transfer the soap into an old pitcher I use for soap-making to make it easier to pour.
Step 6: Allow the soap to harden and sit in the mold for at least 24 hours or up to 3 days.
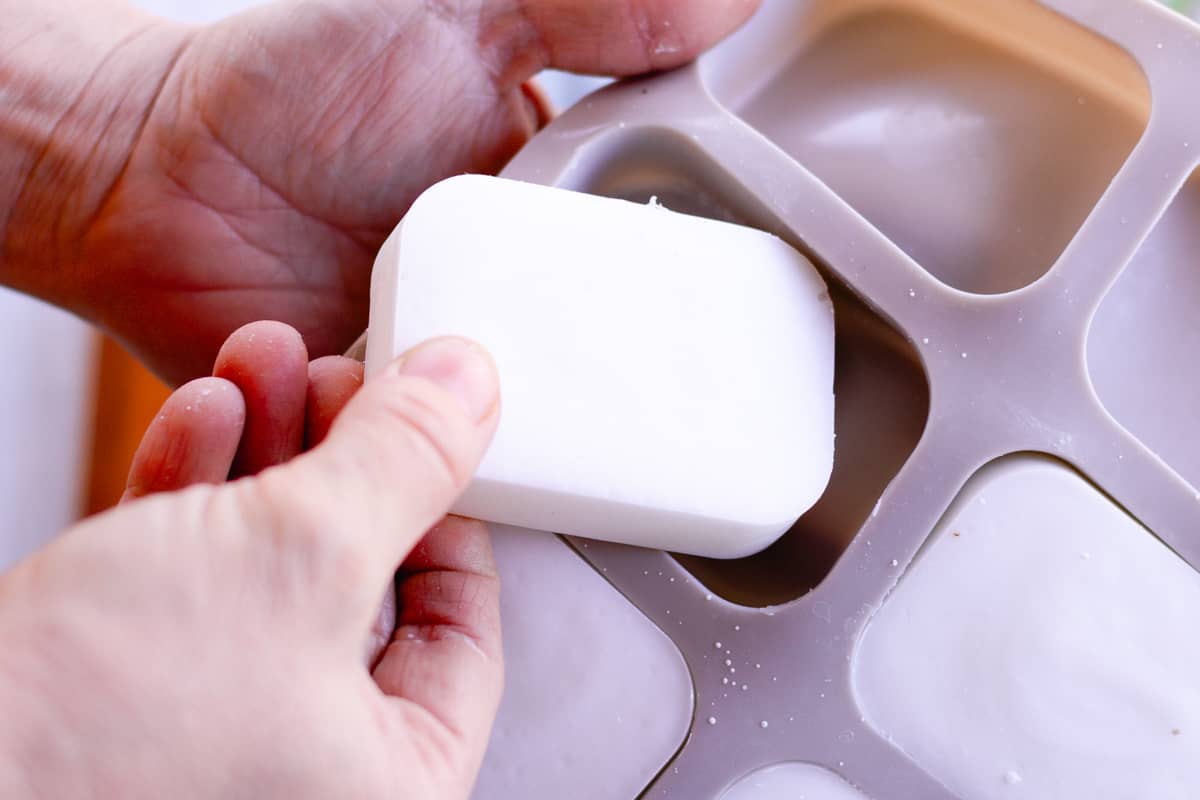
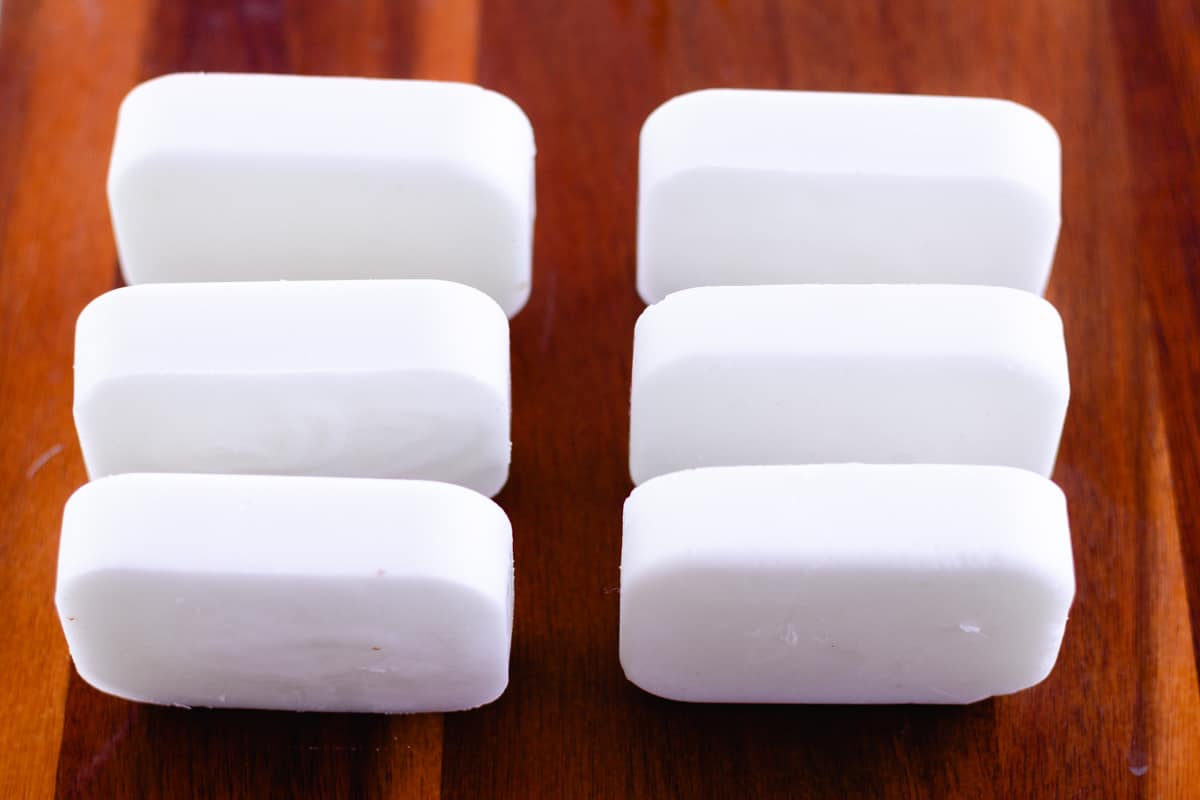
Step 7: Remove the soap from the molds and place them on their ends to cure for 5-6 weeks before using.
How to use
Coconut soap is a moisturizing soap, but you will want to make it with at least a 10% superfat or it can be too harsh on the skin.
I like to use coconut soap on my hands, in particular. I keep a bar at the kitchen sink when my hands need a wash and a moisture boost, which happens to be several times a day!
You can also use this coconut soap as a body cleanser in the shower and in the bath. It’s similar to my laundry soap bar but with a higher superfat.
How to store
The key thing with any soap bar is not to let it sit in water. Otherwise, it’ll dissolve quickly over time, leaving soggy soap dregs.
To improve the longevity of a soap bar, place it on a soap drainer after each use so it can dry out properly.
Shelf life
These soap bars will be fine for up to one year if stored away from sunlight and heat sources.
Benefits of making your soap
Making soap at home is so much fun, and it’s excellent for your budget, too!
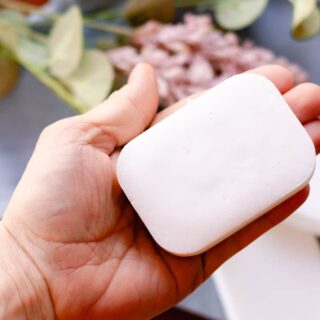
This recipe yields seven soap bars in total, a significant cost reduction compared to buying organic, homemade soap bars in a gift shop.
I’ve also realized that making coconut oil soap guarantees that I know exactly what ingredients are touching my skin – a big plus for anyone who prefers natural body care products.
The process is easier than you might think, too, and with a few basic supplies, anyone can turn their kitchen into a soap-making haven!
Coconut oil soap has a rich lather and is also nice and solid once set, making it a firm favorite in many soap recipes.
Tips
Creating a coconut oil soap that looks like a soap bar relies on the quality and measurement of the ingredients.
Always stick to the recipe and only ever alter the ingredient amounts after running the changes through a soap calculator.
Lye is dangerous to work with but is needed to make soap bars. Take proper care by ensuring you don’t breathe in any of the fumes or allow any of the lye to splash on clothing or skin.
A little on the ingredients
Coconut Oil
Coconut oil is the primary ingredient in this recipe. It gives this soap its wonderfully hydrating effects and is a great choice for cleansing the skin, leaving it feeling softened and refreshed.
And let’s not forget about that gorgeous tropical scent! Top tip: You’ll want to look for 100% pure, unrefined coconut oil for soap making.
Lye
Lye, or sodium hydroxide, is a necessary chemical that causes saponification, which turns the fats in the coconut and almond oils into soap.
Always handle lye with extra care, using gloves, goggles, aprons, and long sleeves to protect your skin from accidental splashes.
Almond oil
Almond oil is wonderfully gentle on the skin and helps the soap build up a nice lather, improving its cleansing abilities.
It contains minerals, vitamins, and antioxidants that soothe the skin, leaving it soft and nourished.
Equipment and Safety
When making coconut oil soap bars, I ensure my work area is well-prepared with the right equipment for safe and efficient crafting.
Safety is paramount, and having the correct molds and measuring tools is essential for the process.
Wear proper safety gear.
It’s essential to protect yourself when working with lye. I always wear:
- Gloves: To protect my hands from lye burns.
- Goggles: To keep my eyes safe from splashes.
- Long-sleeve shirts and bottoms: To prevent skin exposure to any spillage.
- Ventilation Mask: To avoid inhaling fumes during the saponification process.
- Open windows: I make sure the room I’m making soap in has a good through draft to eliminate the lye odors quickly.
Picking the perfect mold.
Soap molds determine the final shape and size of my soap bars. Here are some ideas:
- Silicone Molds: Non-stick and easy to clean, they come in various shapes, colors, and sizes. (this is the only type of mold I use)
- Wooden Molds: Ideal for larger batches, but they need lining with parchment paper to prevent sticking.
Summary
That’s all there is to my simple coconut soap bar recipe. I hope you love it as much as I do!
I have grown to love unscented soap bars, like my sea salt bars and beeswax soap bars, but if you do want a fragrance, feel free to add a few drops in! You’ll just want to add it in after the soap has come to trace.
If you made and loved this recipe, I would love for you to leave a review below!
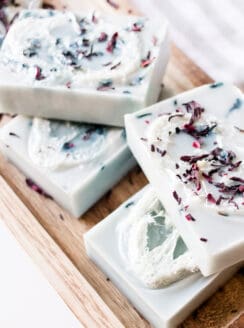
And for more great soap recipes, check out some of these favorites below.
Simple Coconut Oil Soap Bar Recipe
Equipment
- Mixing bowl
Ingredients
- 12 oz coconut oil
- 4 ounces of almond oil
- 5.39 oz of water
- 2.41 oz of lye
Instructions
- Work in a well-ventilated area away from any people and wear proper safety gear, including goggles, mask, gloves, and sleeves.
- Add the water to a heat-resistant glass or metal container. Then, carefully and slowly add the lye to the water and gently stir it until dissolved. Then, set aside. (see notes below)
- Using the digital scale, measure the coconut and almond oils and melt them in a double boiler or small saucepan on medium-low heat.
- Once the oils are melted nicely, allow them to cool to 100°F before mixing with the lye water.
- Slowly add the lye and water to the oils, a little at a time. Then, place the immersion blender in the middle of the bowl at the base. Pulse for several seconds, then quickly swirl with the blender switched off. Repeat until it comes to a light trace (10-15 min). Be careful not to let it splash, as it will burn the skin.
- Once it comes to trace, transfer the liquid soap to the molds to harden.
- Allow the soap to harden and sit in the mold for at least 24 hours or up to 3 days.
- Remove the soap from the molds and place them on their ends to cure for 5-6 weeks before using.
Leave a Comment: