This post may contain affiliate links. Please see our disclosure policy.
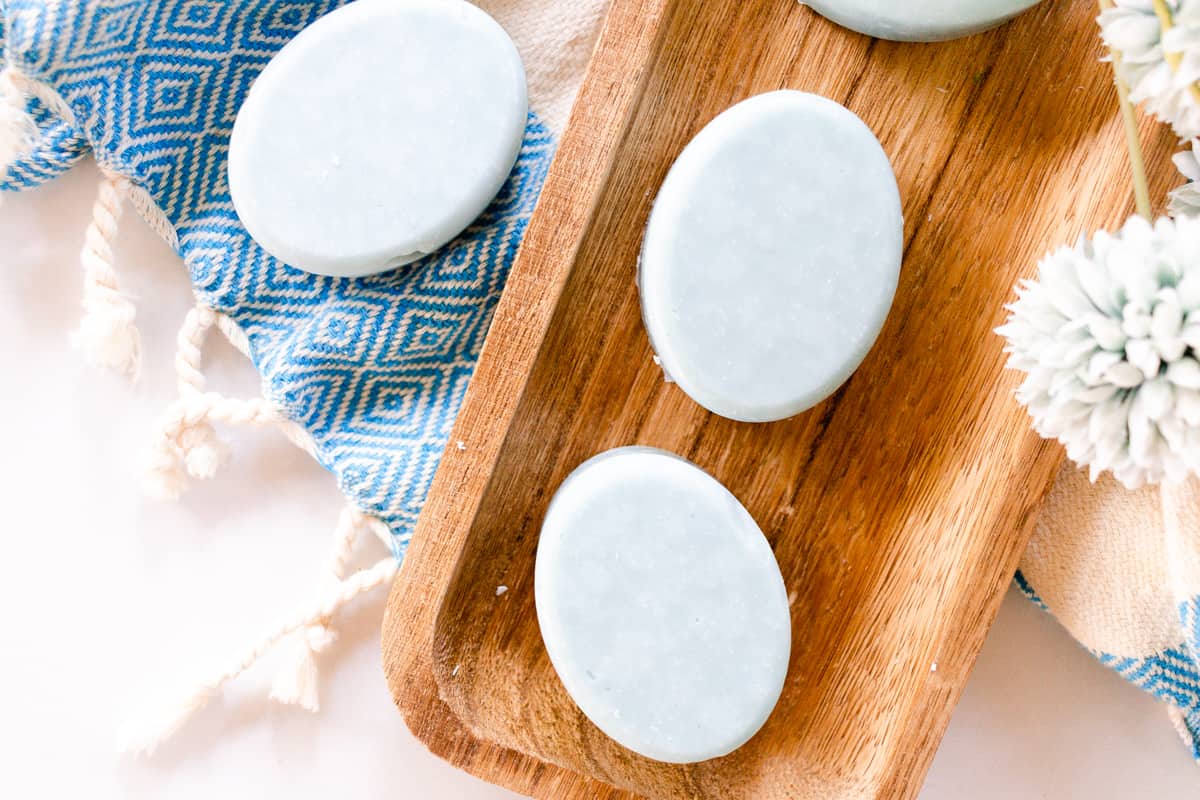
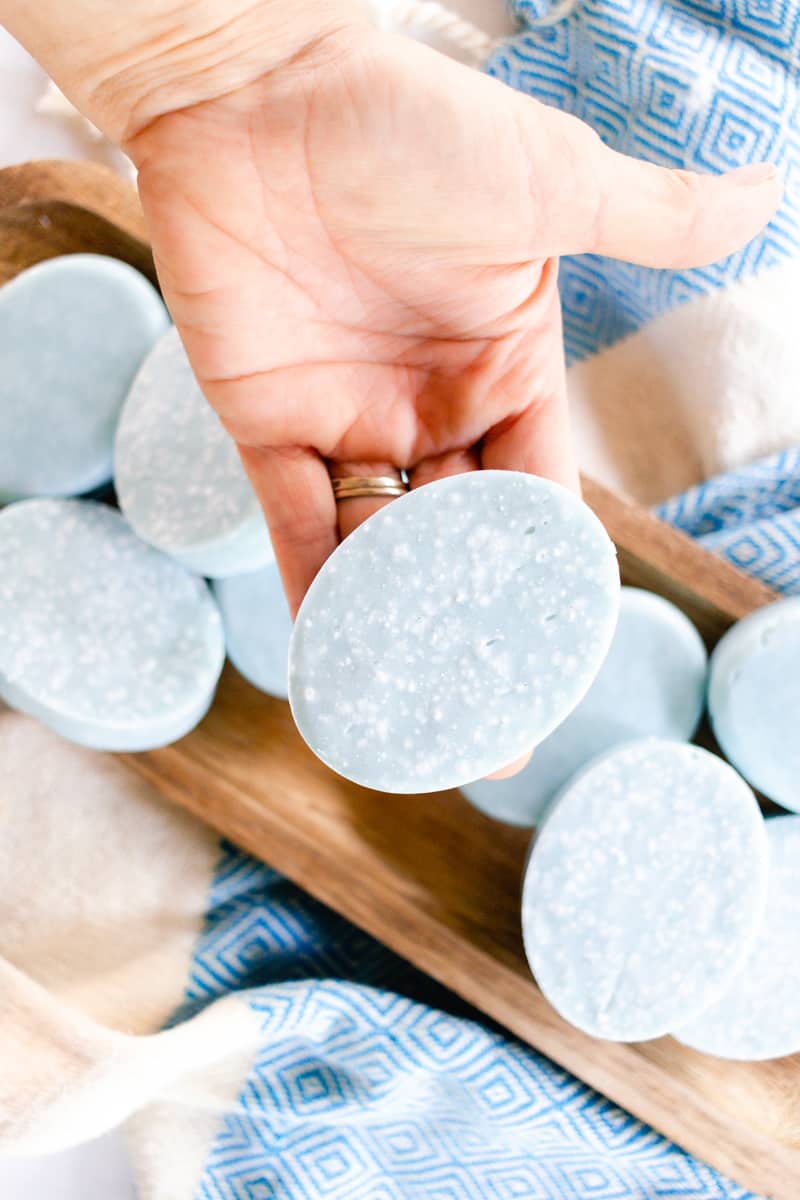
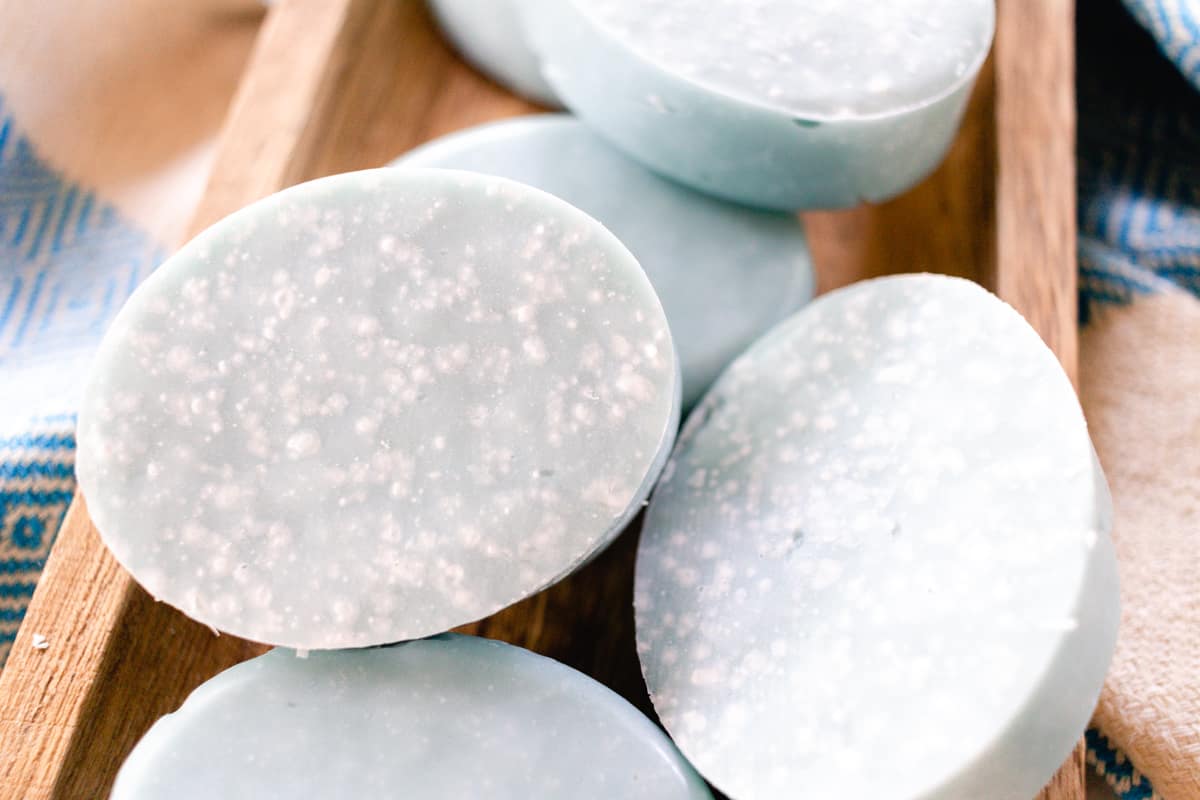
Transport yourself to a paradise beach any day of the week! This sea salt soap bar smells incredible and is a wonderful exfoliator for the skin. I hope you enjoy the recipe!

Doesn’t this sound just… lush?
I mean, uttering the words’ sea salt soap bar’ takes me to faraway lands where palm trees line turquoise waters and the sand tickles my toes.
You too? I get it.
In truth, I well and truly love this soap bar, and I’m sure you will too.
If you’re looking for a sumptuous bar of soap that’ll leave your skin feeling refreshed and cleansed, then this sea salt soap bar is the ideal choice.
It’s easy to make with 100% natural ingredients that use sea salt at its base.
Being naturally exfoliating, sea salt provides fantastic skin benefits and is better than anything I know at scrubbing away dry, dull skin.
In this post, we’ll explore what makes a sea salt soap bar so special, a little about the ingredients, what makes it great for exfoliation uses, and essential safety precautions when making it (after all, it is soap…)
Why you’ll love this recipe
- It’s fun to make. Perhaps you’re brand new to making soap? Or maybe, the idea of sea soap intrigues you, as it did me? If so, this salt bar soap recipe is the perfect choice to start off with.
- It’ll exfoliate your skin. The salt granules in this salt soap act as natural exfoliation, sloughing off dead skin cells and leaving new, fresh skin underneath.
- It’s anti-drying. I’ve added several natural oils and kinds of butter to this recipe, attempting to negate the drying effects of salt on the skin. Therefore (theoretically), it shouldn’t dry your skin – but I recommend testing it on a small skin patch first to be sure.
What is a sea salt soap bar?
Sea salt soap bars are a beautifully natural way to cleanse and exfoliate the skin – while connecting you with the calming nature of the sea.
They offer a gentle yet invigorating scrubbing ability that helps to remove dead skin cells, balance out pH levels, and actually reduce inflammation due to anti-inflammatory properties.
Sea salt in itself is known to be a fantastic germ killer, too, being antibacterial by default.
Plus, this recipe includes other natural ingredients, such as essential oils and fragrances, all of which help nourish and hydrate the skin.
Salt soap benefits
And now for some even better news!
The addition of sea salt makes these bars generally OK for people with sensitive or acne-prone skin. The salt helps reduce bacteria (spot-causing stuff) while still being gentle enough for daily use.
Of course – only you know your skin, so try this salt soap bar first on a small area of skin, like a ‘patch’ test, just in case it’s not suitable for whatever reason.
The salt also helps to draw out impurities from the skin by acting as an exfoliating agent, leaving the skin feeling revitalized and fresh after every use.
Time to say bye-bye to those thick callouses on the bottoms of the feet!
How to make a sea salt soap bar
Making your own sea salt soap bar at home is quite simple when it comes to the vast realm of soap making.
Follow along with me, and be sure to measure the ingredients exactly right for the best results.
To get started, you’ll need some essential ingredients and tools:
This post contains affiliate links, which means I make a small commission at no extra cost to you. Get my full disclosure here.
Tools:
- Digital scale
- large bowl
- Immersion blender
- Gloves, mask, goggles, and protective clothing
Ingredients:
This soap recipe is made with 5% superfat.
Oils & Fats
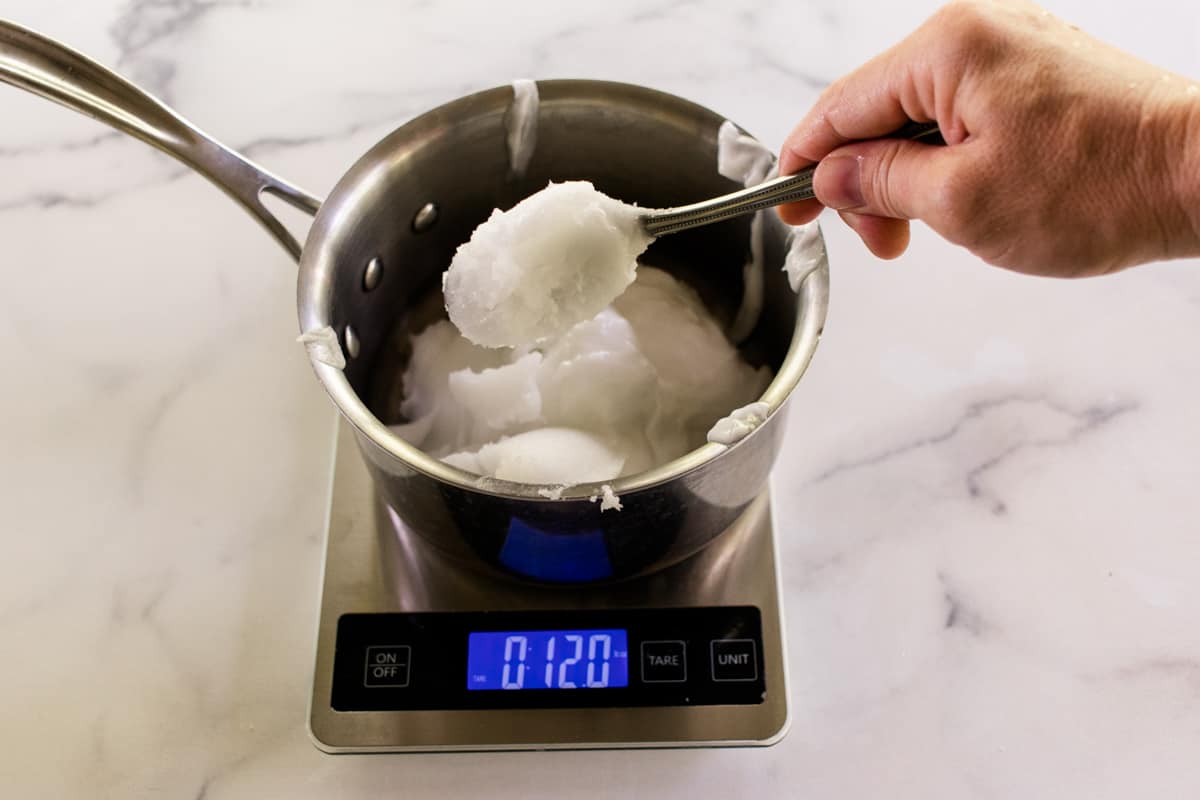
- Coconut oil 12 ounces
- Almond oil 6 ounces
- Castor oil 10 ounces
- Total Oils: 28 ounces
Liquid & Lye
- Water 9.14 ounces
- Lye 4.09 ounces
- Total water and lye: 13.23 ounces
Addins
- 1 ounce of coarse sea salt
- 1 teaspoon of blue mica powder (more or less, depending on preference)
Sea salt soap recipe
Step 1: Working in a well-ventilated area and wearing proper safety gear, add the water to a jar or container that can handle high heat.
Step 2: Carefully and slowly add the lye to the water, then gently stir it until dissolved. Note the liquid will shoot up over 200°, so using a container that can handle the rapid increase in temperature is vital!
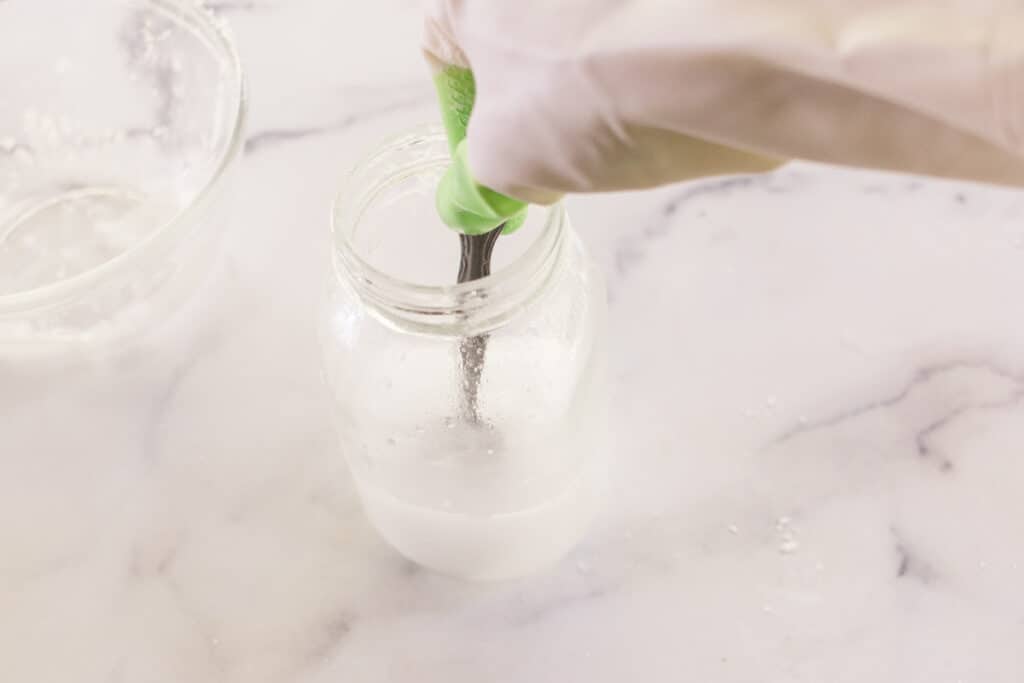
Set the lye water aside to cool while you do the next step.
Step 3: Melt the coconut oil, almond oil, and castor oil in a small saucepan over medium-low heat. You can also use a double boiler. However, I’ve found it works just as well using a saucepan while stirring frequently.
Step 4: Once the oils are melted, you’ll want to let it cool down to about 100°F. The same goes for the lye water – wait for it to cool. You may need to wait a little longer for one or the other to cool, and that’s fine.
Step 5: Now, using a large mixing bowl with tall sides (to prevent splashing), add the melted oils, then add the lye water mixture, just a little bit at a time, and mix with an immersion blender until it comes to a light trace. About one minute is usually enough.
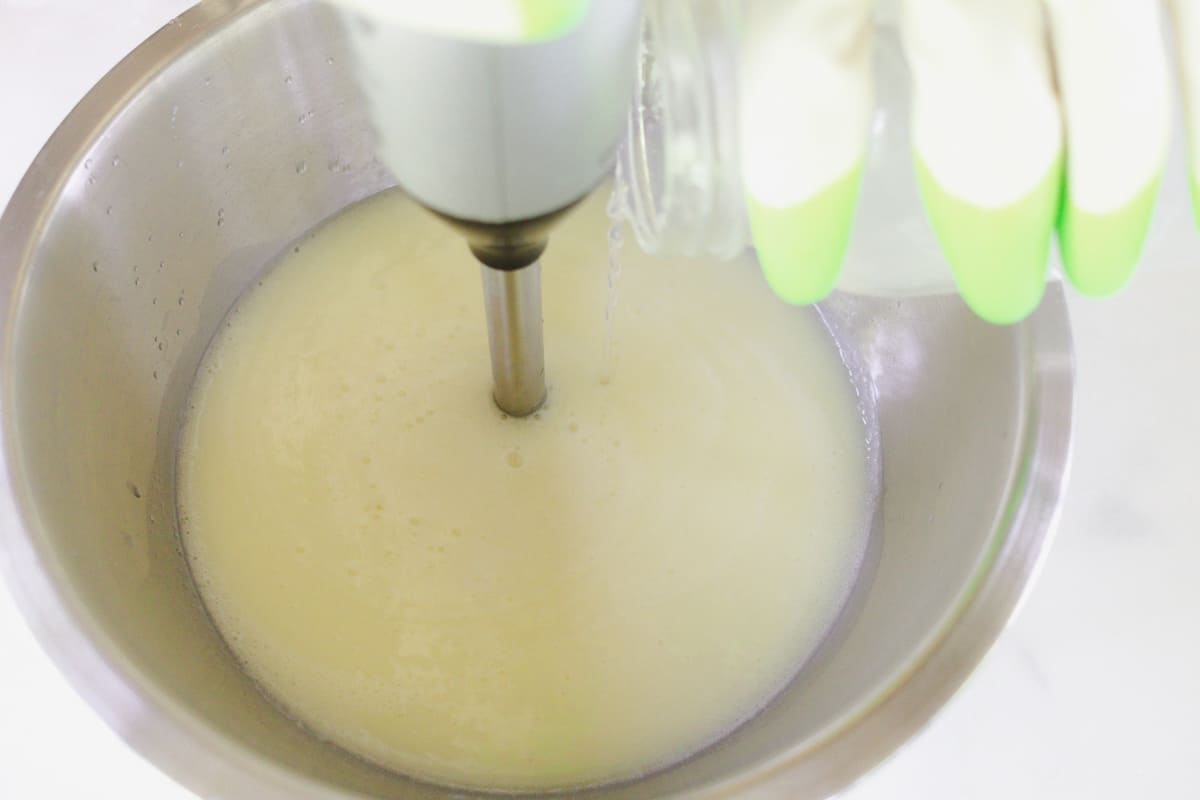
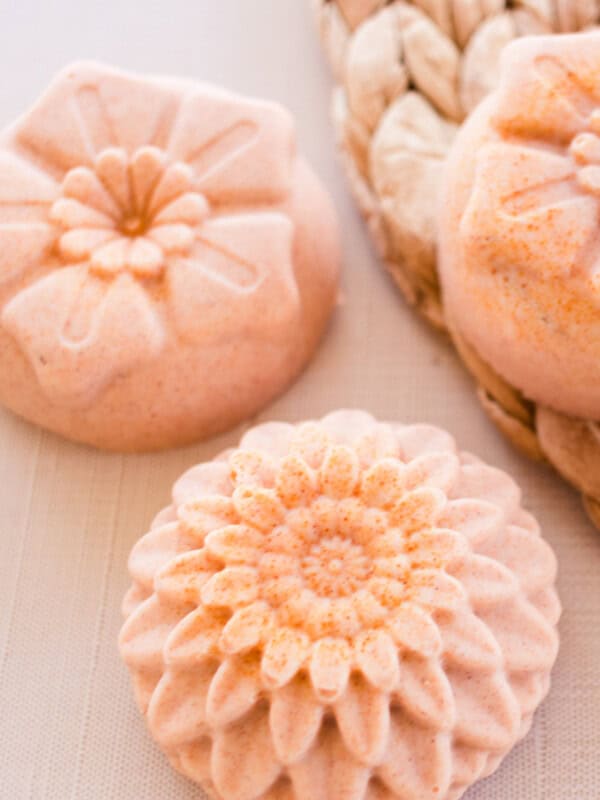
The picture below shows the soap at a light trace.
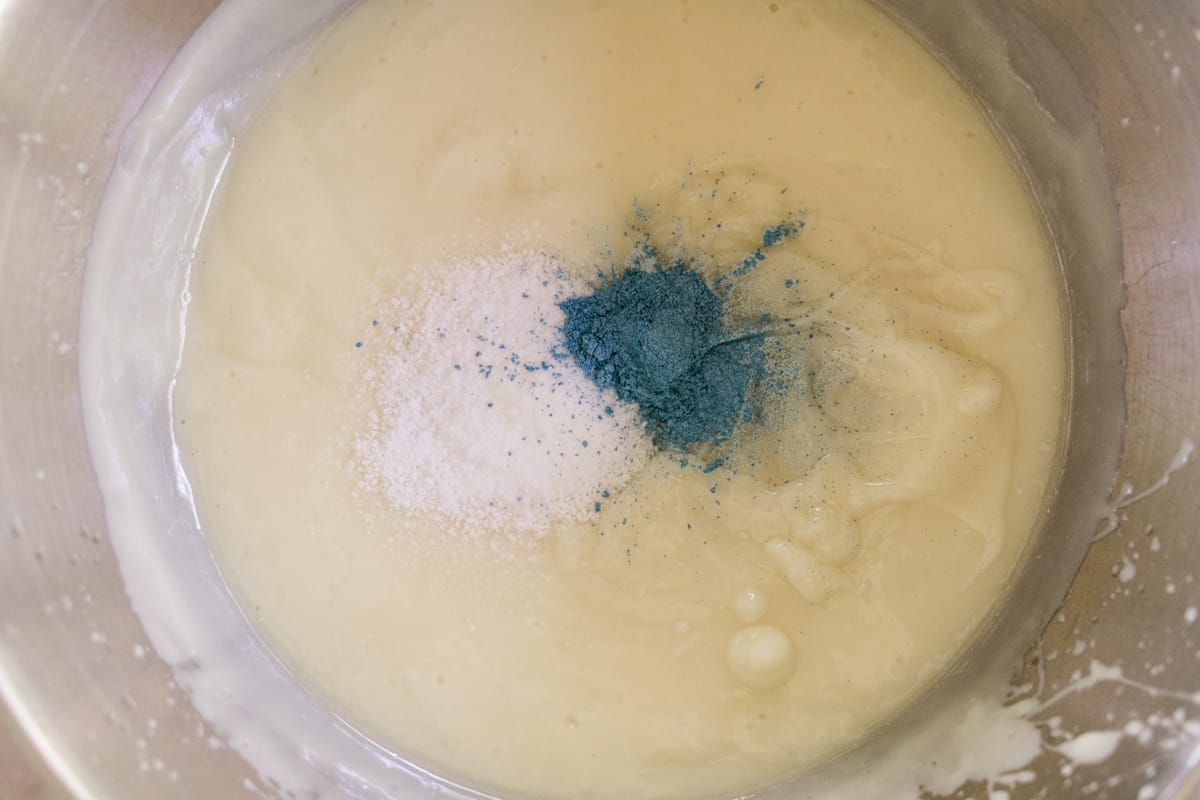
Step 6: Add your salt and mica powder, and stir it in. You can use the immersion blender to mix these in, but remember, the trace will continue to thicken.
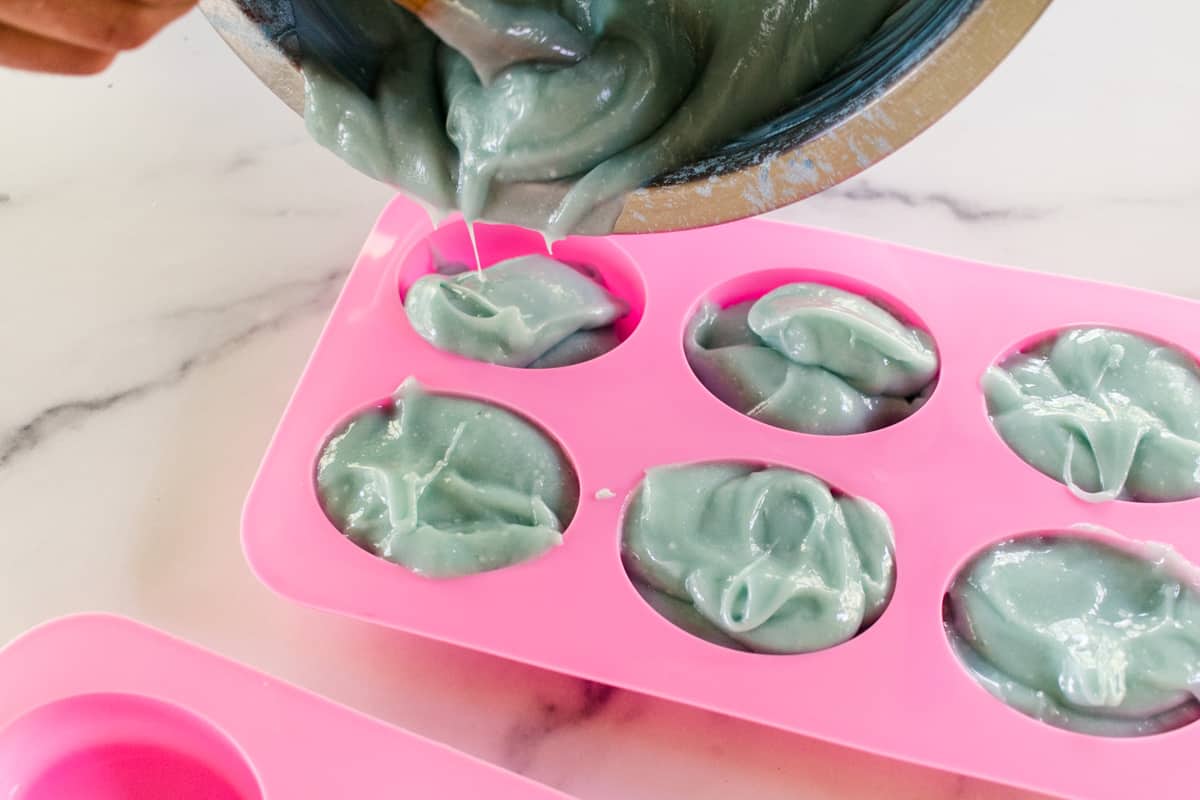
Step 7: Pour the soap into your prepared soap molds and allow them to harden for 24 hours or up to 3 days before removing them from the molds. (As you can see in the image below, the soap is at a pretty heavy trace)
Step 8: Lay the bars on their ends about an inch apart, and allow them to cure for five weeks before using.
Once the five-week wait time is up, your salt soap will be ready to use! I promise you it’s worth the wait.
Safety precautions
Making your own sea salt soap bars is a fabulous way to get creative with your cleansing routine, but always remember to take safety precautions.
Here are some tips for making and using your homemade sea salt soap bars safely:
- Wear protective clothing when making soap, as the lye gets extremely hot during saponification. Sea salt, too, is a natural abrasive and can cause irritation on some skin types. So, wear gloves and goggles when handling the soap mixture, and avoid getting in contact with the skin.
- Clean and sanitize all soap utensils before and after each use. It’s essential to properly clean all tools used while making soap so you don’t risk contaminating future batches.
- Be aware of skin dryness when using a sea salt soap bar regularly. Sea salt has a high mineral content and can cause dryness on certain skin types. I recommend alternating between using other types of moisturizing soaps if you find your skin becomes too dry.
- Keep your homemade sea salt soap bars out of reach of children and pets.
- Keep them dry when not in use for maximum life.
Frequently asked questions
Can I add fragrance? Yes! add up to 40 drops of essential oils at a light trace before adding in the colorant and sea salt.
Can I adjust the superfat %? Certainly! A higher superfat will make this bar more moisturizing since salt is naturally drying. You will need to use a soap calculator to readjust the ingredients before any changes are made.
Do all soap bars have lye? Soap bars are made with lye; however, there are melt-and-pour recipes in which the lye step has already been completed, and you simply add your finishing touches. I have several of these recipes, including a homemade goat’s milk soap, homemade loofah soap bars, and homemade oatmeal soap bars.
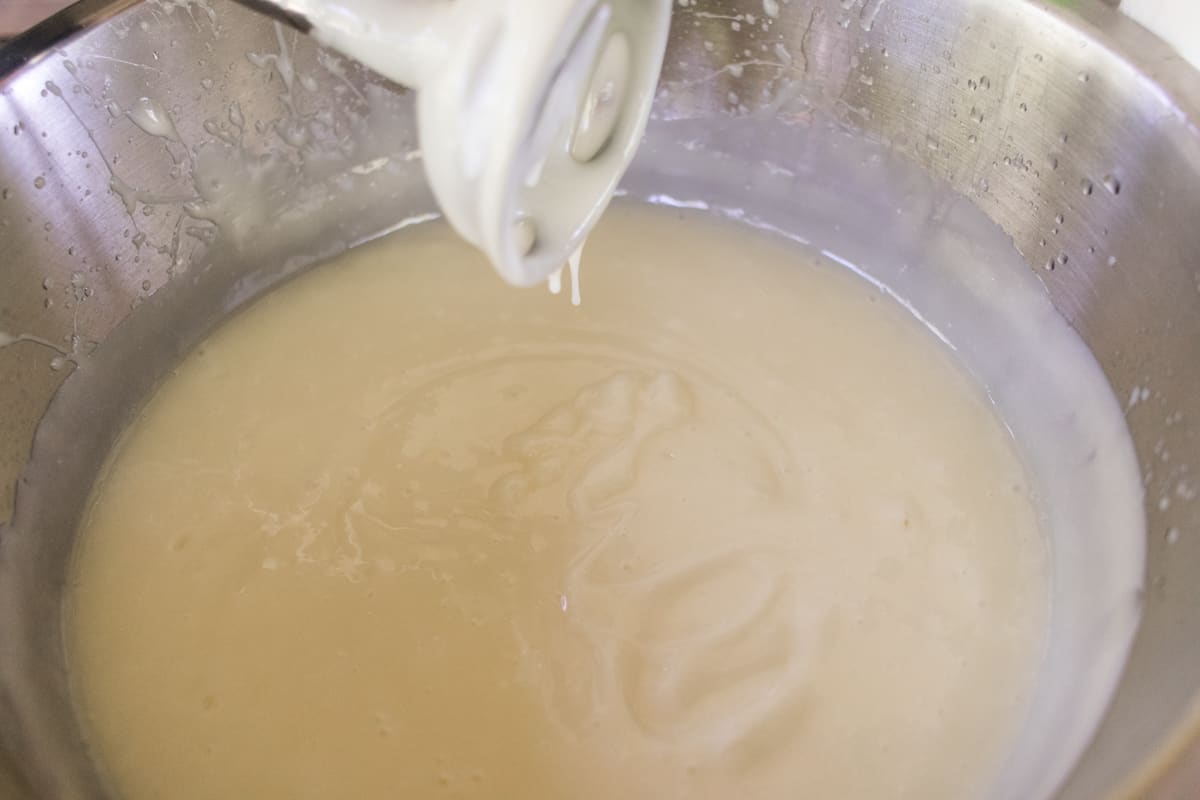
How do I check the trace? The trace is so easy to check. Once the soap starts to thicken with the immersion blender, hold the blender above the bowl and allow the excess soap to drip off it. If it pools up on top of the soap in the bowl, you have a trace.
Can I use regular kitchen utensils for making soap? No! I do not recommend mixing soap and cooking utensils. Especially the container you make the lye water in. It is best practice to store all soap-making materials separately.
Will this soap work as a body scrub? Yes, this soap is formulated with salt, which is a natural exfoliant. However, it may not be as abrasive as a dedicated homemade sugar scrub.
I hope you enjoy making sea salt soap bars. These were so much fun to make, and I love the way they feel!
If you made this recipe and loved it, consider leaving a review below!
For more great soap recipes, check out one of these next!
- Tallow soap recipe
- Olive oil soap bar
- Natural glycerin soap bars
- How to make soap on a rope
- My favorite soap bar recipes
Sea Salt Soap Bar Recipe
Equipment
- large bowl
- Gloves, mask, goggles and protective clothing
Ingredients
- 12 ounce Coconut oil
- 6 ounce Almond oil
- 10 ounce Castor oil
- 9.14 ounce Water
- 4.09 ounce Lye
- 1 ounce of coarse sea salt
- 1 teaspoon of blue mica powder, adjust amounts depending on preference
Instructions
- Working in a well-ventilated area and wearing proper safety gear, add the water to a jar or container that can handle high heat.
- Carefully and slowly add the lye to the water, then gently stir it until dissolved. Note the liquid will shoot up over 200°, so using a container that can handle the rapid increase in temperature is vital!
- Set the lye water aside to cool while you do the next step.
- Melt the coconut oil, almond oil, and castor oil in a small saucepan over medium-low heat. You can also use a double boiler. However, I’ve found it works just as well using a saucepan while stirring frequently.
- Once the oils are melted, you'll want to let it cool down to about 100°F. The same goes for the lye water – wait for it to cool. You may need to wait a little longer for one or the other to cool, and that’s fine.
- Now, using a large mixing bowl with tall sides (to prevent splashing), add the melted oils, then add the lye water, just a little bit at a time, and mix with an immersion blender until it comes to a light trace. About one minute is usually enough.
- Add your salt and mica powder, and stir it in.
- Pour the soap into your prepared soap molds and allow them to harden for 24 hours or up to 3 days before removing them from the molds.
- Lay the bars on their ends about an inch apart, and allow them to cure for five weeks before using.


Hi Laura,
I have a question, instead of using the Water and Lye, could you use GoatsMilk melt and pour soap base?
Thanks
I have other melt and pour recipes. Check those out! 🙂
I love this soap bar! It has a gentle texture to exfoliate and a beautiful color!
So glad to hear!
What do you use to sanitize your utensils with?
My homemade dish soap! I have the recipe on the blog.
Hello Laura, so you just sanitize everything you use to make soaps etc with just dish soap? Thank you !!
I have been watching your recipes for soap bars and really am interesting in trying my own. I however want to start with melt and pour. My question to you is how do you alter the soap recipes to be melt and pour when they are not. For instance would you just skip the lye in this recipe and substitute the melt and pour. Or does the entire recipe have to altered?
With melt and pour, the soap bar is already made for you, all you need to add is the fragrance, florals, and other add ins that you want. For this bar, you can follow one of my melt and pour recipe and just add in the blue coloring and sea salt. Check out some of my melt and pour recipes for more instructions!
What is it that makes this smell amazing if you’ve not added essential oils or fragrance?
Also, where do you buy your sea salt and blue mica powder?
The coconut oil gives it a beautiful yet natural tropical smell! You can add essential oils in if you like more of a scent.