This post may contain affiliate links. Please see our disclosure policy.
Have you found yourself with mold spots developing in your shower grout? Worry no more! Its so easy to restore your grout to pristine condition using common household ingredients.
It’s one of those household jobs that needs doing (and we all know it), yet we put it off because it’s seemingly the worst job in the world to do!
I’m talking about the grimy, icky task of cleaning mold from any grout. We are cleaning the shower grout mold today, but this method will really work on any tile grout.
Unfortunately, this is not my first go-around with mold. I have made a homemade mold spray in the past with vinegar to combat the issues, but as we all know, vinegar doesn’t sit well with just any surface.
This post explains how to easily clean mold from grout in your shower, with results that leave that moldy area looking fresh and clean.
It’s time to say a cheerful ‘bye-bye’ to mold in your shower!
How to remove mold from shower grout
You will need:
- 8 ounce spray bottle
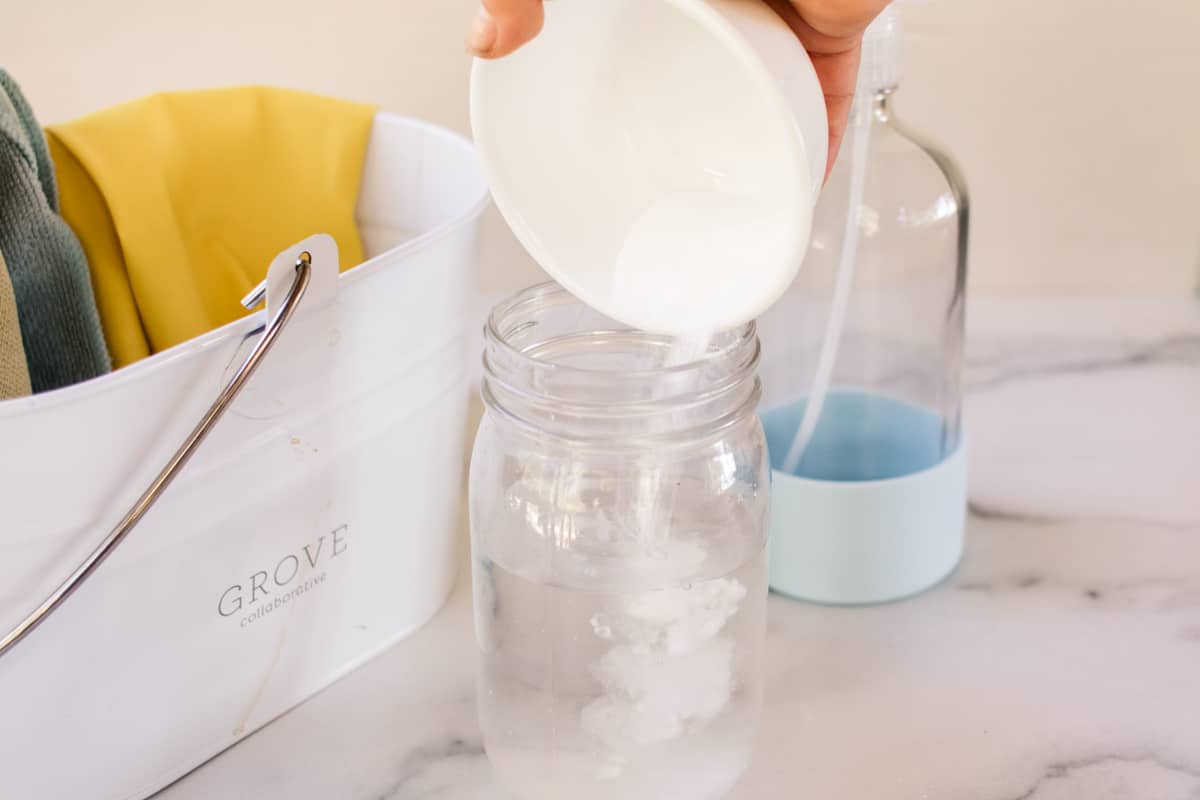
- 1 tablespoon of baking soda
- 6 ounces of water
- scrubbing brush
Instructions:
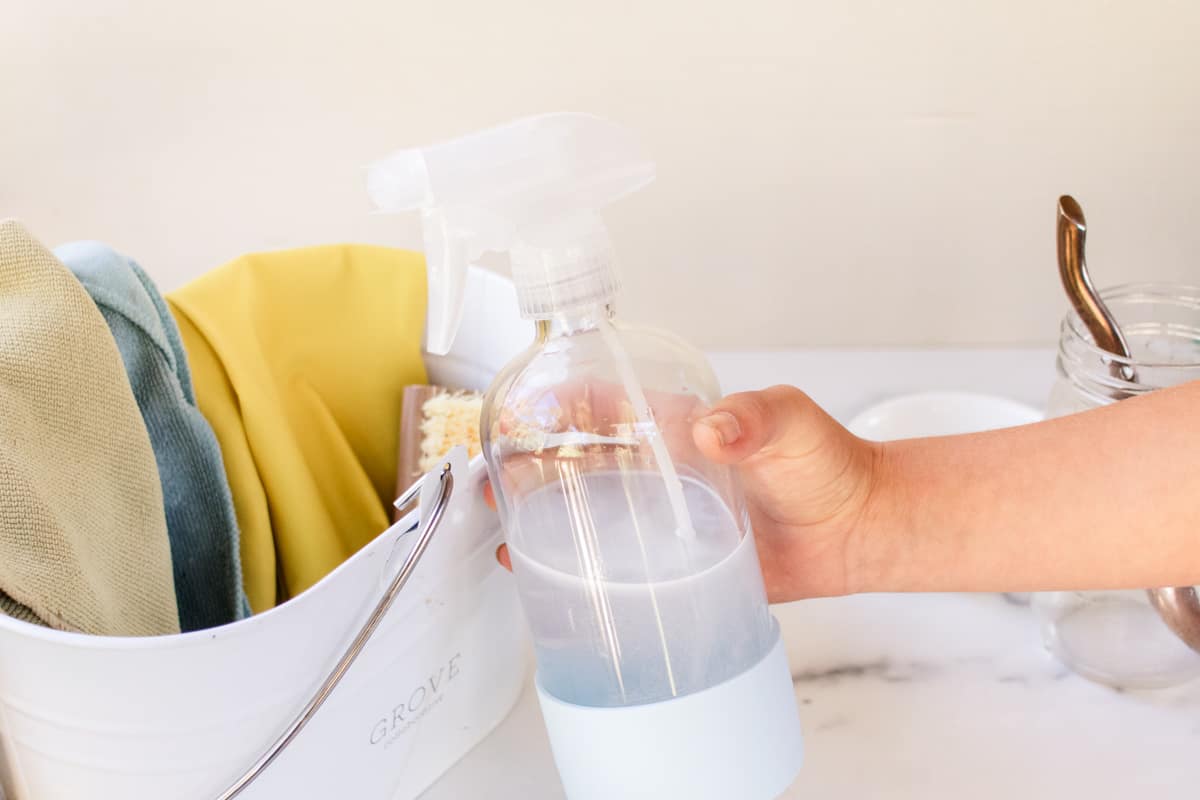
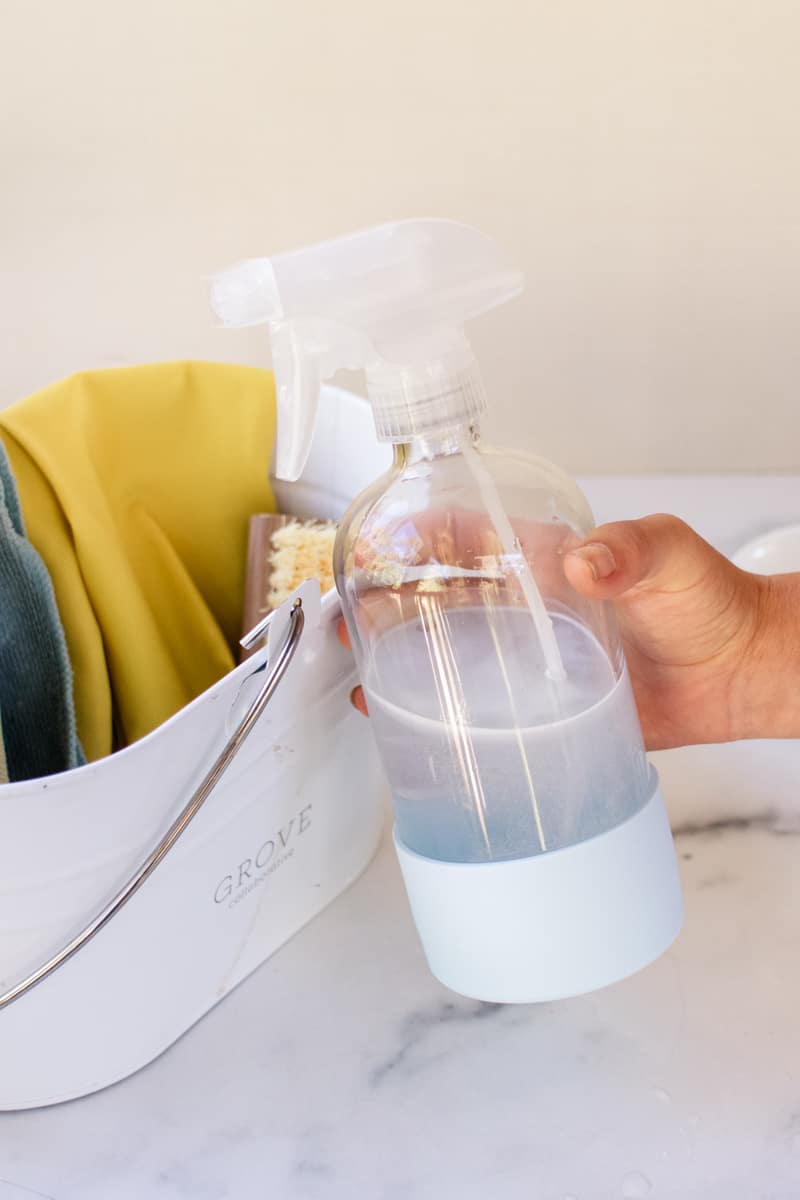
Step 1: Dissolve baking soda in water.
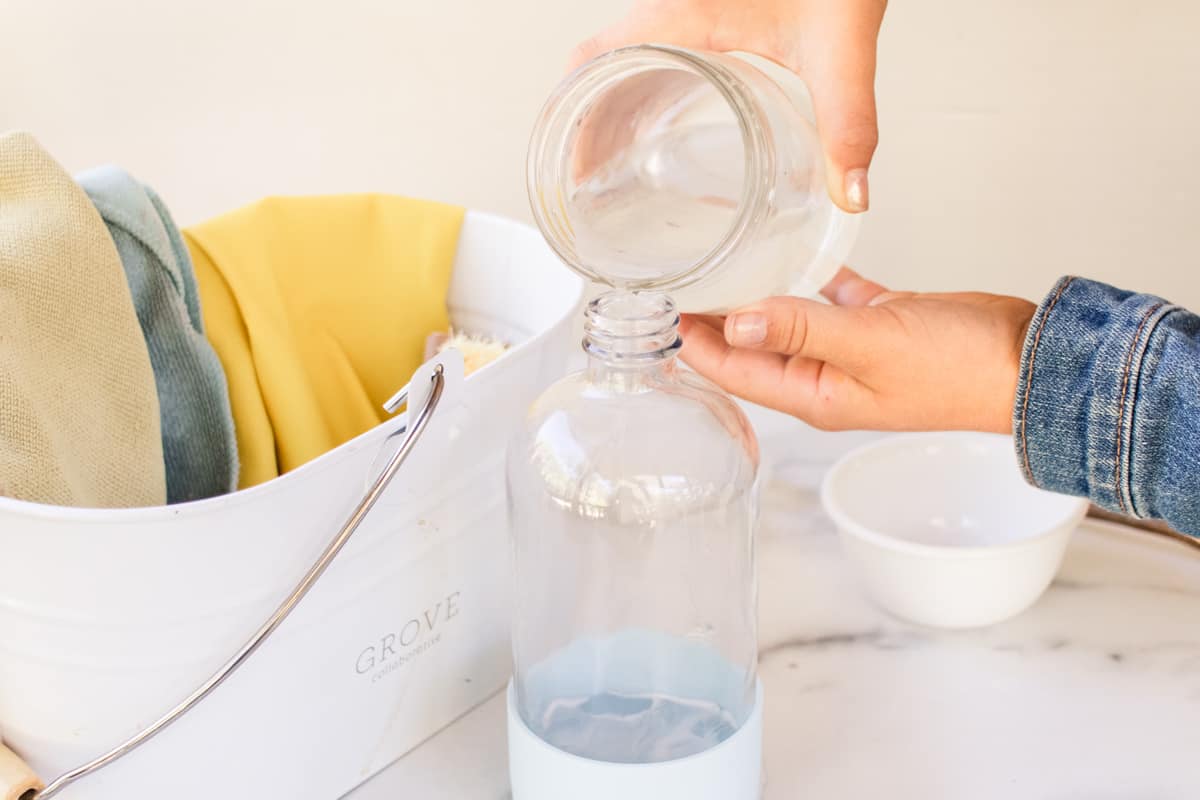
Step 2: Pour the baking soda and water mixture into the spray bottle. Use a funnel if needed and shake well.
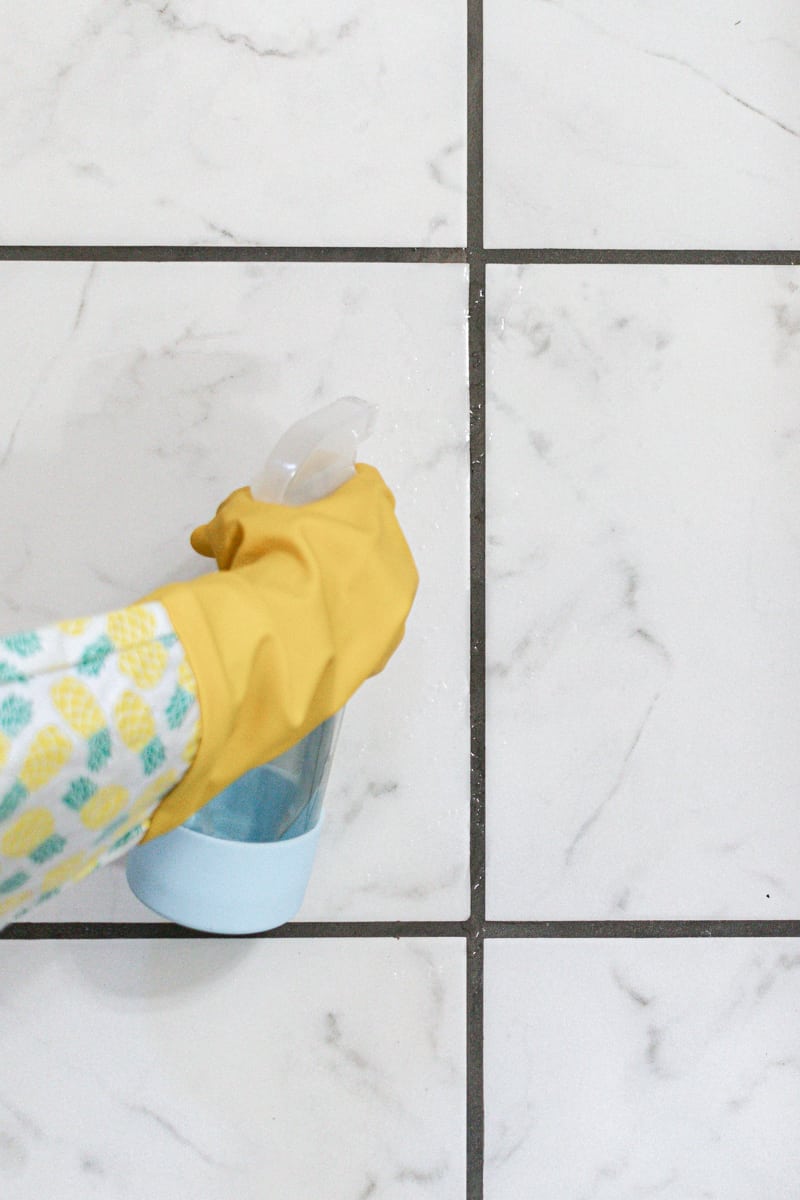
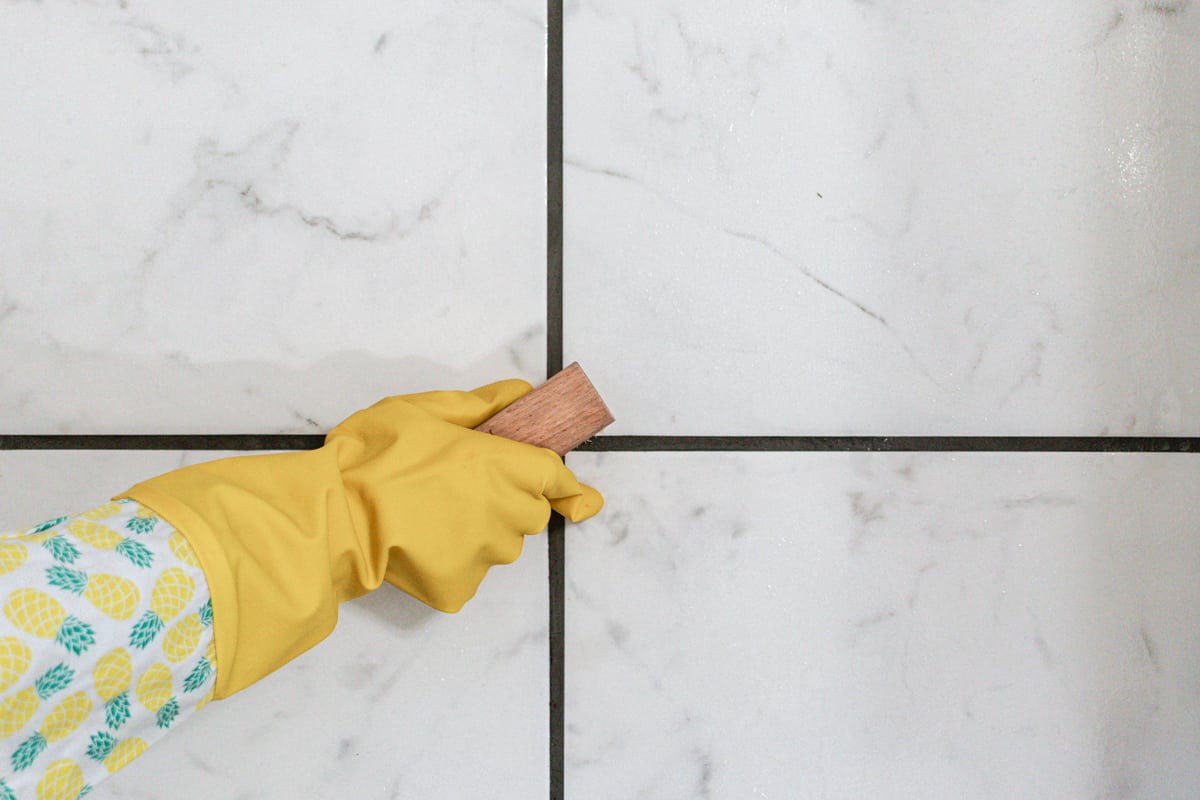
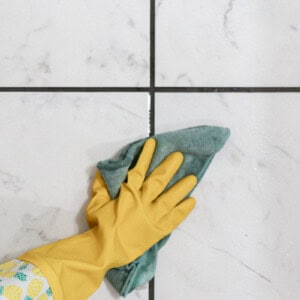
Step 3: Spray generously along the grout lines.
Step 4: Let the solution sit to penetrate the mold for several minutes before scrubbing with a scrub brush to loosen up the mold. Scrub gently, as you don’t want to damage the surface you’re scrubbing on.
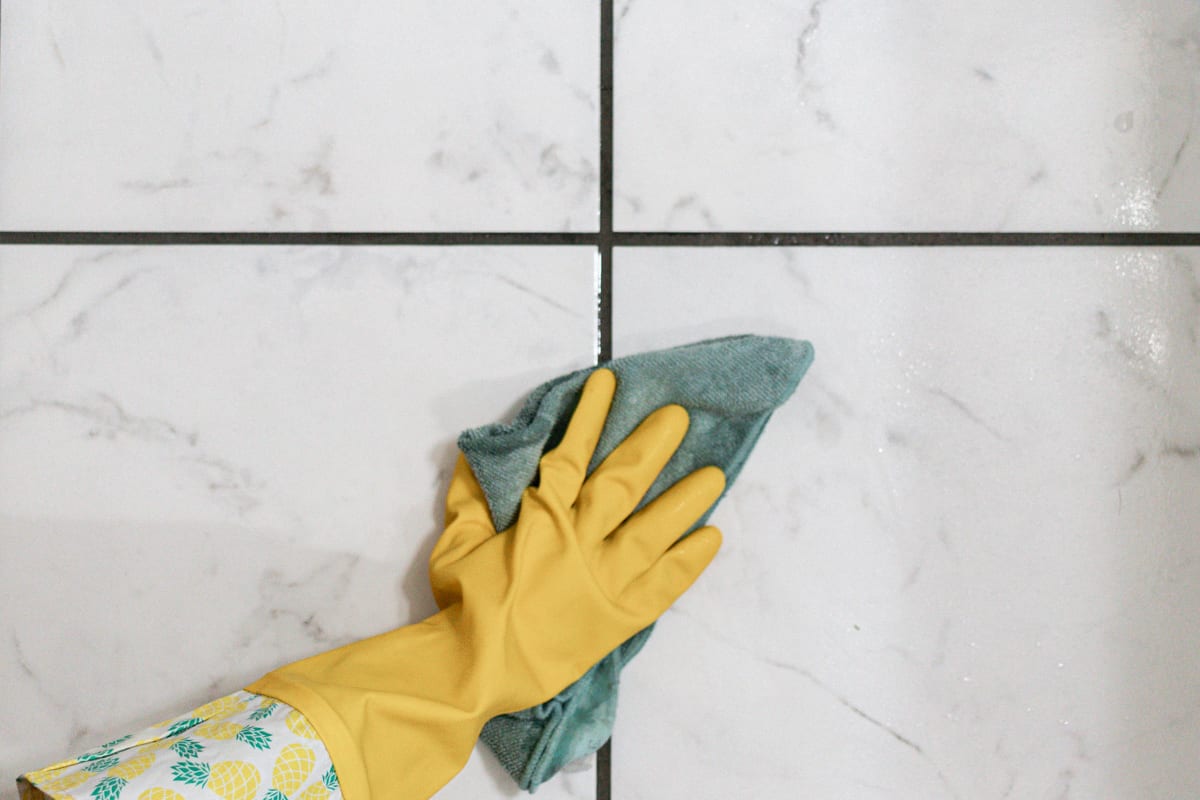
Step 6: Rinse clean with water. I usually wipe it clean with a dry cloth to prevent water stains.
Step 7: Spray onto the grout a second time if needed and repeat the process.
Top Tip: Use an old toothbrush and old rags for this project and discard them once you are done. Additionally, wear gloves and take proper precautions while working around mold.
Removing mold from any grout
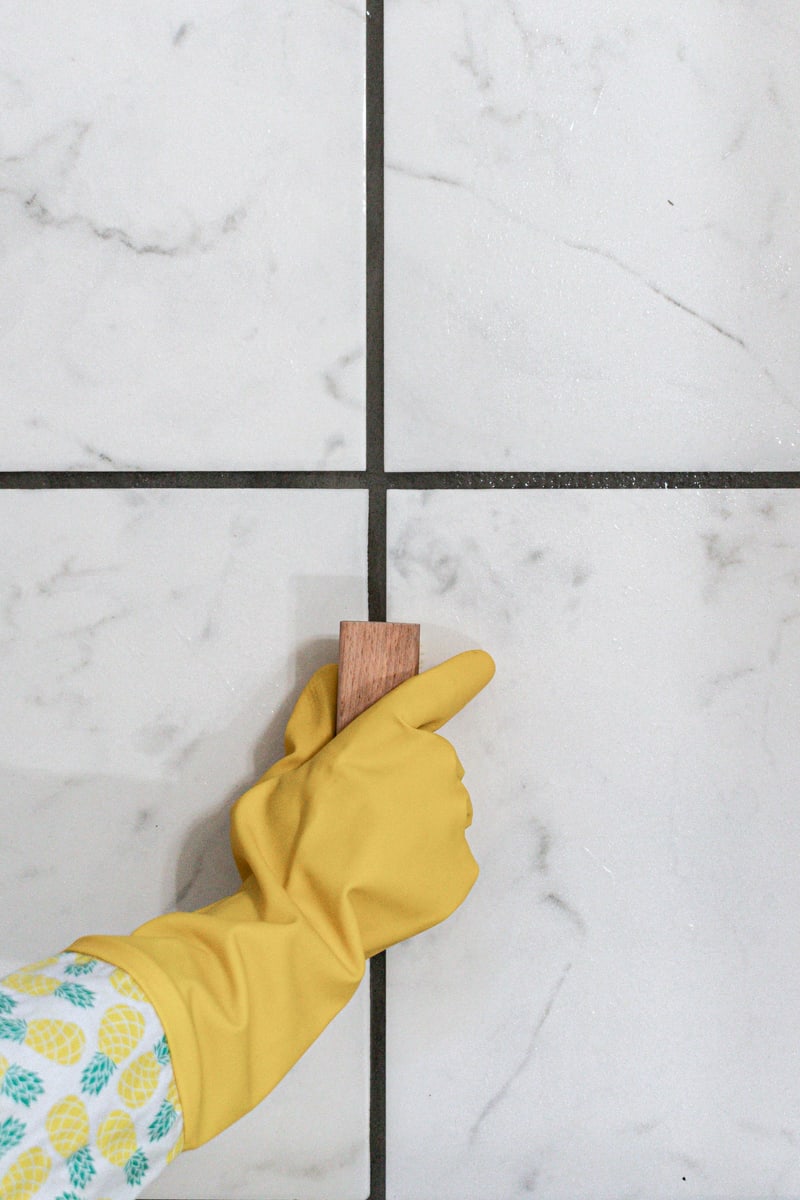
The process to remove mold from tile grout on the floor is the exact same as for shower grout.
For smaller areas or areas with crevices, a toothbrush is super helpful. Just be sure to discard it after using it.
This is a very effective method of getting mold out of grout. However, depending on the severity of your mold, you may need to repeat the process of spraying on baking soda and scrubbing until all the mold you see is removed.
Depending on how extensive the mold is, it may take several attempts, even on different days, to remove the mold entirely.
Related: You can also use a homemade grout cleaner to help clean extra grimy grout.
Keep the mold from coming back.
A great tip I picked up from maids.com is to apply a final spray of baking soda solution once you’ve cleaned and dried the area of any mold.
Not only does this increase your chances of killing it for good, but it can also help prevent it from coming back!
Why did I use baking soda?
The baking soda is the power ingredient in this recipe and is responsible for killing the mold.
But how does baking soda work?
It creates an alkaline environment, which is detrimental to mold reproduction.
This new hostile environment slows down mold growth and dries out the area at the same time, so no dampness forms.
The good news is that despite baking soda working aggressively on mold, it’s actually really gentle on all other accounts.
Baking soda is non-toxic and natural in nature, yet works amazingly well on most types of mold. Plus, it’s far more environmentally friendly and better for your health than bleach.
You can use baking soda in a number of cleaning products, including cleaning stains from composite sinks!
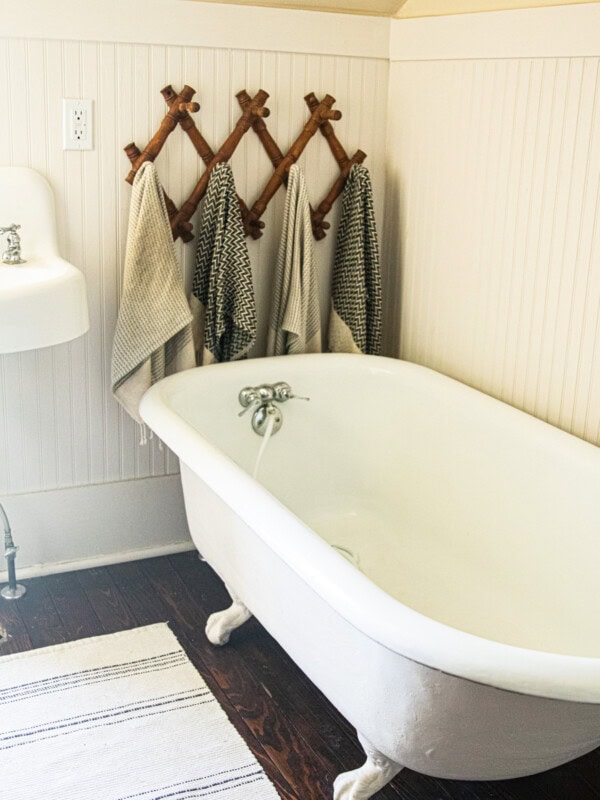
Why you should clean moldy grout
Having a clean bathroom is essential in preventing the spread of germs. When it comes to mold, it’s imperative we remove it at the first signs of it appearing.
Not only is it an eyesore, but it’s no secret the negative effects mold can have on a household.
Therefore, as soon as you see mold, take action to remove it!
Preventing mold in the future
The best recommendation I have for preventing mold is to use a two-fold approach:
- Dry any damp, dark areas in your shower and bathroom to inhibit any mold growth.
- Use this baking soda cleaning spray as a cleaner in the shower at least once a week.
Cleaning tips
- Scrub the mold gently so you don’t damage the surface it grows on. If you scrub too hard, you might remove areas of silicone or grout if you’re not careful.
- If you want to, you can add a touch of vinegar to the baking soda solution to give it even more mold-killing power.
- I wouldn’t recommend using this method to clean your shower every day, as it might be too abrasive.
- For a daily cleaning solution, go ahead and try making my no rinse homemade daily shower cleaner.
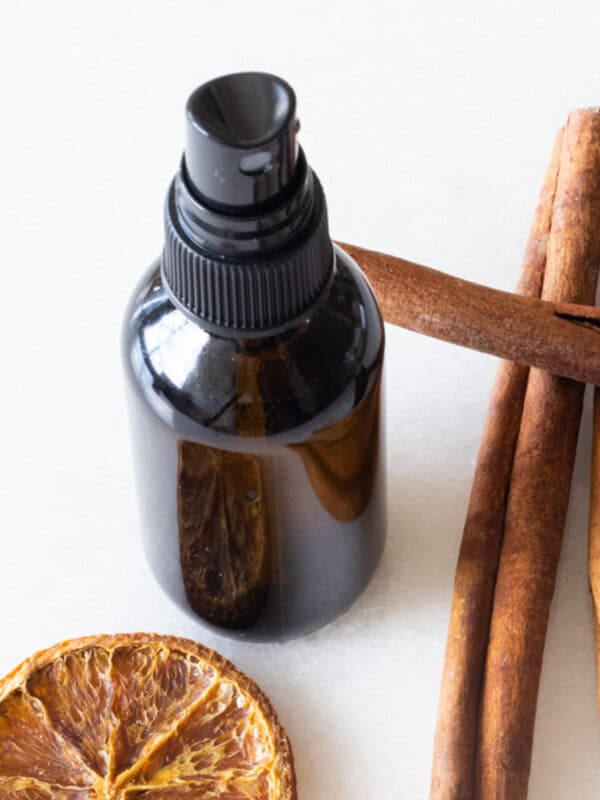
- By all means, add some fragrance, such as essential oils, to leave your bathroom smelling fresh.
FAQs
What safety precautions should I take when removing mold from grout?
I would always play it safe when removing mold and recommend wearing some protective gear, such as long sleeves, an apron, gloves, and a face mask.
Doing so will help protect you from mold spores.
Does vinegar work for cleaning mold?
Yes, it does! In fact, I use vinegar to clean moldy window sills. You can learn more about what types of surfaces vinegar works on to clean mold here.
Could I just use bleach to kill the mold?
Yes, in short, bleach is very effective at cleaning mold. Unfortunately, there have been several studies revealing that working with bleach could pose some concerns.
Summary
This baking soda cleaning method should work great for you in your battle against mold in your shower grout!
Remember to wear gloves and other necessary safety gear, and be prepared to scrub at the mold, as it can be pretty persistent and take time to come away completely.
Drop a comment below if you have any feedback or questions on how to clean mold from shower grout. I always love to hear from you!
What to Read Next:
- How to get mold spots out of clothes
- The solution for cleaning calcium buildup in your shower
- How to make a multi-surface bathroom cleaner
The Easiest Way to Clean Mold From Shower Grout
Equipment
- 8 ounce spray bottle
- Scrubbing Brush
Ingredients
- 1 tablespoon of baking soda
- 6 ounces of water
Instructions
- Dissolve baking soda in water.
- Pour the baking soda and water mixture into the spray bottle. Use a funnel if needed.
- Spray generously along the grout lines.
- Let the solution sit for several minutes to penetrate the mold.
- Finally, use the scrubbing brush to scrub loose the mold. Scrub gently, as you don’t want to damage the surface you’re scrubbing on.
- Rinse clean with water. I usually wipe it clean with a dry cloth to prevent water stains.
- Spray onto the grout a second time if needed and repeat the process.


This is such a great DIY!
Hello.
Do you know the expiration time?
Can I keep using the mixture the other days or it has to be fresh?