This post may contain affiliate links. Please see our disclosure policy.
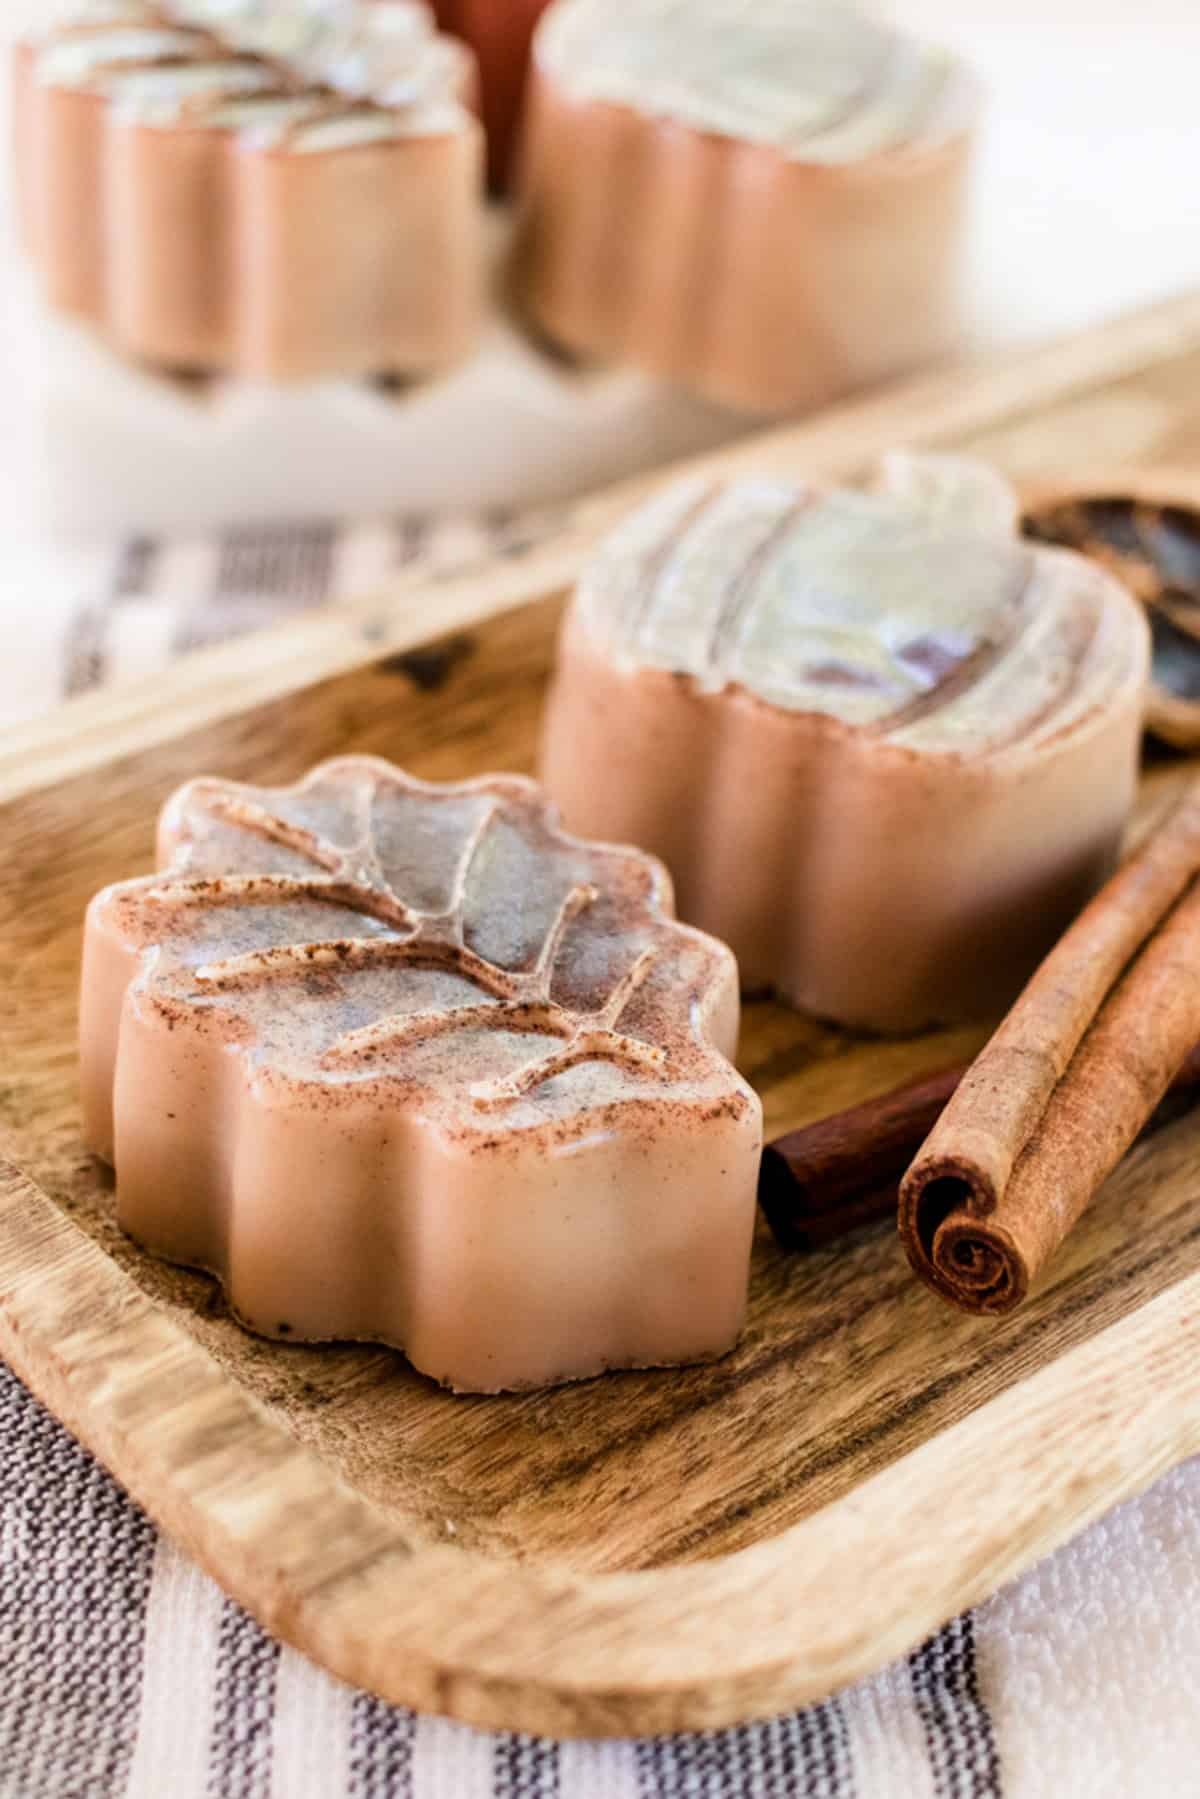
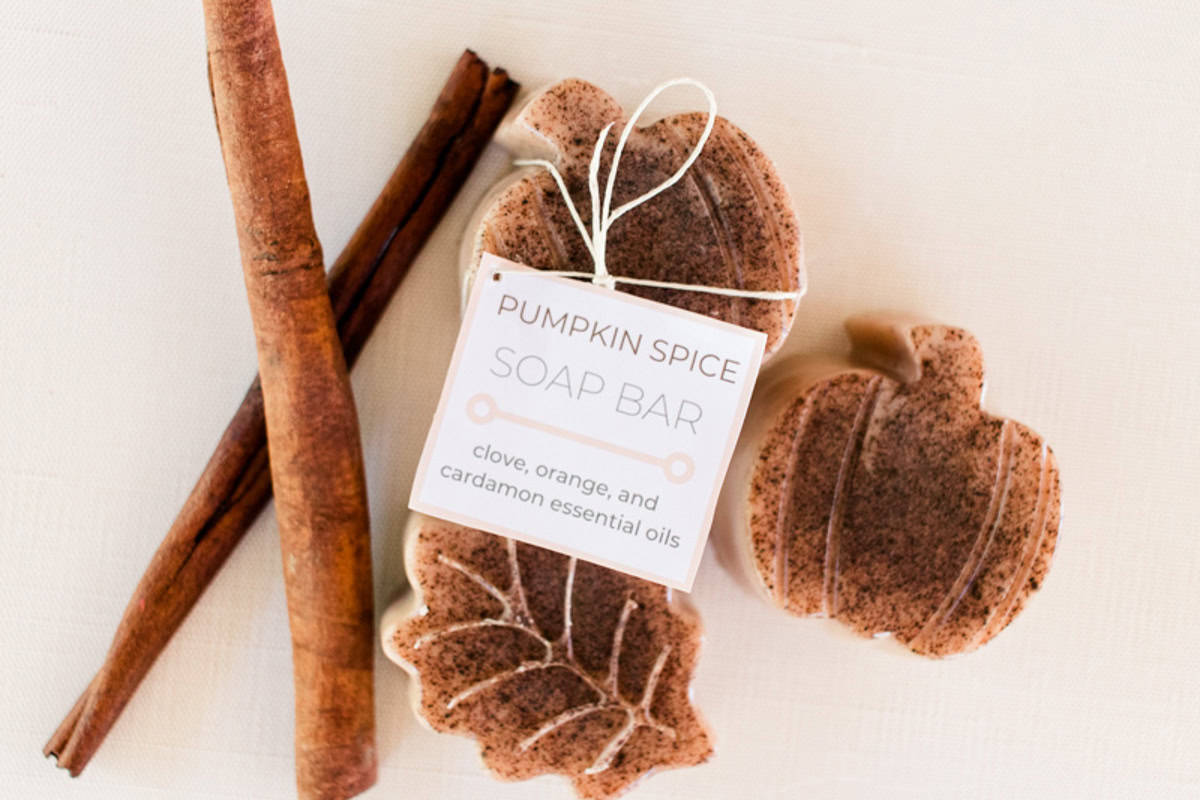
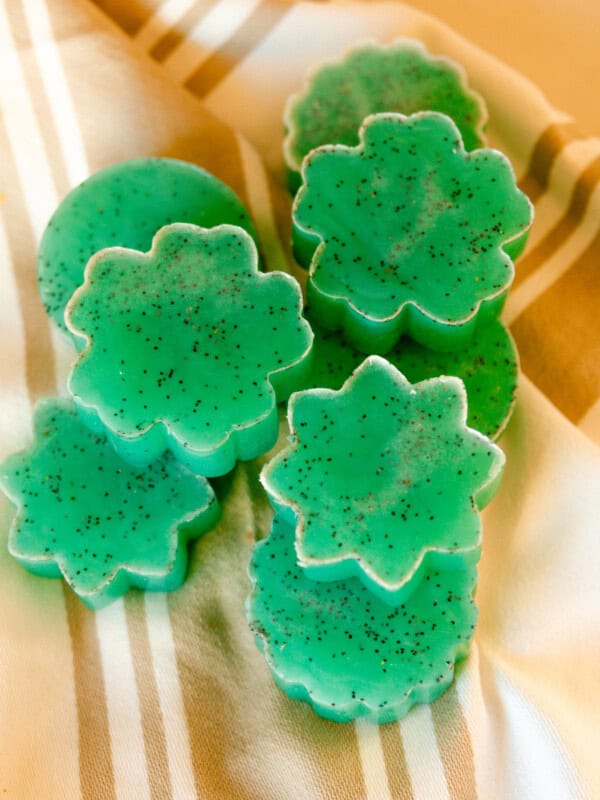
Perfect for celebrating fall and getting cozy in the evenings, these pumpkin spice soap bars smell delicious and are superb for nourishing and hydrating the skin. Plus, the best bit? They take just 20 minutes to make and can be used on the same day.
There’s just something about fall that makes soap seem so right. Don’t you agree?
It’s totally to do with the cooler nights and the urge to wrap ourselves in snuggly blankets in front of the fire. All those wonderful auburn leaves underfoot, blustery walks, steaming hot drinks, and cozy wood-burning stoves.
If you’re anything like me, you’ll switch up your bathing routine, too, to be somewhat more nourishing and nurturing.
Which is why I’m sharing how to make pumpkin soap bars in today’s post. They are delightful to use and so complementary to the season.
Great for both the bath and shower, they lather up nicely and smell incredible (like pumpkin spice!).
This is a melt-and-pour DIY! I wanted to keep it as simple as possible and make sure the bars are ready in time for the holidays, instead of waiting weeks like you would with a cold process soap, like my tallow soap recipe.
Why You’ll Love This Recipe
- Beginner-friendly: Unlike cold-process soap, this easy melt and pour recipe can be made with minimal equipment, simple steps, and no lye. Melt and pour soap is the perfect way to dip your toes into soap making. It can even be a fun activity for older kids (with proper protective gear, of course!).
- Perfect for fall: I love making bath and beauty products that get me in the mood for autumn, like fall body scrubs and room sprays with my fall diffuser blends. This pumpkin soap recipe combines perfectly autumnal essential oils with real pumpkin pie spice for a soap bar that is made for the season.
- Customizable: The fun of most DIYs is making your bath and beauty products exactly how you like them. Want to try a different soap mold, switch the soap base, or mix up your own blend of essential oils? Give it a try!
- Moisturizing: As the weather cools down, it’s definitely time to start thinking about keeping your skin moisturized! The shea butter soap base I use for these pumpkin spice soap bars hydrates the skin while cleansing, so your skin is ready to face the elements.
Materials Needed
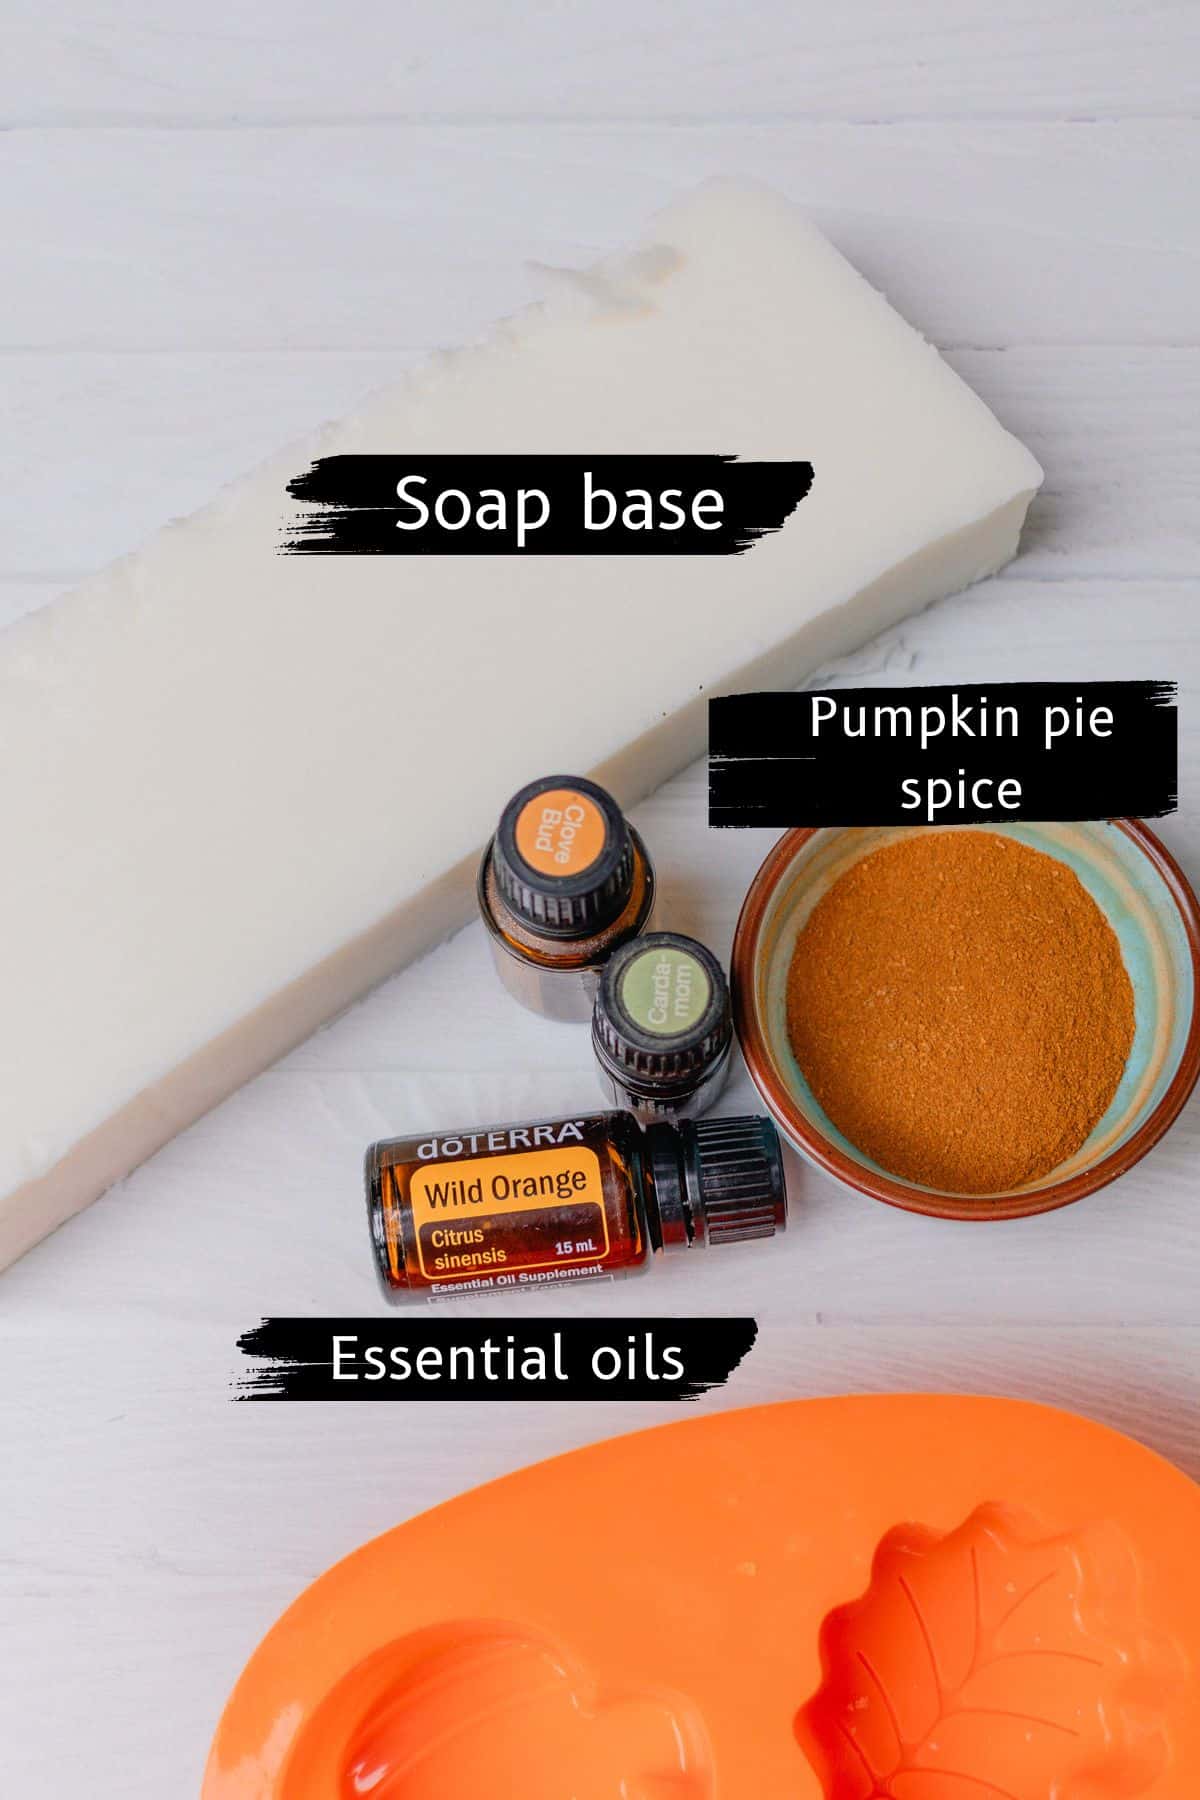
- Melt and pour soap base: You can use any soap base you prefer. I use a shea butter base in this recipe because it’s very nourishing and moisturizing.
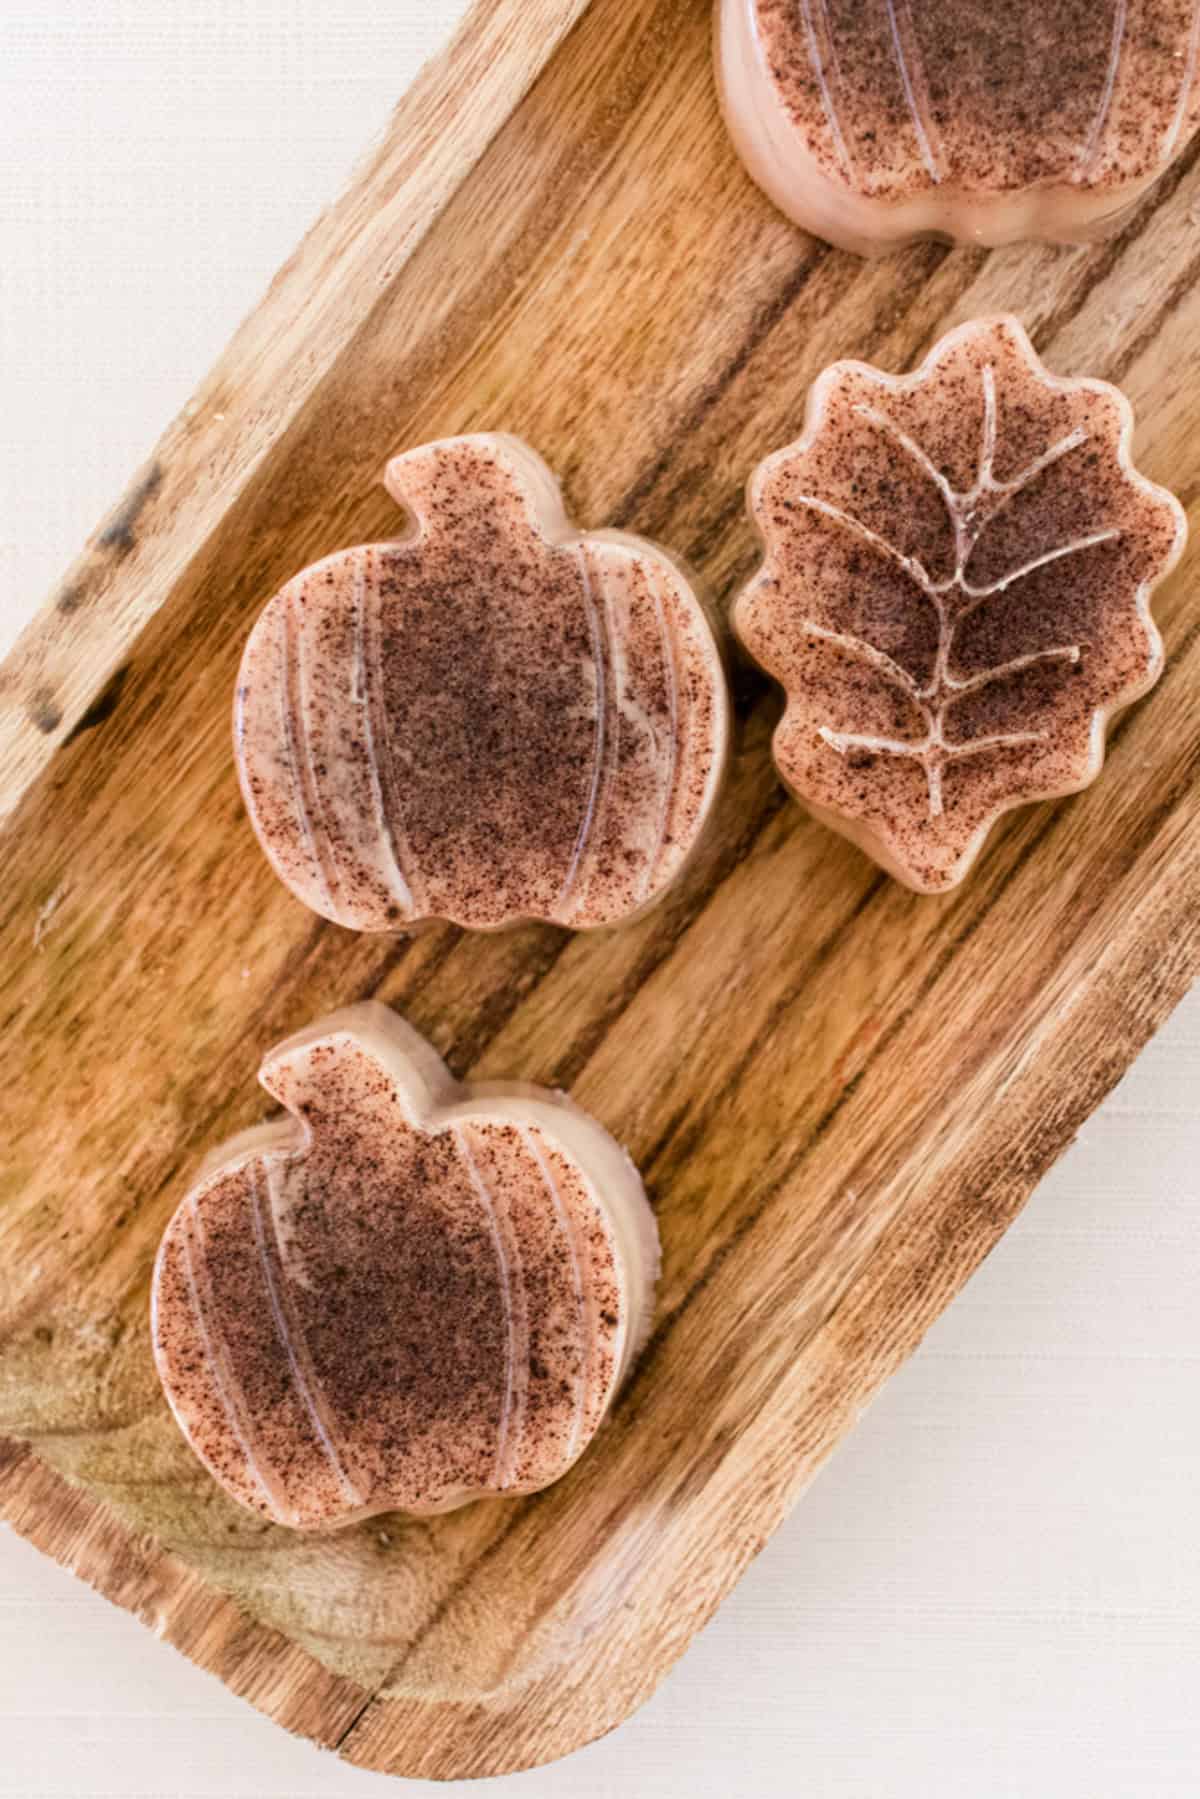
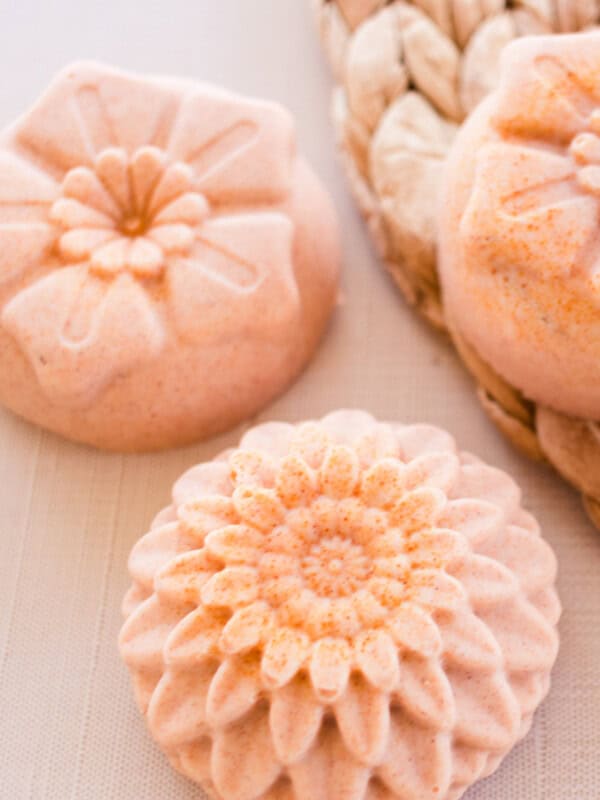
- Pumpkin pie spice: You can raid your pantry for this DIY! Pumpkin pie spice gives this soap a beautiful, rustic look and adds a bit of autumn scent.
- Essential oils: We’ll be using clove, orange, and cardamom essential oils to give this soap the ultimate fall fragrance.
- Silicone soap molds: You can use any soap molds you already have, or purchase molds in fun fall shapes for the most festive soap!
How to make pumpkin soap
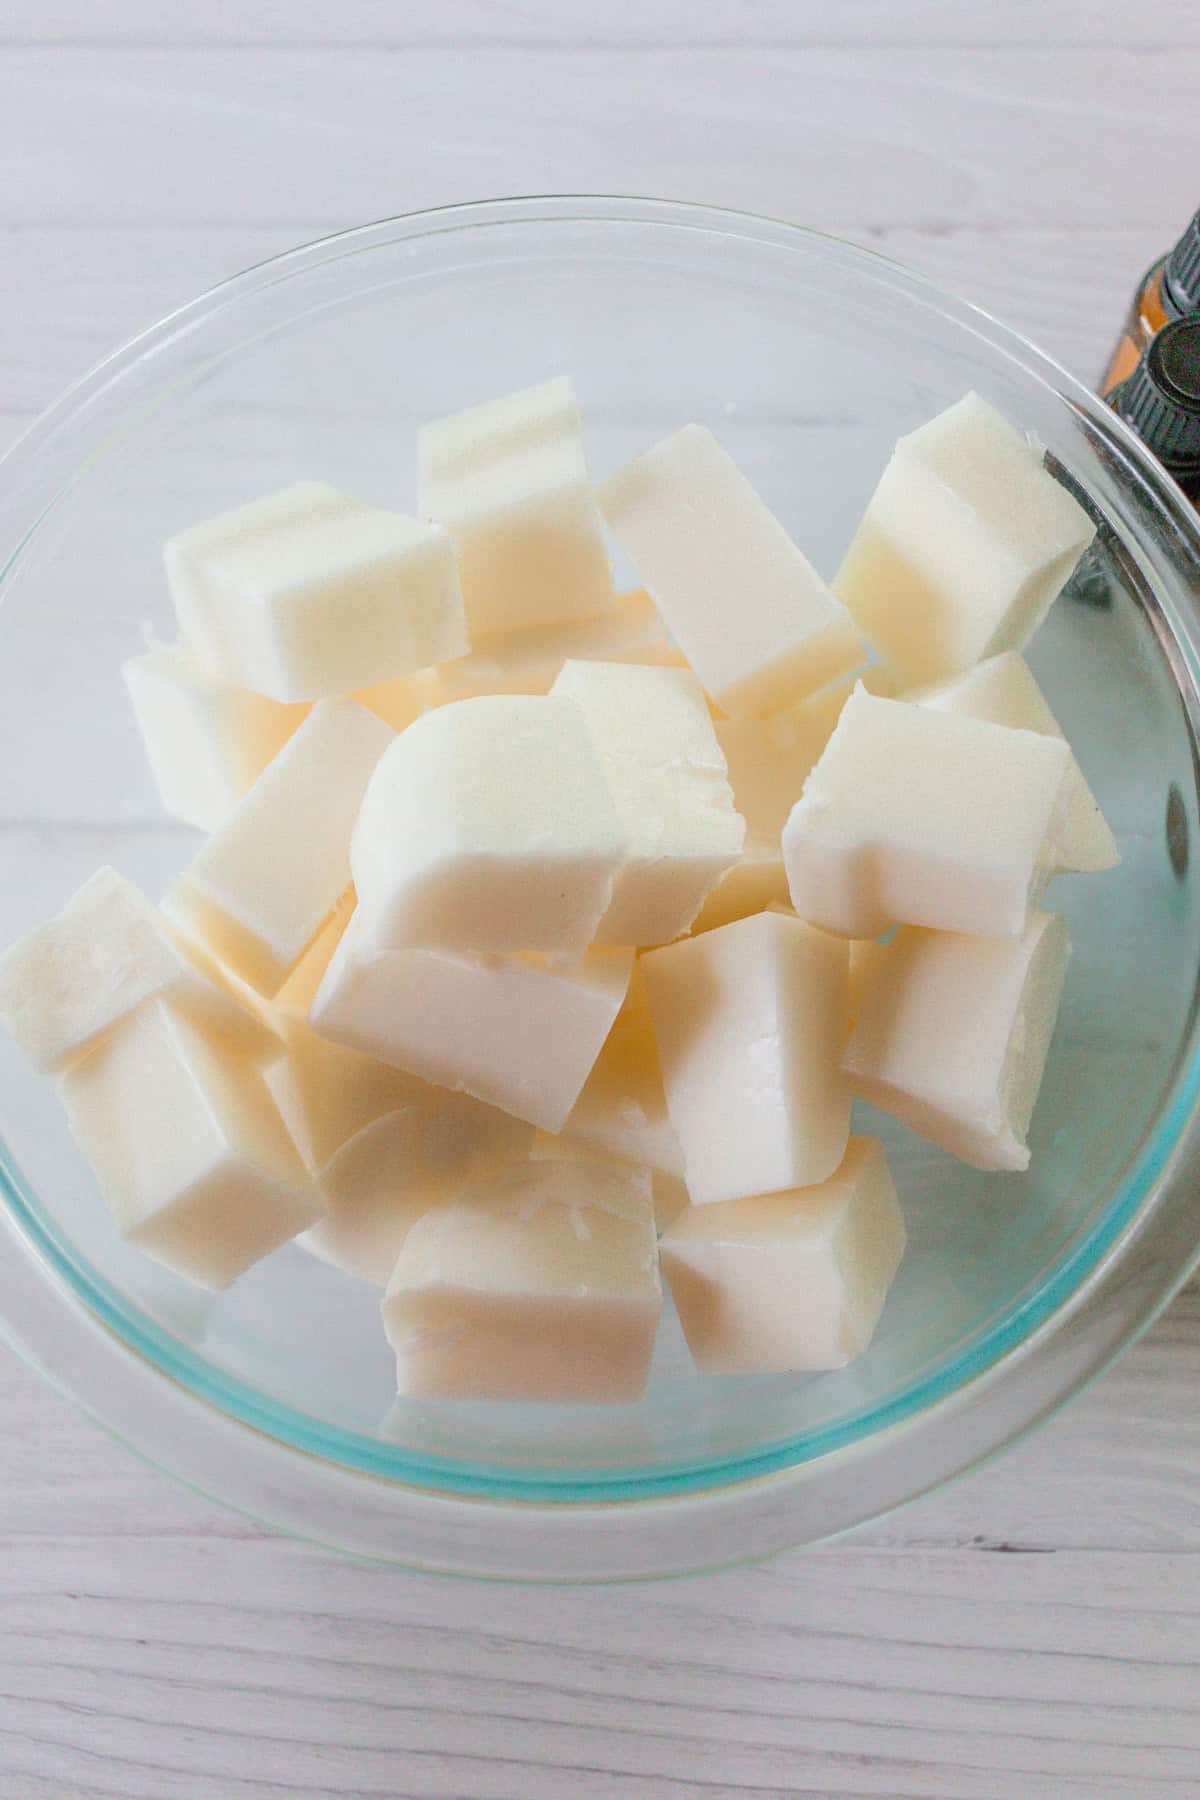
Step 1. Chop the soap base into small cubes.
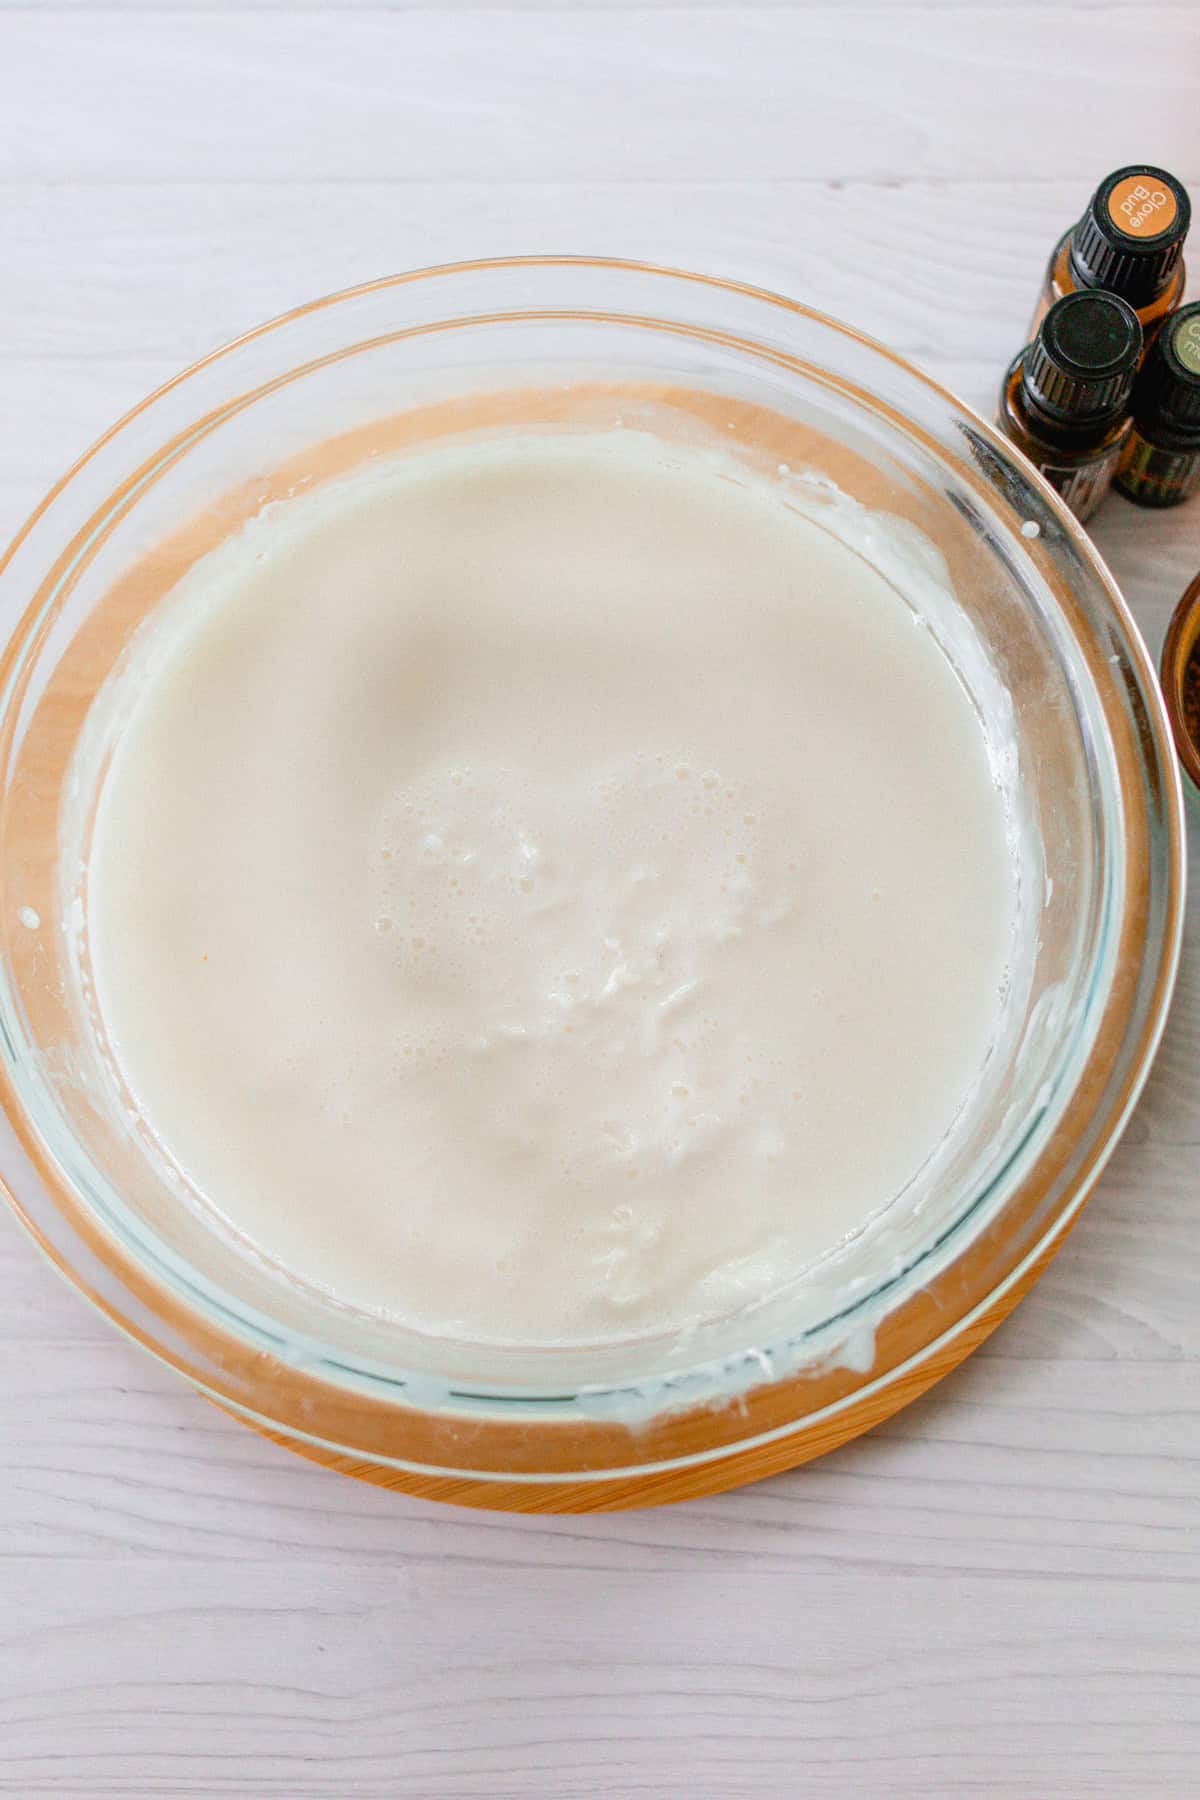
Step 2. Melt the soap base in a double boiler or a glass bowl, set over a pot of water, and bring it to a boil.
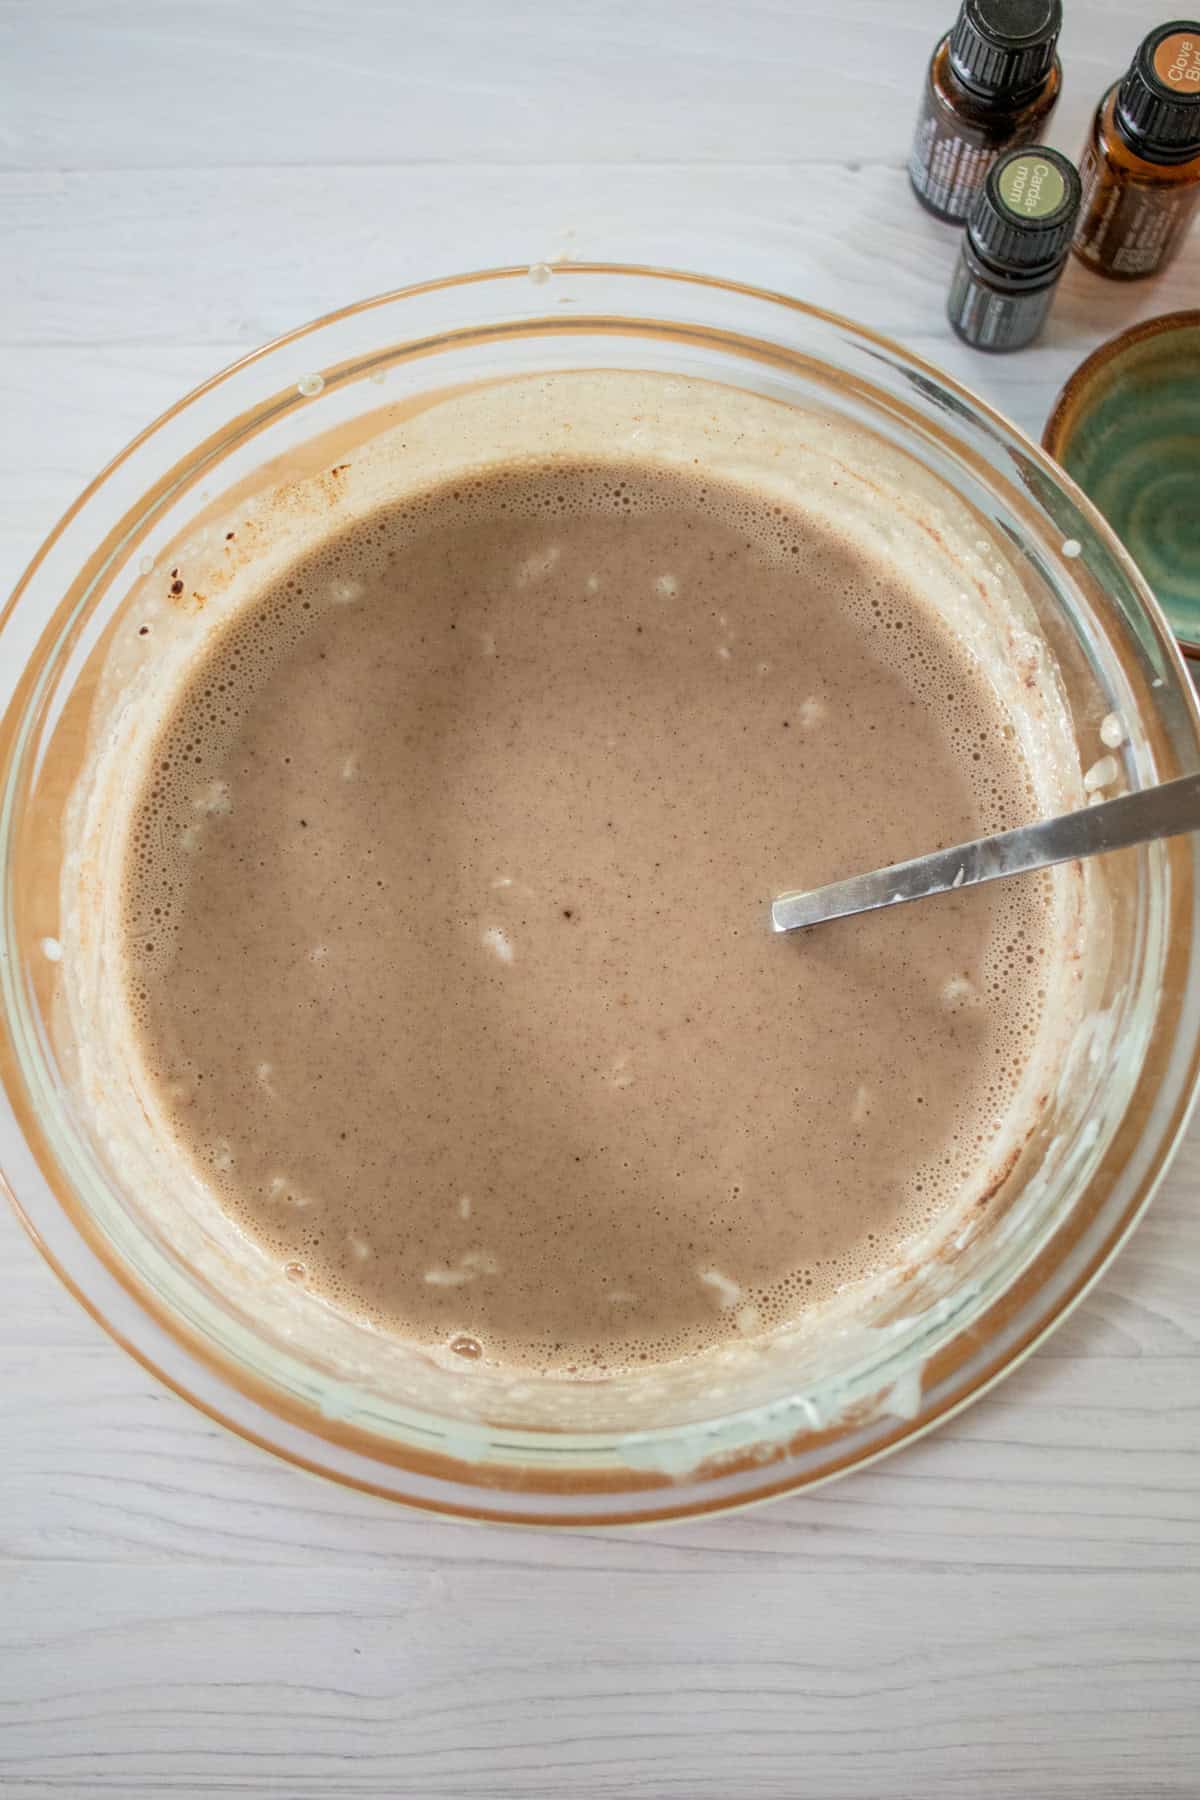
Step 3. Remove from the heat and stir in the pumpkin pie spice and the essential oils.
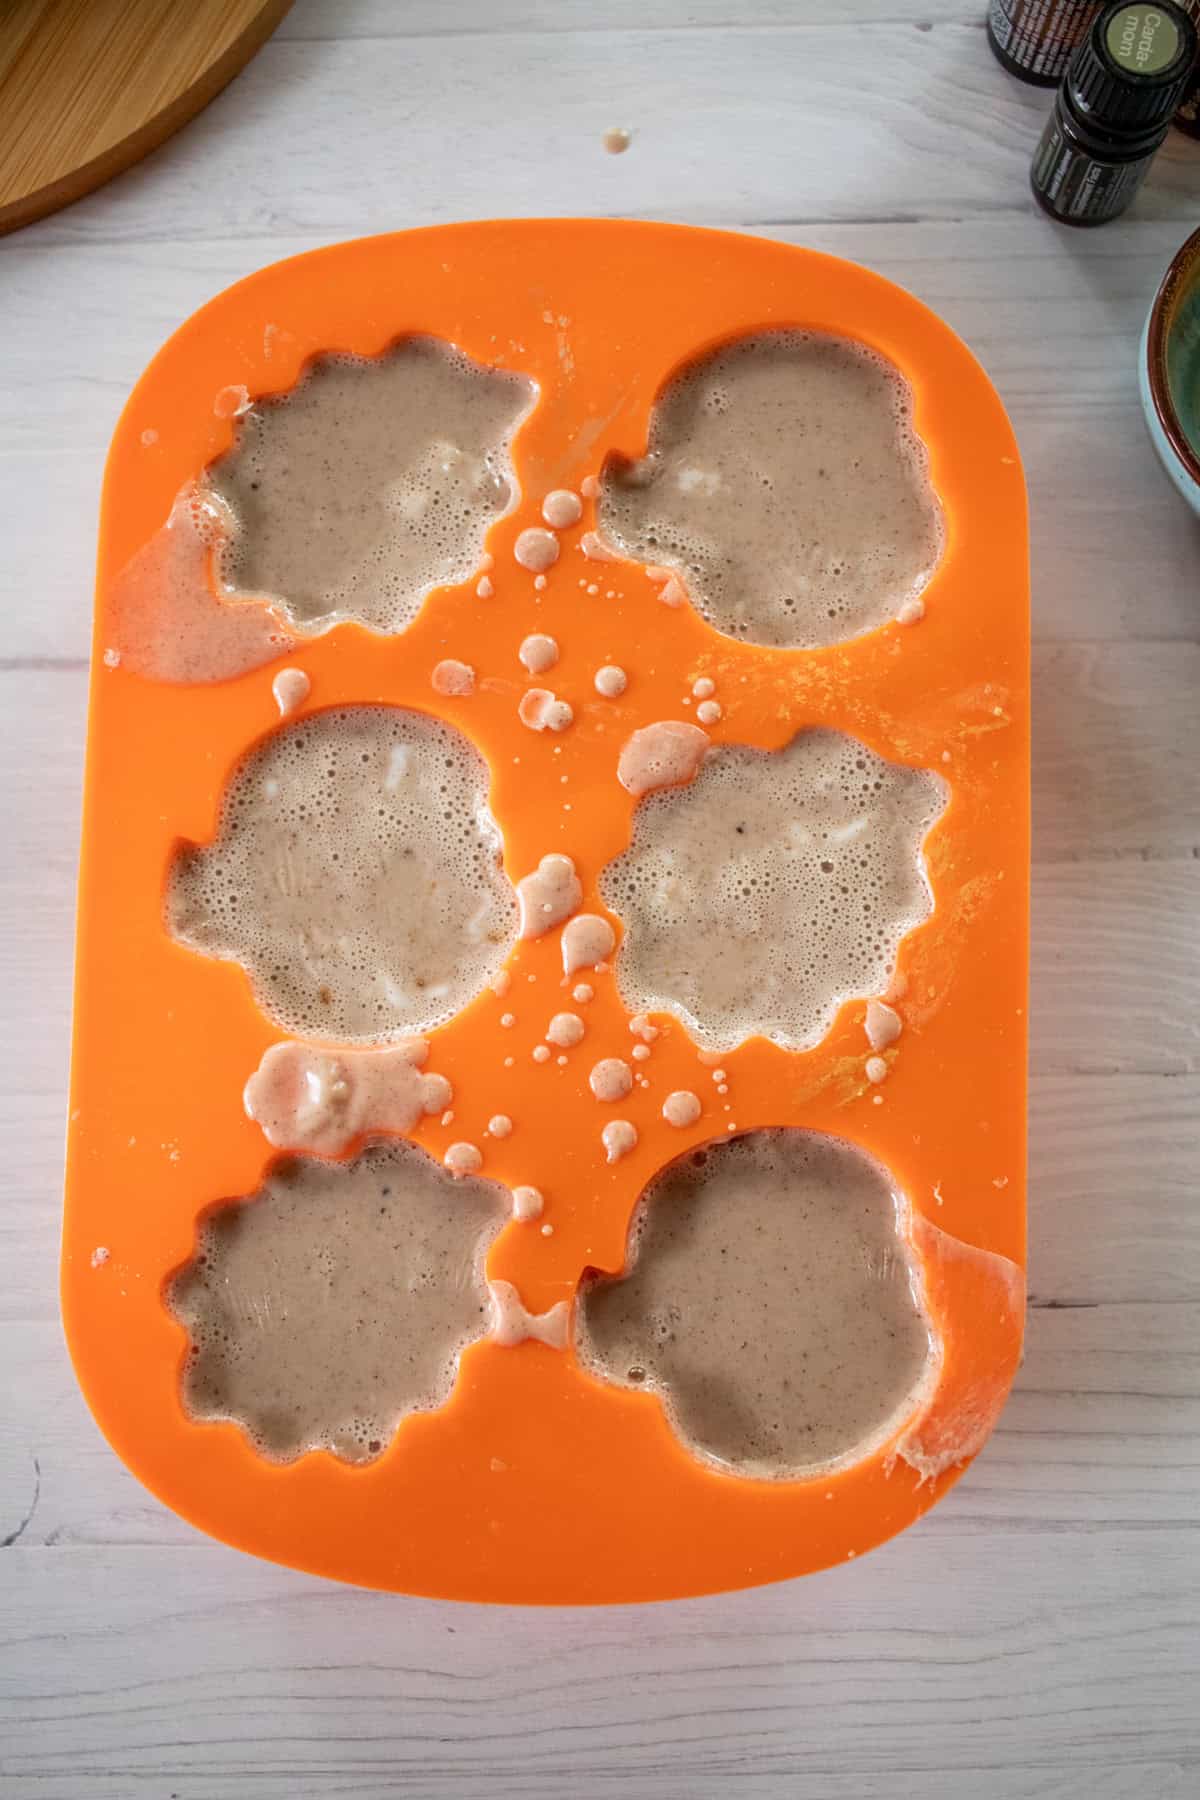
Step 4. Transfer the mixture to the soap molds and allow it to harden for at least 6 hours before using.
Tips for Success
- It’s always a good idea to wear gloves, an apron, and protective eyewear when making soap, even melt and pour recipes.
- Be sure to allow the soap adequate time to harden before removing it from the molds.
- Melt the soap base slowly to avoid bubbling or burning. The double boiler helps a lot with this, but if you don’t use one, be sure to melt the soap over low heat and stir often.
- I recommend sticking with only silicone soap molds because they make it very easy to pop the soap out.
- These soap bars make a lovely gift! Wrap them in paper, package them in a bag, or tie them with a string and label them for a sweet homemade gift.
Recipe FAQs
Soap doesn’t exactly “go bad,” but the scent may fade and the bar will get more brittle over time. In order to make the bar last as long as possible once it’s been used, allow it to dry out completely between uses. Avoid letting the soap sit in a pool of water as that will cause it to deteriorate quickly. A slatted soap dish can be helpful for this.
Cold-process soap is soap made from scratch using fats and oils and lye. The lye reacts with the fats in a process called saponification, which is how soap is created. Melt and pour soap uses a pre-made soap base in which the process of saponification has already occurred. This soap making method involves melting the soap base, adding additional ingredients such as essential oils, and pouring the mixture into molds to harden. Melt and pour soap is easier to make and requires much less caution in handling, making it ideal for beginners. Melt and pour soap also hardens in a few hours, versus the several weeks for which cold-process soap must cure.
There are so many wonderful melt and pour soap bases, and I’ve tried most of them! I love the shea butter soap base that I use in this pumpkin soap recipe. Goat milk soap base and coconut oil soap base are two other nourishing and moisturizing options.
More DIY Soap Recipes
- Goat Milk Soap Recipe
- Homemade Layered Coffee Soap
- Cleansing Charcoal Bar Recipe
- Honey Oatmeal Soap Recipe
- Homemade Beeswax Soap
- Homemade Soap Bars for Men
If you tried this Pumpkin Soap Recipe or any other tutorial on my website, please leave a 🌟 star rating and let me know how it went in the 📝 comments below. Thanks for visiting!
Pumpkin Spice Soap Bars (melt & pour)

Equipment
- Drying rack optional
Ingredients
Instructions
- Chop the base into small squares.
- Melt the soap base in a double boiler or a glass bowl set on top of a pot of water and bring it to a boil.
- Remove from the heat and stir in the rest of the ingredients.
- Transfer to the soap molds.
- Allow them to harden for 6 hours (at least) before using.
Video
Notes
- It’s always a good idea to wear safety glasses, gloves, and an apron when making soap. Keep small children out of the work area.
- Once hard, the bars can be removed from the molds and placed on a drying rack for a quicker cure time. For best results, I highly suggest leaving them to dry overnight.
- As demonstrated in the video, you can melt the soap directly in a saucepan. Just be sure to keep the heat low to prevent the soap from burning or sticking to the bottom.


Great idea,i will be trying this soon
Our oldest son got married in November and I loved making these soaps as a wedding gift to the ladies. They smell amazing!
Hi Laura,
do you still use GEOGARD 221 in your beauty products???? Recipes please
absolutely love everything you make…….jan
Congrats on the baby
Some of my recipes do include it. You can search for it at the top of my blog.
Hello. I have stumbled upon your site and was wondering if you can provide some advice. I have beeswax I’d like to make soap with. For the pumpkin spice and coffee soap recipes, do I just follow the beeswax soap recipe and add the flavors in from your other recipes or would you not recommend using beeswax? Thank you!
Thanks for asking. Any adjustments to a cold process soap bar will need to be made through a soap calculator. You can use the brambleberry calculator to enter in the ingredients you want to use!
Where do you get your essential oils? I’m new to all.of this but I do use some eos in my diffusers, and a mop water etc. I want high quality I just don’t know where to get them?!
I can’t wait to make these! I have a Clove eo, is that ok to use in place of Clove Bud?
Yep!