Discover my recipe for how to make body cream – the easy way with moisturizing ingredients that glide on effortlessly due to a whipped consistency
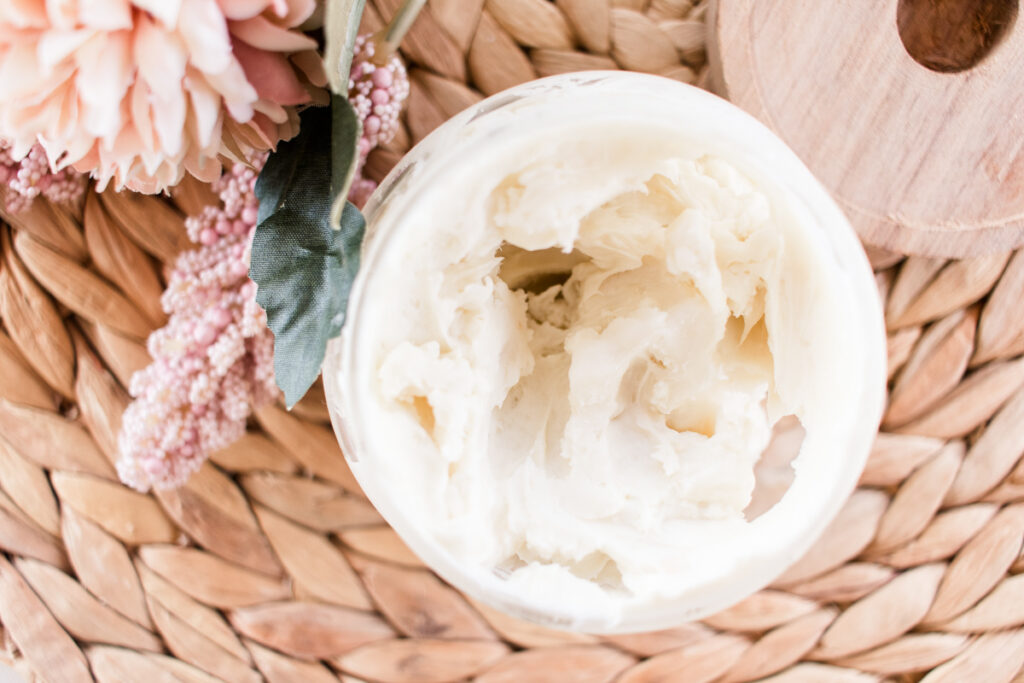
The DIY body cream is one of the more recent creations I came across – purely because I love how it works as a full-body moisturizer.
A homemade body cream is, in fact, super easy to make – as long as you’ve got a working handheld mixer to whip up the ingredients once they are mixed together.
That’s essentially all a body cream recipe is – it’s a whipped & water-free version of a lotion (and it contains more oil too.)
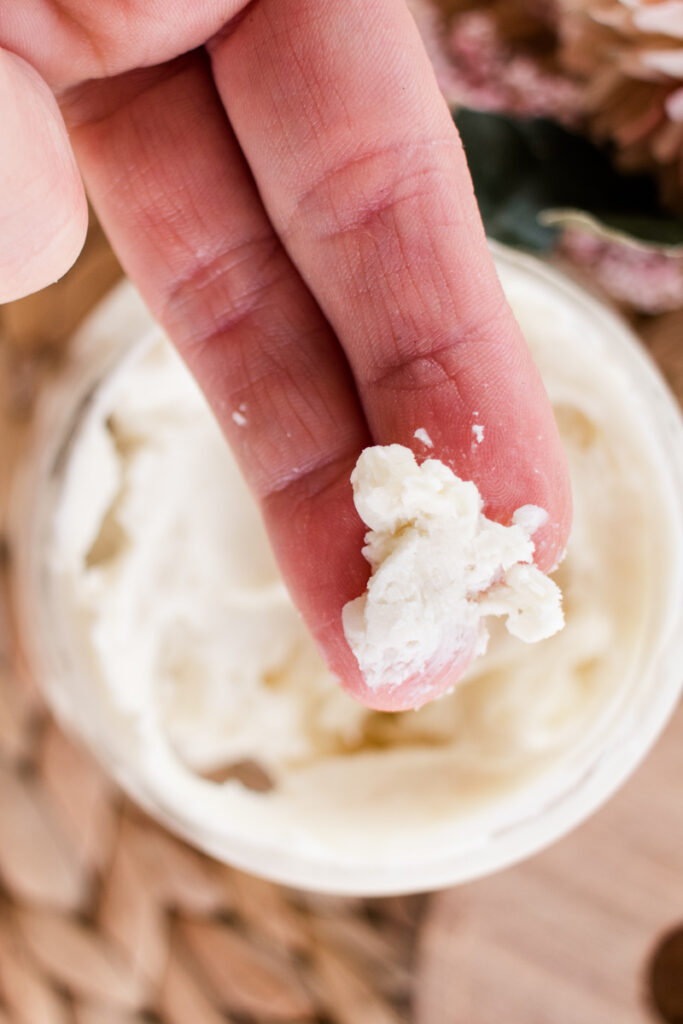
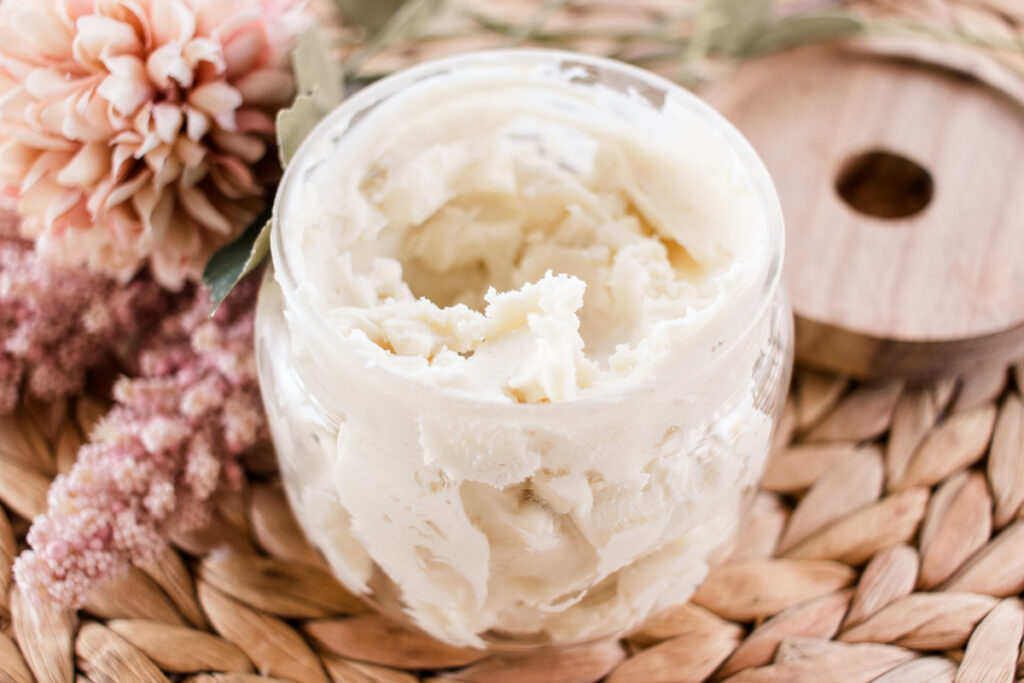
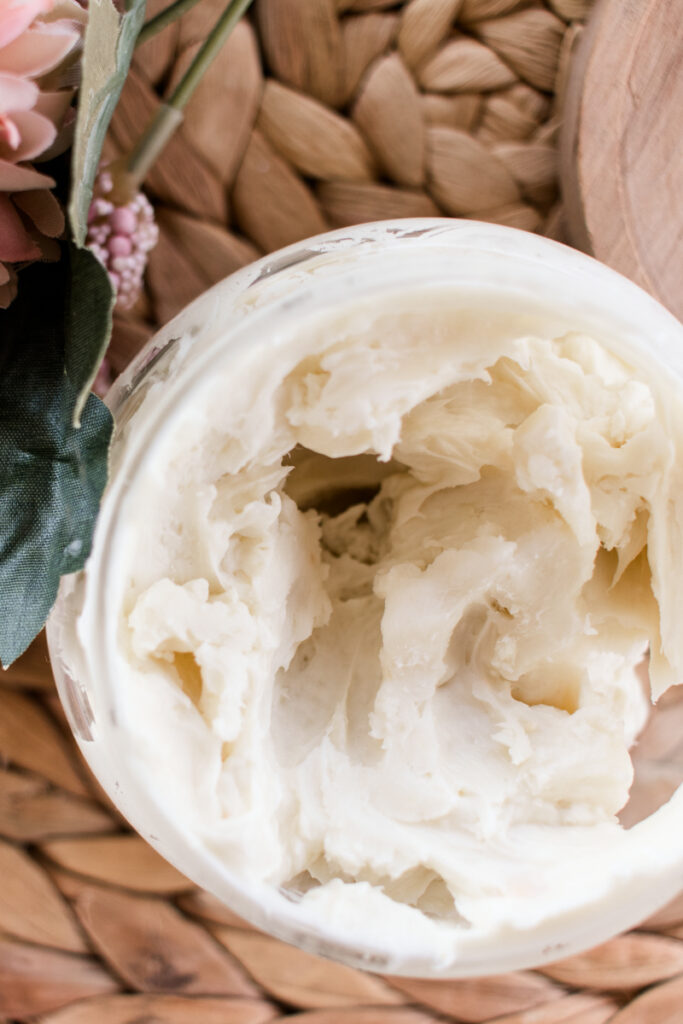
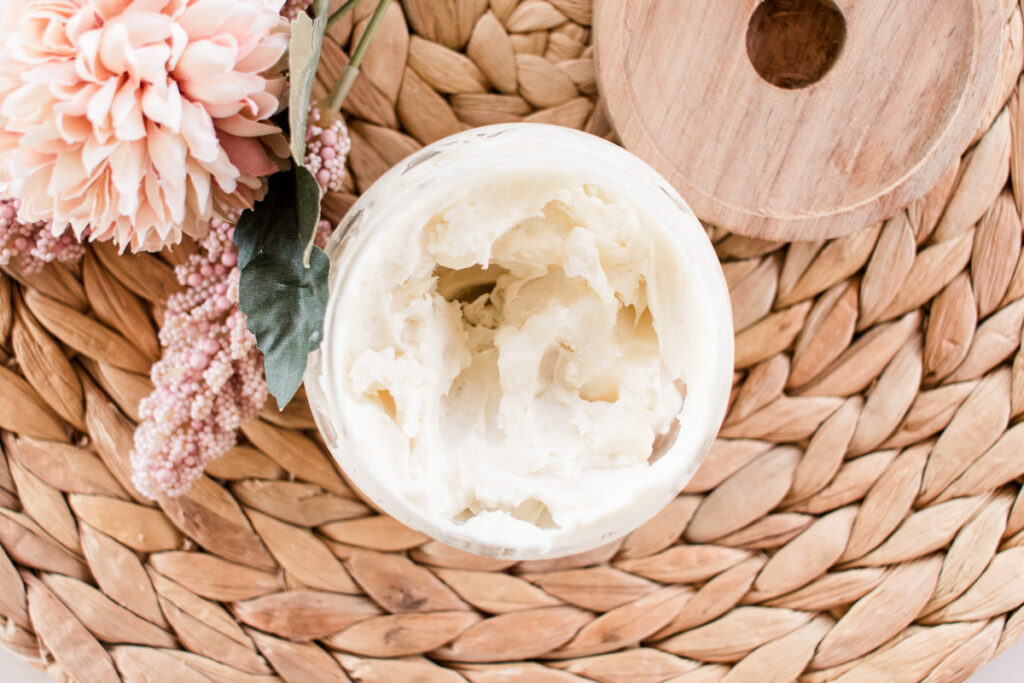
Being whipped means it has that lovely light, fluffy and luxurious texture we all crave after a long hard day (bath optional!), and it’s even more moisturizing than a lotion.
I’ll share how to make body cream in this post (scroll down for the recipe) and my best tips on getting the right texture and fragrance for your liking.
body cream benefits
Oh, the benefits! There are so many!
That is to say – so long as you use a body cream that is good for your skin (such as the one I share in this post, full of pure, natural ingredients.)
First off, a body cream is an excellent skin moisturizer, leaving your skin soft and supple after just one application.
My go-to is smearing on body cream after a nice warm bath, which helps soften the skin even further.
In line with softening your skin, so too does a body cream help maintain the skin’s moisture levels.
Because of the amount and type of moisturizing ingredients in a body cream, the skin tends to hold onto the moisture that much longer, lasting days rather than hours.
Another benefit is the anti-aging effect of body cream. Mostly due to how moisturizing it is, but, anti-aging also needs to be somewhat firming, which a good body cream will do!
how to use body cream
You use a body cream in the exact same way as you would a body lotion.
Take a small amount in the palms of your hands, rub it in a circular motion to warm it up, and then apply it to your body wherever you want to moisturize.
I use a body cream on my arms, legs, and tummy – never on my face, as it would be too thick. Try this anti-aging face cream or tinted moisturizer for the face.
Just go easy on body cream as it goes a long way – the thicker texture means you need less than a lotion, yet you’ll still get a better moisturizing effect from it.
This post contains affiliate links, which means I make a small commission at no extra cost to you. Get my full disclosure HERE.
Body cream recipe
Here’s my own recipe for a wonderful body cream that adds moisture and fragrance in one hit.
Ingredients:
- 1 cup of shea butter
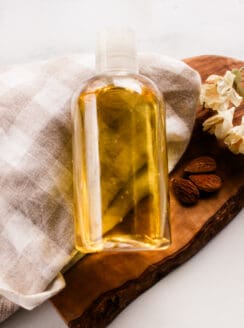
- 1/4 cup of almond oil
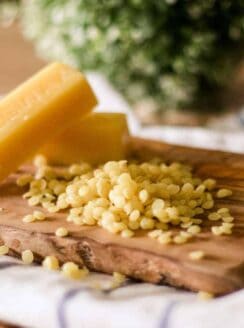
- 1 tsp of beeswax
- 1 tbsp of honey
- 3 drops of vitamin E oil
- 1 tbsp of arrowroot powder
- 1/8 tsp of vitamin C powder
- 10 drops of essential oils (optional)
Instructions:
- Melt shea, beeswax & almond oil in a double boiler.
- Allow the ingredients to cool to the touch before stirring in the remaining ingredients.
- Transfer to the fridge for 2 hours to harden up. (It should be mostly firm, and you should be able to press your thumb into the middle of it, and it should hold the indent)
- Whip with a hand mixer until it’s light and fluffy. It takes about 2-3 minutes.
- Transfer to an airtight container for storage.
Why you will love this recipe
The key to this recipe is the ingredients in it!
I mean, of course, the whipping of the mixture makes it into the body cream consistency.
But the magic (aka skin benefits) happens because of the shea butter, the oils, the beeswax, honey, as well as the vitamin C and essential oils (if you use them).
Even used on their own, these ingredients work wonders on dry or aging skin. But combined, it’s potent stuff.
Vitamin C is a natural skin tightener, working hard to smooth out fine lines and wrinkles.
Shea butter is a superb, healthy skin moisturizer with a wonderful thick consistency – literally like butter! It glides onto the skin effortlessly and locks in moisture for days on end.
Oh, and did you know? Arrowroot powder is a natural stabilizer, helping absorb excess oil and helping the cream to blend easier on application.
how often should you use body cream
This is one of the questions to which there is no specific answer – how often should you use body cream? Because the answer is, as often as you like!
This natural body cream recipe is perfect for daily use, but you’ll probably find you don’t need to use it every day.
That’s what I love about this stuff – you apply it once, and it lasts ages (well, at least a day or two!)
making body cream tips
My top tip is to store this body cream in a glass container with a lid. The reason is if you add essential oils to it, a glass container will allow for a longer shelf life.
Using anything plastic will spoil the oils.
Also, if you’re using this body cream after a hot bath or shower, you may find it doesn’t absorb as quickly.
I tend to dry myself off fully first but stay in the bathroom where the steam has built up. Then I apply the body cream and rub it in well, so it absorbs.
Lastly, take care when whipping it.
If you don’t whip it long enough, it’ll turn into a solid moisturizer block after a day, and if you overwhip, well, the smoother and creamier it will become.
To get the right consistency, try intermittent bursts with your hand mixer – and don’t go below the recommended time limit!
I hope you enjoy this recipe and give it a go. Feel free to ask any questions in the comments section below.
And if you liked this post, I think you’ll enjoy reading one of these.

How to make body cream
Equipment
- Glass storage jar
Ingredients
- 1 cup of shea butter
- ¼ cup of almond oil
- 1 tsp of beeswax
- 1 tbsp of honey
- 3 drops of vitamin E oil
- 1 tbsp of arrowroot powder
- ⅛ tsp of vitamin C powder
- 10 drops of essential oils optional
Instructions
- Melt shea, beeswax & almond oil in a double boiler.
- Allow the ingredients to cool to the touch before stirring in the remaining ingredients.
- Transfer to the fridge for 2 hours to harden up. (It should be mostly firm, and you should be able to press your thumb into the middle of it and it should hold the indent)
- Whip with a hand mixer until its light and fluffy. About 2-3 minutes.
- Transfer to an airtight container for storage.
Marcia Braddock says
Hi Laura. Thank you for this recipe. Sounds great!
what are your thoughts about adding either fresh goat milk to this or in powder form. I make goat milk lotion in pump bottles but would like a heavier cream like this one but would rather have goat milk in it. Any ideas?
Thanks so much!
Laura says
Hey Marcia, thank you! I would look specifically for a goat milk lotion recipe.
dia says
Hi Laura!
is there such a thing as a hand cream without shea butter? shea has a natural latex protein in it. latex and I are not good friends.
In the past, I would occasionally purchase a goat milk hand cream (it was expensive) and my hands always felt great afterwards. yet the back of my hands felt itchy and I never understood why. this year I purchased raw shea butter and my hands felt itchy. i don’t doubt that shea butter is great but i know i can’t use it.
Laura says
Hey, search for my “homemade night cream”. It doesn’t contain shea butter and could be used as a hand cream.
Jessica Grady says
I am allergic to almond (almond oil). Could I substitute coconut or olive oil? Thank you!
Heather says
I use absorbic acid when canning tomatoes. Is that the same as vitamin c powder?
Laura says
Yes, the same! 🙂
Daniella says
Could you use cornstarch in place for the arrowroot powder?
Laura says
Yes!
Ang says
How long does this last before it expires?
Laura says
about 6 months
Kehinde says
Good day madam,
Almond oil is not available where I am, which oil can I replace with?
Anne says
Hi Laura 😉
Anne again (from your other shampoo recipe) !
Thank you so much for your website, I love it 🙂
On this body cream recipe, I have tapioca flour and not arrowroot powder. Is it ok? or should I really use the arrowroot?
Laura says
I have never tried that so I can’t say for sure.
Pearl says
I just made this tonight. My first homemade product! I didn’t whip enough, by the time I got out of my bath I had to scoop off hard chunks and melt it on to myself. I wish I had added a more potent smelling essential oil too. But I’m softer than I’ve ever been so far!! I’m excited to play around with the recipe and experiment going forward. This batch also made much more than I expected once I had put it in the container!
Is the consistency supposed to remain “soft” like whipping cream or something if it’s whipped properly? Thank you so much! =D
Laura says
Not quite as soft as whipped cream, but you should be able to press your fingers into the jar to get it out pretty easily.
The most common cause for it getting hard is not whipping it long enough with an electric hand mixer.
Katy F. says
What if I would rather use coconut oil or olive oil in place of the Shea or combine all three? Besides essential oils, can other fragrances be use like mango, peppermint, vanilla?
Laura says
You can certainly apply your substitutions! Coconut oil would probably be ok, but olive oil is not a solid and would result in a greasy, runny finish. Shea butter substitutes nicely with mango or cocoa butter!
Using other fragrances should be fine; you may want to adjust the amounts to your preference. Start with less and add more as needed! Let me know how it turns out!
Michelle Anjanette Delgadillo says
Is crushing a Vitamin C supplement the same as the Vitamin C powder?
Laura says
I’ve actually done this in the past! Unfortunately, vitamin C pills have extra ingredients to help hold their shape. And while it does work, you will notice a bit of a grainy/exfoliating texture with the final product. Still works great, though!
Vera Keyes says
What if you don’t have the Vit C power
Laura says
Just leave it out!
VERA says
Hi, Laura….have been making your recipes for quite some time now and always with successful…..however this last ecipe for the body cream….and I made two batches using different essential oils….has turned out to be gritty once applied to my skin.
I followed the ingredients precisely and it whisked to a good creamy consistency .
What do you think has gone wrong….?
Laura says
Were you able to use pure vitamin C powder? If so, ensure the vitamin C and arrowroot powder are fully dissolved before letting it cool and harden.
Chris says
Do you have any recipes for itchy skin on pets? We have bulldog and I want to make something to help keep his skin folds bacteria free and safe to use around his eyes and nose. Also keep his pads moisturized.
Laura says
I would try a little coconut oil.
Michael Perry says
I really like all your information on natural body lotions, because I really have dry skin, I only like natural ingredients on my body, plus you made everything look so simple on your blog. Thanks again for creating your blog, it’s really going to help me out, I haven’t yet try it out yet, but will, when I get all the different ingredients.
Laura says
You’re welcome!