This post may contain affiliate links. Please see our disclosure policy.
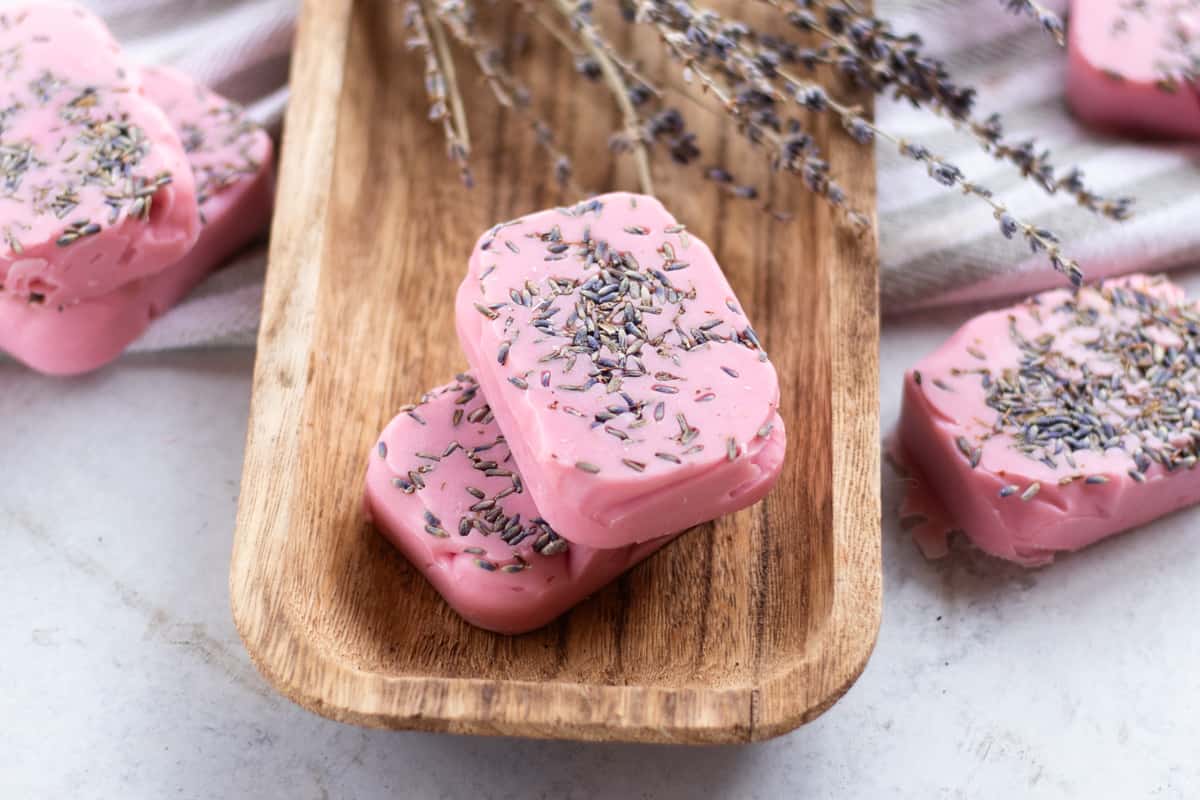
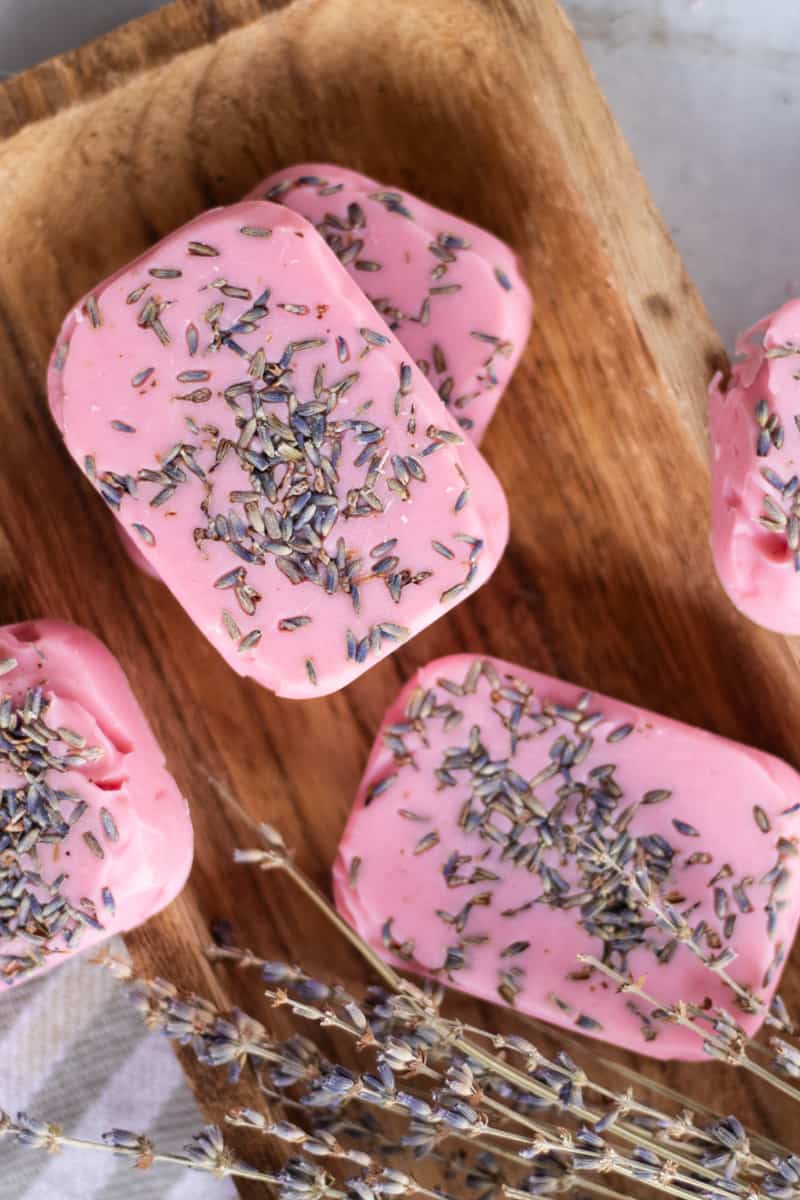
Pamper yourself or a friend with the relaxing aroma of this homemade lavender soap. This soap bar gently soothes and moisturizes while promoting a calming effect with its subtle notes of lavender essential oil.
When I first got into making my own soap at home, I was a bit intimidated by the cold-process method. The lye component made a lot of people, like myself, shy away from the process.
After making tons of melt and pour soap bars, I finally took the plunge into cold-process soaps like my homemade chamomile soap and coconut milk soap recipe, and it’s been great. Yes, you need to be careful when handling lye, but if you follow some simple safety precautions, you can easily start making the “real soap” you’ve been dreaming of.
This is the best lavender soap recipe and it’s my go-to DIY gift for people with sensitive skin. Lavender can have a calming effect, perfect for inducing those spa-like feelings of deep relaxation.
How to make DIY lavender soap
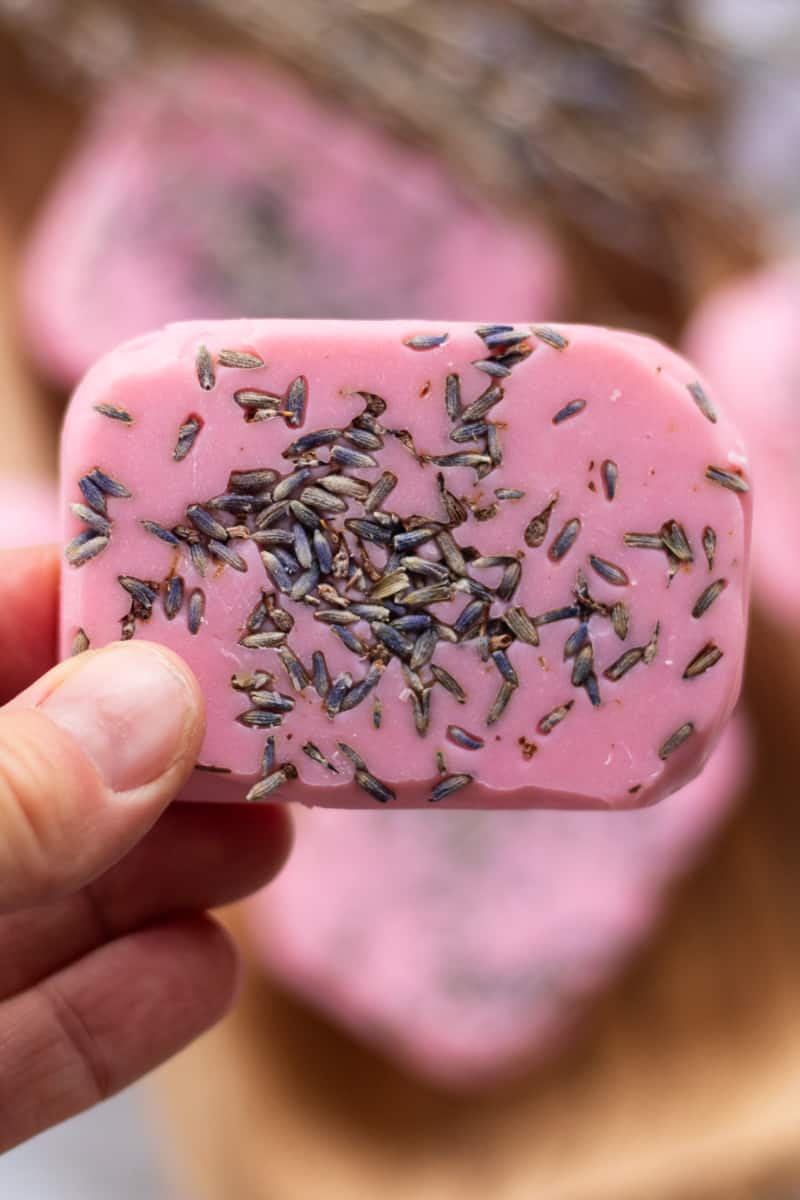
I love the pop of purple the petals add to these homemade lavender soap bars, but you can leave them out if you’d prefer a simpler look.
Tools you’ll need:
- Saucepan or double boiler
- Immersion blender (you can mix the ingredients by hand, but it will take forever to bring the soap to trace)
- Digital thermometer
- Digital scale
- Soap molds (these are the ones I use)
Ingredients
This soap is made with a 5% superfat
Lye and Liquid
- Water 10.28 oz
- Lye 4.6 oz
- Total: 14.88 oz
Oils and Fats
- Mango butter 12 oz
- Coconut oil 14 oz
- Sweet almond oil 3 oz
- Olive oil 2 oz
- Yellow beeswax 0.3 oz
- Total: 31.30 oz
Add-ins
- Lavender essential oil 40 drops
- Liquid soap colorant 20+ drops
- Dried lavender petals (optional)
Total batch yield: 46.18 oz (plus add-ins)
Instructions
Step 1. Use a digital scale to weigh out the oils and fats. Add them to a saucepan, melt them, then transfer to a metal mixing bowl to cool.
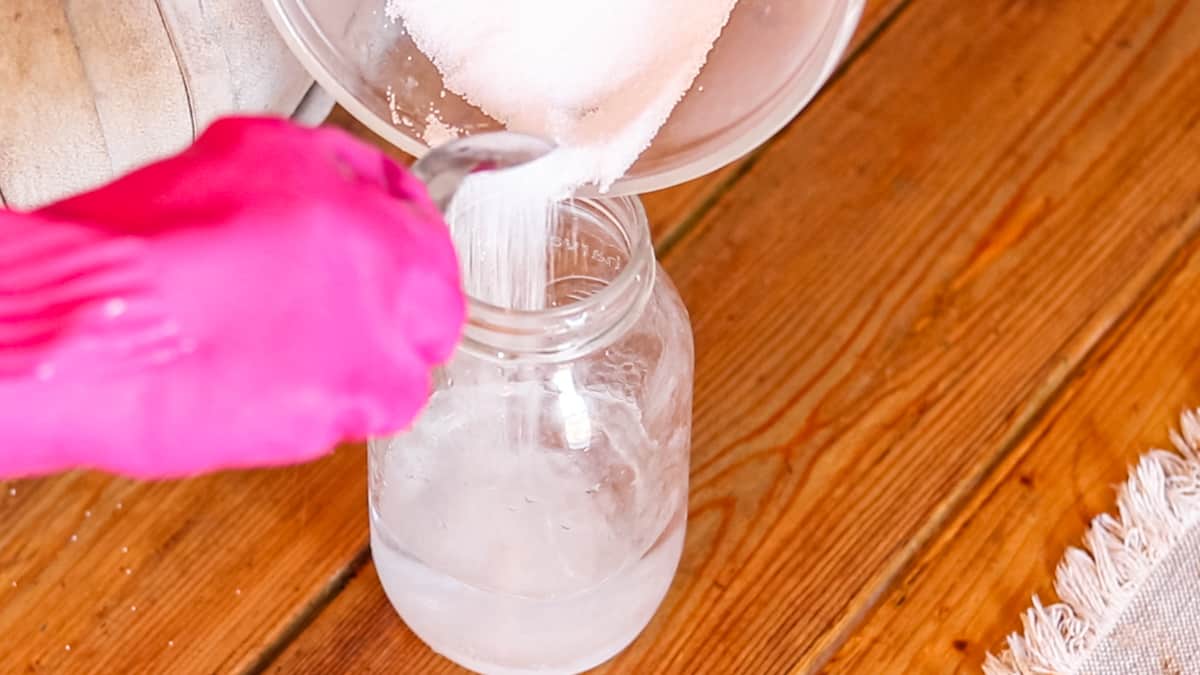
Step 2: Put on your rubber gloves and safety goggles, then in small increments, slowly add the lye to the water in a heat-resistant jar (never pour water into the lye).
Gently stir until dissolved, add a bit more lye, and stir again. Be cautious, as the reaction will cause the mixture to heat up and release toxic fumes. Set aside in a safe location to cool.
Step 3: Allow both the lye solution and the oil mixture to cool to approximately 100-110 degrees Fahrenheit, and get ready for the next step once both are within 10 degrees of each other.
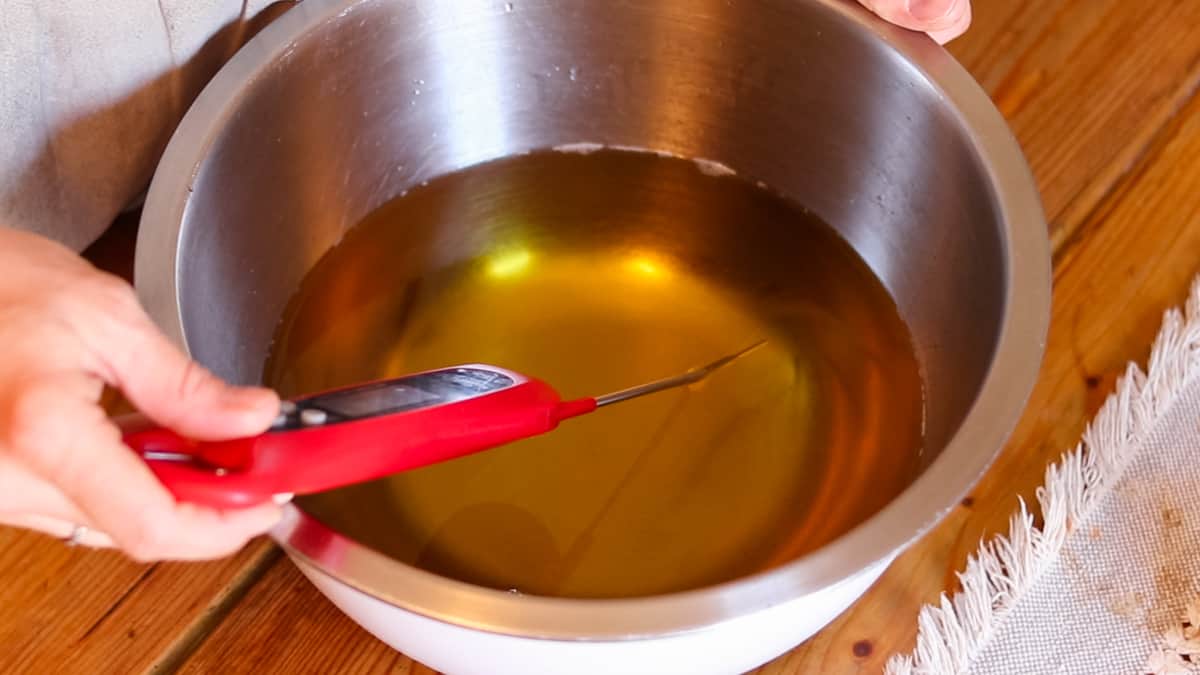
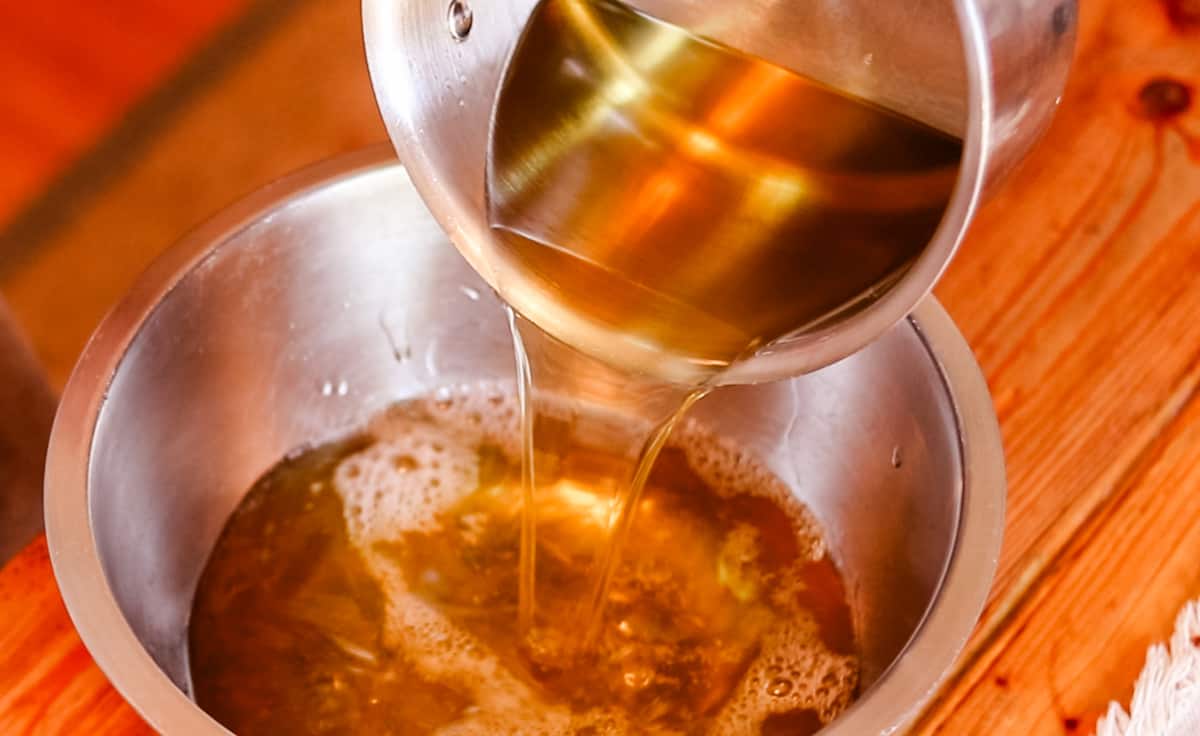
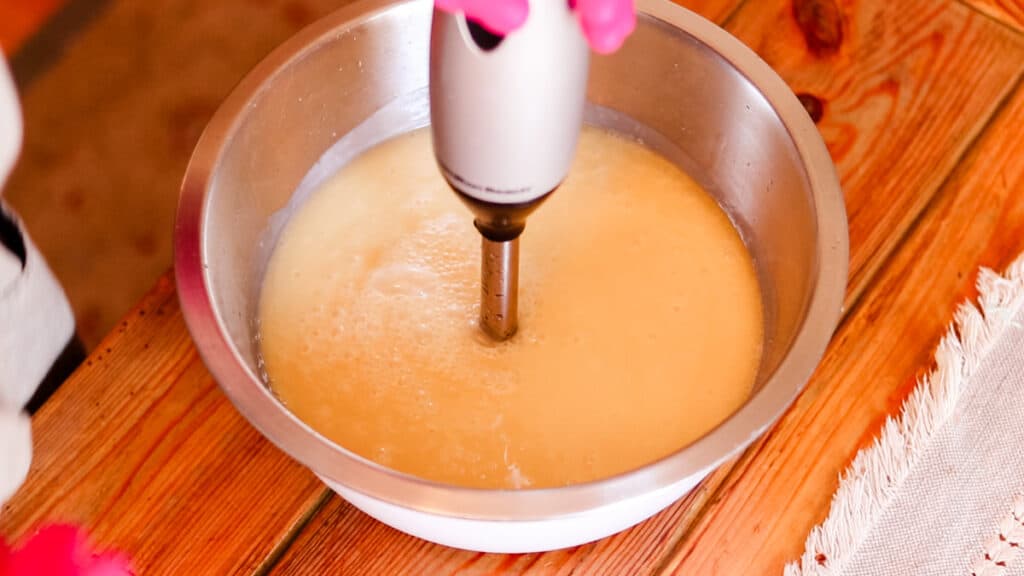
Step 4: Carefully pour the lye solution into the oil mixture a little at a time and mix it with an immersion blender. Continue until all the lye is added and you reach a light trace.
Step 5: After bringing to a light trace, add in the lavender essential oil.
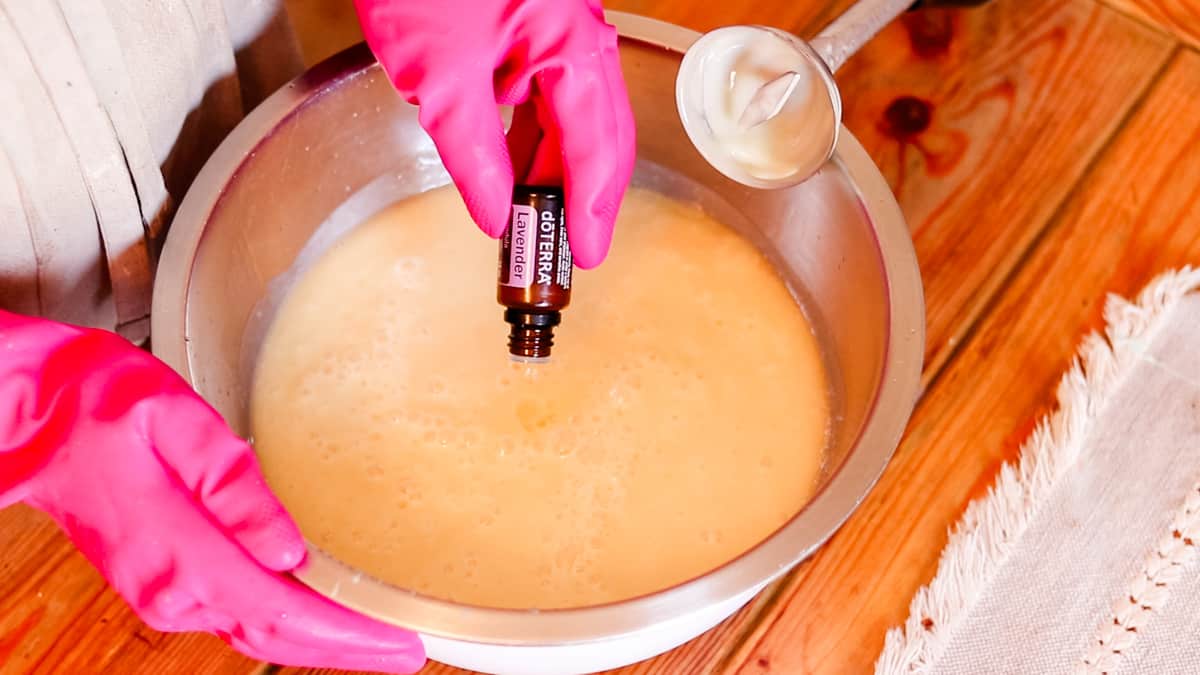
Then, add the dye.

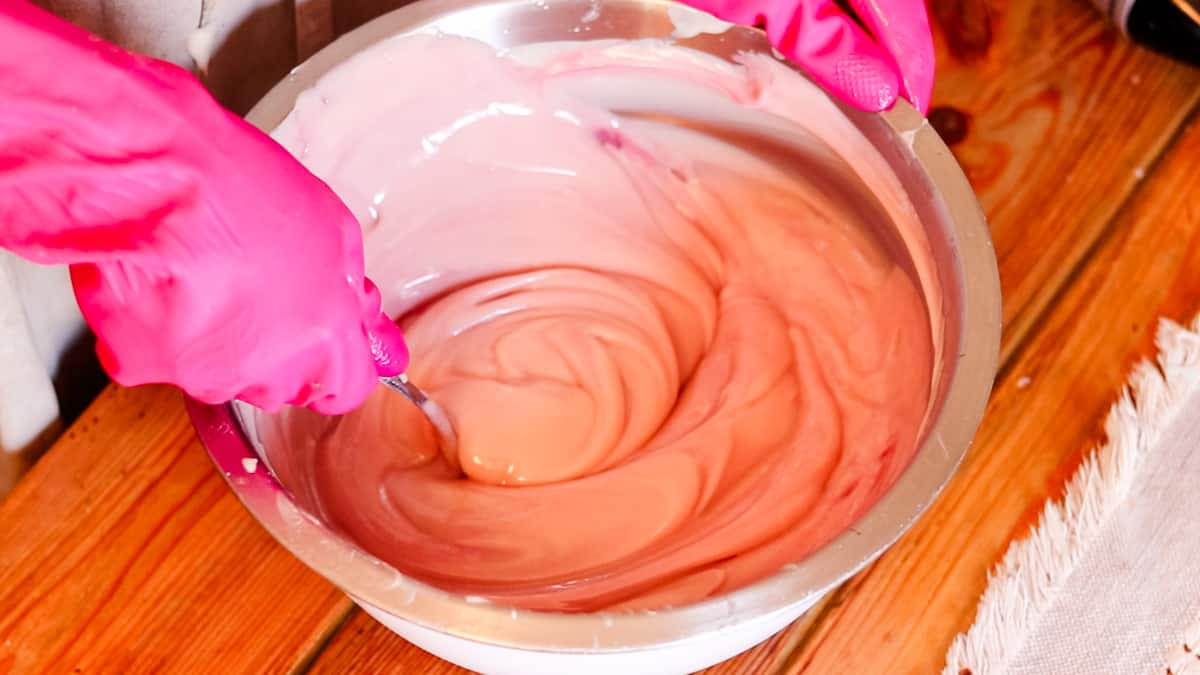
Mix thoroughly with the immersion blender until it comes to a medium trace. (If the mixture becomes too thick, stir it with a spoon.)
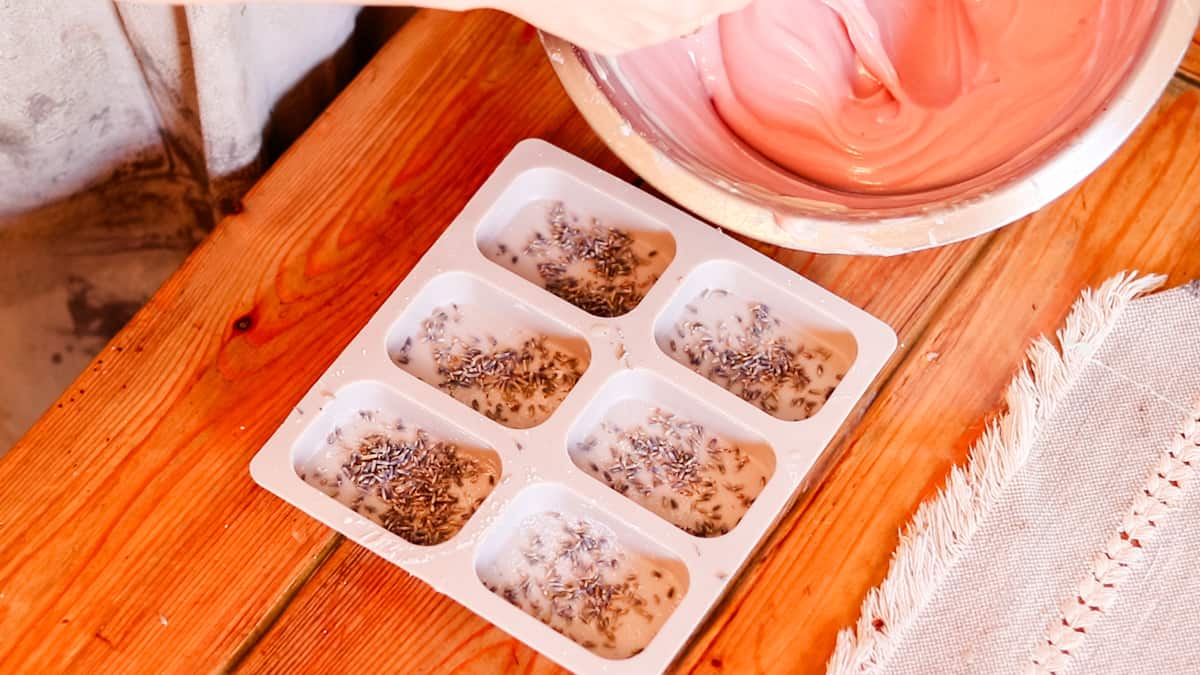
Step 6: Sprinkle the dried lavender buds into the bottom of the soap mold if desired for decoration. Then, pour the soap batter over the top, filling the mold.
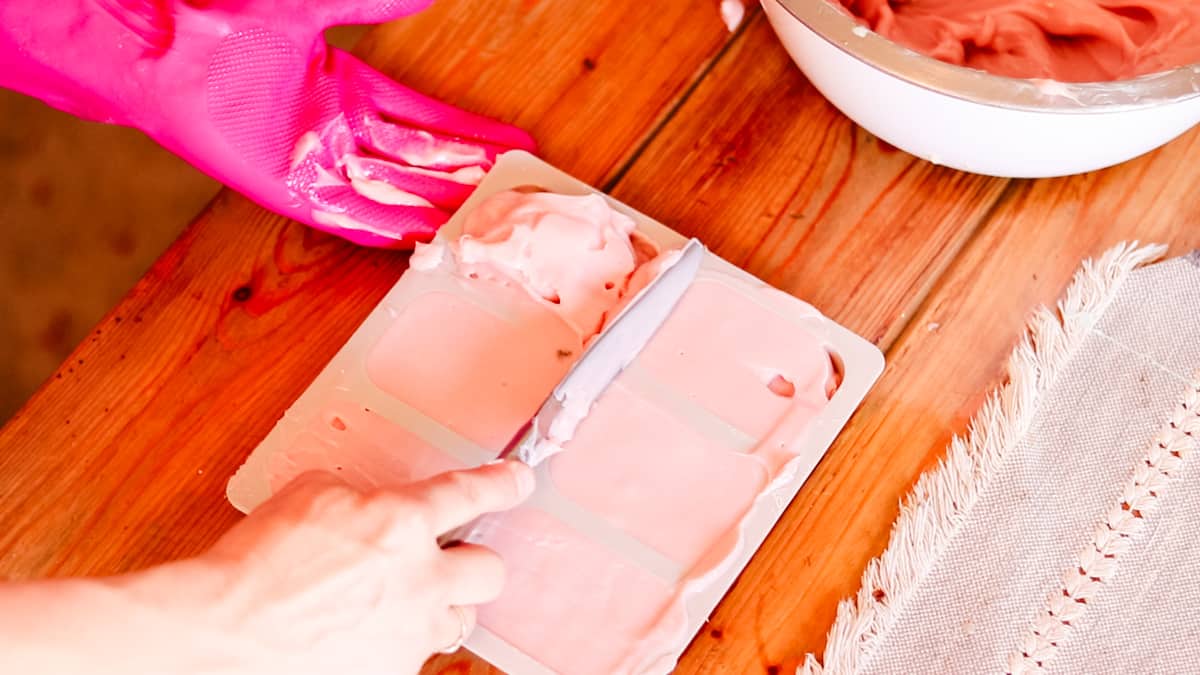
Step 7: Using a flat scraping utensil, level off any excess batter and smooth the surface.
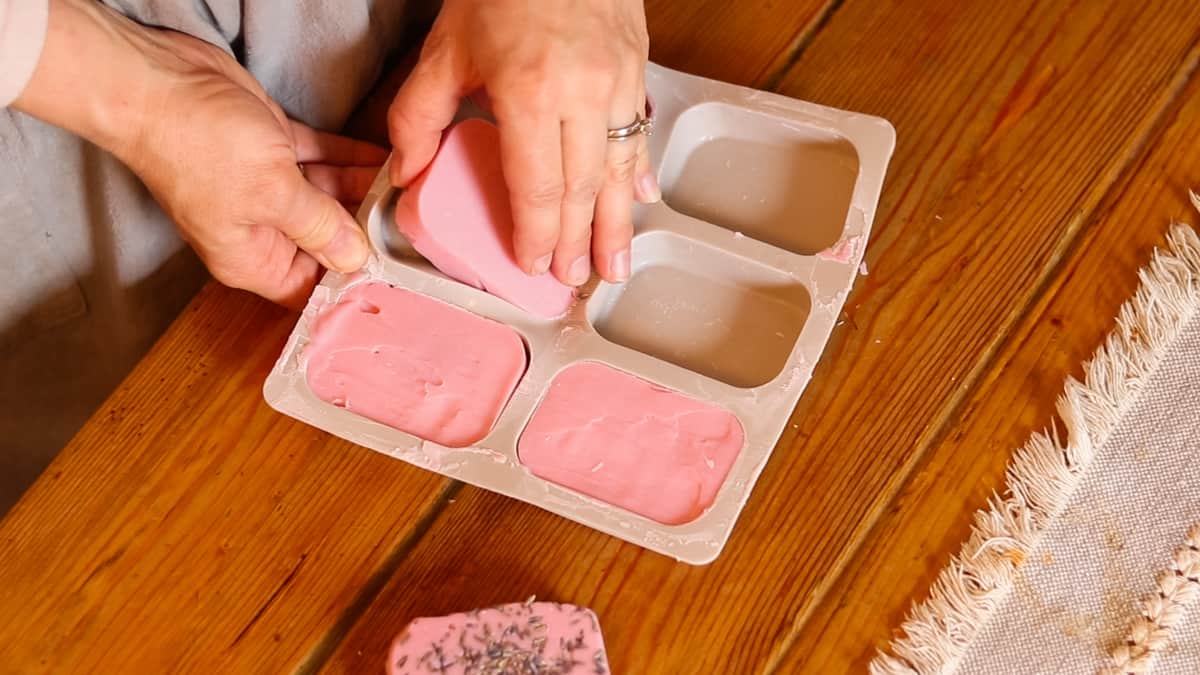
Step 8: Set the filled mold in a safe location for 24 hours. After 24 hours, check if the soap has hardened enough to remove it from the mold. If so, gently unmold the soap bars and stand them up on their ends to cure. Allow them to cure for 5-6 weeks before using, turning occasionally to ensure even drying.
Safety precautions
- Personal Protective Equipment: Always wear gloves and protective eyewear. I like to wear long rubber gloves over a long-sleeve shirt when working with lye.
- Ventilation: Mix lye in a well-ventilated area to avoid inhaling fumes. You can open windows or work outdoors.
- Equipment: Use heat-resistant and non-reactive equipment and containers. A chemical reaction occurs when the lye is added to water, causing the mixture to heat up, so be sure to use a container that won’t melt or shatter.
- Proximity: Keep children and pets far from the crafting area.
- Correct Order: Add lye to water, not the reverse. You don’t want to add water to the lye as it can cause the lye to erupt out of the container. Gently pour the lye into the water.
- Spills: Neutralize spills with vinegar, then rinse with water.
- Emergency Prep: Have vinegar and running water readily accessible.
- Clean-up: Follow appropriate procedures to clean up lye materials.
Tips
Soap ingredients are measured by weight, not volume. Use a digital scale for accuracy when weighing out the ingredients for this cold-process lavender soap recipe.
I prefer silicone molds when making soap because they make it much easier to remove the soap bars without damaging them.
Make sure to cure the soap for the entire six weeks before using. I like to place my bars on their ends on a baking sheet, occasionally flipping them to ensure even curing.
This lavender soap recipe makes 18 bars of soap (if you’re using similar molds).
I recommend keeping your dishes and soap-making tools separate from your regular cooking ware. I prefer to dedicate some utensils and dishes to soap-making only. If not, properly sterilize them before using them for cooking.
FAQs
You can change the combination of oils and fats if you use a soap calculator to keep the proper measurements.
Allow for 5-6 weeks for your soap to fully cure. This ensures any excess water will evaporate and bars will harden adequately, extending the shelf life of the soap.
When making DIY lavender soap, you can expect the petals to discolor and turn brown after using the soap. However, there are a few tricks for maintaining the purple hue in the petals for a longer period of time while the soap is still unused.
Use a lavender with a deeper color and press a whole lavender stalk lightly into the bar about 5 minutes after pouring it into the mold. The beds that touch the soap will discolor, but the petals exposed to the air should stay purple.
You can also try waiting 24 hours after pouring the molds to mist each bar with rubbing alcohol, then sprinkle lavender buds over the moist bars and spray again. When the alcohol evaporates, it will cause the petals to adhere to the bars. This will extend the color for several weeks.
Key takeaways
Making cold-process soap is a simple process that opens up a world of creative soap crafting possibilities. By following some basic safety measures, you can easily make this beautiful, amazing-smelling soap at home.
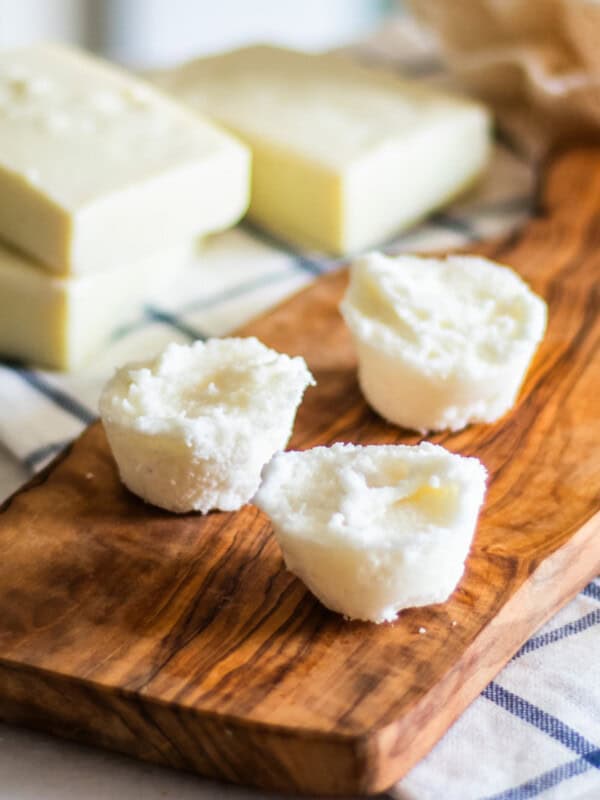
If you are not quite ready for the cold process method, start with this whipped soap recipe using a bath butter base before moving on!
Check out more of my favorite cold-process soap bar recipes here:
- Cold-Process Tallow Soap Recipe
- Simple Shea Butter Soap Recipe
- Activated Charcoal Soap Recipe
- 30+ Soap Recipes!
If you tried this Lavender Soap Recipe or any other tutorial on my website, please leave a 🌟 star rating and let me know how it went in the 📝 comments below. Thanks for visiting!
Cold Process Lavender Soap Recipe

Equipment
- saucepan or double boiler
- soap molds I use these molds and love them!
Ingredients
- 12 oz mango butter
- 14 oz coconut oil
- 3 oz sweet almond oil
- 2 oz olive oil
- 0.3 oz yellow beeswax
- 10.28 oz water
- 4.6 oz lye
- 20 drops lavender essential oil
- 20 drops soap dye, optional, adjust amount as needed
Instructions
- Use a digital scale to weigh out the oils and fats. Melt them on low heat in a small saucepan or double boiler, then transfer to a metal mixing bowl to cool.
- Put on your rubber gloves and safety goggles, then in small increments, slowly add the lye to the water in a heat-resistant jar (never pour water into the lye). Gently stir until dissolved. Be cautious, as the reaction will cause it to heat up and release toxic fumes. Set aside in a safe location to cool.
- Allow both the lye solution and the oil mixture to cool to approximately 100-110°F. Then, carefully pour the lye solution into the oil mixture a little at a time and mix it with an immersion blender. Continue until all the lye is added and you reach a light trace.
- Add in the lavender essential oil and dye and mix thoroughly with the immersion blender until it comes to a medium trace. (If the mixture becomes too thick, stir it with a spoon.)
- Sprinkle the dried lavender buds into the bottom of the soap mold if desired for decoration. Then, pour the soap batter over the top, filling the mold.
- Using a flat scraping utensil, level off any excess batter and smooth the surface.
- Allow the bars to harden for 24 hours. Unmold the soap bars and allow them to cure on their ends for 5-6 weeks before using.


Hey Laura,
Can these soaps be used on the face ???
Yes, you could. I also have recipes specifically for face wash.
Hey Laura,
I was wondering if you sell any of your organic cold process soap bars that you give tutorials on. If not, do you know of anyone you trust that sells truly organic soap you would recommend? I’ve looked all over Etsy and Amazon, but cannot find a seller who’s product I totally trust being I have very sensitive skin.
Hi Rachel, sorry unfortunately I do not sell any physical products.