Go ahead! Elevate Your Skincare Routine with this DIY Facial Oil recipe. Discover the ultimate blend for all skin types. Get ready to love the skin you’re in!
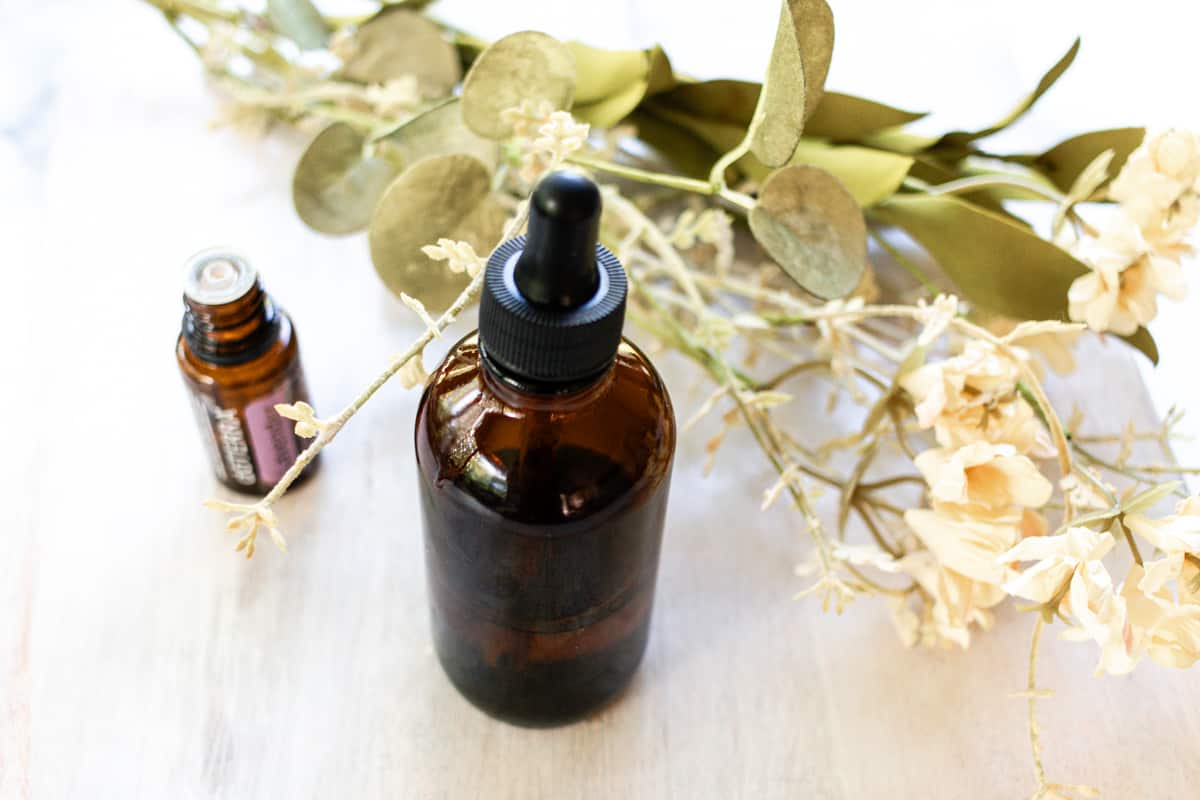
Years ago, I remember browsing countless facial oils on the store shelves, wondering which one would be best for my skin.
I’m all for a simple life in truth.
And facial oil seemed like a lovely addition to my skincare routine – but I didn’t want to overcomplicate things.
So, to say I had analysis paralysis sums it up!
I had no idea what to choose to help my skin back then. Not a clue.
I thought, “If only one option existed for all skin types. That would make my life so much easier.”
Needless to say, here I am now with the exact answer I wanted! A DIY face oil recipe that is suitable for every skin type.
Yep, everyone! Think of it like a body oil for the face.
Read on to reveal my best face oil recipe so you can make your own version to enjoy!
Why you’ll love this recipe
- It’s fun: There’s something cheerful about making facial products bespoke for yourself, such as this facial oil recipe.
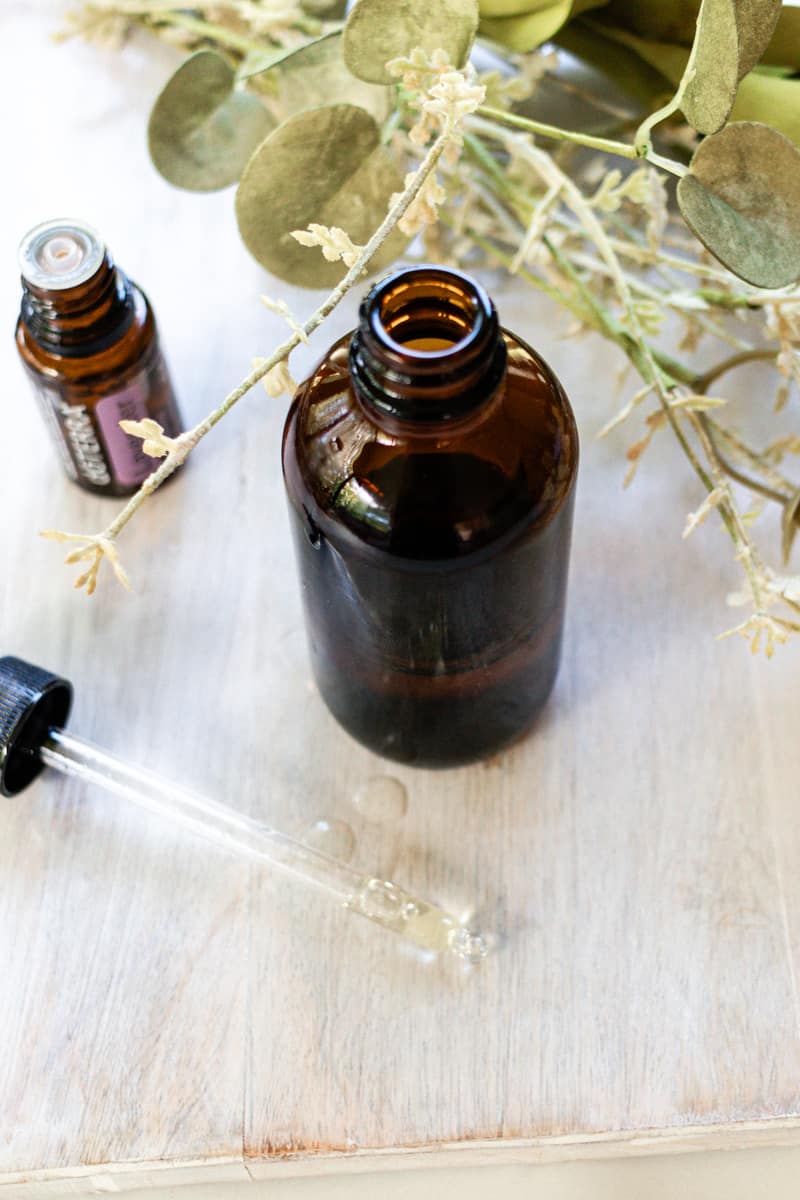
- It’s easy: Add the ingredients to a dropper bottle, shake well, and apply it to your face during your morning and evening routine.
- It’s budget-friendly: Compared to some mind-blowingly expensive facial oils you can buy in some stores, this is friendlier on your budget and helps you save money – and it’s better for your skin, too.
What is a facial oil?
A facial oil is an oil-based liquid that you apply to your face to moisturize, hydrate, and plump your skin.
It’s been specially made to blend into the skin, adding much-needed moisture and hydration to the deeper skin layers, helping minimize the look of fine lines and renewing any dry areas.
Facial oil is often used on its own or underneath a moisturizer. It’s a personal choice, and I think it’s worth trying it out in different ways to see which works best for you.
This post contains affiliate links, which means I make a small commission at no extra cost to you. Get my full disclosure HERE.
How to make face oil
Ingredients:
- Jojoba oil 1 ounce
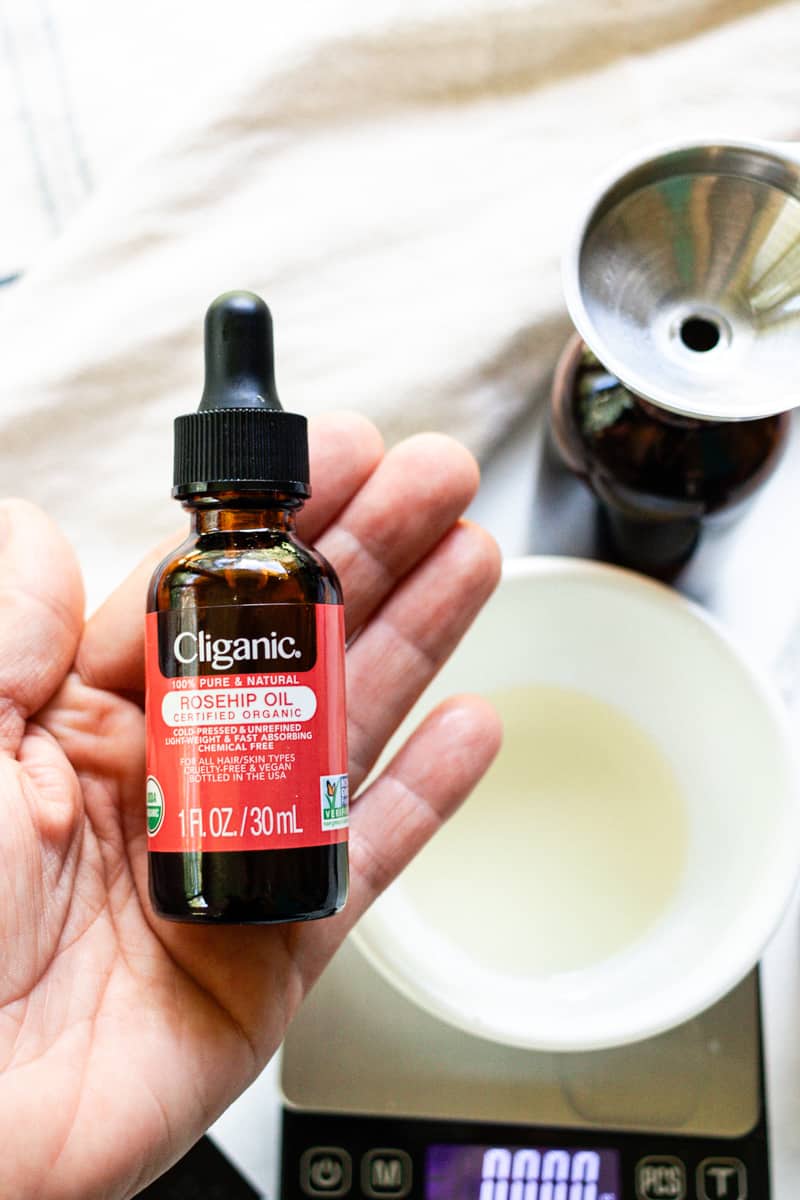
- Rosehip oil 1/2 ounce
- Lavender essential oil 10 drops
Instructions:
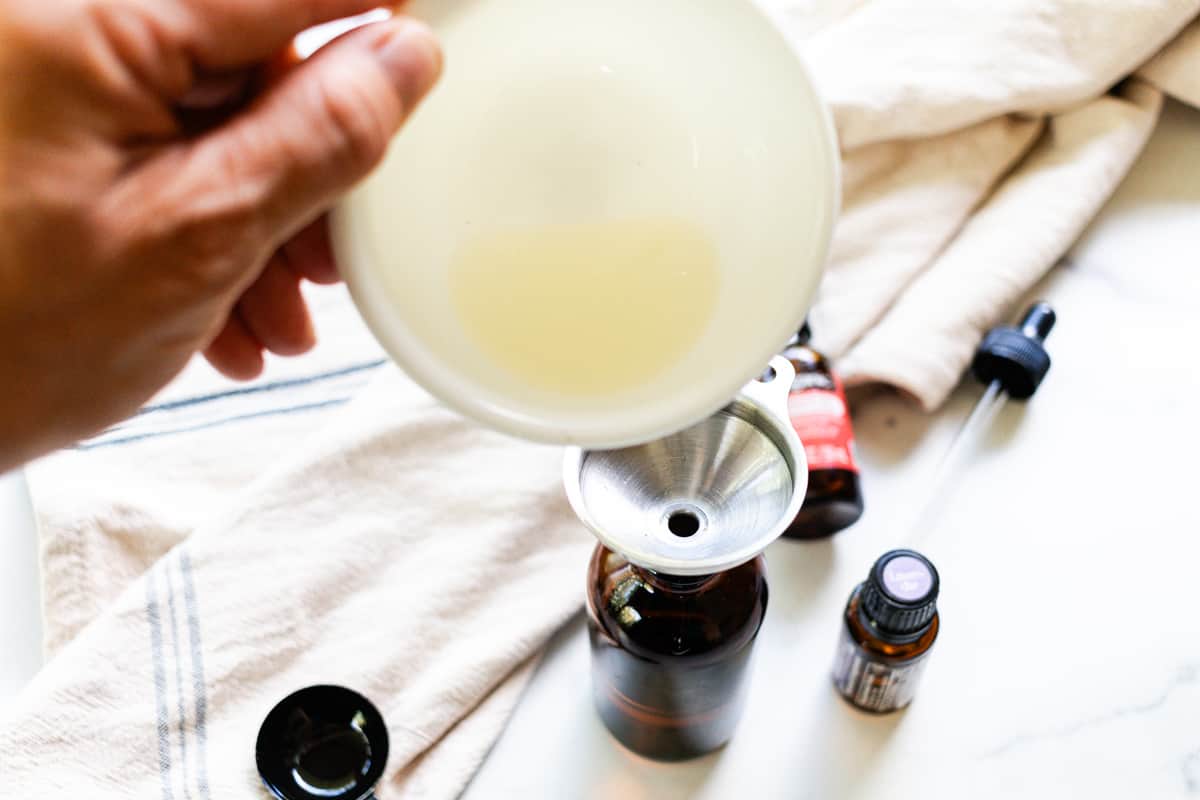
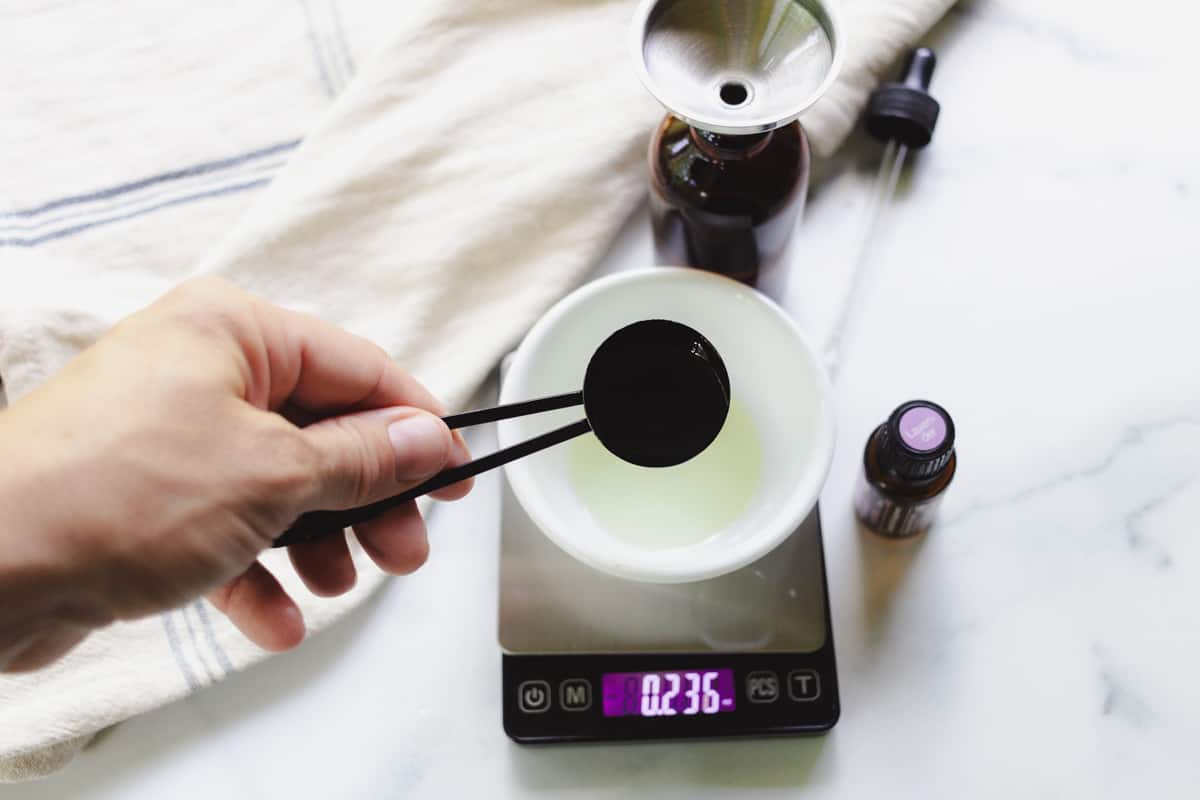
Step one: Using a funnel, measure out the jojoba and rosehip oils and add them to a 4-ounce dropper bottle.
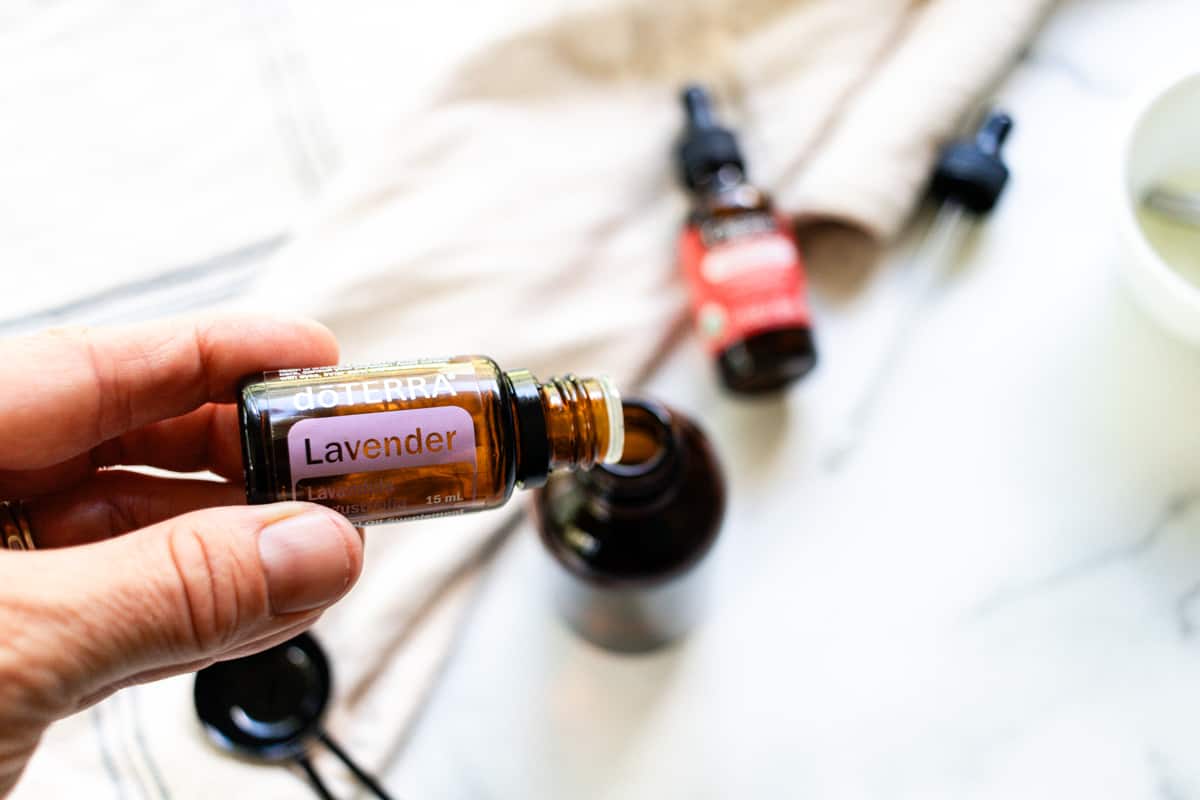
Step two: Add the drops of lavender essential oil.
Step three: Secure the dropper top and shake well.
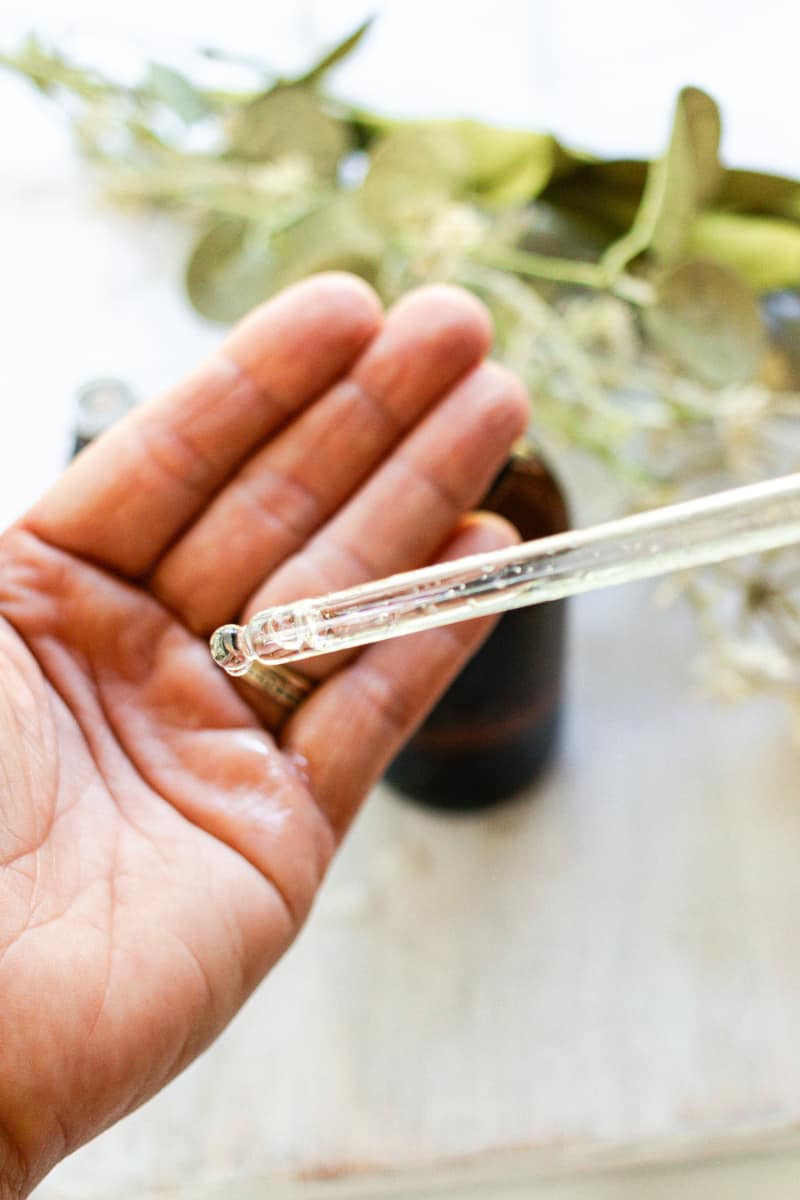
How to use facial oil
Now, this recipe is meant to be a one-size-fits-all facial oil recipe. The jojoba and rosehip oils absorb nicely into all skin types and are non-comedogenic.
Of course, to better match your specific skin type, you can modify this recipe for oily, combination, and aging skin for optimal results.
For normal skin
Add two to three drops to the palms of your hands, rub it in a touch to warm the oil, then apply gently to the face after cleansing.
The oil shouldn’t feel heavy on your skin – rather, it should absorb nicely and leave little to no greasiness behind.
If the skin feels greasy, use less facial oil the next time around and use a soft cloth to dab away any excess.
For combination skin
Start by using one dropper of oil and add more if you feel your skin would benefit from it. Don’t be tempted to avoid the oily areas of your skin, as these still need moisture!
The good thing with facial oil is you can add more if you want to, which is why I recommend starting with less and adding more as you go.
Too much facial oil can leave the skin greasy and feeling sticky, even a few minutes after applying it.
You’ll know if you use too much! If this happens, simply dab your face with a tissue or cloth to absorb the excess.
For oily skin
For oily skin, consider swapping out rosehip oil for grapeseed oil or argan oil. Grapeseed oil and argan are both extremely lightweight oils and won’t leave your face feeling greasy.
I recommend starting with one drop of facial oil to see how well your skin absorbs it. You can always add more if you feel it needs it.
Simply warm the oil in your hands before applying it gently to your face in a circular motion.
Aging skin
For aging skin, in addition to the rosehip and jojoba oils, you may consider adding half an ounce of either sweet almond oil or even tamanu oil if you have it. Or you could swap out the jojoba oil for one of those oils.
I would say use this facial oil daily to encourage youthful-looking skin and minimize fine lines.
To guide you, my routine consists of cleansing first using a good face wash, then applying the facial oil, waiting a few minutes for it to absorb fully, then adding a touch of moisturizer if my skin needs it.
You can, by all means, use a facial oil after moisturizer. There is no right way to use it as such; it’s what feels right for you and your skin.
Tips
- When applying facial oil, always warm it first in the palms of your hands. This helps apply the oil evenly on your face and also helps the skin absorb the oil for best moisturizing results.
- Avoid the delicate eye area when using this facial oil. A homemade eye cream is better suited for this region.
- The shelf life of this facial oil is around six months when stored in a glass bottle with a screw-top lid/dropper.

FAQs
How often should I use facial oil?
This comes down to personal choice if you’re new to face oil; however, I advise using it once a day to begin with to see how your skin responds to it.
If you find your skin improves, then, by all means, use it twice a day or as and when you need to.
Will this facial oil cause breakouts?
In theory, this face oil shouldn’t cause breakouts.
Saying that, the skin reacts differently in each of us, so I can’t promise it won’t cause one.
However, I advocate a patch test before using any new product on the skin. This helps understand how the skin will respond before committing to using it on the entire face.
What makes this facial oil suitable for all skin types?
The oils used in the facial oil are jojoba oil and rosehip oil. Both these oils are considered non-comedogenic, meaning they’re less likely to clog the skin’s pores.
This, in turn, reduces the likelihood of spots and breakouts occurring while still moisturizing and nurturing the skin at the same time.
Summary
I hope you enjoy making and using this facial oil! By all means, ask questions if there’s anything you’re unsure of.
For your next read, I recommend checking out these posts to complete your DIY skincare routine:
DIY Facial Oil
Equipment
- 4 ounce dropper bottle
Ingredients
- 1 ounce Jojoba oil
- ½ ounce Rosehip oil
- 10 drops Lavender essential oil
Instructions
- Using a funnel, measure out the jojoba and rosehip oils and add them to a 4-ounce dropper bottle.
- Add the drops of lavender essential oil.
- Secure the dropper top and shake well.
Ms. Vanessa says
Can you recommend a reliable and reputable company to purchase from? This will be my first attempt at making my own facial moisturizer & it’s because you have made me feel comfortable about trying! Thank you!!!!!!!
Kimberley says
Thank you Laura. Your recipes are always fun to make and use.
I appreciate you.
Can you also mention some possible replacements if able for ingredients in your recipes? For instance arrowroot can I use cornstarch? I just read the difference on line but if corn starch is not GMO is it okay?
I’m a fan!
Kimberley