This post may contain affiliate links. Please see our disclosure policy.
Give your skin a brighter, clearer complexion with this DIY green tea toner! Toner has many wonderful benefits to the skin and is an easy addition to your skincare routine. Learn how to make it in just a few simple steps.
If you’re anything like me, you probably like to keep your skincare routine simple. Don’t get me wrong; I love doing my skincare and pampering my face a little bit each day. Still, as a busy mom, I have to keep it short and sweet.
That’s just one of the reasons I love toner so much! It offers a huge impact with very little time invested. Not only is toner quick to apply, but it’s also very fast to make.
With less than a minute of time each day applying toner, my skin is softer, clearer, and brighter.
Green Tea Toner DIY
I’ve been making my own DIY facial toner for a long time, but it wasn’t until recently I decided to try using green tea!
Green tea is not an unfamiliar ingredient to me. I’ve used it in a homemade green tea hair rinse, DIY green tea matcha scrub, and a homemade anti-aging matcha face mask; it only seemed natural to infuse it in my everyday routine, too.
This green tea toner combines all of the wonderful nourishing benefits of green tea with the skin-boosting power of toner. Your skin will thank you for using this simple product!
What is Toner?
Facial toner is a water-based skincare product that helps cleanse the skin, balance PH, make pores appear smaller, and lock in moisture. It is typically used on the face and neck area and it’s beneficial for all skin types.
Toner is best applied twice a day, after cleansing the skin and before applying moisturizer. With regular use, toners can give your skin an overall brighter appearance, reduce signs of aging, and hydrate the skin.
Reasons to Love DIY Toner
- Great for the skin: We’ve already dug into why toner is so beneficial for your skin, but this recipe is extra special! This homemade toner is made with green tea and witch hazel, two amazing ingredients for your skin. We’ll dive into what makes them so great later on.
- Affordable: Commercial green tea toners can be quite pricey, but there’s no need to spend so much money! The ingredients for DIY toner will cost a fraction of the price of store-bought toner and they will last you multiple batches.
- Natural: I like knowing exactly what’s going on my skin; making your own products is the best way to do that! This toner is made with just green tea, water, and witch hazel. Those ingredients pack a punch yet are completely natural.
- Easy to make: If you can make tea, you can make this toner! All you have to do is brew the tea and combine it with the other ingredients. Besides cooling time, this recipe will take just a couple of minutes.
What Goes Into This
- Boiling water
- Green tea: The star of this recipe, green tea is anti-inflammatory, full of antioxidants, and great for anti-aging.
- Witch Hazel: Witch hazel is another powerful ingredient with a long list of benefits for the skin! Witch hazel is very soothing to the skin and can help with acne, under-eye bags, and more.
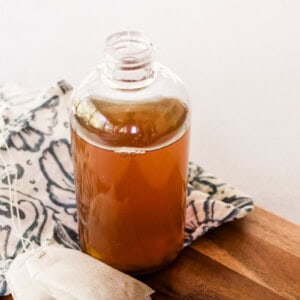
How to Make Green Tea Toner
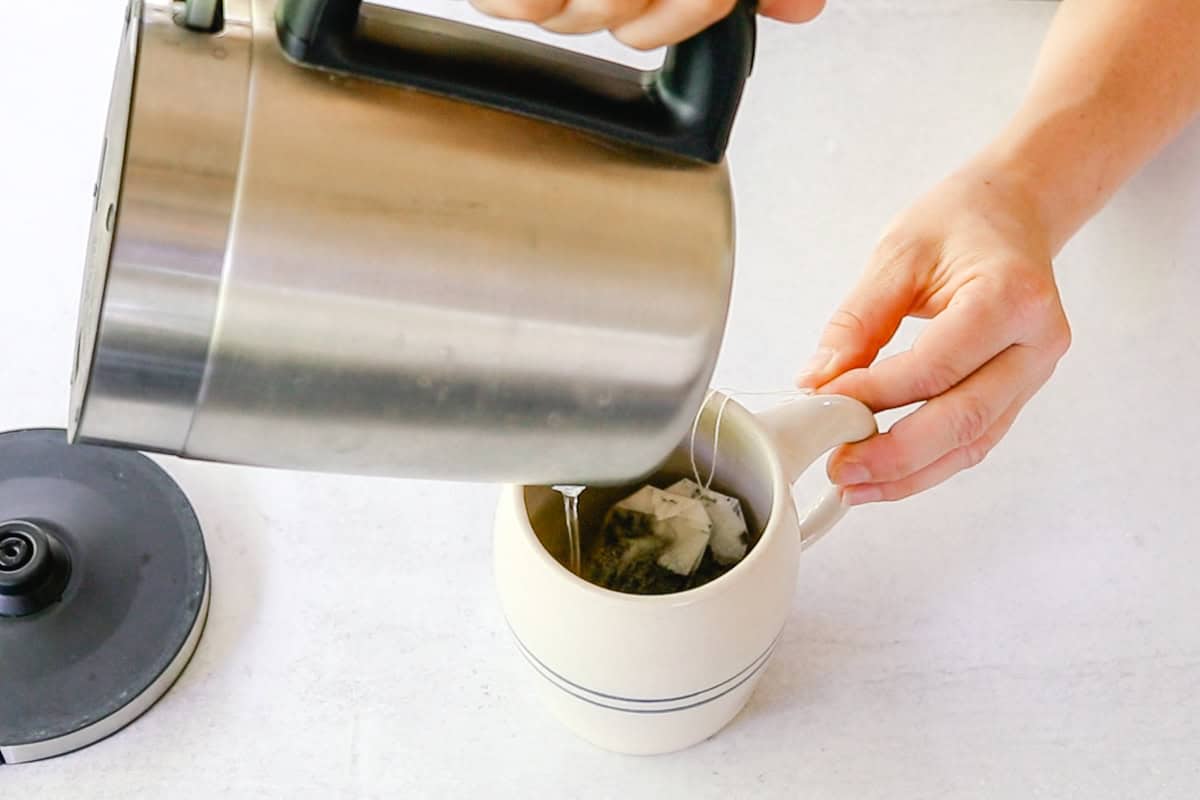
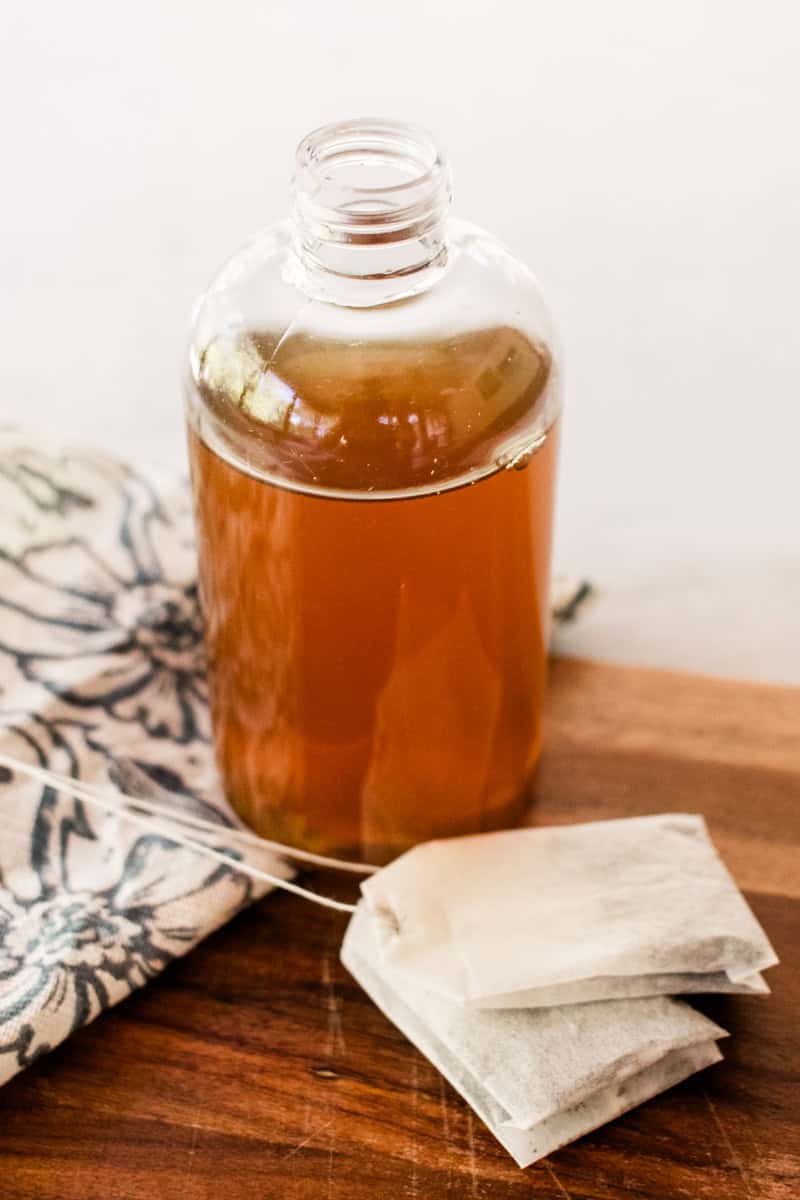
Step 1. Bring the water to a boil and add the tea bag or loose leaves.
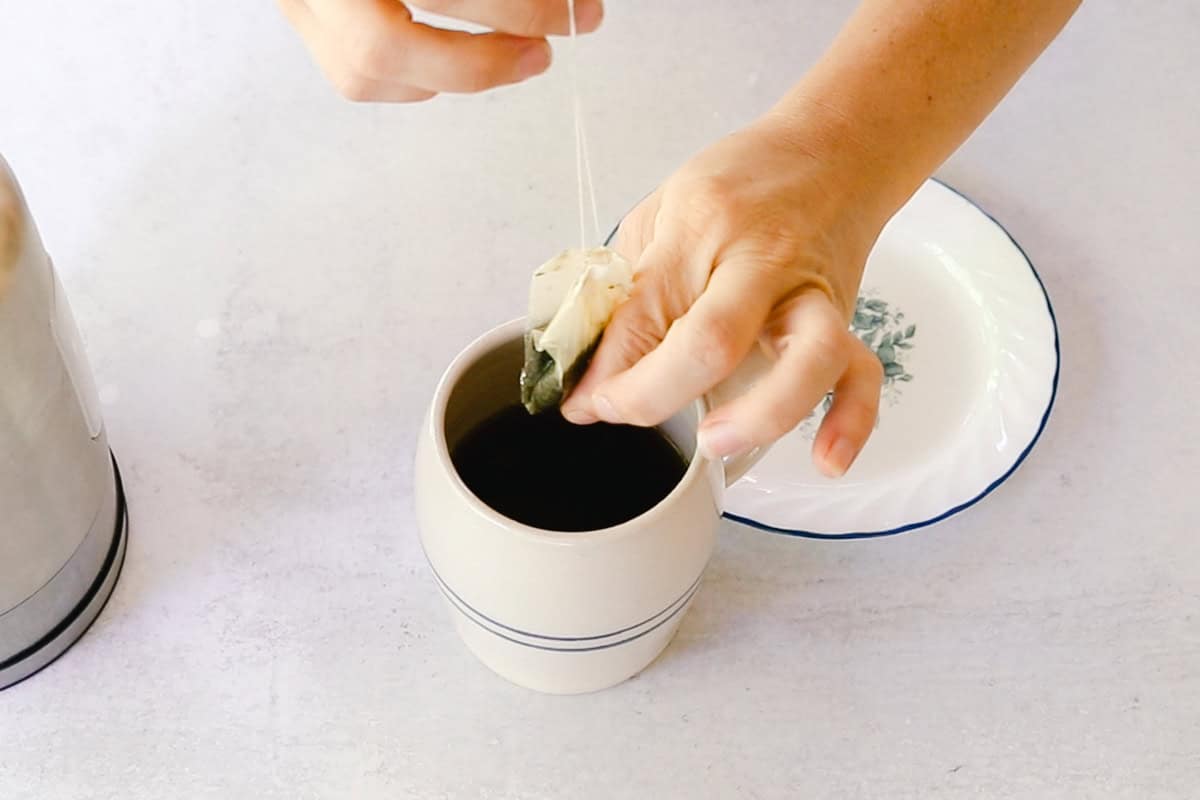
Step 2. Allow the tea to steep for at least 5 minutes. Let the tea cool completely before continuing.
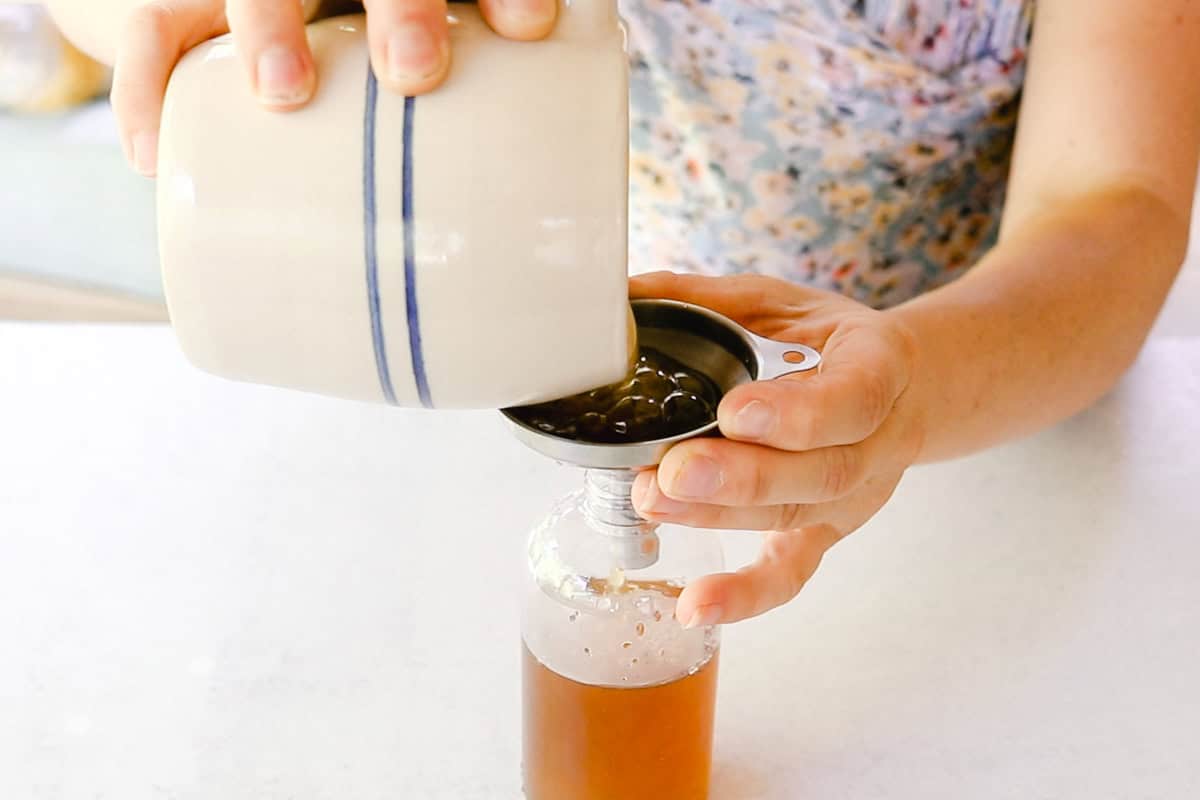
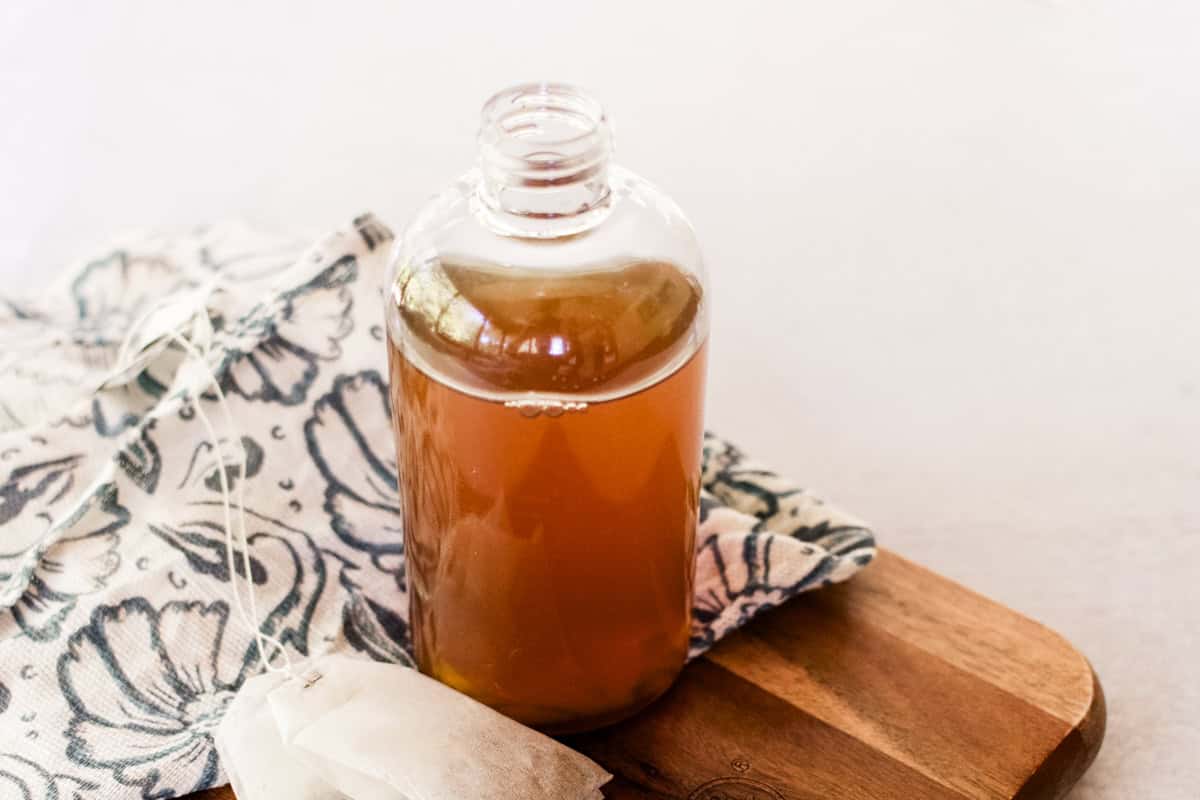
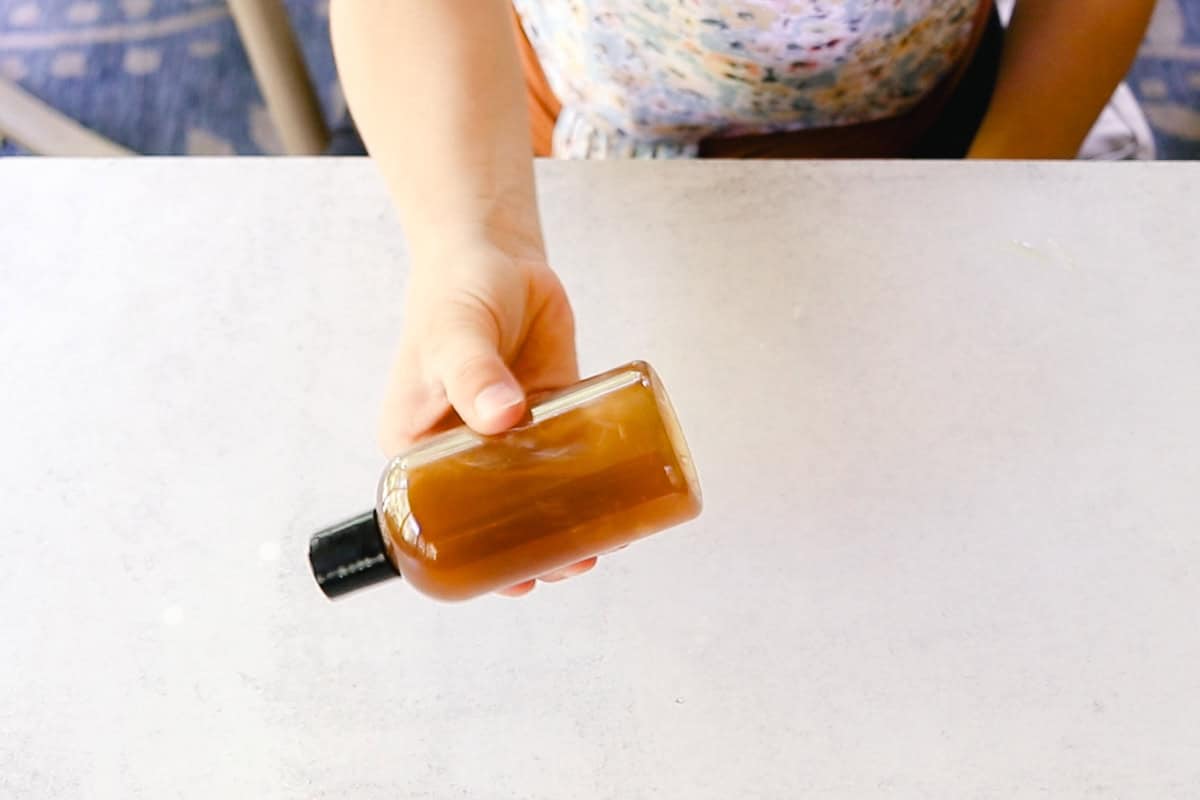
Step 3. Strain the tea into a clean container.
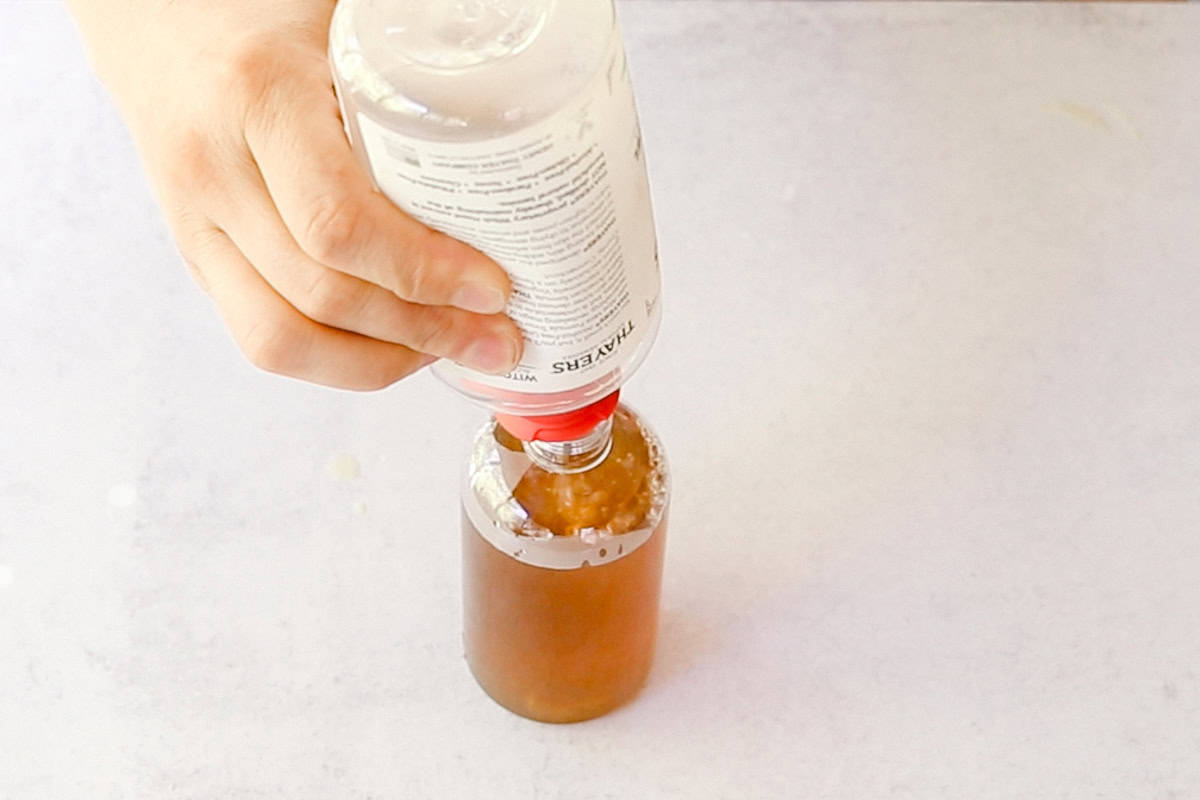
Step 4. Add witch hazel to the tea. The amount will depend on your skin type (keep reading for suggestions!).
Store the toner in a clean, airtight container in the refrigerator for up to a week.
Choosing the Right Amount of Witch Hazel
- For oily skin: 1-2 tablespoons
- For normal skin: ½ – 1 tablespoon
- For dry skin: skip the witch hazel or add just a few drops.
How to Use Green Tea Toner
Green tea toner is a simple-to-use product that will fit seamlessly into your skincare routine. I recommend using it twice a day, once in the morning and once at night. Here’s how to apply it:
Step 1. Gather your prepared green tea toner and a cotton pad.

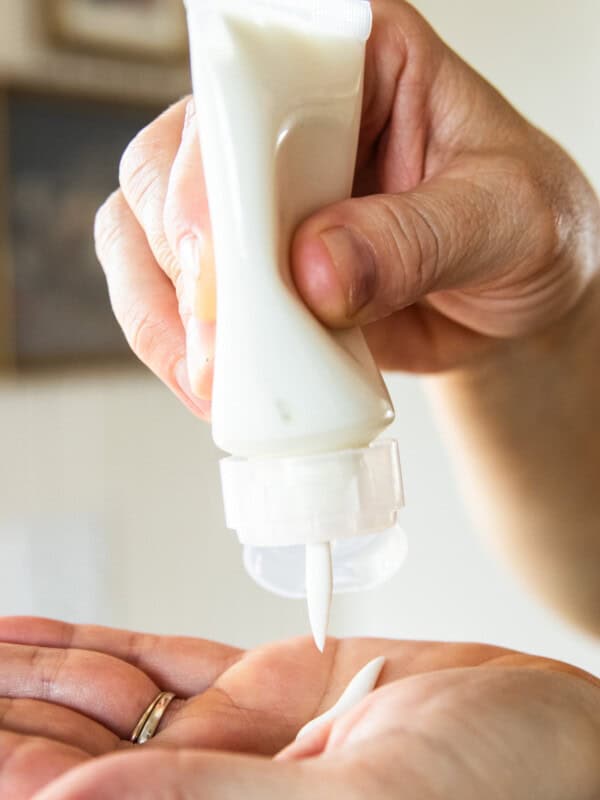
Step 2. Begin by washing your face with your regular cleanser (I like my homemade aloe cleanser). Pat your face dry.
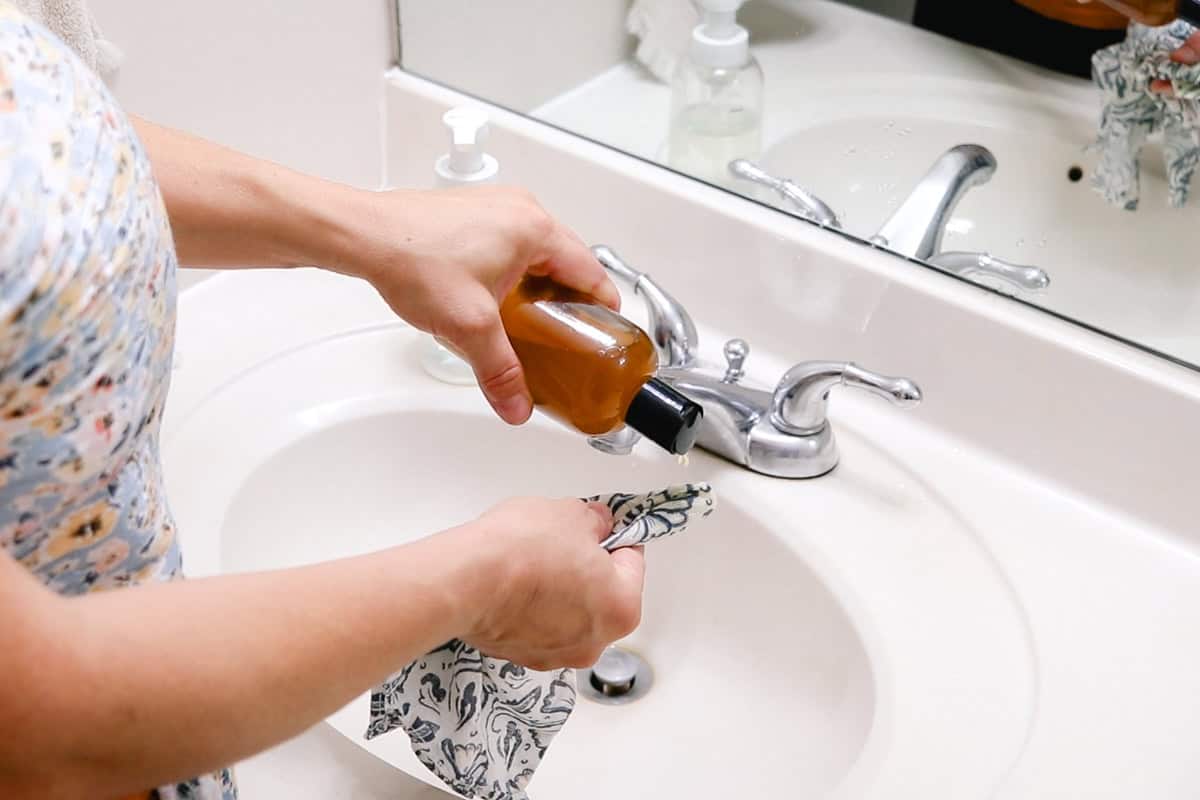
Step 3. Soak a cotton pad in the green tea toner, then swipe the pad all over your face and neck, avoiding the eye area. Alternatively, pat the toner onto your face with your fingertips.

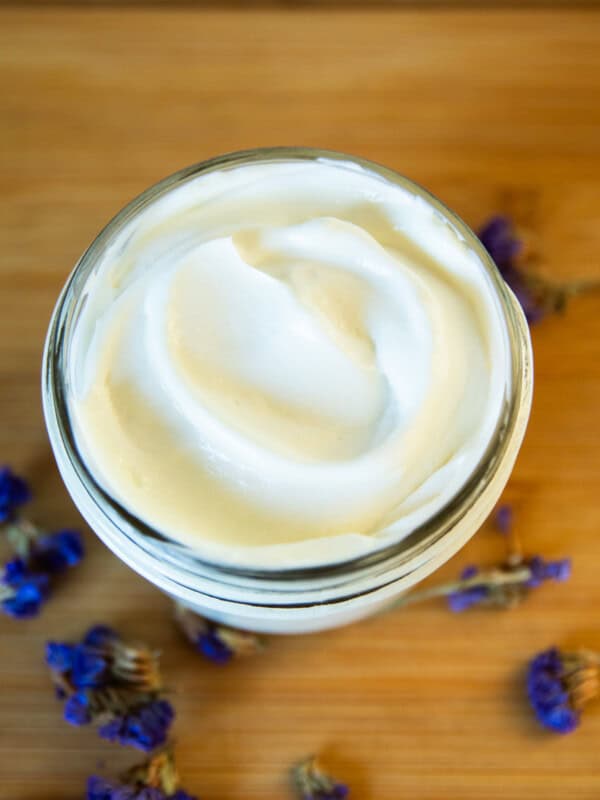
Step 4. Allow the toner to dry completely before continuing with your skincare routine. I like to follow the toner with a light, homemade natural face moisturizer.
FAQ
Yes, green tea toner should be refrigerated to prevent it from spoiling or molding. It will last about a week in the fridge.
If by “work,” you mean cleansing, hydrating, and soothing the skin, then yes! Toner is a fantastic, simple product that enhances your skin’s brightness, reduces the appearance of pores, and improves the overall texture and feel of your skin.
The primary difference is that astringent contains alcohol as one of the ingredients. The alcohol helps those with oily skin, but it can also be very drying for some. This green tea toner does not use any alcohol, making it very gentle and ideal for all skin types! If you have oily skin, check out the recipe notes to learn how to customize it for your skin’s needs.
Related Recipes
- DIY Hydrating Face Mist
- Chamomile Tea Hand Soak
- Homemade Hair Toner
- Rose Water Spray for Skin and Hair
If you tried this DIY Green Tea Toner Tutorial or any other tutorial on my website, please leave a 🌟 star rating and let me know how it went in the 📝 comments below. Thanks for visiting!
DIY Green Tea Toner
Ingredients
- 1 green tea bag, or 1 teaspoon loose green tea leaves
- ¼ cup boiling water
- Witch hazel, amount to be adjusted based on skin type
Instructions
To make green tea toner
- Bring the water to a boil and add the tea bag or loose leaves. Allow the tea to steep for 5 minutes.
- Let the tea cool completely before continuing.
- Strain the tea into a clean container.
- Add witch hazel to the tea. The amount will depend on your skin type (see notes).
- Store the toner in a clean, airtight container in the refrigerator for up to a week.
To apply green tea toner
- Begin by washing your face with your regular cleanser and patting it dry.
- Soak a cotton pad in the green tea toner, then swipe the pad all over your face and neck, avoiding the eye area. Alternatively, pat the toner onto your face with your fingertips.
- Allow the toner to dry completely, then continue with your skincare routine.
Notes
- How much witch hazel to use:
- For oily skin: 1-2 tablespoons
- For normal skin: ½ – 1 tablespoon
- For dry skin: skin the witch hazel or add just a few drops.
- For best results, use green tea toner twice a day, morning and evening.


good remedy
I so love natural products. I have been a DIY person from a young age and have testimony of the success stories. I have ventured into the Naturopathy space and experiment with a lot of Aromatherapy oils. The impact and healing it gives my people is immeasurable.
Let us continue with our back to Eden journey.
Blessings