This post may contain affiliate links. Please see our disclosure policy.
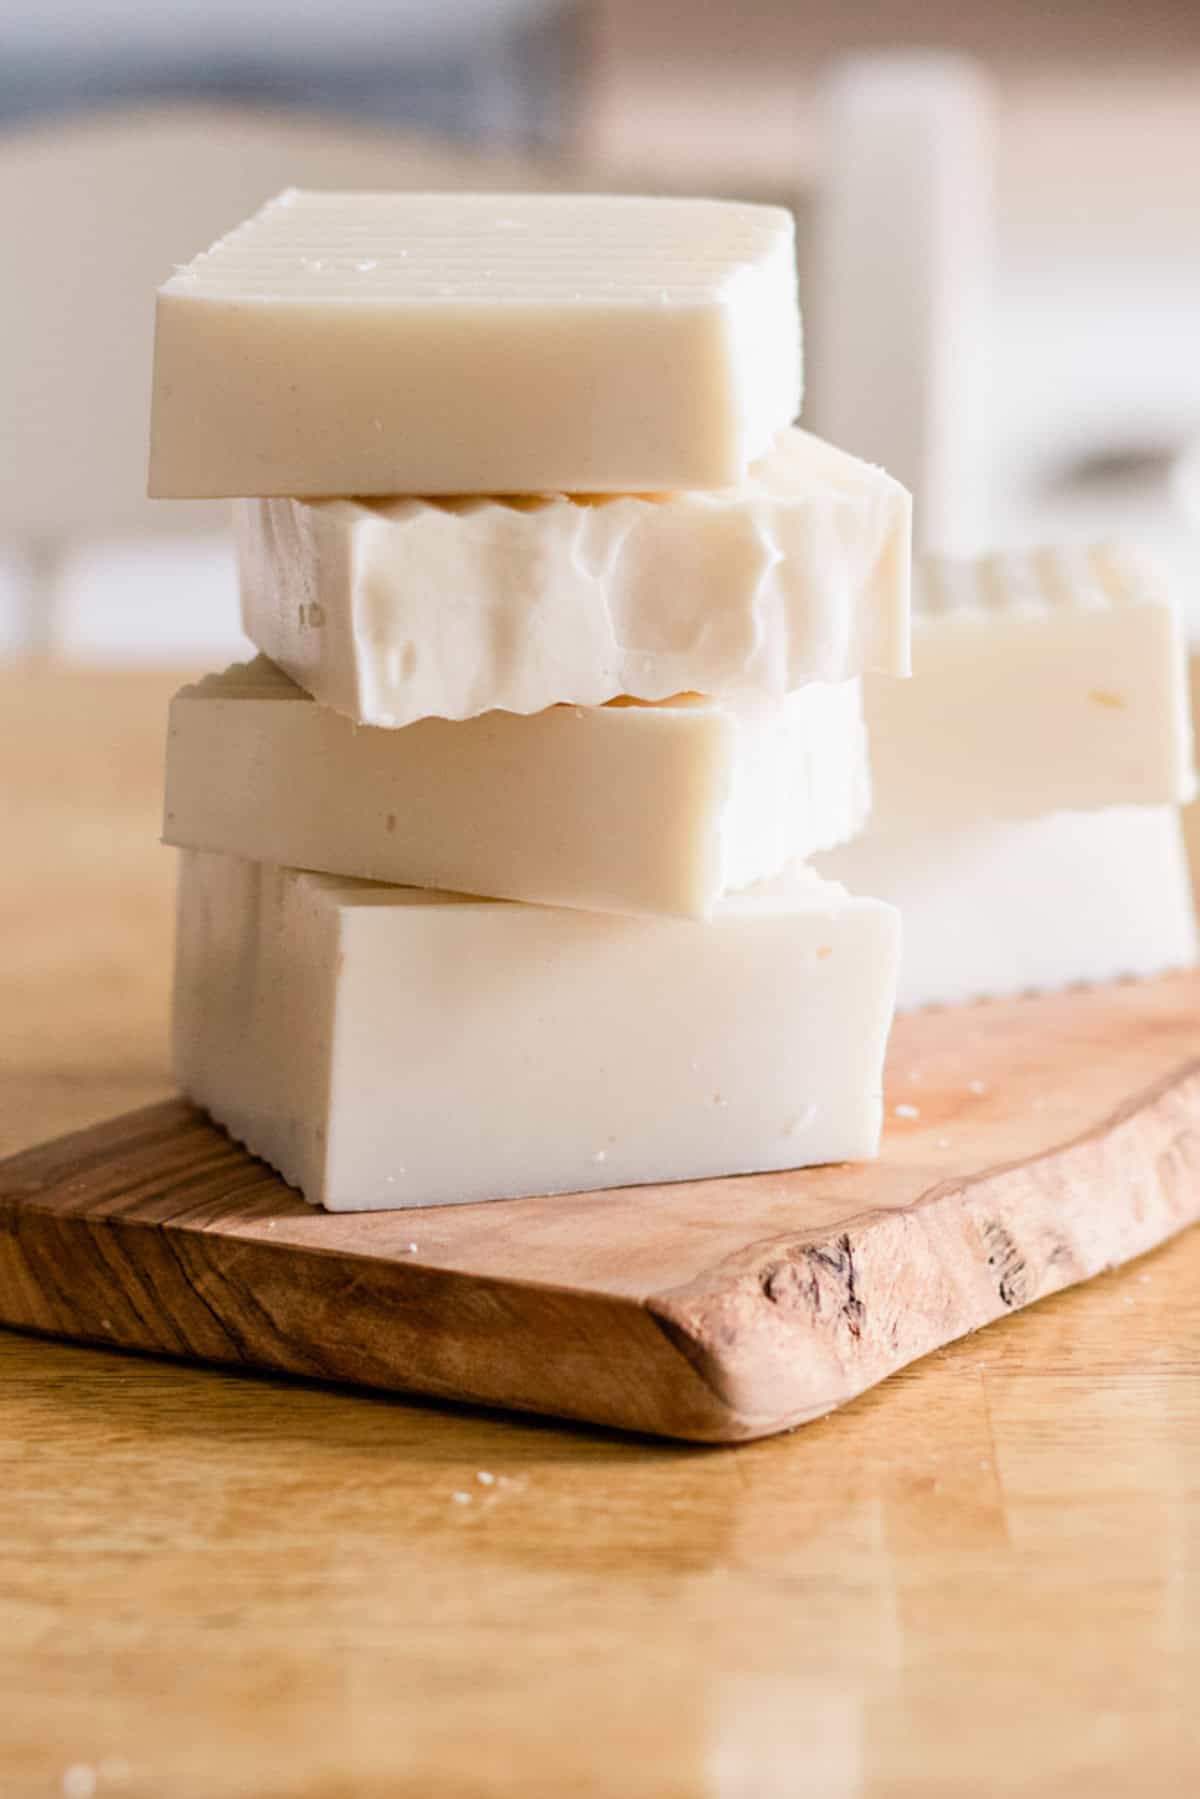
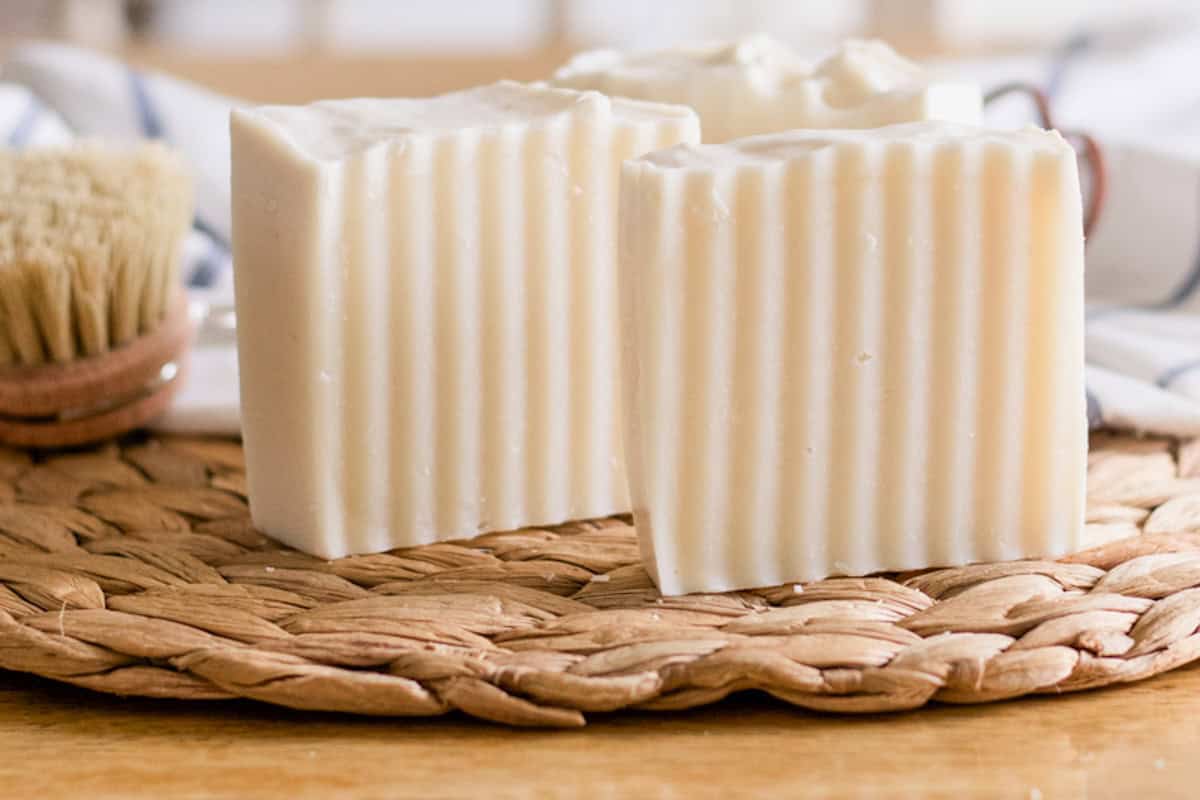
Cold process shampoo bars are easy to make, cost-effective, and have amazing benefits for your hair. Made with nourishing ingredients and pure essential oils, these shampoo bars are a perfect low-waste shampoo option.
It seems as if most people are switching to more natural hair care and skin care routines these days. Homemade shampoo, “no-poo,” and shampoo bars are all the rave.
It may take a little bit for your hair to adjust to natural products, but once it does, you will never go back.
With a few simple ingredients, you can whip up your own shampoo bar that lathers and cleanses wonderfully.
Why You’ll Love This Recipe
- Making your own shampoo bars can save a lot of money! Natural shampoos, especially shampoo bars, can carry a hefty price tag. Homemade shampoo bars are very affordable, and one batch lasts many washes.
- Shampoo bars are a great way to reduce waste and live more eco-friendly. You’ll feel great about ditching plastic bottles and using natural ingredients to wash your hair!
- Shampoo bars are perfect for traveling and hair washing on the go. You don’t have to worry about leaks, spills, or airport security restrictions! I keep a bar of shampoo in my suitcase and my pool bag because they make transporting shampoo so much easier.
- You can customize this cold process shampoo bar to your hair type and needs! Change up the essential oils to have a shampoo that is unique to you.
What Goes Into This Recipe
Ingredients
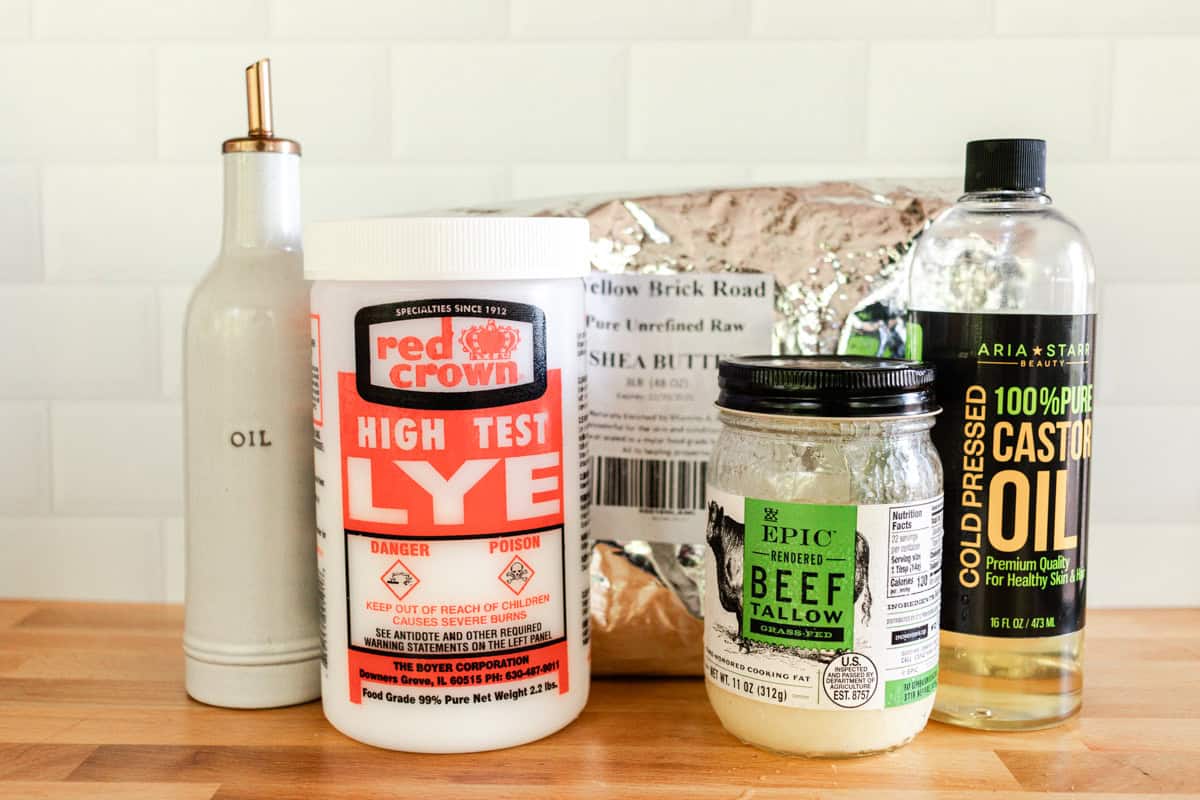
- Tallow: I love making tallow soap bars because they have a great lather and are very moisturizing. The same is true for tallow-based shampoo bars!
- Olive oil: Olive oil is another great fat for soap and I frequently make olive oil soap bars. Olive oil is great for dry, thick hair as it moisturizes and strengthens hair.
- Shea butter: The addition of shea butter makes this soap very rich and nourishing for the hair! Shea butter can help improve hair breakage and treat dandruff, making it perfect for a shampoo bar.
- Castor oil: This thick, nourishing oil is highly moisturizing to dry, damaged hair.
- Lye: Lye is a caustic substance that should be used with caution. Be sure to read the safety notes before proceeding.
- Distilled water
- Essential oils: You can customize this soap bar for your hair’s needs by selecting your essential oils from the list below.
Equipment
- Thick glass bowl or jar: Make sure it is heat resistant! I usually use a mason jar.
- Protective gear: It’s important to wear gloves and safety glasses when making soap, especially while handling the lye.
- Immersion blender: You’ll need a dedicated blender for soapmaking that is not used for food.
- Digital scale: It’s critical to keep your measurements precise in soapmaking, so we do all the measurements by weight.
- Soap molds: You can use a loaf mold and cut the bars like I did, or use a soap bar mold. I always recommend opting for silicone when choosing a soap mold.
How to Make Cold Process Shampoo Bars
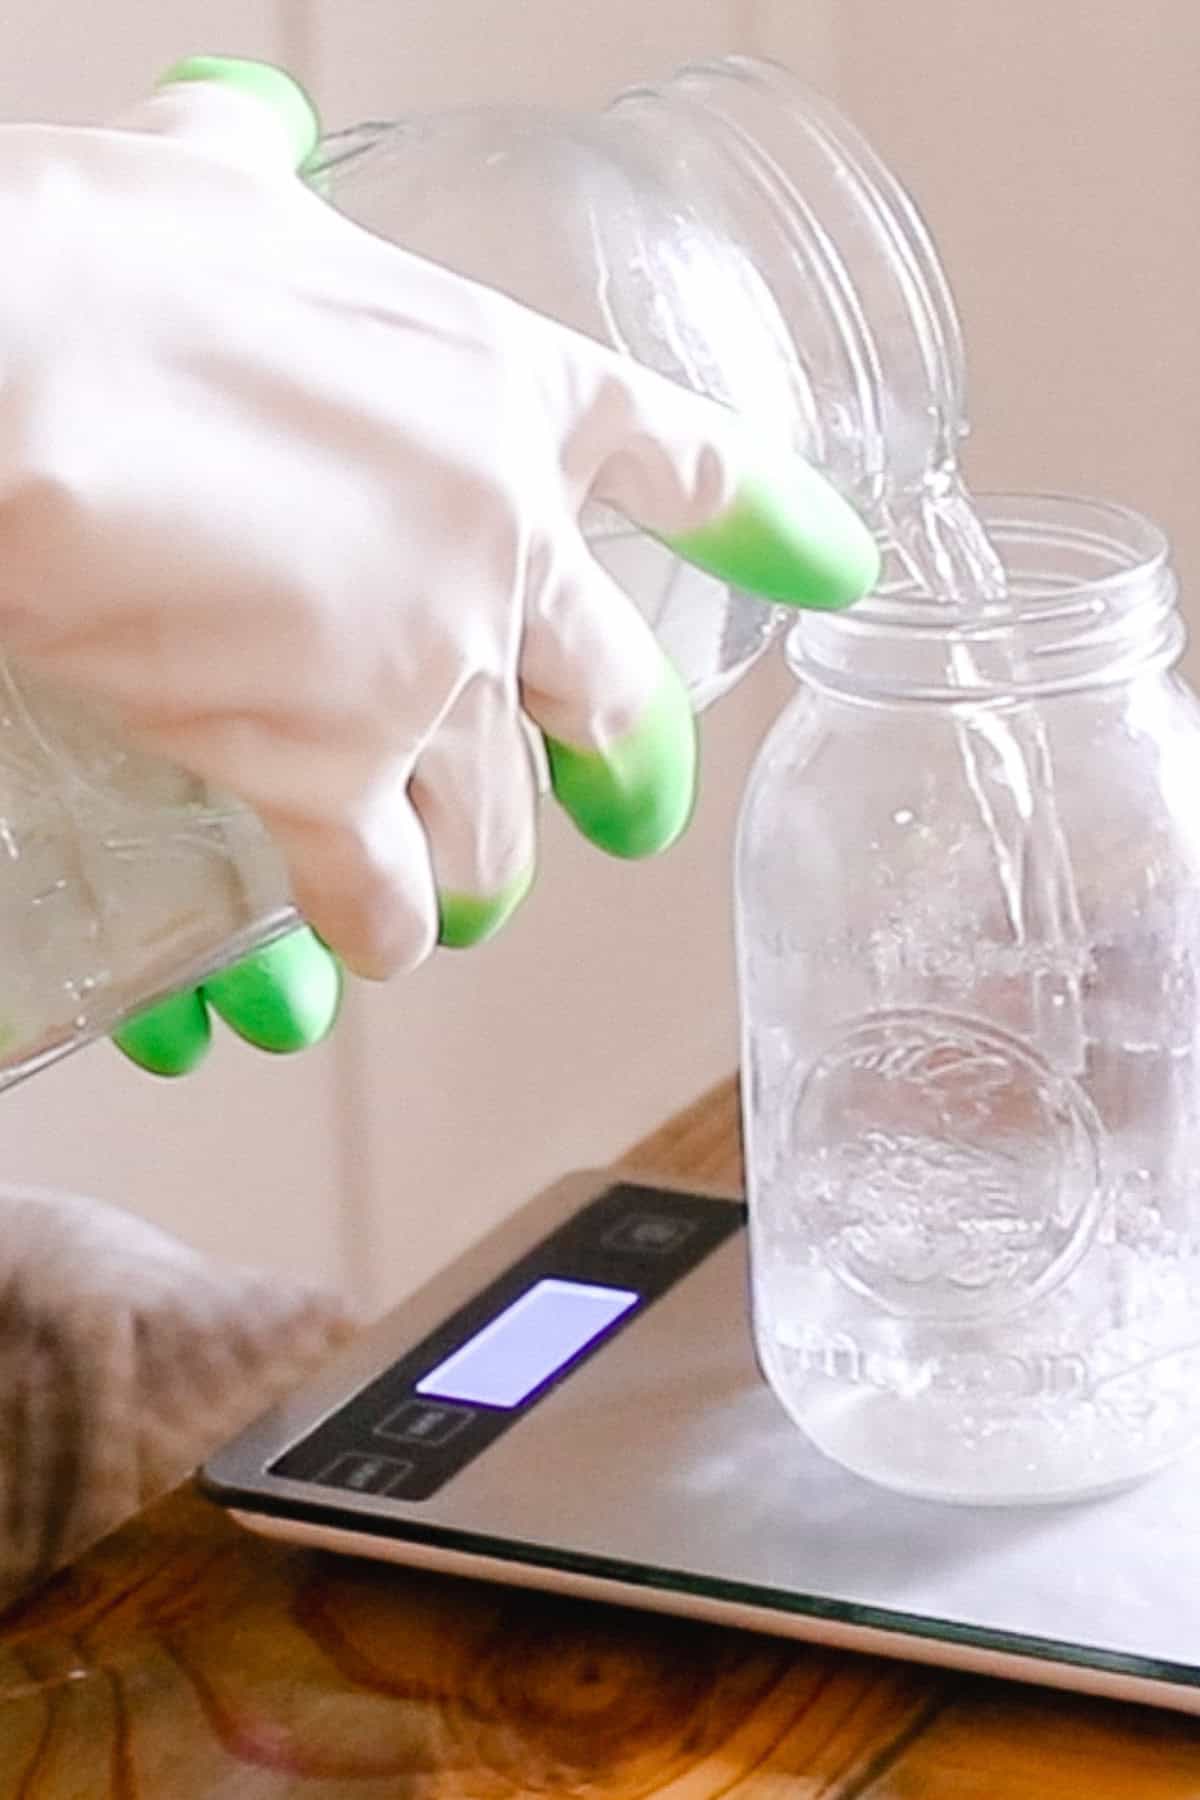
Step 1. Using a digital scale, measure out your water and pour it into a heat-resistant glass bowl or jar.
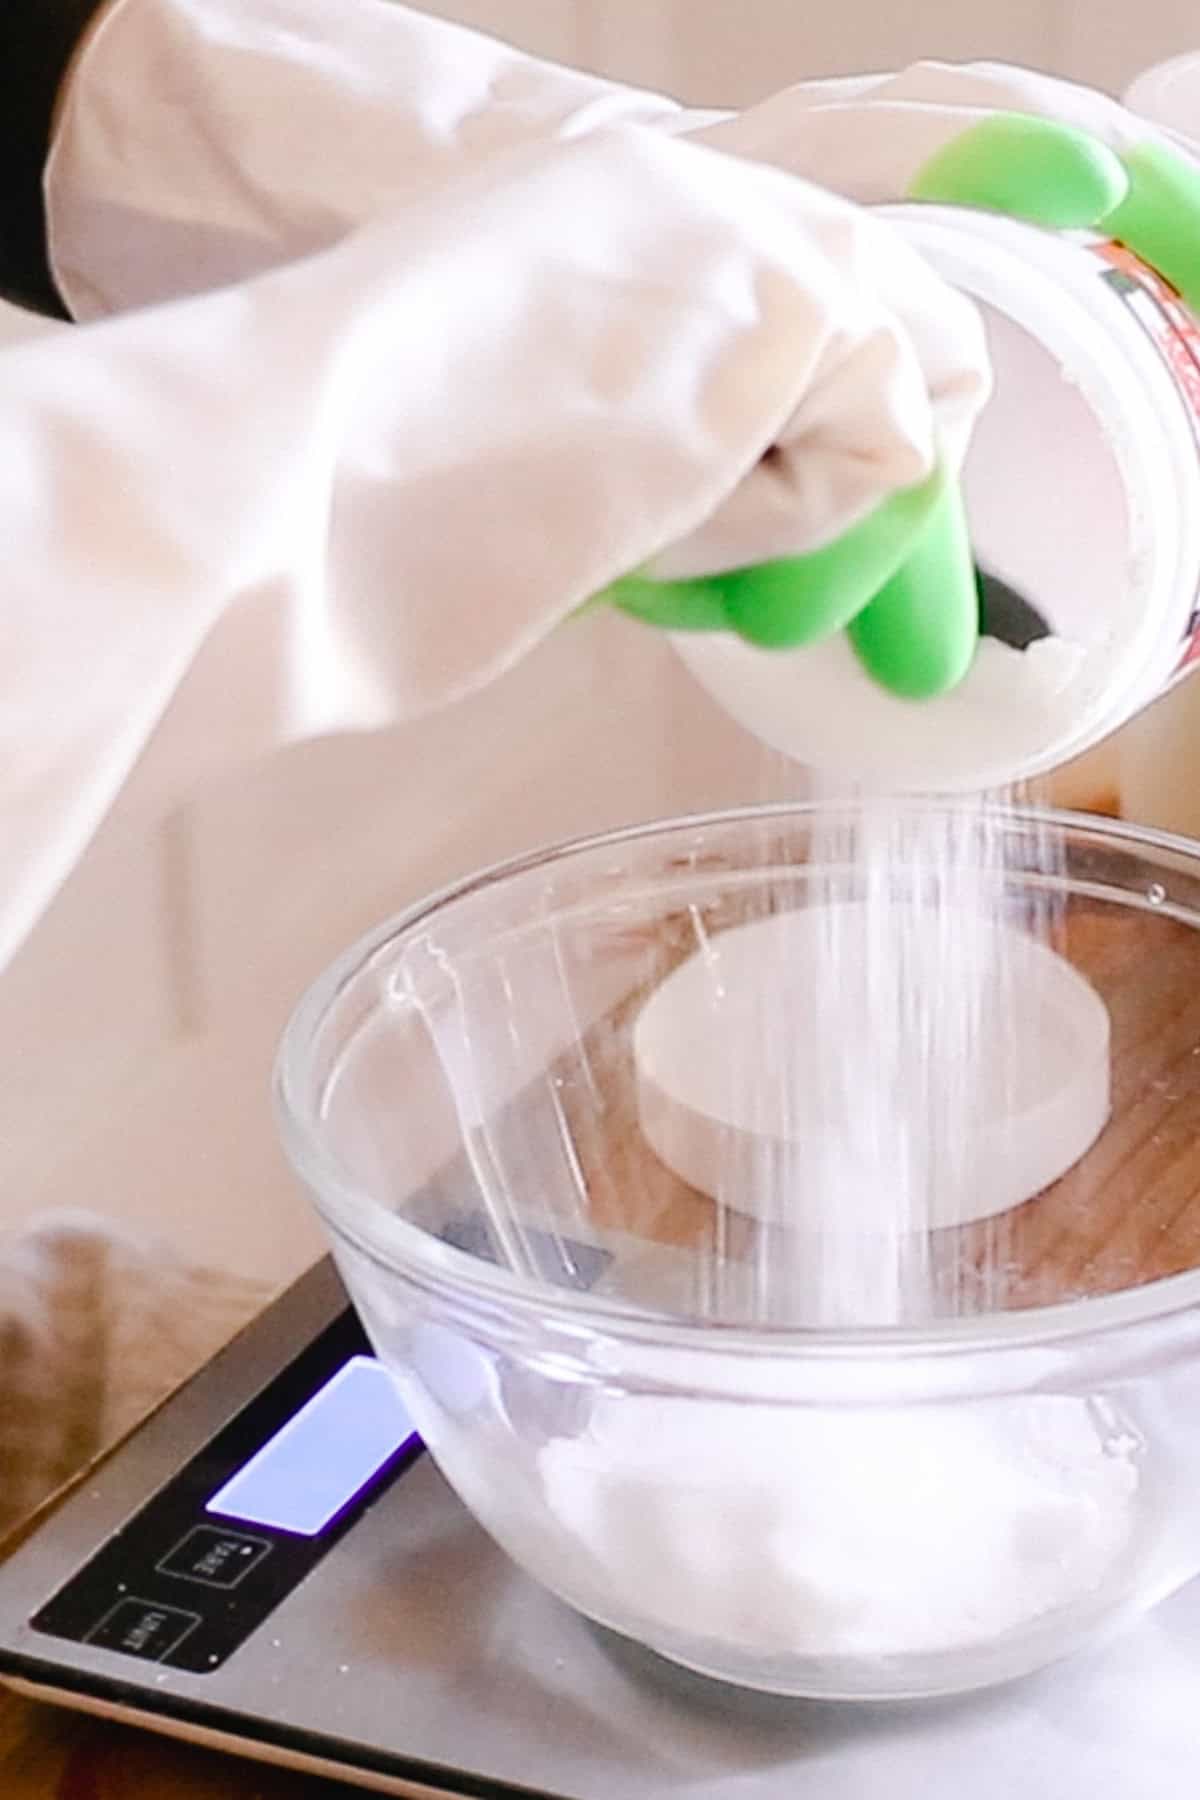
Step 2. Measure out the lye and add it to the water. Stir the lye into the water slowly and stir until it dissolves. Note: NEVER add water to the lye, only lye to water.
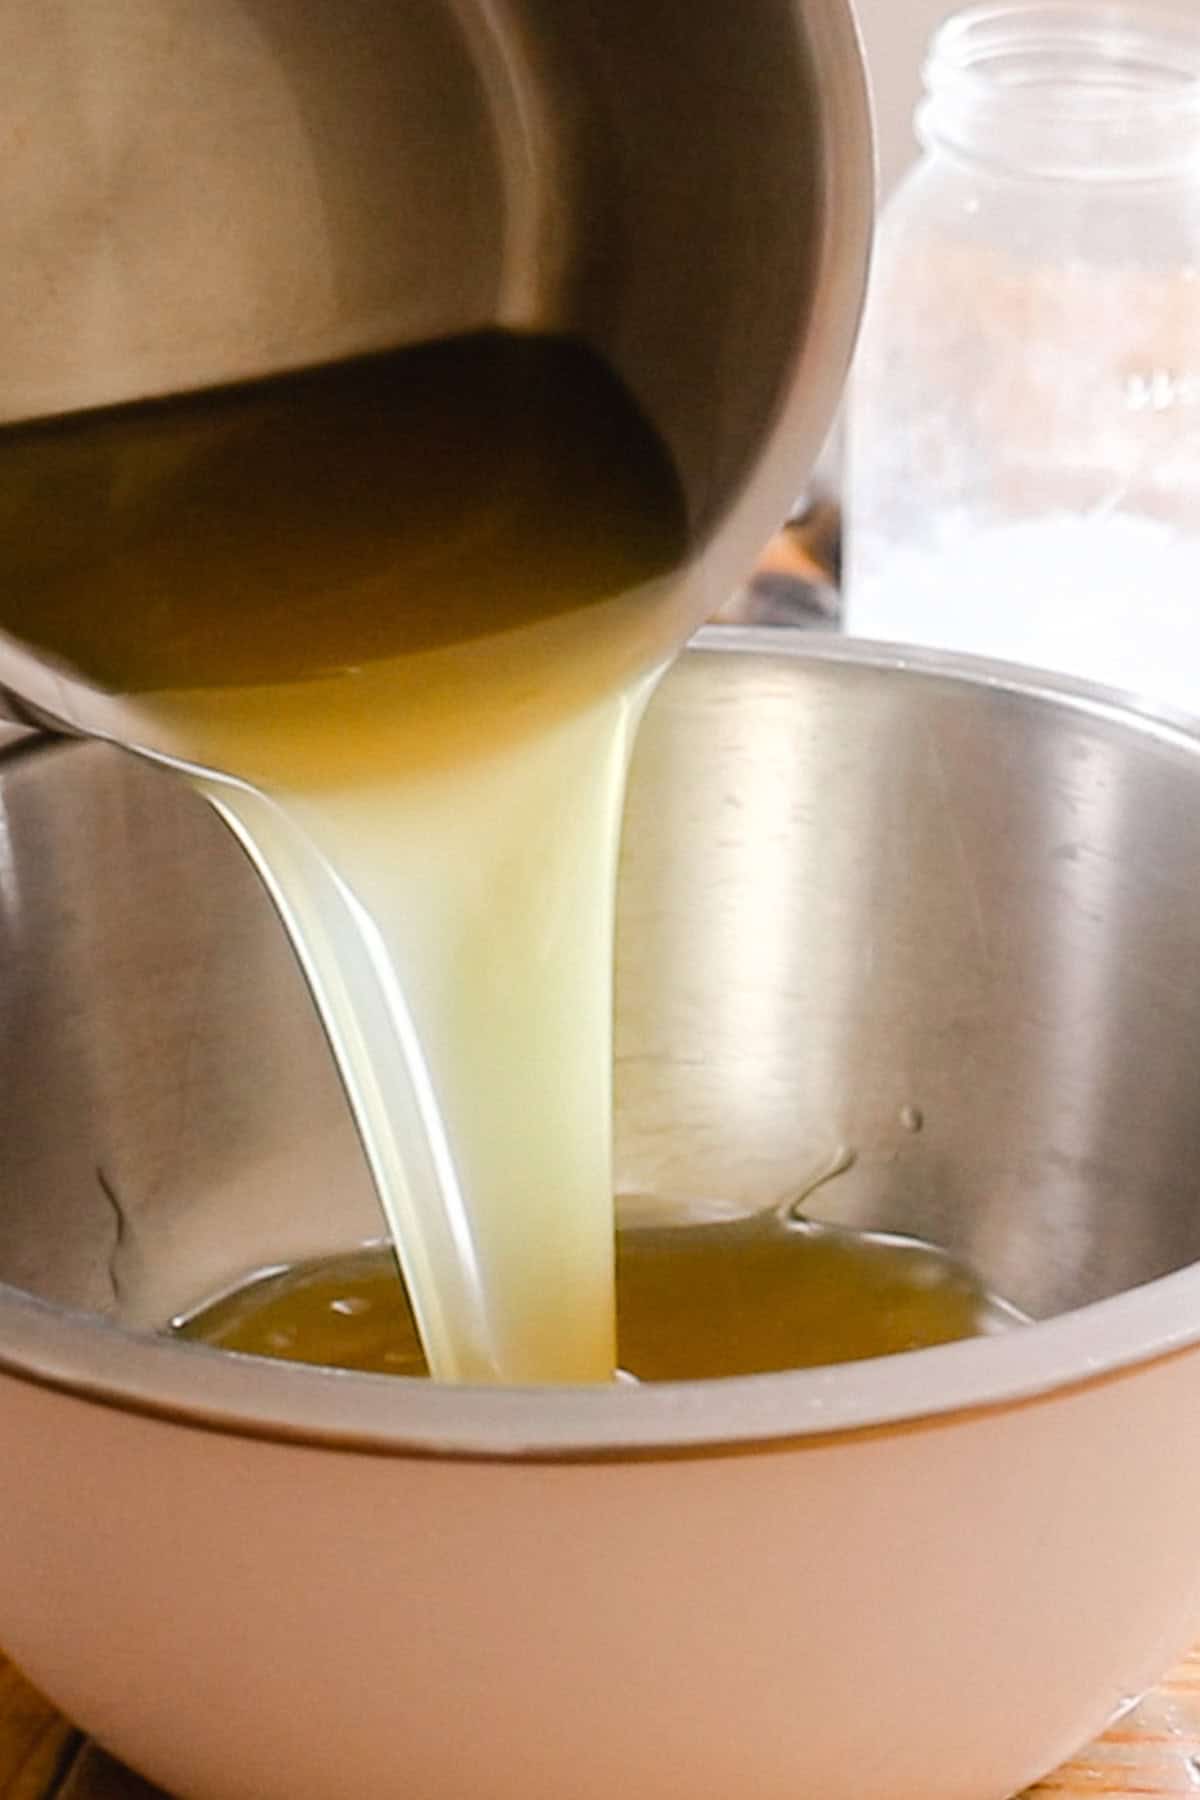
Step 3. Using the digital scale, measure out the tallow, olive oil, shea butter, and castor oil. Pour into a saucepan and melt over medium heat.
Once the ingredients are melted, allow them to cool back down to 100° F.
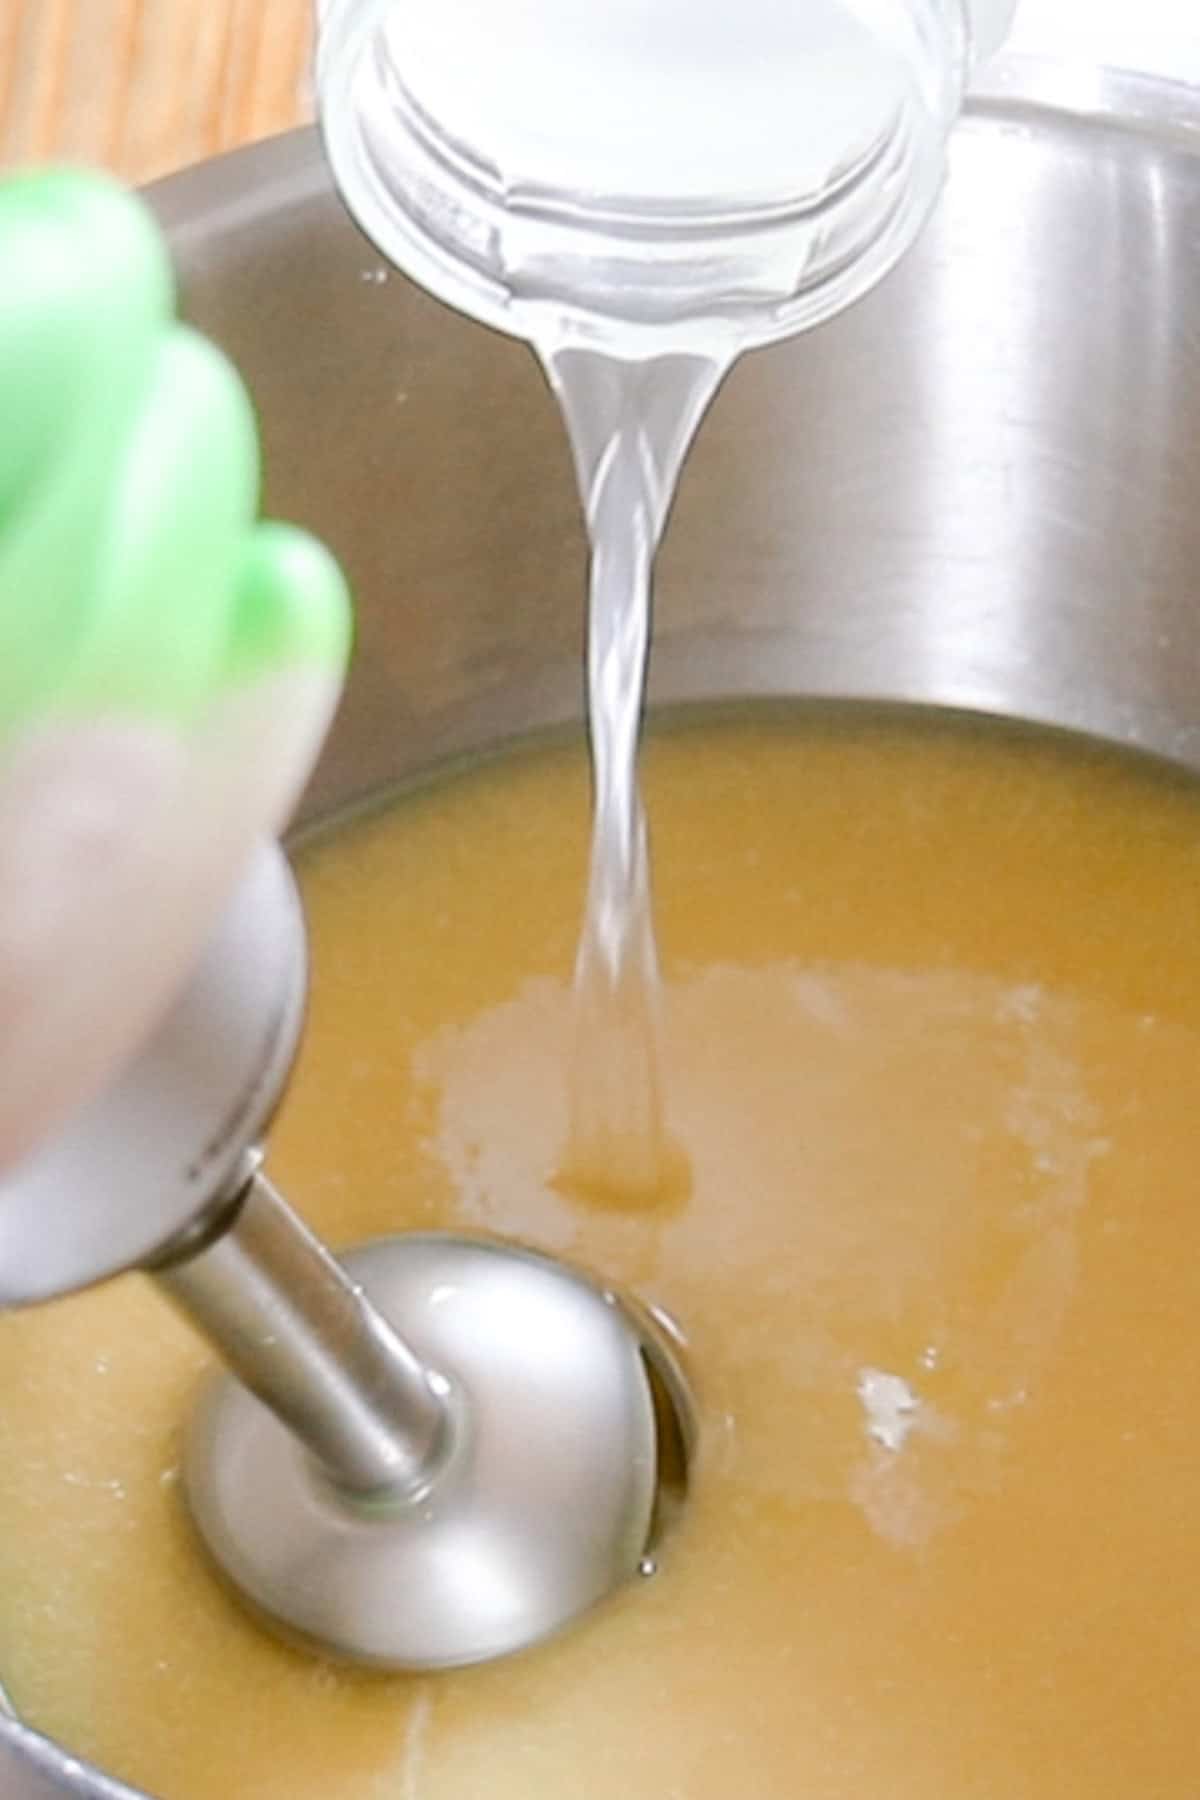
Step 4. Once the fats cool to 100°, it is time to mix the lye water with the oils. Slowly add the lye and water to the oils, and mix with an immersion blender. This will take a couple of minutes. You will know it is the right consistency when the soap from the blender drips and pools up at the top of the soap in the saucepan. This is known as the trace.
Step 5. If using essential oils, add those in now. Stir well.
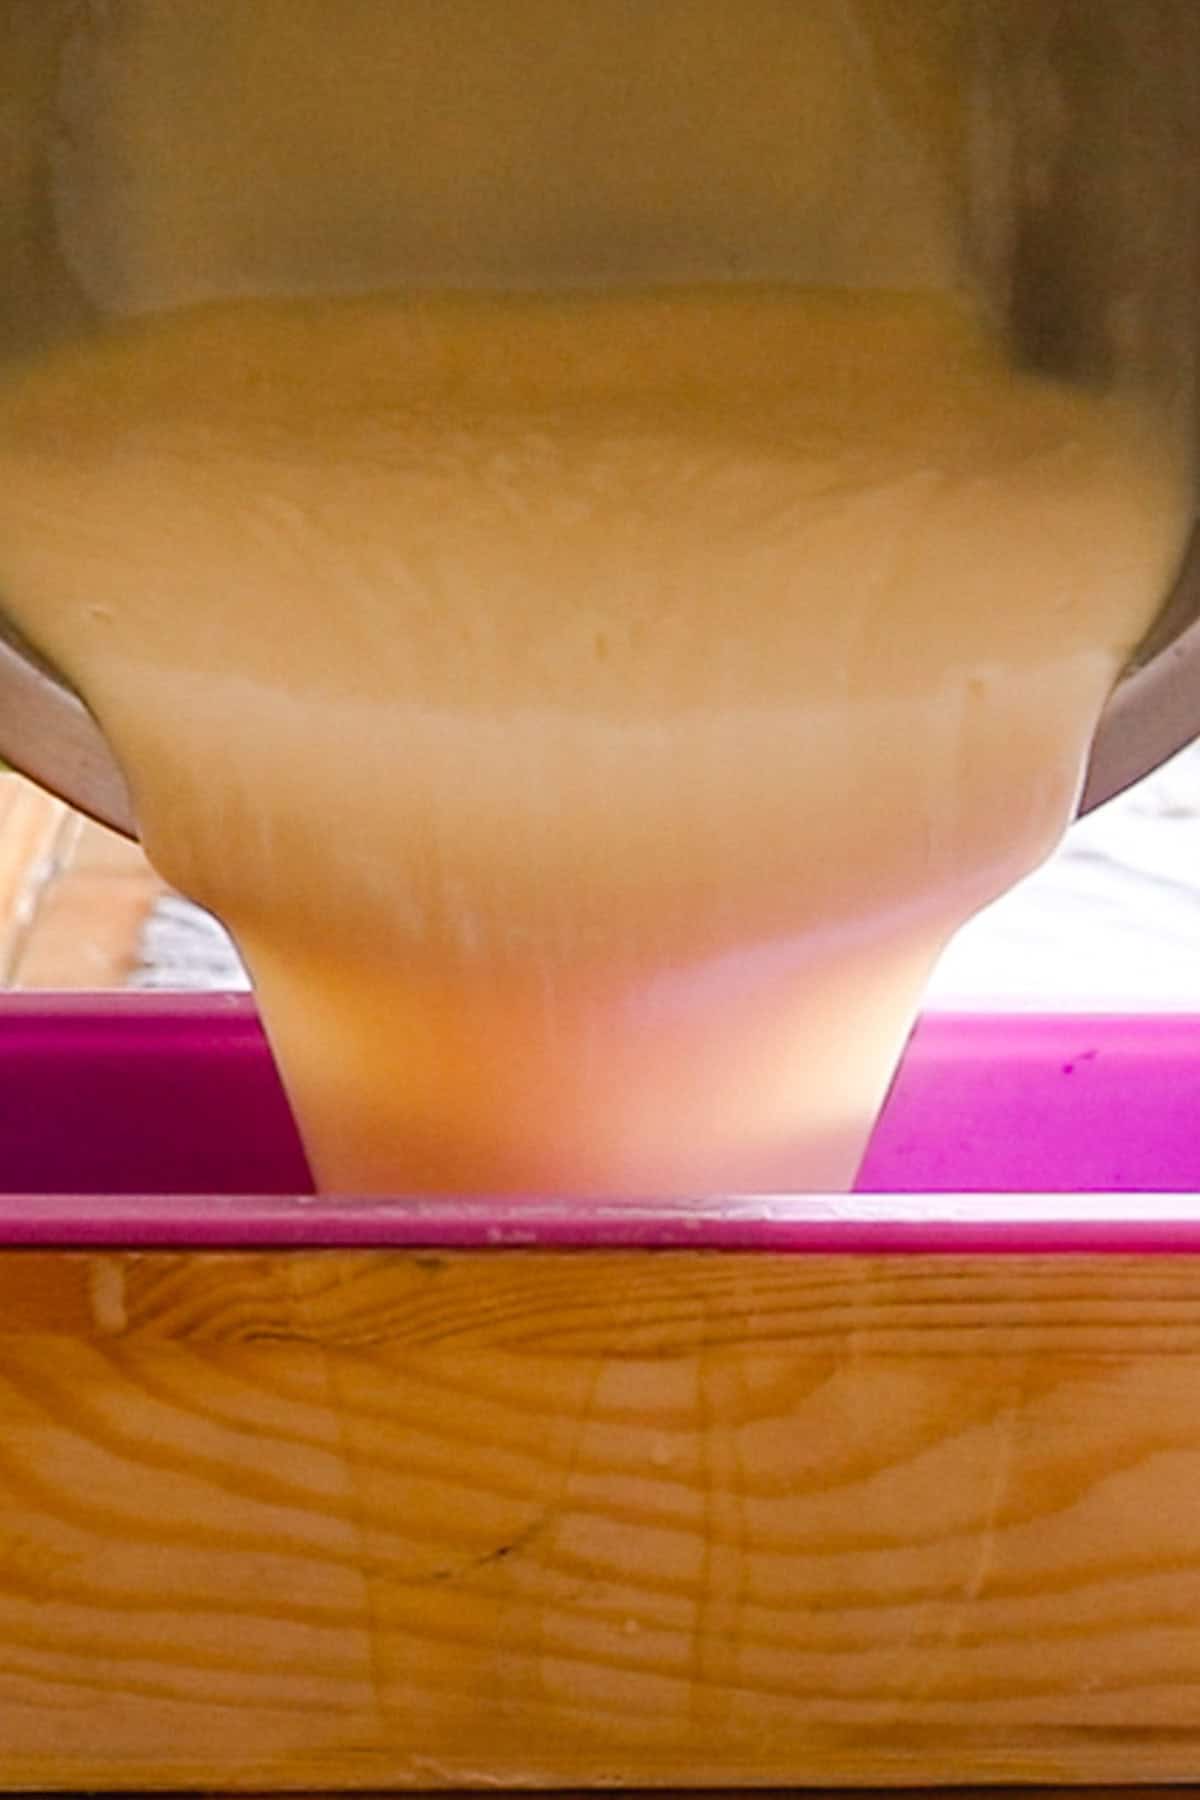
Pour the soap into the soap molds. If using silicone soap molds, you don’t have to do any prep before pouring it in. Other molds may require parchment paper.
Step 6. Allow the soap to harden in the molds for at least 24 hours or up to 3 days.
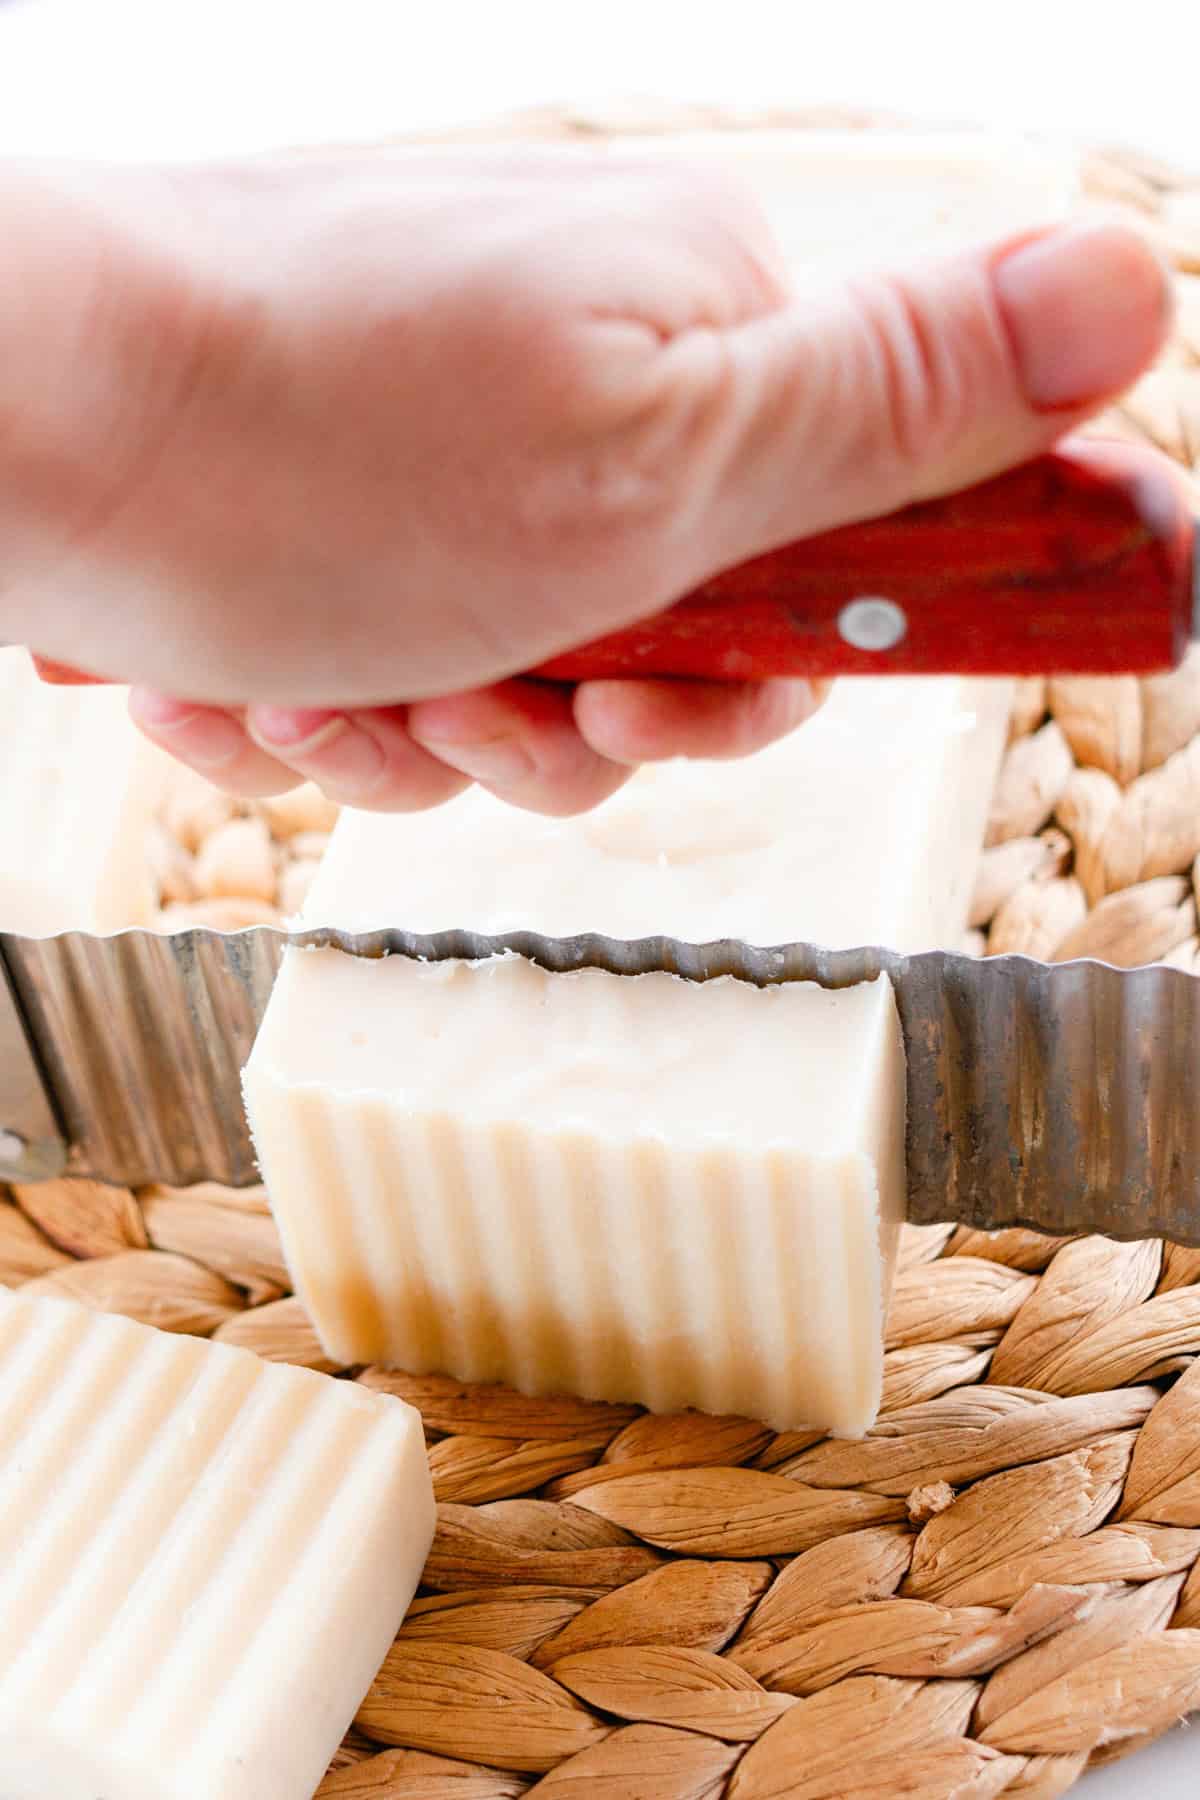
Remove the soap from the molds, cut it into bars, and allow it to cure for 3-4 weeks before using.
Essential Safety Notes
- When mixing the lye into the water, avoid breathing in the fumes. Always work in a well-ventilated room, or even better, outside.
- Wear safety goggles, gloves, and long sleeves as lye can be very dangerous if it gets in the eyes or on the skin. Don’t worry; once the lye is mixed with the fats, it is no longer dangerous. Remember, lye is in all soap, so it isn’t as scary as it sounds.
- Before whipping up a batch of cold process soap, be sure to have a spray bottle of vinegar nearby as vinegar can neutralize the lye in an accident.
- I used a soap calculator to get the exact measurements. If you want to change up the recipe at all, you will need to get new measurements to make sure your shampoo bar comes out right and use the correct lye-water mixture.
- Keep separate utensils and bowls for soapmaking that are not used for food.
- The lye water mixture will quickly rise to over 200°F, so you must use a container that can handle the rapid increase in temperature.
Helpful Tips
- I recommend reading through the instructions and step-by-step photos before beginning so you have a good idea of the process.
- If you aren’t sure about cold process soap yet, you can make melt and pour shampoo bars to dip your toes into soapmaking!
- Be sure to keep your soap ends and any other scraps to make rebatch soap.
Essential Oils for Shampoo Bars
As mentioned above, you can add essential oils to your shampoo bar. The essential oils will customize your soap even more and give your bar a beautiful scent.
Some of the best essential oils for hair include rosemary, lavender, tea tree, peppermint, cedarwood, and sandalwood. As with the fats, choosing your essential oils will depend on hair type and needs.
- Lavender: Lavender is known for its calming aroma, but it is also beneficial for hair. Lavender oil can increase hair thickness and strengthen strands. It’s also antimicrobial and can reduce skin inflammation.
- Peppermint: Peppermint oil has a cooling and soothing effect, perfect for an irritated scalp. Peppermint can promote hair growth and thickness.
- Rosemary: Rosemary is known for its tremendous benefits to hair health. That’s why homemade rosemary water and rosemary oil are so popular! Rosemary promotes hair growth by increasing circulation and can help with dandruff and itchy scalp.
- Tea Tree: Tea tree oil is fantastic for improving scalp conditions and promoting a healthy scalp. It keeps hair healthy and moisturized and helps with dandruff.
- Cedarwood: Cedarwood has a soothing, woodsy scent and is a great choice for men’s products. Cedarwood can stimulate hair follicles and promote hair growth.
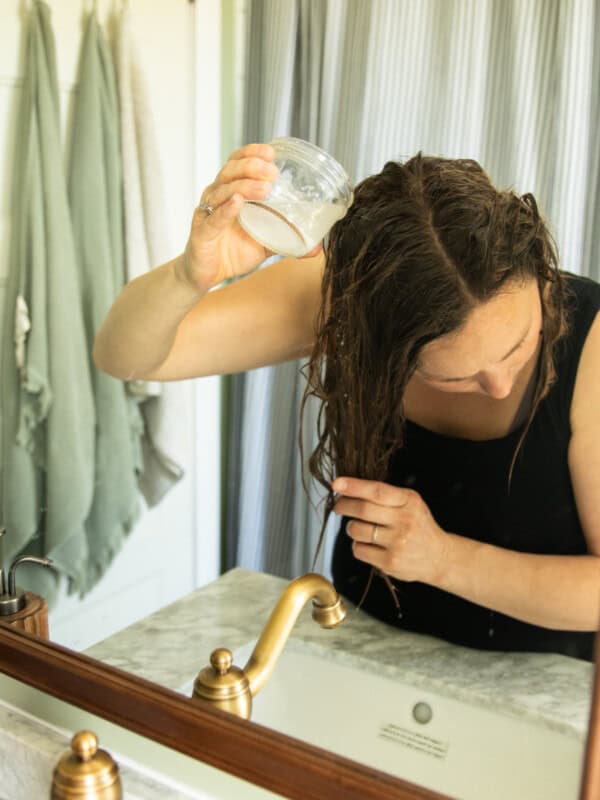
How to Use Homemade Shampoo Bars
If you are used to liquid shampoo, such as my homemade natural shampoo, you may be wondering how to use a shampoo bar. Similar to bar soap, once it gets a little wet, it will start to lather up.
Once sudsy, use your hands to massage it into the scalp and hair. Let it sit for a couple of minutes before washing it out with warm water.
After washing your hair with a shampoo bar, condition the hair with a natural homemade conditioner or a homemade conditioner bar.
Recipe FAQs
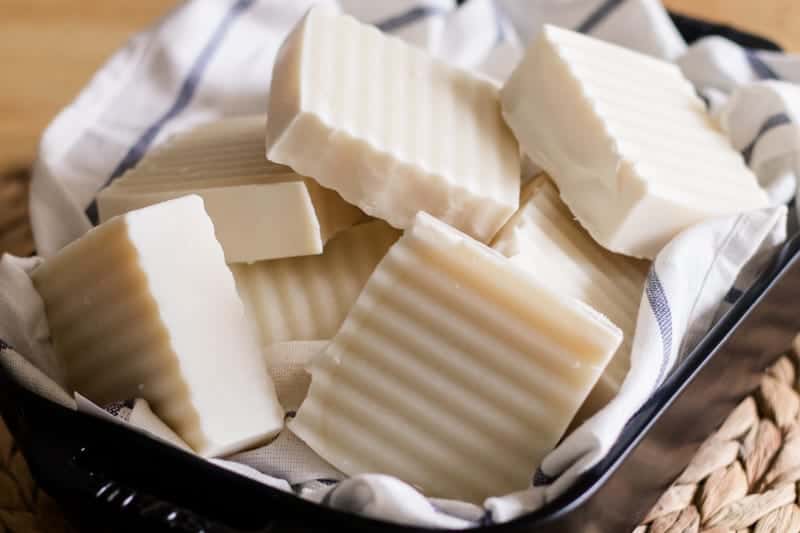
Like any cold process soap bar, your DIY shampoo bar will last for a very long time. Be sure to allow your bar to fully cure for 3-4 weeks before using it. Soap bars will stay good for at least a full year.
Tallow, shea butter, cocoa butter, mango butter, coconut oil, avocado oil, olive oil, and castor oil are some of the most popular choices. For this recipe, we’ll be using a combination of tallow, olive oil, shea butter, and castor oil.
Related Recipes
- Hair Butter Recipe
- Homemade Hair Moisturizer Oil
- Hair Styling Cream
- Cold Process Dish Soap
- Shaving Soap Bar Recipe
If you tried this Cold Process Shampoo Bar Recipe or any other tutorial on my website, please leave a 🌟 star rating and let me know how it went in the 📝 comments below. Thanks for visiting!
Cold Process Shampoo Bars
Equipment
- Thick glass bowl or jar, make sure it is heat resistance
- Safety goggles
- Rubber Gloves
Ingredients
- 10 ounces tallow
- 8 ounces olive oil
- 8 ounces shea butter
- 8 ounces castor oil
- 4.41 ounces lye
- 9.86 ounces distilled water
- 15-20 drops essential oils, optional
Instructions
- Using a digital scale, measure out your water and pour it into a heat-resistant glass bowl or jar.
- Measure out the lye and add it to the water. Stir the lye into the water slowly and stir until it dissolves. NEVER add water to the lye, only lye to water.
- Using the digital scale, measure out the tallow, olive oil, shea butter, and castor oil. Pour into a saucepan and melt over medium heat.
- Once the ingredients are melted, allow them to cool back down to 100 degrees.
- Once the fats cool to 100 degrees, slowly add the lye and water to the oils, mix with an immersion blender. This will take a couple of minutes. You will know it is the right consistency when the soap from the blender drips and pools up at the top of the soap in the saucepan. This is known as the trace.
- If using essential oils, add those in now. Stir well.
- Pour the soap into the soap molds. If using silicone soap molds, no prep is required before pouring it in. Other molds may require parchment paper.
- Allow the soap to harden and sit in the molds for at least 24 hours or up to 3 days.
Remove the soap from the molds and allow it to cure for 3-4 weeks before using.
Video
Notes
- When mixing the lye into the water, avoid breathing in the fumes. Always work in a well-ventilated room, or even better, outside.
- Wear safety goggles, gloves, and long sleeves as lye can be very dangerous if it gets in the eyes or on the skin. Don’t worry; once the lye is mixed with the fats, it is no longer dangerous. Remember, lye is in all soap, so it isn’t as scary as it sounds.
- Before whipping up a batch of cold process soap, be sure to have a spray bottle of vinegar nearby as vinegar can neutralize the lye in an accident.
- I used a soap calculator to get the exact measurements. If you want to change up the recipe at all, you will need to get new measurements to make sure your shampoo bar comes out right and use the correct lye-water mixture.
- Keep separate utensils and bowls for soapmaking that are not used for food.
- The lye water mixture will quickly rise to over 200°F, so you must use a container that can handle the rapid increase in temperature.
- This recipe should be safe to use on dyed hair. However, it is important to test it first in a small, inconspicuous area to see how your hair reacts.
- See the post above for step-by-step process photos.
- If you aren’t sure about cold process soap yet, you can make melt and pour shampoo bars to dip your toes into soapmaking!
- Be sure to keep your soap ends and any other scraps to make rebatch soap.


Could lard be substituted for tallow?
Yes, lard can be substituted for tallow. It will produce a slightly softer bar, but it works well in the recipe.
Not tried yet but will review once made
When I am looking at Bramble Berry calculator, I only see soap not shampoo bar option, I may want to add cocoa butter, or switch the olive oil for coconut oil, so I was looking to get the measurements. What is really the difference between shampoo bar and regular soap bar, when it comes to the measurements in the ingredients?