Pumpkin pancakes are a must for fall. These paleo pumpkin pancakes are grain and dairy-free. Learn how to make healthy pumpkin pancakes with this 2-ingredient recipe.
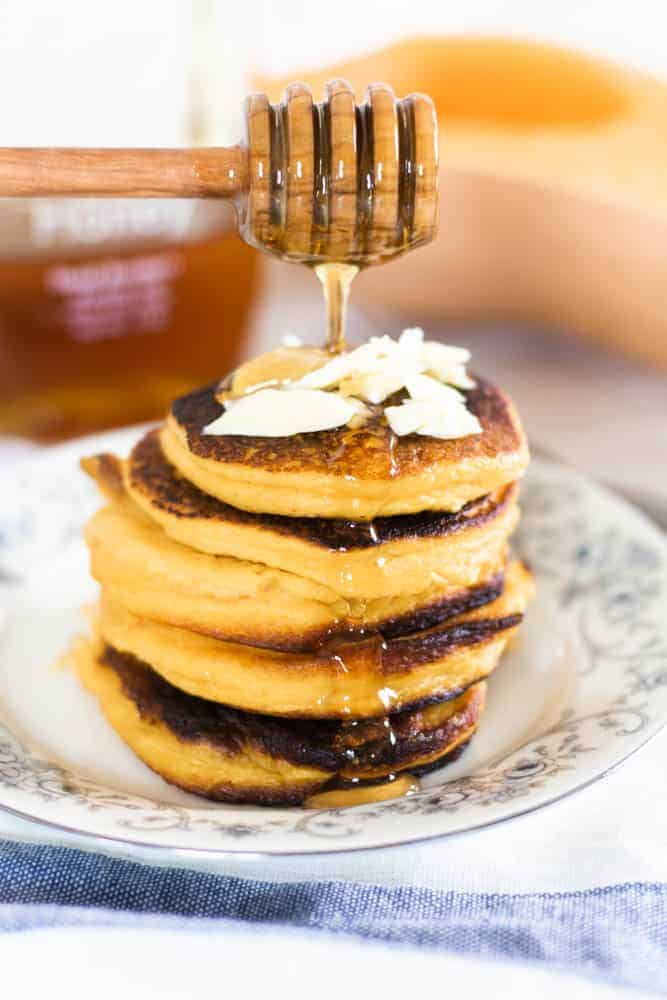
Need a simple healthy breakfast idea? This 2-ingredient recipe can be whipped up in a blender. My kids request these paleo pumpkin pancakes nearly every morning, and I love to make them.
You can easily swap the pumpkin for an in-season vegetable making these a go-to breakfast all year long. The best thing about these healthy pumpkin pancakes is that they are grain-free, dairy-free, and full of protein.
Do you love pumpkin everything? I do! Check out my paleo pumpkin bread for more fall recipe inspiration.
PIN IT FOR LATER
This post contains affiliate links, which means I make a small commission at no extra cost to you. Get my full disclosure HERE.
PALEO PUMPKIN PANCAKE RECIPE
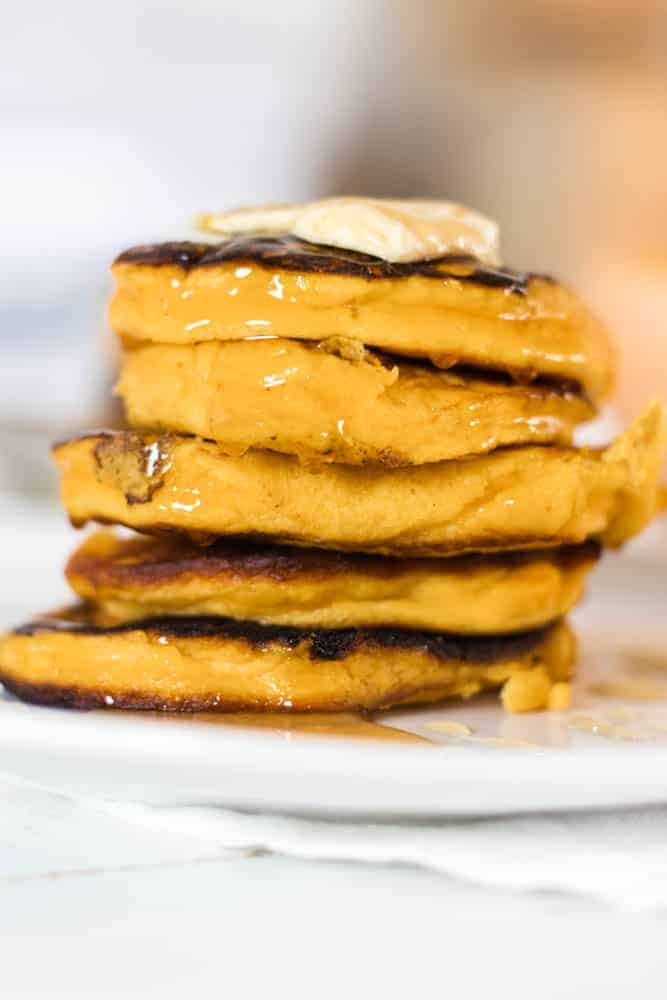
For this recipe, you only need pumpkin and eggs. You have the option to add in cinnamon and vanilla for more of that fall flavor.
Where I live, I can only get whole pumpkins in the fall during October and November. Beyond that, it is nearly impossible to find them. Canned pumpkin is too liquidity for this recipe, so having a pie pumpkin is crucial.
In the off-season, I have used sweet potatoes and butternut squash to make these, and it is equally delicious. I love that the base of these pancakes is a vegetable! It really is the breakfast of champions and such a healthy meal to start your day.
HOW TO COOK A WHOLE PUMPKIN?
COOKING A PUMPKIN IN THE OVEN
- Remove the stem of the pumpkin by cutting the top off.
- Cut the pumpkin in half.
- Scoop out the pumpkin seeds and flesh. (save the seeds if you want to roast them)
- Place the pumpkin halves, face down, in a glass baking dish.
- Bake at 400 degrees for one hour or until soft.
- Once the pumpkin is cooled, scoop the pumpkin out of the peel with a spoon, add it to a blender, and blend until smooth.
COOKING A PUMPKIN IN THE INSTANT POT
-
Add 1/2 cup of water to the bottom of the instant pot.
-
Add the trivet, and place the pumpkin on top. I used a 3-pound pie pumpkin.
-
Lock the lid and set the valve to sealing.
-
Press manual, and add 13 minutes to the clock.
-
Once the pumpkin is cooked, let it release pressure naturally. Do not flip the valve!
-
Once the lid is unlocked, remove the pumpkin carefully. It will be very hot!
-
Pull the stem off the top and cut the pumpkin in half.
- Remove the seeds with a spoon.
- Scoop the pumpkin out of the peel with a spoon, add it to a blender, and blend until smooth.
Get my favorite instant pot.
HOW TO MAKE HOMEMADE PUMPKIN PANCAKES?
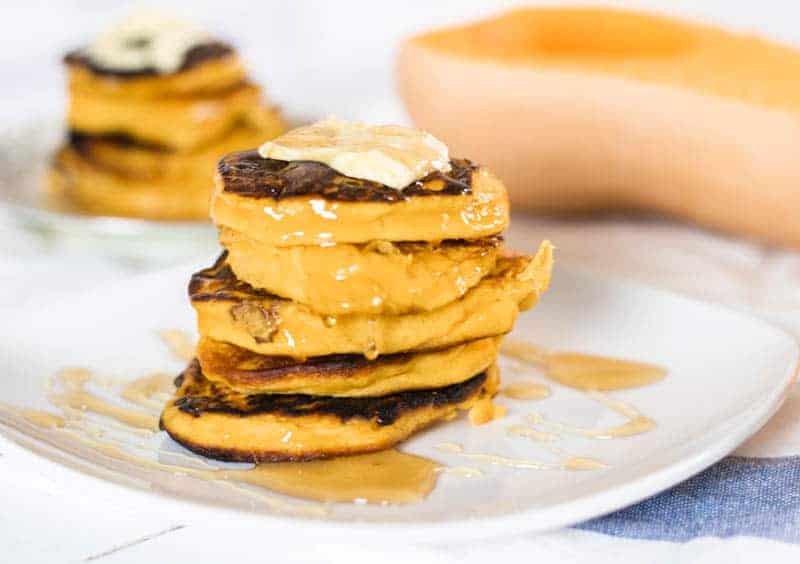
THE BASE
Using the directions above, add 2 cups of pumpkin puree for every 4 eggs.
If you don’t have access to fresh pumpkins, try to find butternut squash. That is much easier to find in our area! Cooking a butternut squash is very similar to cooking a pumpkin.
You can also use baked sweet potatoes for this recipe. To make sweet potato puree, simply bake sweet potatoes in the oven until soft and then scoop the vegetable out of the peel. Add the sweet potatoes to a blender, and then add the eggs and blend.
Making the batter is extremely simple. Place the cooked pumpkin and eggs in a blender and blend until thoroughly mixed.
ADDITIONAL ADD-INS
You can add 1/2 teaspoon of each cinnamon and nutmeg to the puree or 1 teaspoon of pumpkin pie spice.
Vanilla can also be added to the batter. Add 1 teaspoon per 2 cups of puree.
If we are going to eat them plain, sometimes I will add a tablespoon of honey to the batter to add sweetness.
HOW DO I COOK PUMPKIN PANCAKES?
It is best to cook these in a non-stick skillet. I use a cast-iron skillet for almost everything and love that it is non-stick, without the chemicals. These paleo pumpkin pancakes will stick if you don’t use non-stick.
If using a cast-iron skillet, be sure to heat it up first and use a decent amount of coconut oil before putting the batter onto the skillet. They cook best when made into small pancakes.
I use a 1/4 cup measuring cup to make mine and find that to be a perfect size.
BEST PANCAKE TOPPINGS
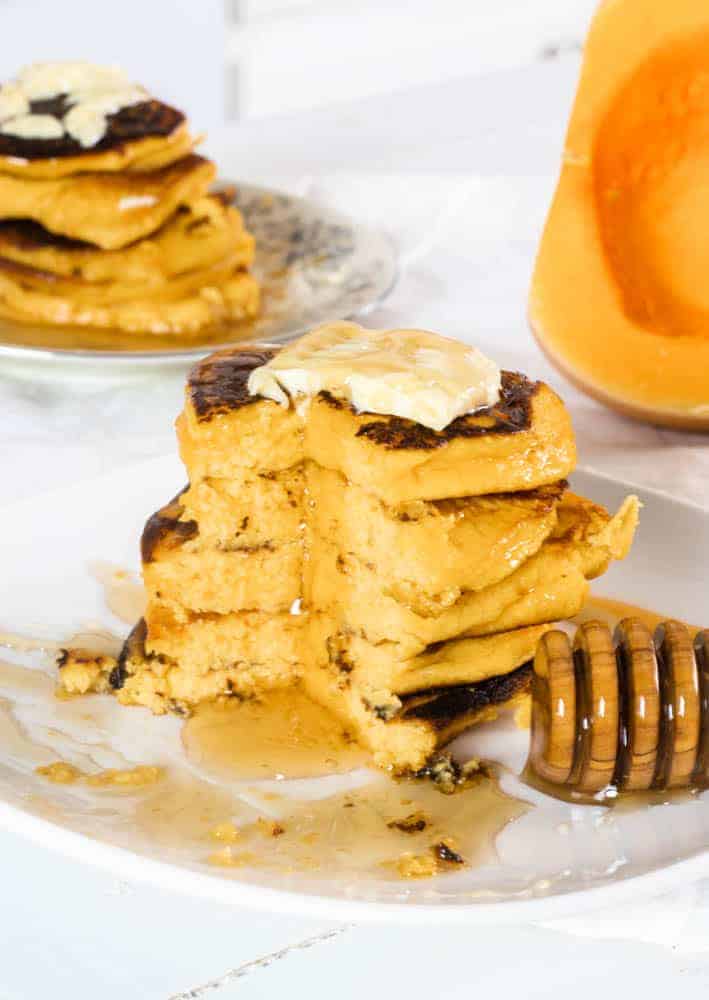
These paleo pumpkin pancakes are delicious on their own, but adding some toppings makes them more fun! Adding new toppings can really change the taste and add some variety to this simple recipe. Sometimes I make a batch of these for peanut butter and jelly sandwiches for an easy-packed lunch.
Here are some of our favorite toppings for these healthy pumpkin pancakes:
- Banana Slices
- Strawberry Slices
- Mixed Berries
- Almond Butter or Peanut Butter
- Butter and Honey
- Pure Maple Syrup
- Raw Honey
- Coconut Whipped Cream
- Shredded Coconut
- Coconut Sugar and Cinnamon
You can really get creative with this! Have fun and try something new! 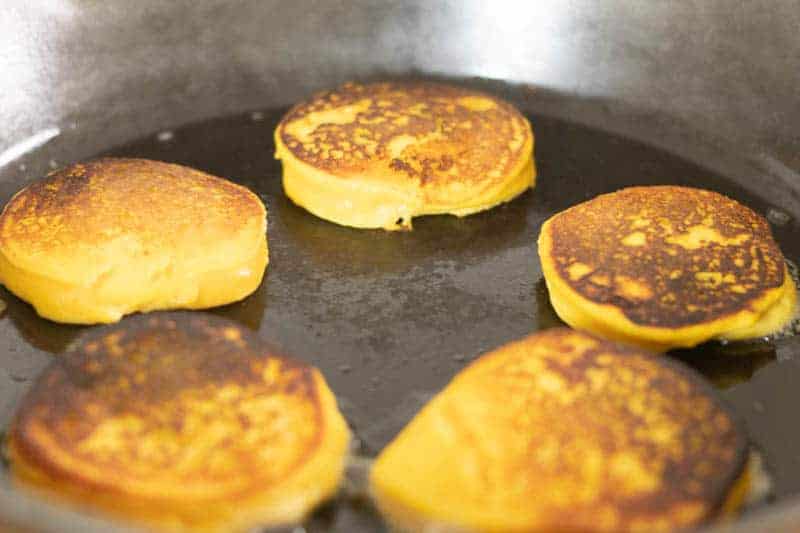
HOW LONG DO PUMPKIN PANCAKES LAST?
You can make the batter ahead of time and store it in the refrigerator to make this breakfast even easier. Pumpkin puree, butternut squash puree, and baked sweet potatoes can last for one week in an airtight container that is stored in the fridge.
I like to bake a couple of butternut squashes at a time, so I can have the puree ready in the morning. Then just add the eggs and fry them up.
Once the pancakes are made, they can last about 5 days in the fridge. They stick together if you pile them on top of each other, so I find it easier to eat them right away. If making pancakes to store, you can separate each layer with parchment paper to avoid sticking.
Looking for more healthy meal ideas? Check out my 30-days of healthy eating cookbook.
How to Make Healthy Pumpkin Pancakes
Ingredients
- 2 cups pumpkin puree
- 4 eggs
- 1 teaspoon pumpkin pie spice optional
- 1 tablespoon honey optional
- Coconut oil for frying
Instructions
- Preheat a cast-iron skillet over medium heat or use a non-stick skillet.
- Add all the ingredients to a blender and blend until well combined.
- Pour a couple tablespoons of coconut oil onto the cast iron skillet.
- These fry up best when you make smaller pancakes. Use a 1/4 cup measuring cup to make the pancakes.
- Add the batter to the coconut oil, flip only once after a couple of minutes.
- Once the pancake is lightly browned and cooked through it is done. Remove from the heat and top with desired toppings.

Marisa C says
Made these today and they took FOREVER to cook. Maybe the cast iron is essential because my regular frying pan needed a long time for them to be solid enough to not fall apart when flipping. Would also recommend adding honey- I didn’t knowing I would be topping them with maple syrup. I added pumpkin pie spice, cinnamon, and vanilla and they still didn’t really taste like anything. A good use for my leftover pumpkin but probably won’t be making them again. I hate posting negative reviews but wanted to share my honest experience trying to make these
Laura says
They shouldn’t take that long to cook, possibly you made them to thick?
Stephanie says
These look so good! Would canned pumpkin puree work for these?
I’ve only recently found you and your sister’s blogs and am so enjoying them.
Laura says
Thanks so much! Yes, canned pumpkin is fine too!
Taylor says
My family loves these and they are perfect for my 9 month old. They are soft enough that she doesn’t chole and perfect for her to pick up. Thanks for a the amazing recipes!
Laura says
YAY I am so glad! They do make the best baby food!
Teresa Vinson says
Evidently it is absolutely necessary for this batter to be blended in a blender. I tried them without blending in the blender, and they were very flat and would fall apart easily. They still tasted good though! Gonna try this again!
Laura says
I have done it both ways, but most often use the blender. They need to cook for a long time before flipping because it is mostly eggs and heavy. I am glad you still enjoyed them! My kids eat these at least 3 times a week!
Lindsay Cotter says
These were super easy to make! They are the perfect fall breakfast!
cathy says
Made these over the weekend and the whole family loved them. Love having this delicious and healthy option.
Laura says
I am so glad you liked them!