Making your own all-natural vapor rub is easy and effective. Follow this simple recipe to learn how to make and how to use this homemade vapor rub.
ALL-NATURAL VAPOR RUB
Let’s first discuss why homemade! Vapor rubs are usually made with essential oils or a fragrance that smells similar to essential oil. Essential oils are not created equally, and I am pretty picky when it comes to the kind I use in my home.
Unfortunately, the FDA doesn’t have any regulations on essential oils, so you have to be very careful about where you are getting your oils from. I have heard and seen so many horror stories, rashes, and reactions from people using what they thought were pure essential oils.
I would prefer to use my own essential oils that I have researched like crazy and find to be pure before putting any synthetics on my children.
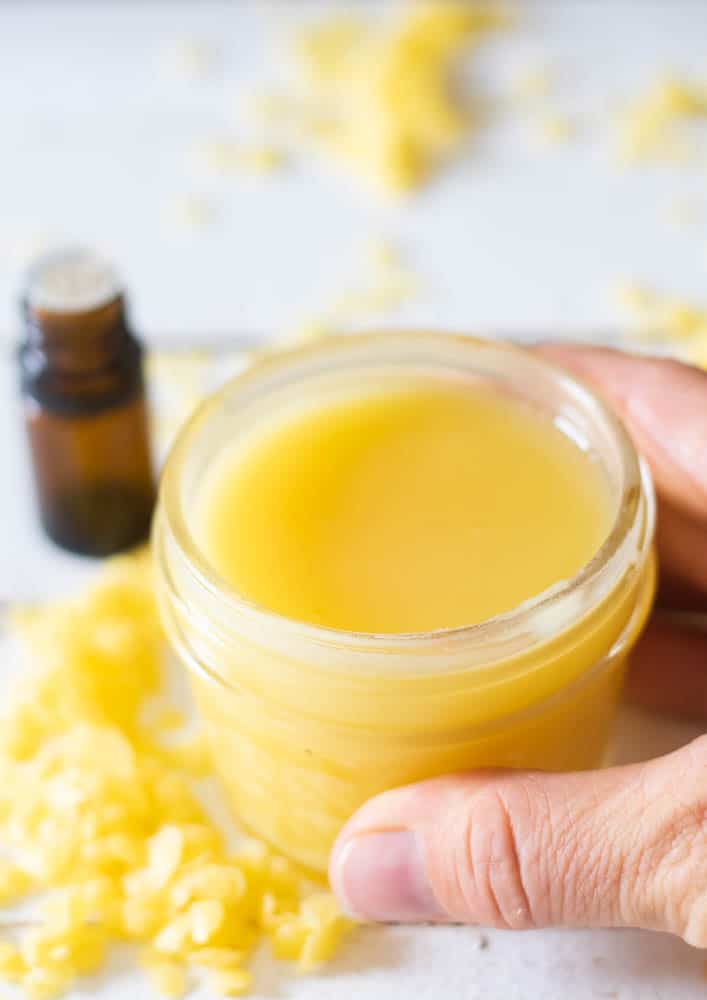
All-natural vapor rub can be used on the bottom of the feet, the chest, and down the spine. Applying the vapor rub to the chest can help open up airways to promote clear, healthy breathing.
When applying the homemade vapor rub on kids, it is always good to apply it in an area they can’t reach with their hands to avoid getting the essential oils in their eyes or mouths. Applying it down the spine is a great place for that and can help support the body.
Clove– Similar to cinnamon, clove also has immune-boosting properties.
This post contains affiliate links, which means I make a small commission at no extra cost to you. Get my full disclosure here.
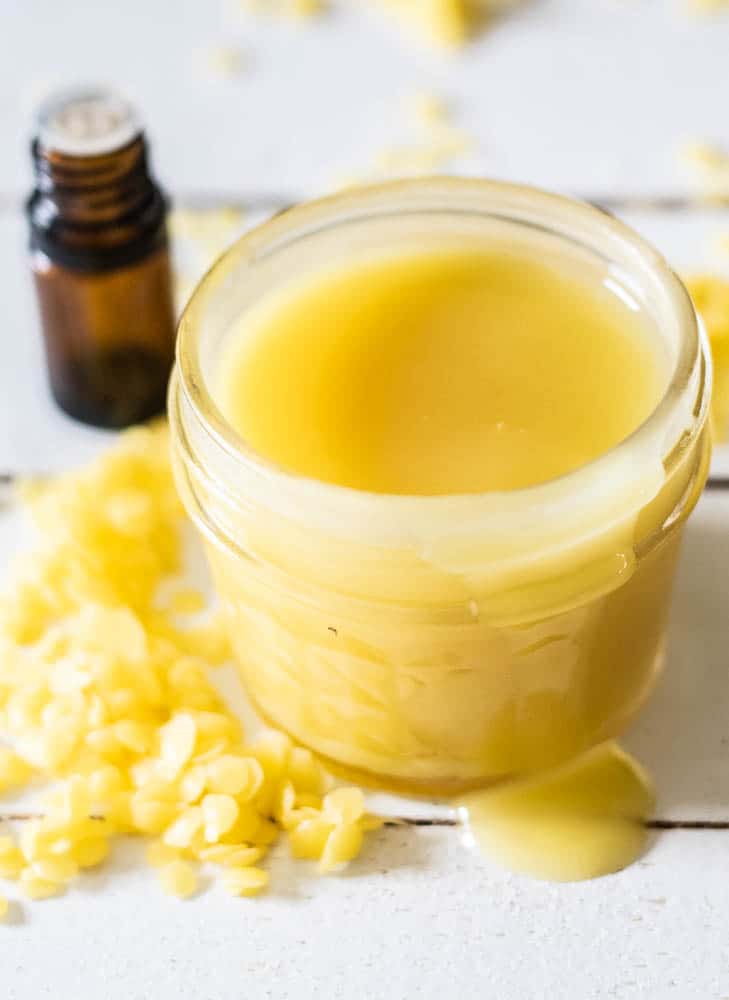
HOW TO MAKE VAPOR RUB
Making your vapor rub can be as easy or complicated as you want! If you are going to make a larger batch for the fall and winter season, I would suggest using the recipe below.
If you don’t have all these ingredients on hand and need to whip up something fast, you can simply use coconut oil to dilute the essential oils before rubbing them on. Believe me, in a pinch. I have done this several times! Think overnight with a baby!
The recipe calls for a double boiler. If you don’t have one, you can easily make one by placing a glass bowl over a pot of water, then bringing to a boil.
DILUTING ESSENTIAL OILS FOR HOMEMADE VAPOR RUB
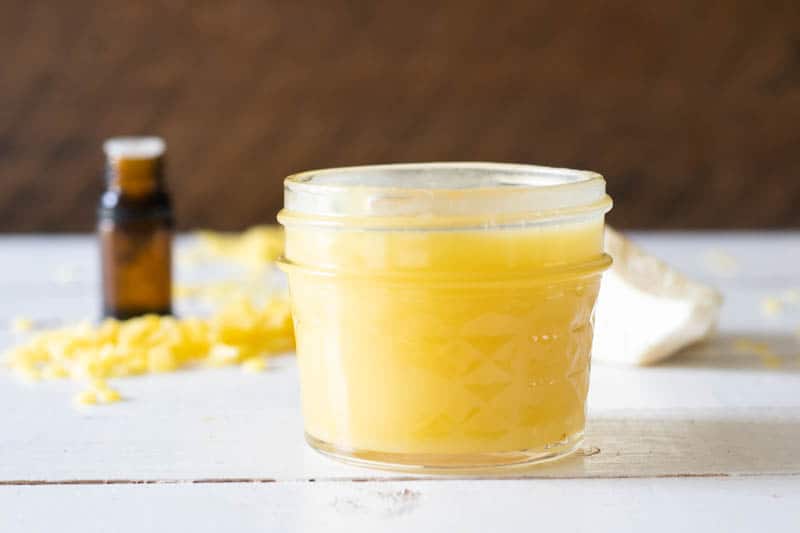
This recipe will make about 6 ounces of vapor rub. Follow the chart below to know how many essential oils to add to your recipe.
Place all the ingredients, except the essential oils, in a double boiler.
Remove from the heat once everything is melted.
Allow to cool slightly and then add in essential oils.
Store in a glass airtight container.
Notes
Consult with your healthcare provider before using this product.If making this recipe for children under 13, use 5 drops of each essential oil.If making for anyone under the age of 2 only use 2 drops of each essential oil.
Welcome to Our Oily House, I’m so glad you’re here! Explore DIY cleaners, homemade soaps, skincare and hair care recipes, fragrance-free solutions, and sustainable laundry tips for a naturally inspired home.
Haha, that’s my problem too! I just wait until the wax is still melted but cool enough to touch, then wipe it out with a paper towel and toss it. Definitely not the most sustainable method, but honestly it’s the quickest way I’ve found to deal with the mess.


How do you clean the wax from the double boiler? I’m always making such a mess.
Haha, that’s my problem too! I just wait until the wax is still melted but cool enough to touch, then wipe it out with a paper towel and toss it. Definitely not the most sustainable method, but honestly it’s the quickest way I’ve found to deal with the mess.
Wonderful to have found this! The notes will be very helpful also!
So happy to hear this!
I cant find clove essential oil near my house. Im from india . What can we susbstitute it with?
You substitute it for one of the other essential oils listed in the blog for immunity boosting.
I can’t wait to try this! How long does this keep for?
Up to 6 months
Hello! My brother has a severe pollen allergy, do you have a diy recipe?